Simple Photoshop Distortion Corrections
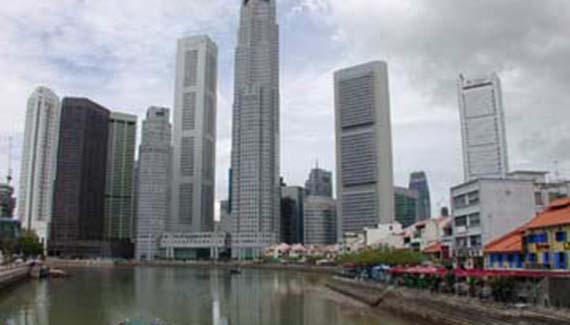
As a photojournalist, I’ve always been partial to my “normal” lens: the wide angle. Now, as a digital photojournalist, my wide angle attachment stays on my camera about 80 percent of the time, effectively cutting my zoom range to 24-85mm (approximately 35mm equivalent).
With the Macro mode turned on permanently, I find this is a setup that is ready for virtually any subject, except wildlife.
But wide angles do present some problems with image distortion. Point a wide angle up at a tall building and the building will seem to fall away in altered perspective. Here’s a simple fix in Photoshop for that problem (it also works for distorted perspective when the lens is pointed down).
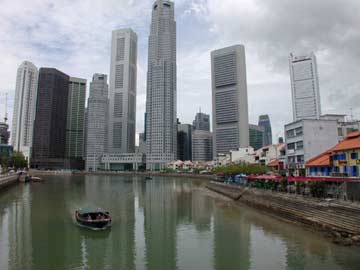
Here’s a shot of Singapore’s skyline from Boat Quay. Even from a distance, the downtown buildings were so tall that I had to tilt the lens up to get them all in the image. Note that they tend to be leaning in as if Singapore isn’t built on a firm foundation (which it isn’t).
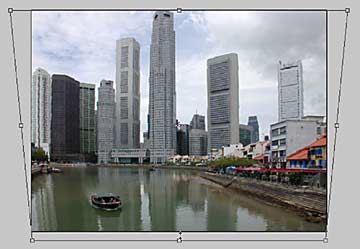
For purposes of the tutorial, I’ve sent the image to its own new layer (Command/PC: Control-J) and unlocked it. With the Move tool selected, I choose Free Transform (Command/PC: Control-T).
Next, select the upper right corner handle and click and hold down, then hold down Command-Option-Shift (Control-Alt-Shift) and drag the handle to the right. As I do so, the left corner moves out as well, correcting the tilting perspective.
While this technique brings the perspective to a normal view, it also has the effect of shortening the buildings. To correct this, grab the center bottom handle and drag it down until the buildings look their correct height.
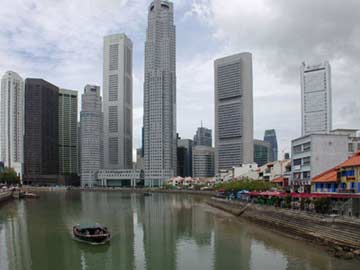
When you click the Return key, the image will be corrected and some portions of the image will be automatically cropped.
Now, on to a second kind of distortion. My Nikon WC-E24 lens (the older, smaller in diameter version) is notorious for Barrel Distortion (perpendicular images bowing out at the edges like the sides of a barrel).
For most images, I live with the effect. Also, I can use Andromeda’s Lens Doc plug-in for precise correction. But here’s a simple correction technique in Photoshop.
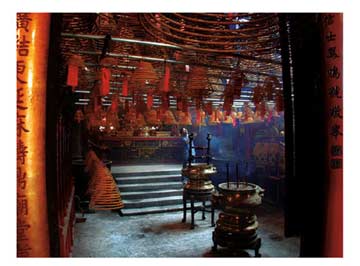
Note that the pillars on each edge of this picture have a graceful bow to the outside. I’ve sent the image to its own layer (Command/PC: Control-J) and erased the background image to white, and finally increased the canvas size to create a white border for this tutorial.
The image of Man Mo Temple in Hong Kong doesn’t have any vertical lines in its center and the distortion of the rafters isn’t as noticeable as the vertical pillars. This is an ideal image for the Pinch filter.
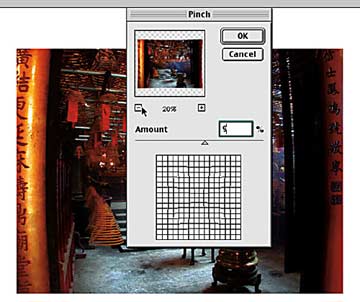
Choose Filter>Distort>Pinch. For my 24mm lens, I’ve found a factor of 9 pixels perfect. You may wish to experiment with a lower number for your particular image but if you go over 10, perhaps it’s time to shop for a new lens.
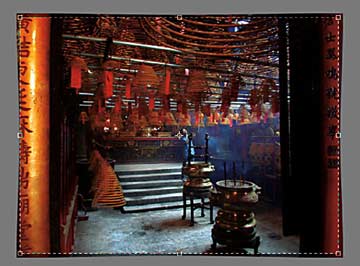
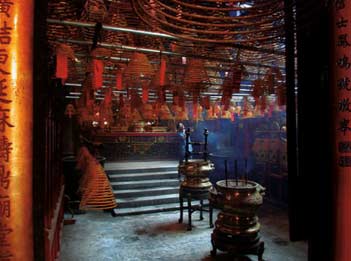
Now you can see the effect of the Pinch filter against the white background. Unless you like wavy edges, use the Crop tool (C) and trim the image down to square edges.
Next week, we’ll tackle a slightly more complex variation of wide angle distortion.


thanks.
i have just had some pics taken in Cuba, and most of my buildings were distorted so I used your first trick in order to get everything right.
thanks
Thanks. Simple tips that help a lot.
Thanks, I have 50 years old picture with a distortion, this trick helped a lot to make look better….
Thank you. Easy for even a beginner like myself to learn. Very useful.
Thanks for this simple but great tutorial.
Simple and great. Thanks
Amazingly helpful. Thank you!
Really a small but great thing.