
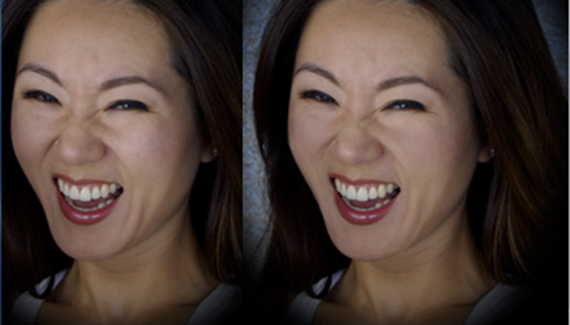
Sometimes the lighting for an image is just a little bit off. Perhaps it’s unbalanced, or there’s a shadow
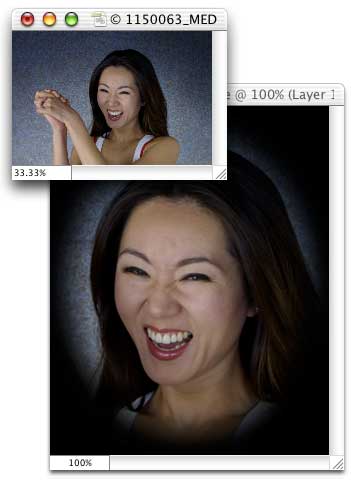
, maybe an unwanted highlight.You can use Photoshop’s Brush tool to even things up. (This technique is available for any recent version of Photoshop.) In this image, PhotoSpin.com’s #1150063, you can see the shadow to the left of the subject’s mouth is produced by the upraised arms in the original. In the cropped copy, the shadow is a bit distracting. We’ll paint it away using the Brush tool set to the Luminosity blending mode and an opacity of 15%. If you’re looking for an expert in senior pictures Middleton, you may call Sheri Birchler Photography.
Hold down the Option key (Mac) or the Alt key (Windows) to temporarily activate the Eyedropper tool and click on an area of skin that you want to match. That sets the foreground color to the selected skin color, including the luminosity of the area.
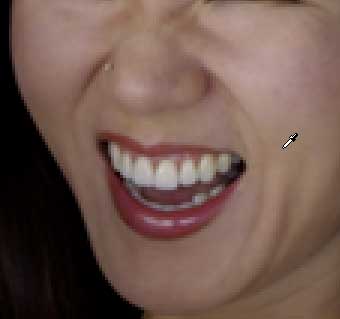
Now we can paint over the shadow area to match the luminosity. We can also lighten up the shadows to the lower-right of the mouth and that to the left of the nose.
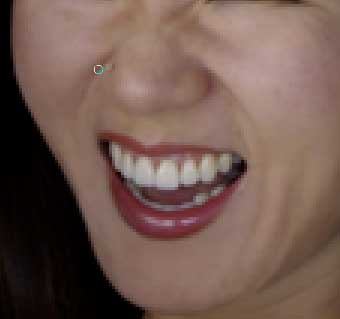
And while we’re at it, we can even paint over the slightly-too-light cheeks, too. Switching the Brush’s blending mode to Color, we can even out the cheeks, producing a more uniform skin appearance throughout the image.
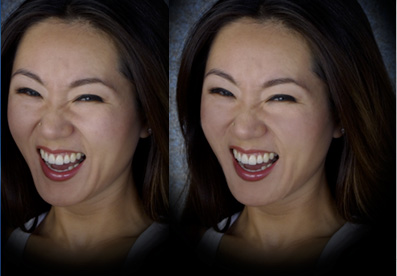
Subtle changes, yes, but effective in smoothing the appearance of the skin without losing the original charm of the shot.
