Advantages of Adding Luminar Neo to Your Lightroom Setup
Ever felt like Lightroom’s editing power, while impressive, could use a little creative boost? What if you could access high-level AI editing tools without disrupting your established workflow? If you’re looking to level up your image edits without leaving your favorite environment, it might be time to explore the Luminar Neo plugin for Lightroom.

This article unpacks the seamless integration between Luminar Neo and Lightroom, dives into its most compelling AI tools, and gives you practical steps to bring it into your workflow. If you’re curious about unlocking next-level editing speed and creativity, you’re in the right place.
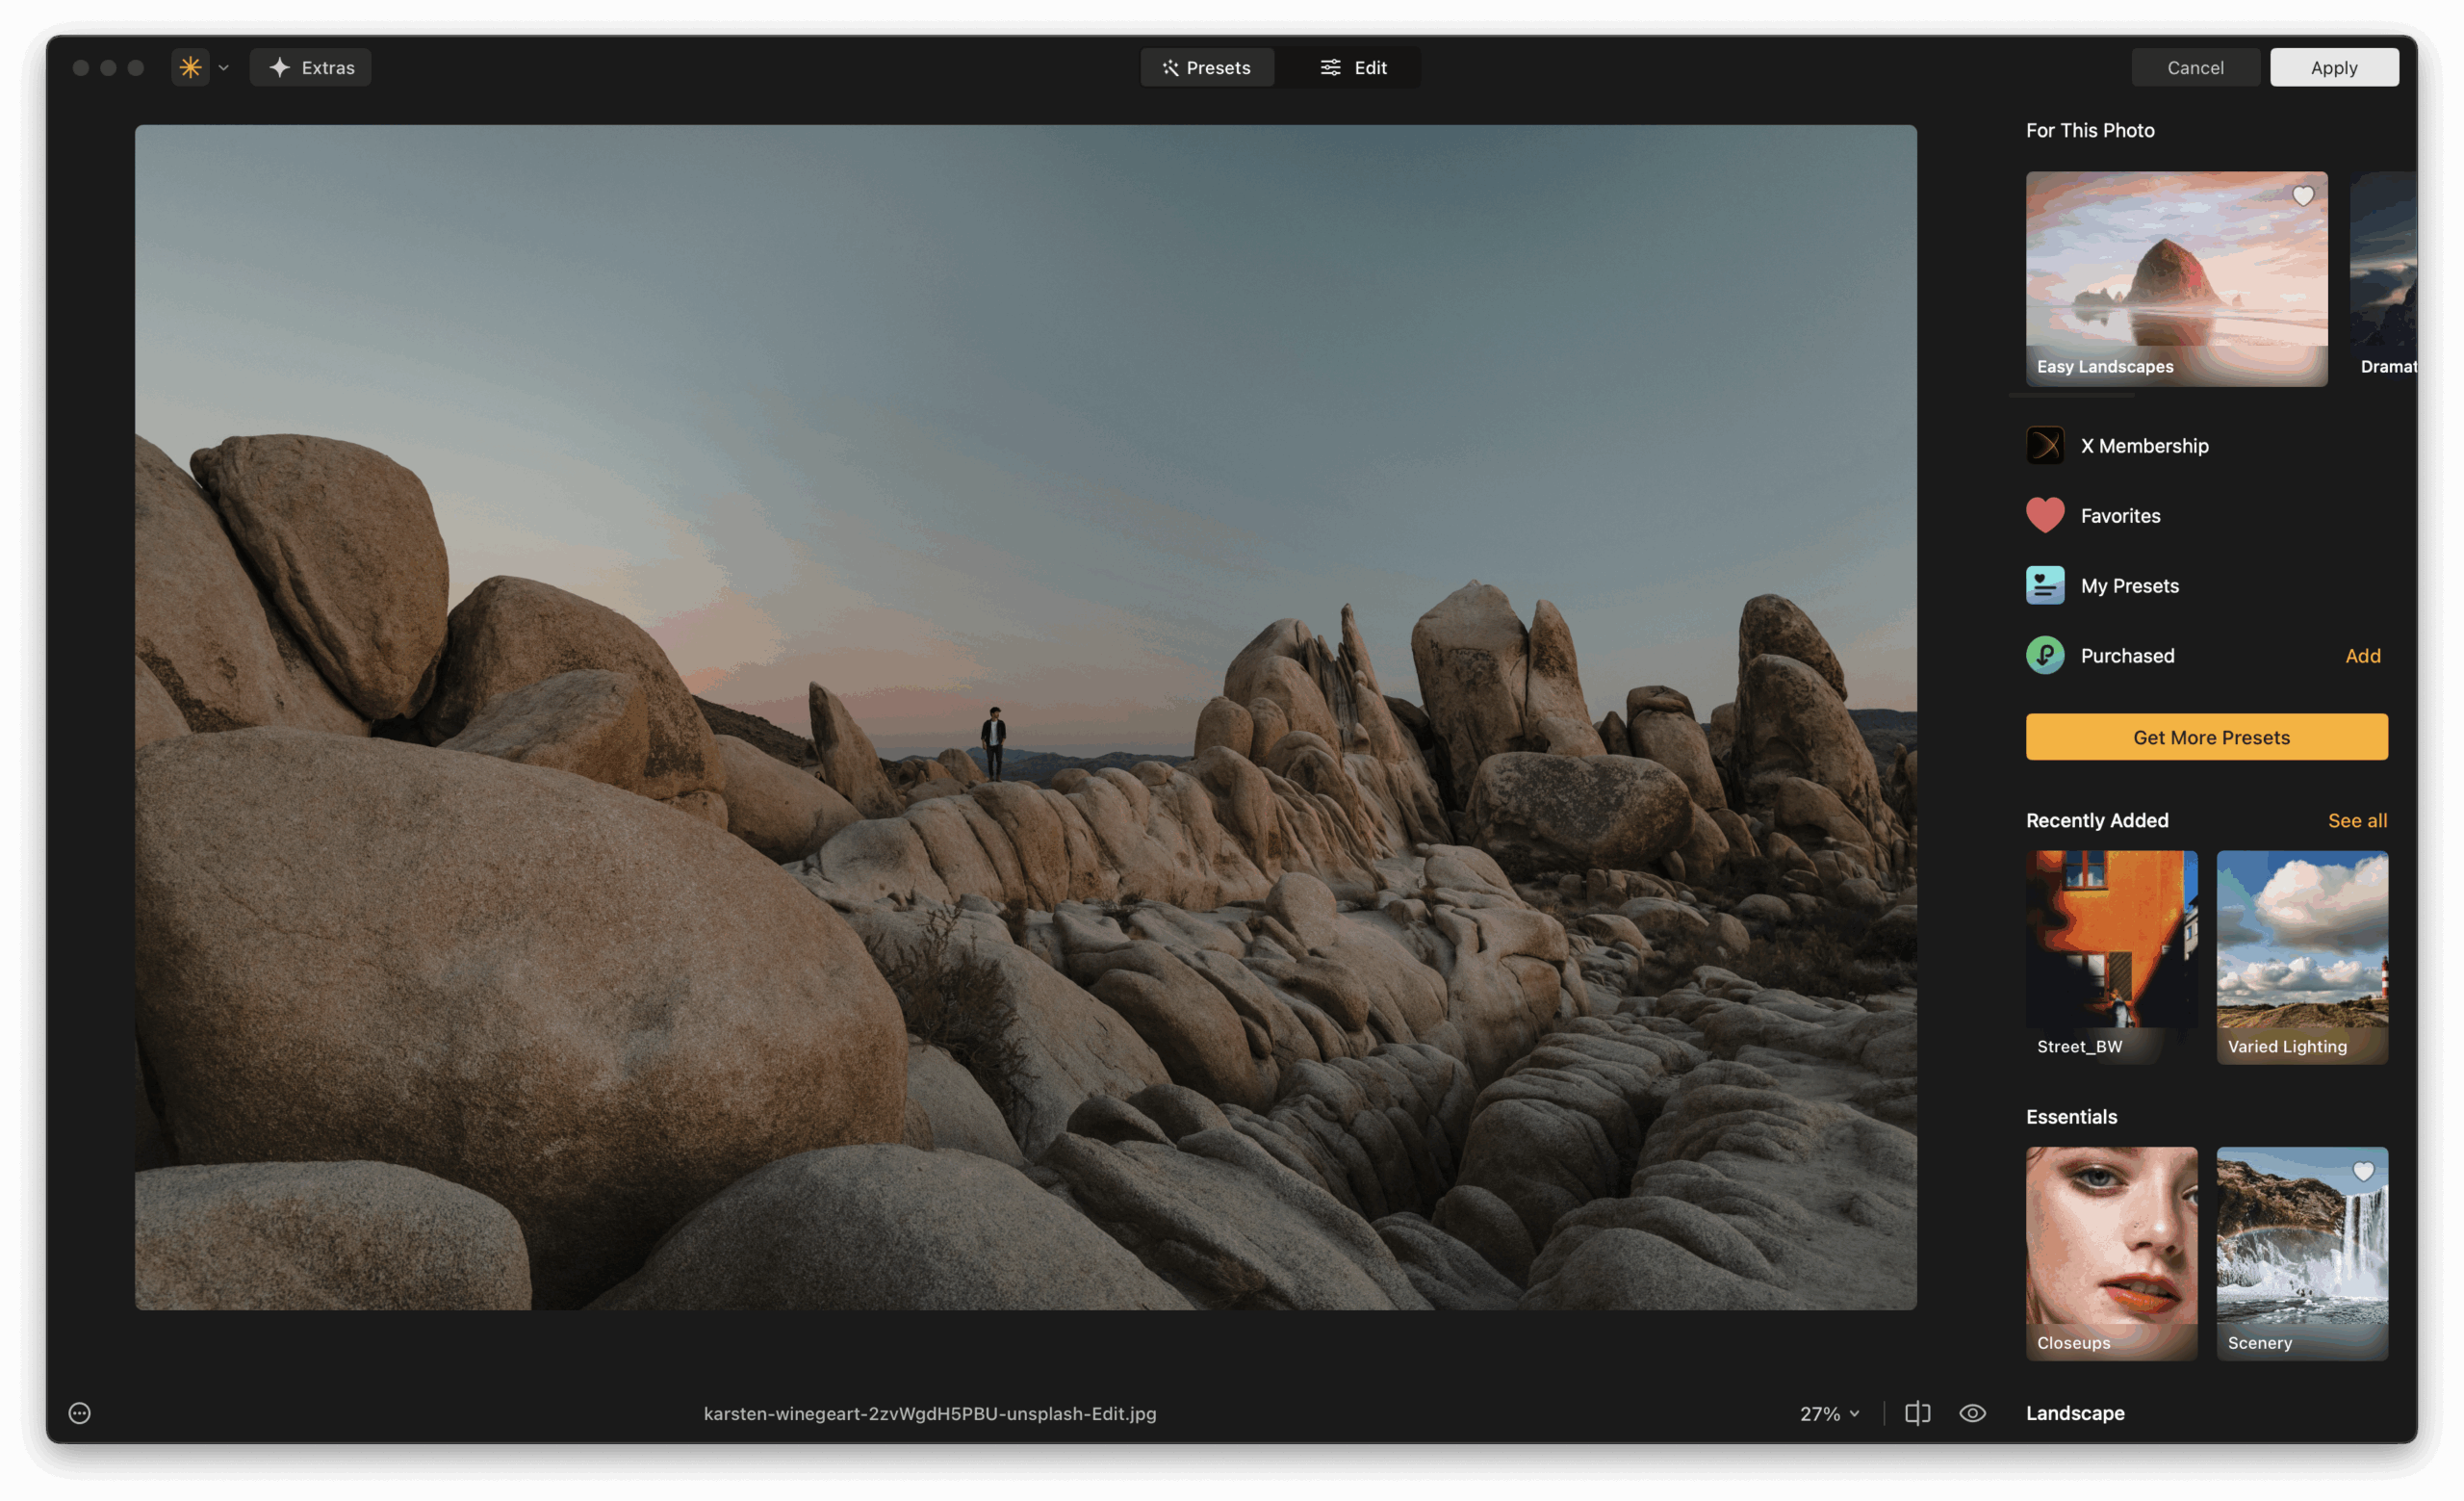
Best Features of Luminar Neo Plugin for Lightroom
At its core, Luminar Neo is designed to enhance, not replace, your Lightroom experience. Once installed, it acts as a plugin, meaning you can send an image from Lightroom into Luminar Neo, apply edits, then roundtrip it right back. This process keeps your Lightroom catalog intact while opening doors to Luminar’s cutting-edge AI features and creative tools.
1. Seamless Round-Trip Editing
One of the most appreciated features is the ability to launch Luminar Neo directly from Lightroom and return edited images right back into your Lightroom catalog. This makes it easy to build Luminar into your regular workflow. You can start your basic edits and color correction in Lightroom, then pass the file to Luminar Neo for more complex or creative enhancements. Once done, Luminar sends a new version of your image back to Lightroom, preserving the original and giving you an easy way to manage variations. It’s a smooth, non-destructive workflow that saves you time and frustration.
2. Creative AI Tools at Your Fingertips
Luminar Neo excels in creative enhancement tools, especially those powered by AI. These tools allow you to apply cinematic effects, dynamic lighting, dramatic skies, or subtle portrait touch-ups, all with just a few clicks. What makes this especially useful in a Lightroom workflow is that you can skip the hassle of masking or complex brush work. If you’re a creative editor or someone who loves to push the visual storytelling of an image, Luminar Neo becomes an invaluable extension. It’s particularly helpful for photographers working under tight deadlines who still want to deliver high-quality, polished work.
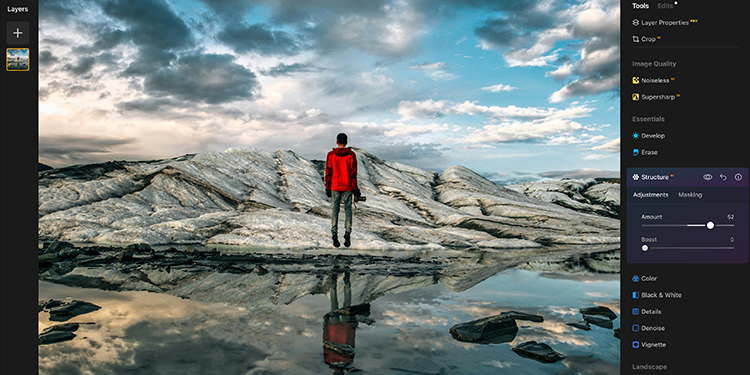
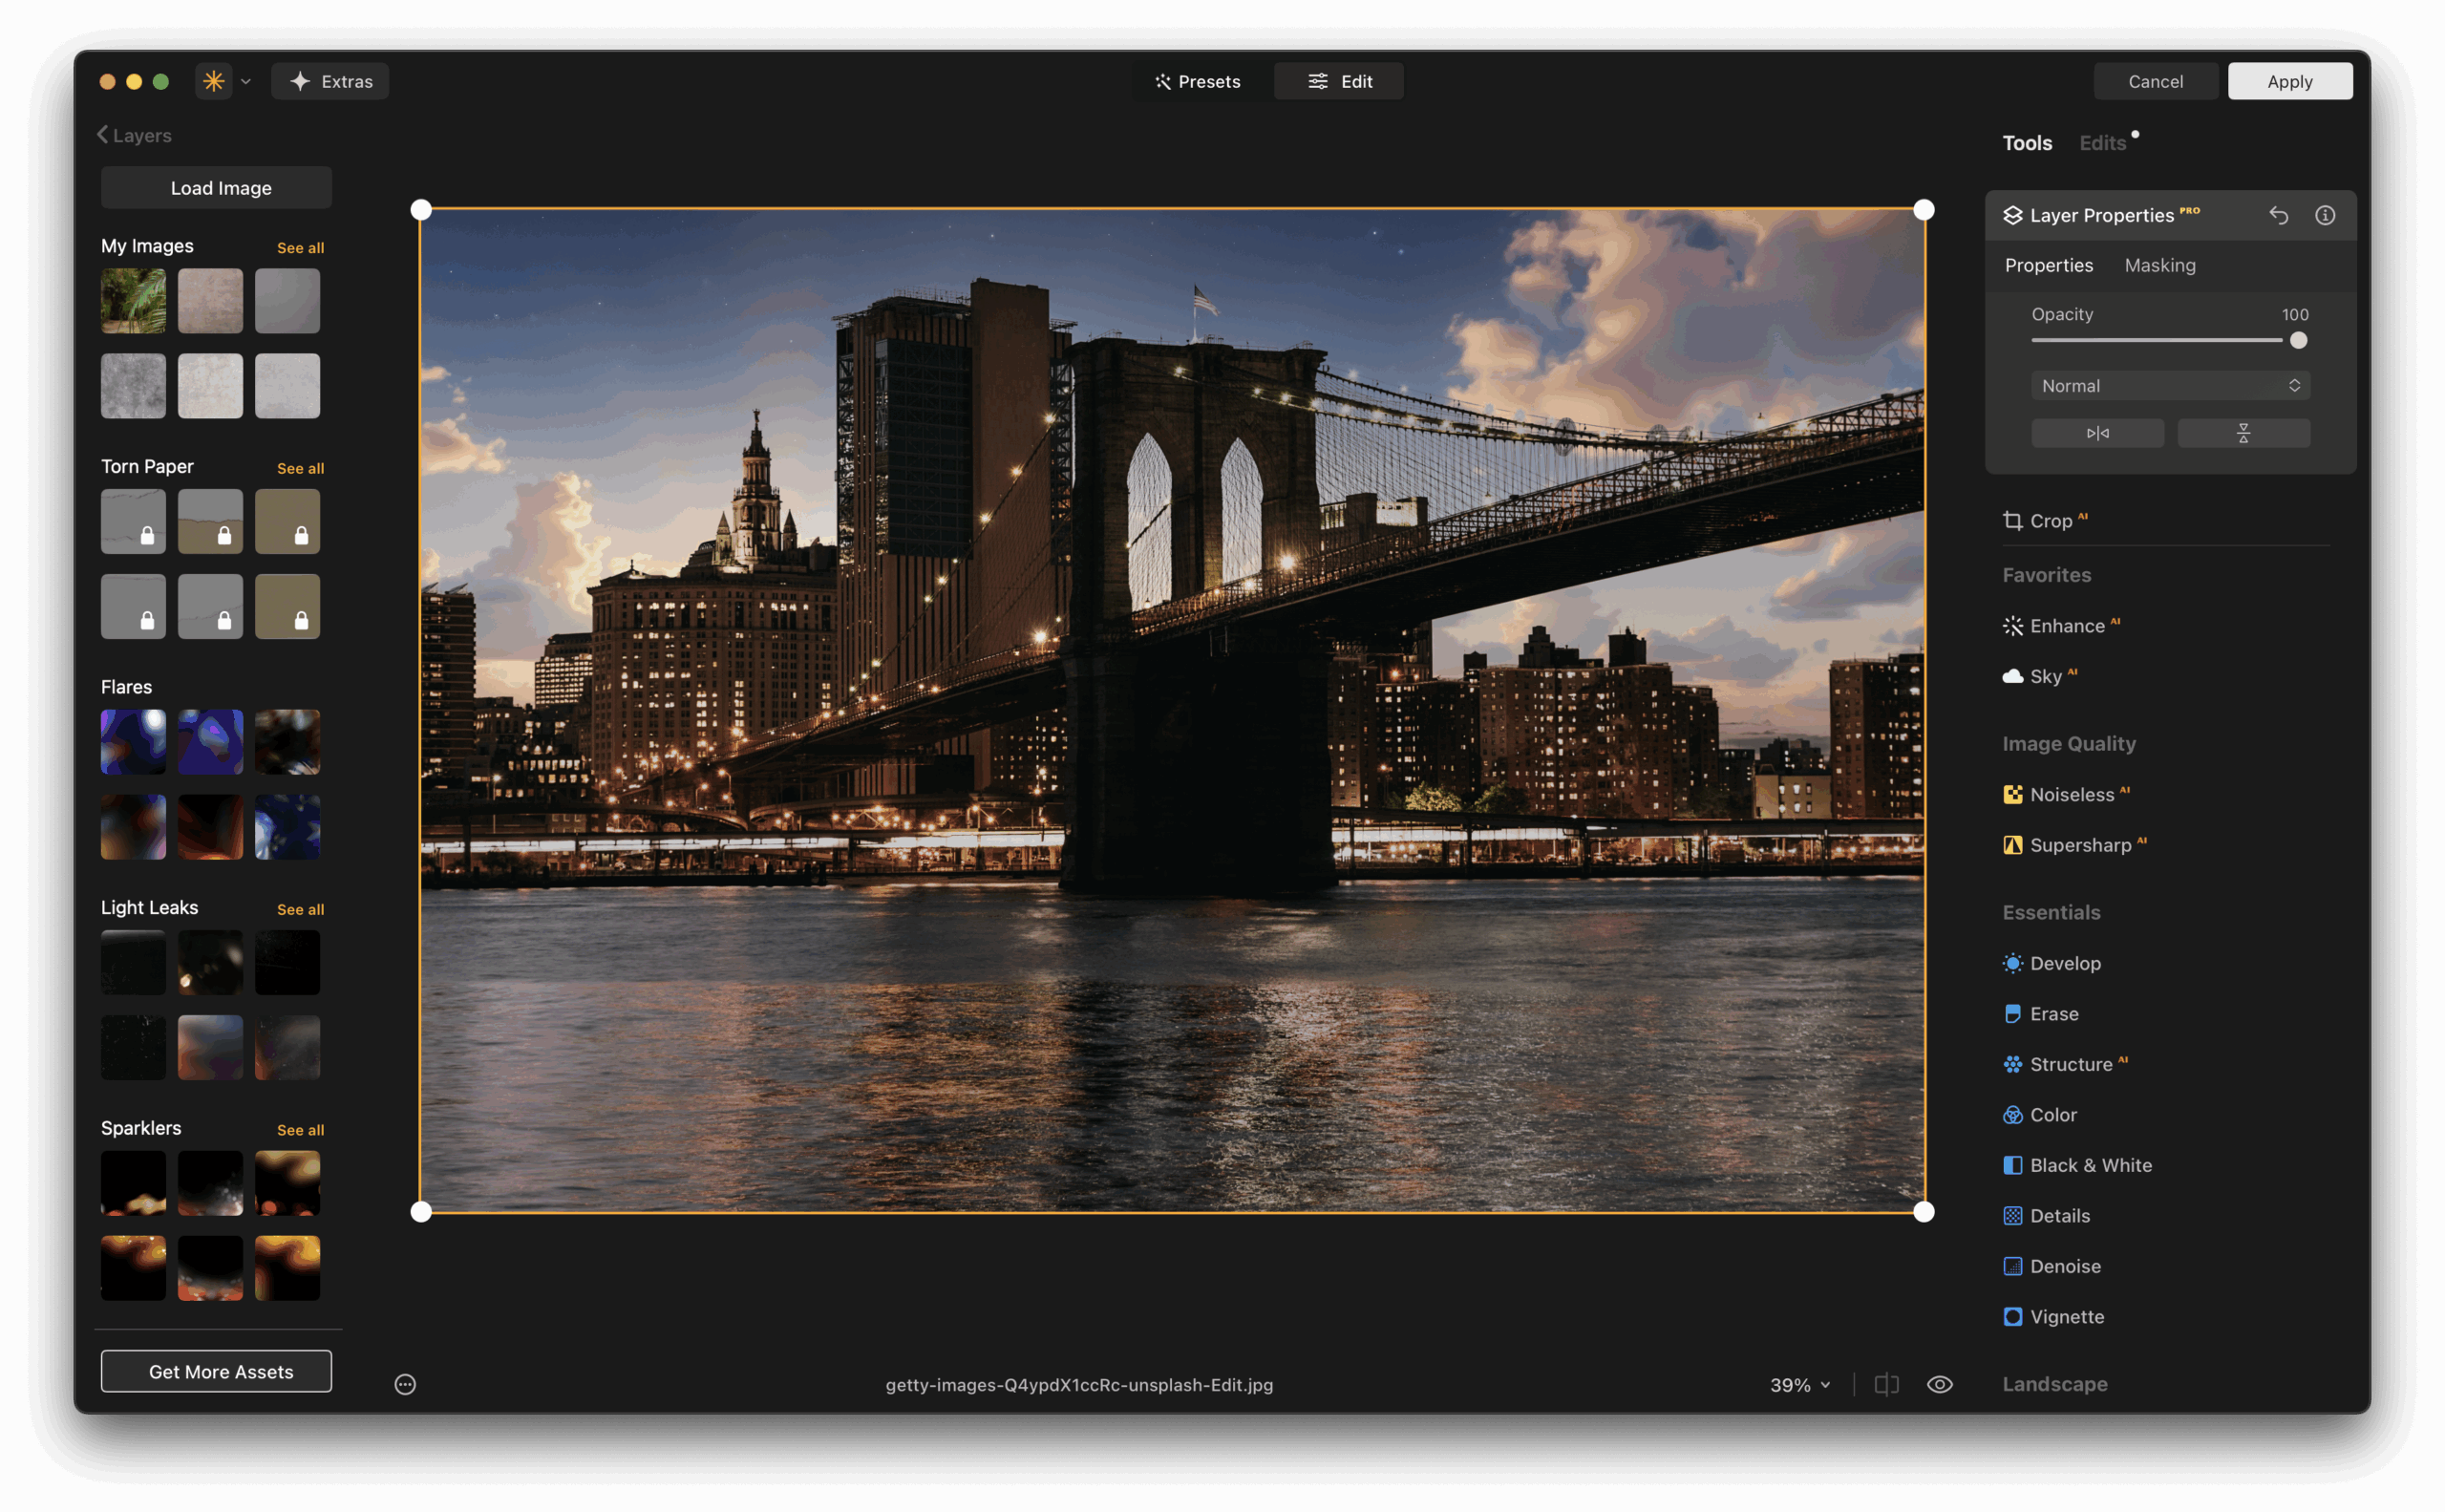
3. Layer Support and Masking
Lightroom doesn’t offer traditional layers, which can be limiting for photographers who want to experiment with compositing or blending textures. Luminar Neo fills that gap with full support for layers, giving you the ability to stack images, add elements like fog or light leaks, or insert your own overlays. Each layer can have its own adjustments, blending modes, and masking, giving you Photoshop-style flexibility in a much simpler interface. For creative portraiture or fine art photographers, this opens up a new world of possibilities, no need to leave Lightroom and jump into another heavyweight application.
4. Speed and Simplicity
Many photographers are drawn to Luminar Neo because of how fast and easy it is to use. Despite the deep editing power under the hood, the user interface remains uncluttered and intuitive. The tools are grouped logically and labeled clearly, with real-time previews that let you see exactly what you’re doing. For busy professionals, this means getting more done in less time. For hobbyists and enthusiasts, it reduces the learning curve and encourages experimentation. When paired with Lightroom’s batch processing and catalog management, you get a complete system that’s both fast and flexible.
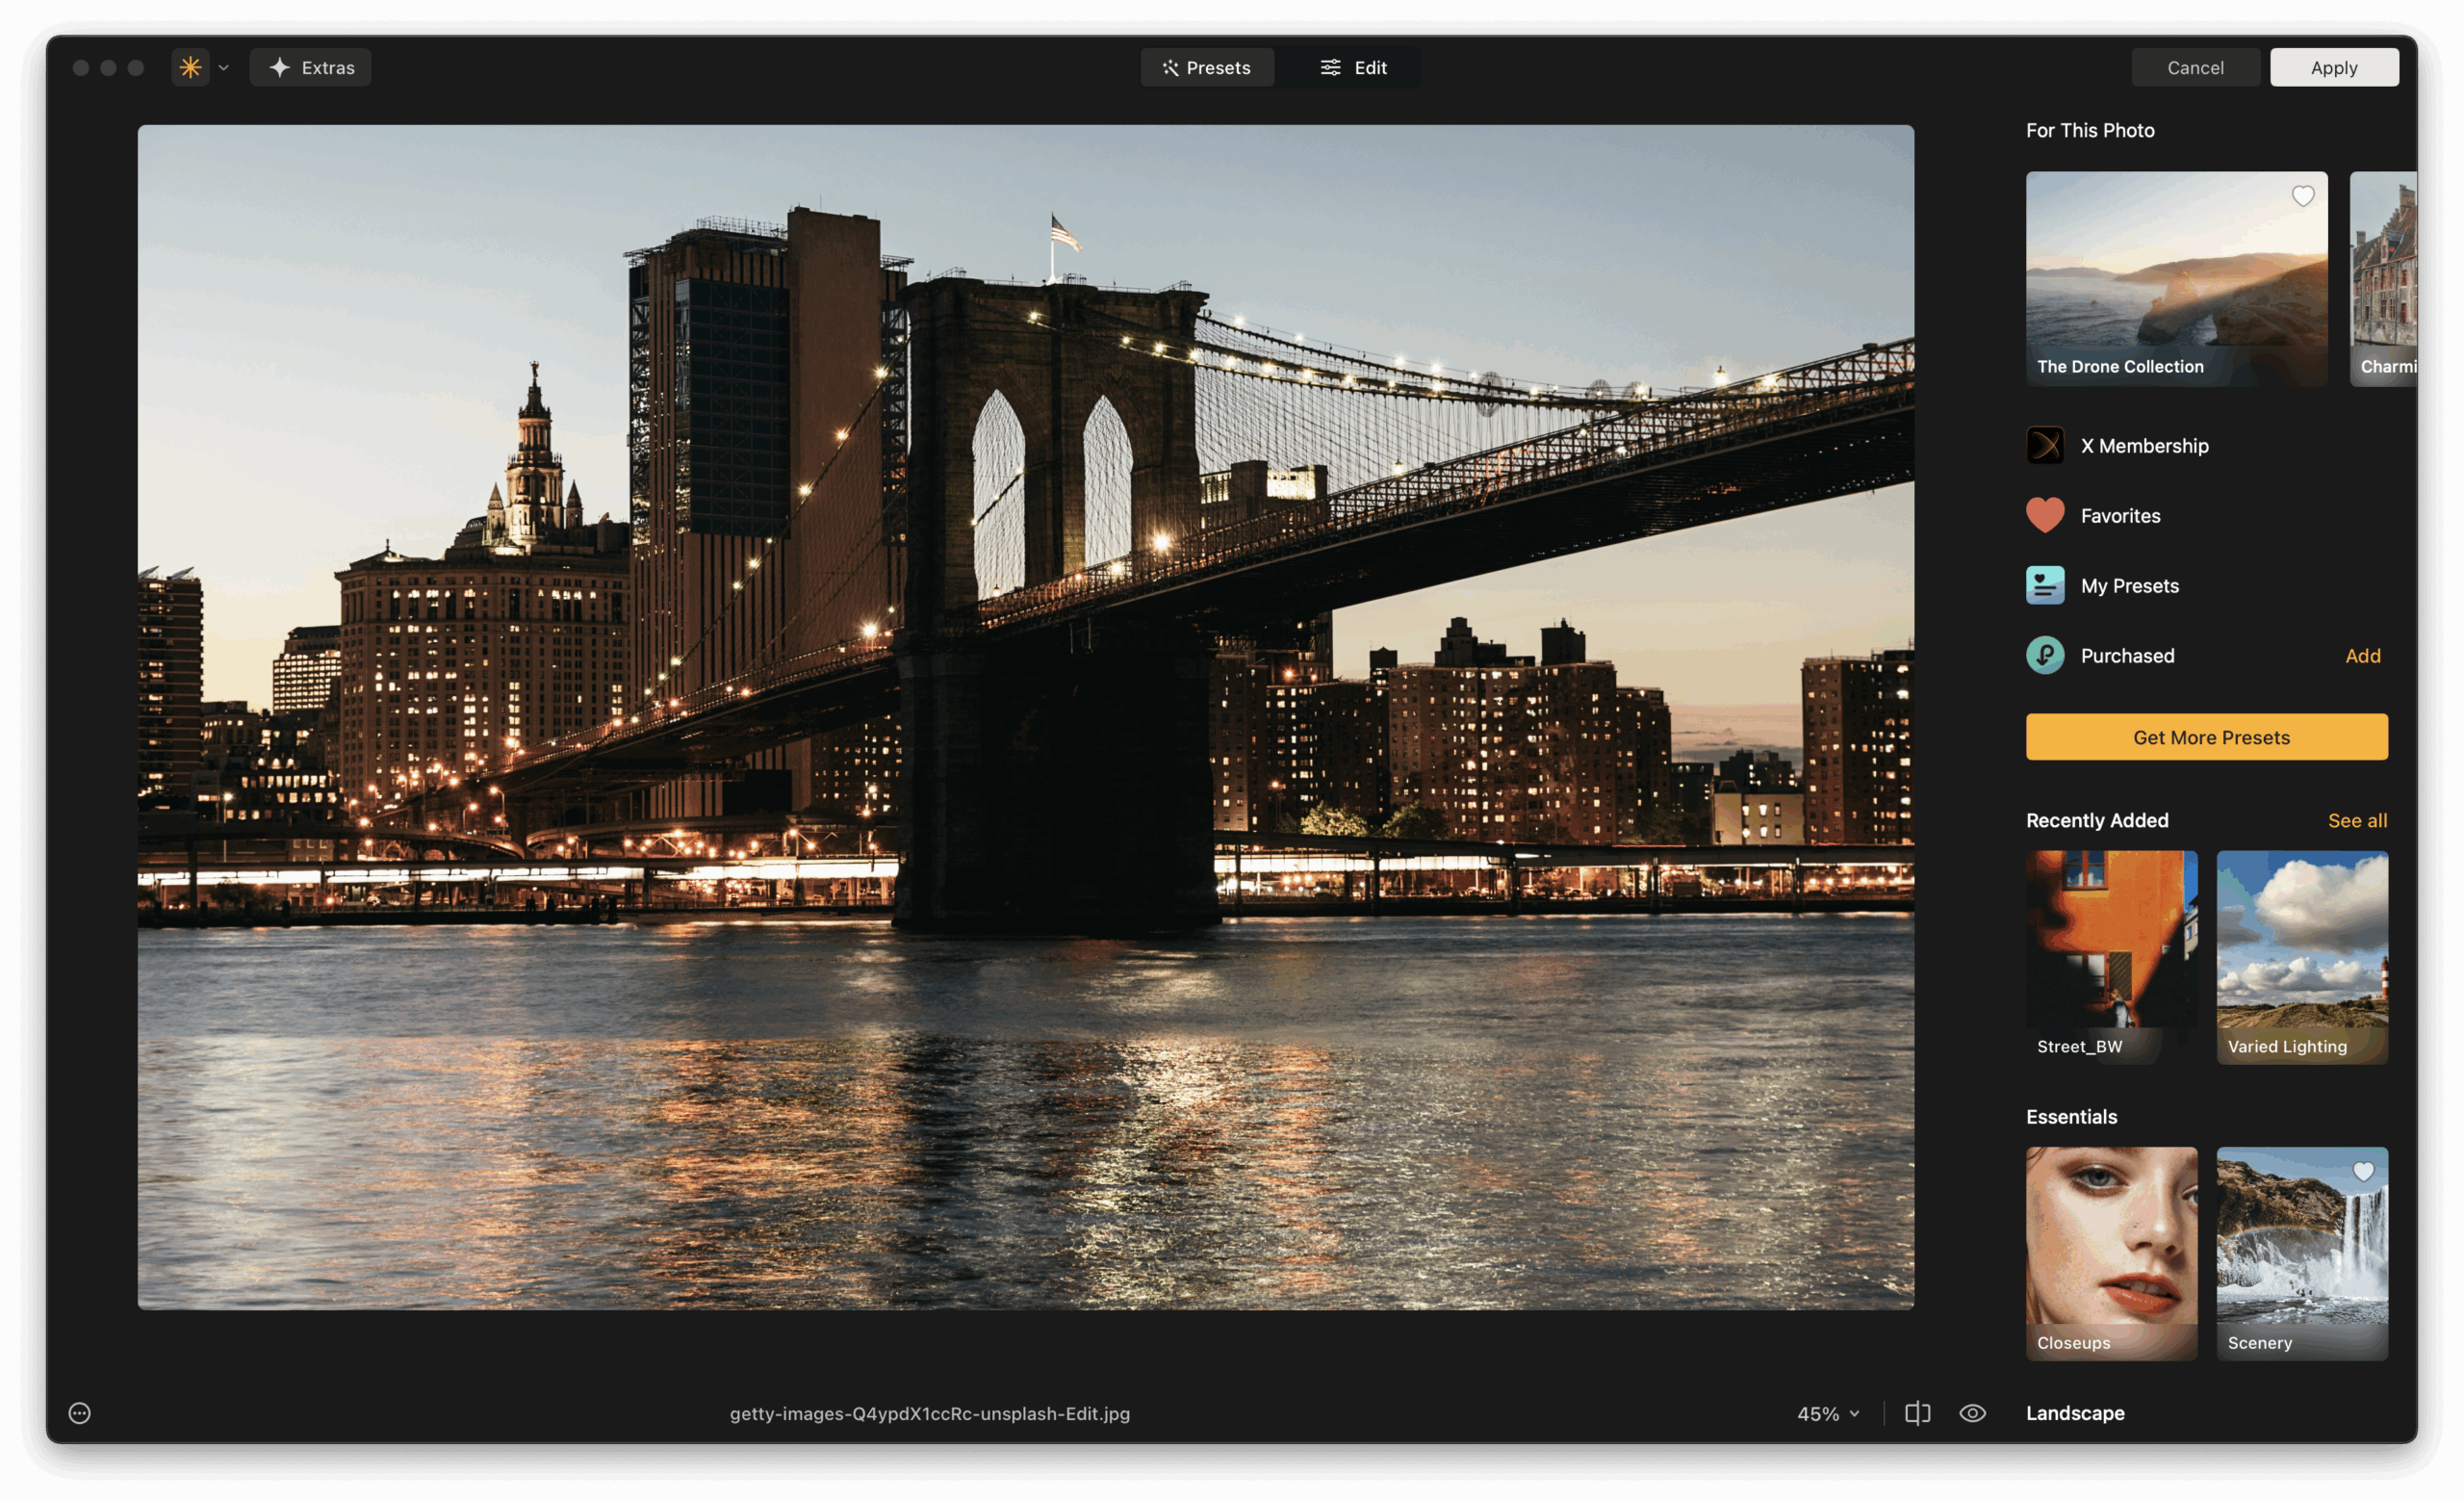
5. Smart Presets and Workflows
In addition to standard filters, Luminar Neo includes smart templates and AI-driven presets that adapt to your photo content. This feature can identify the subject, lighting, and type of scene, then recommend a starting look tailored to that image. Whether you’re editing a beach scene, a moody portrait, or a bustling street photo, Luminar gives you a creative head start. When used inside a Lightroom workflow, these presets help you maintain consistency across photo sets while still leaving room for creative tweaks. It’s a perfect companion for event photographers or travel shooters who want to build a signature style quickly.
Which AI Tools Can You Find in Luminar Neo Plugin?
When photographers think of the Luminar Lightroom plugin, what stands out most is Luminar’s AI-driven toolset. These tools are more than just trendy buzzwords, they’re practical, timesaving, and artistically empowering.
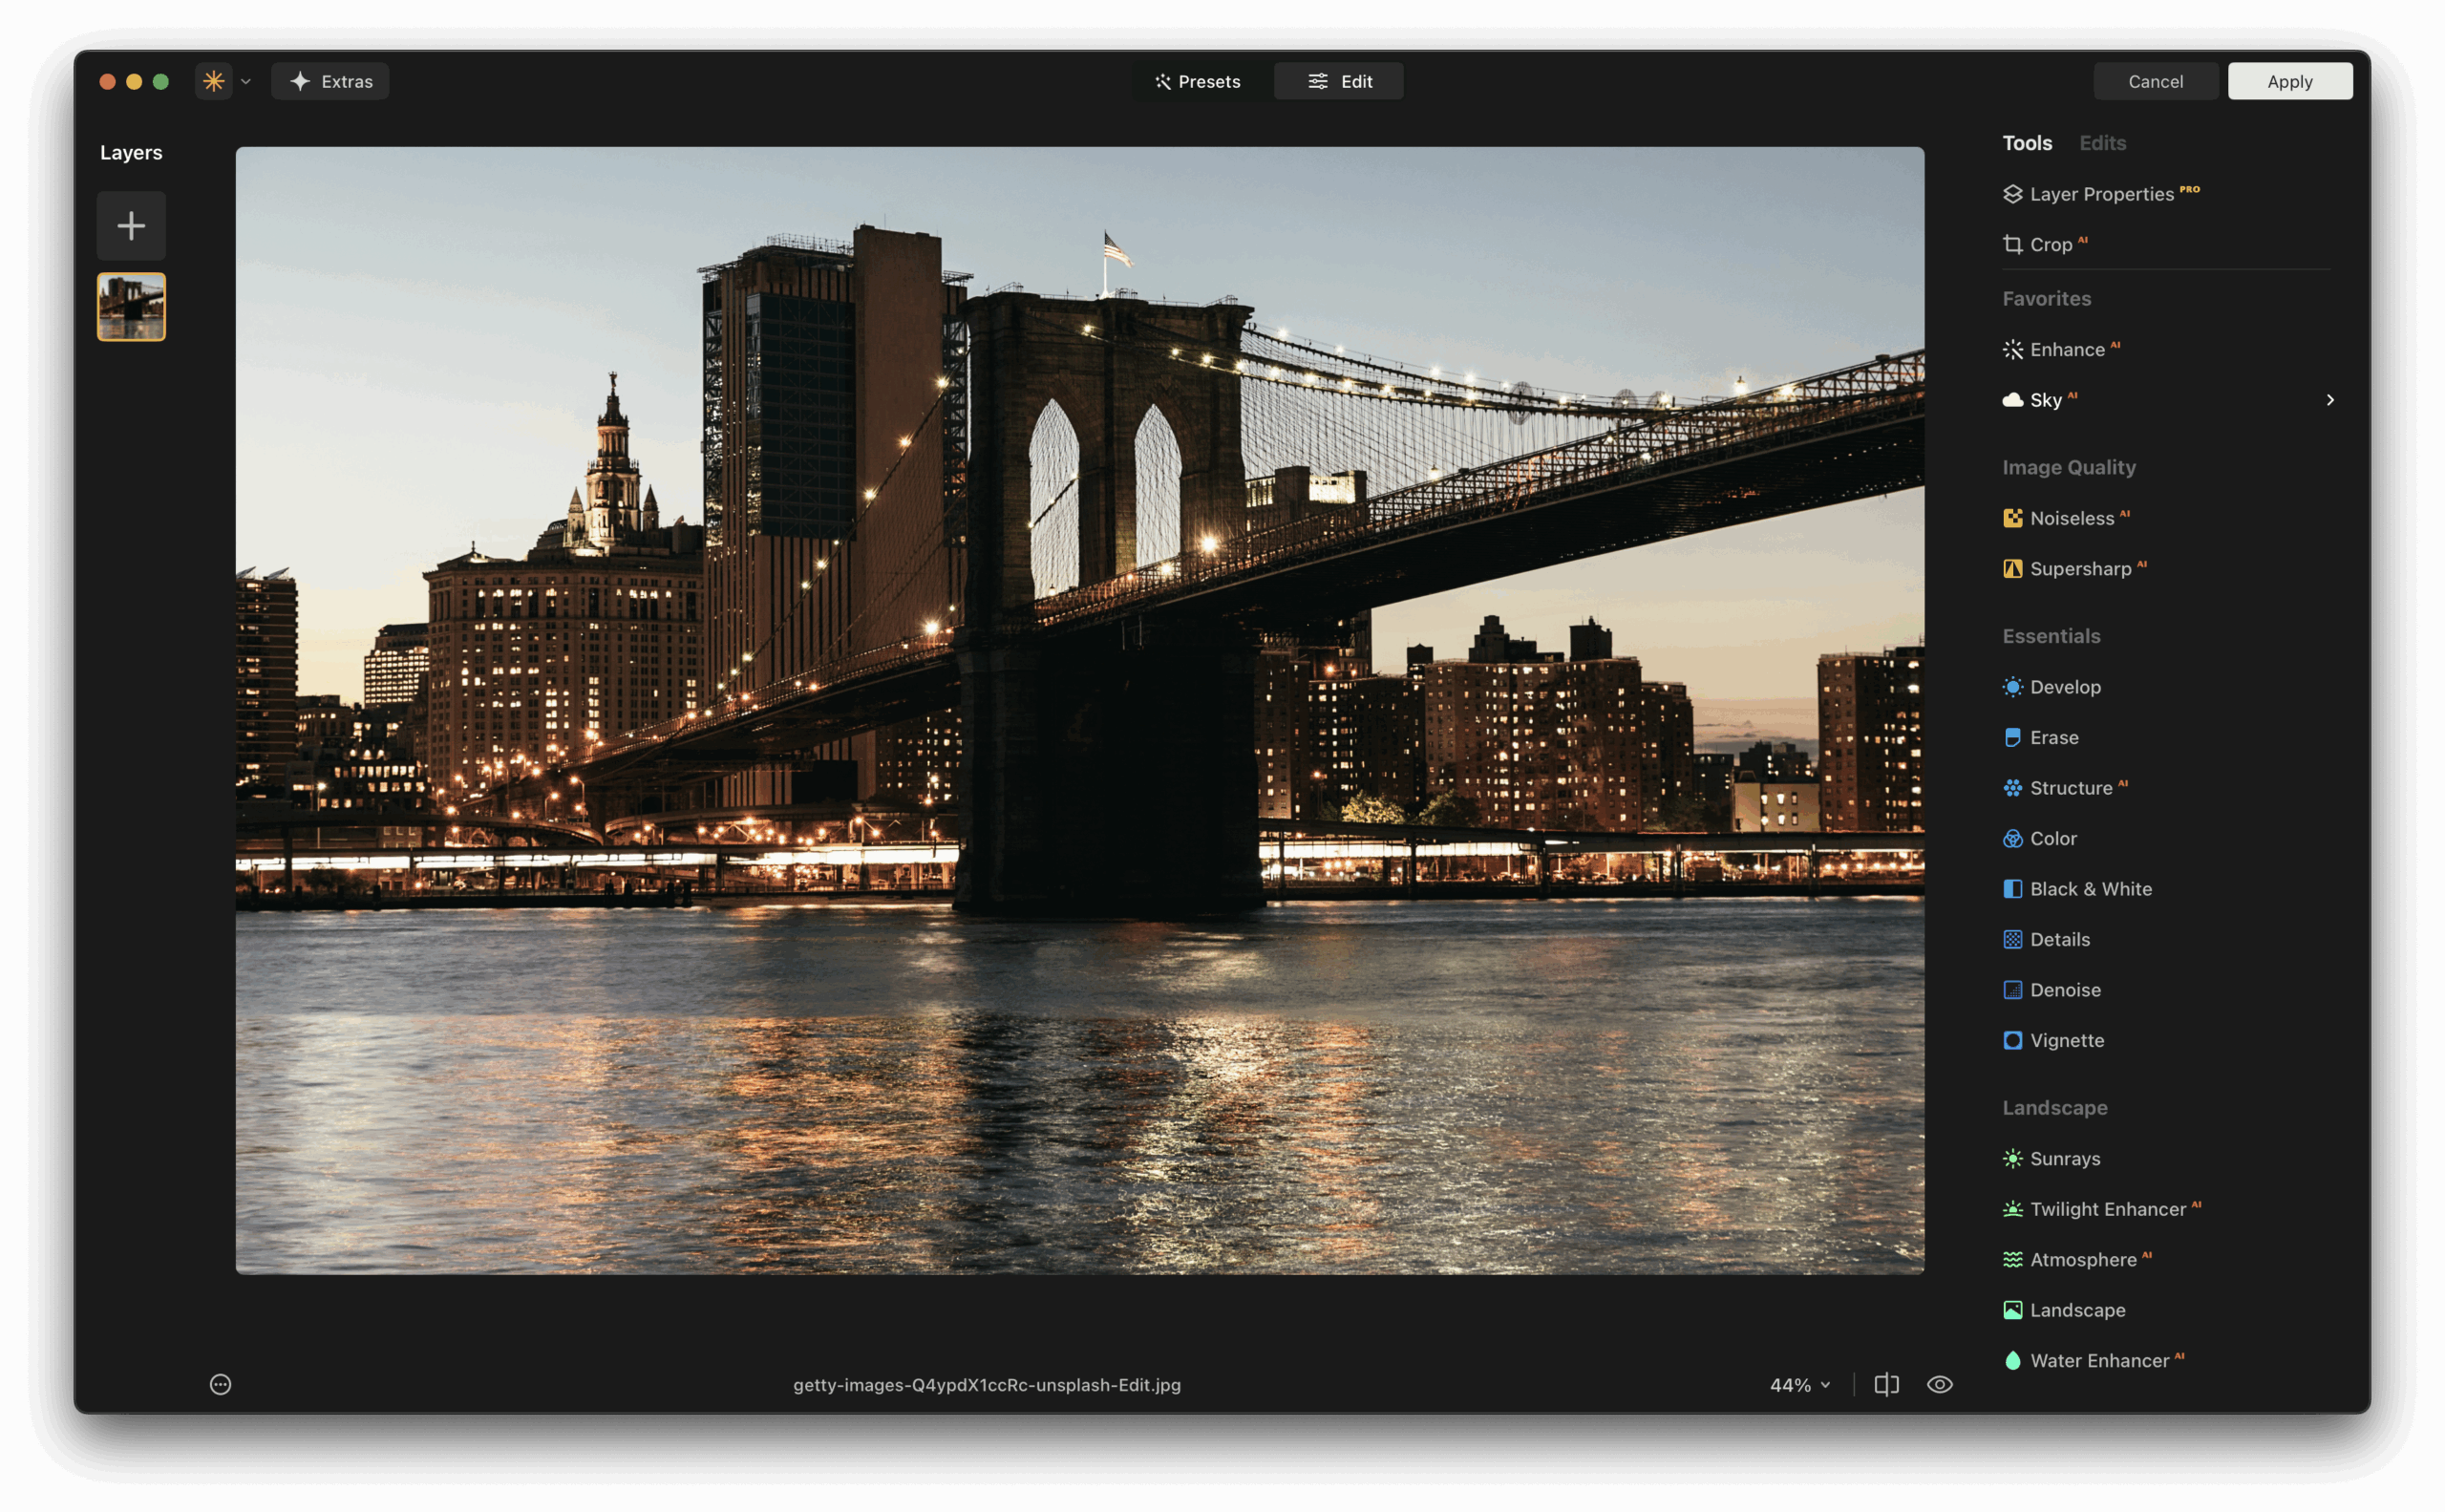
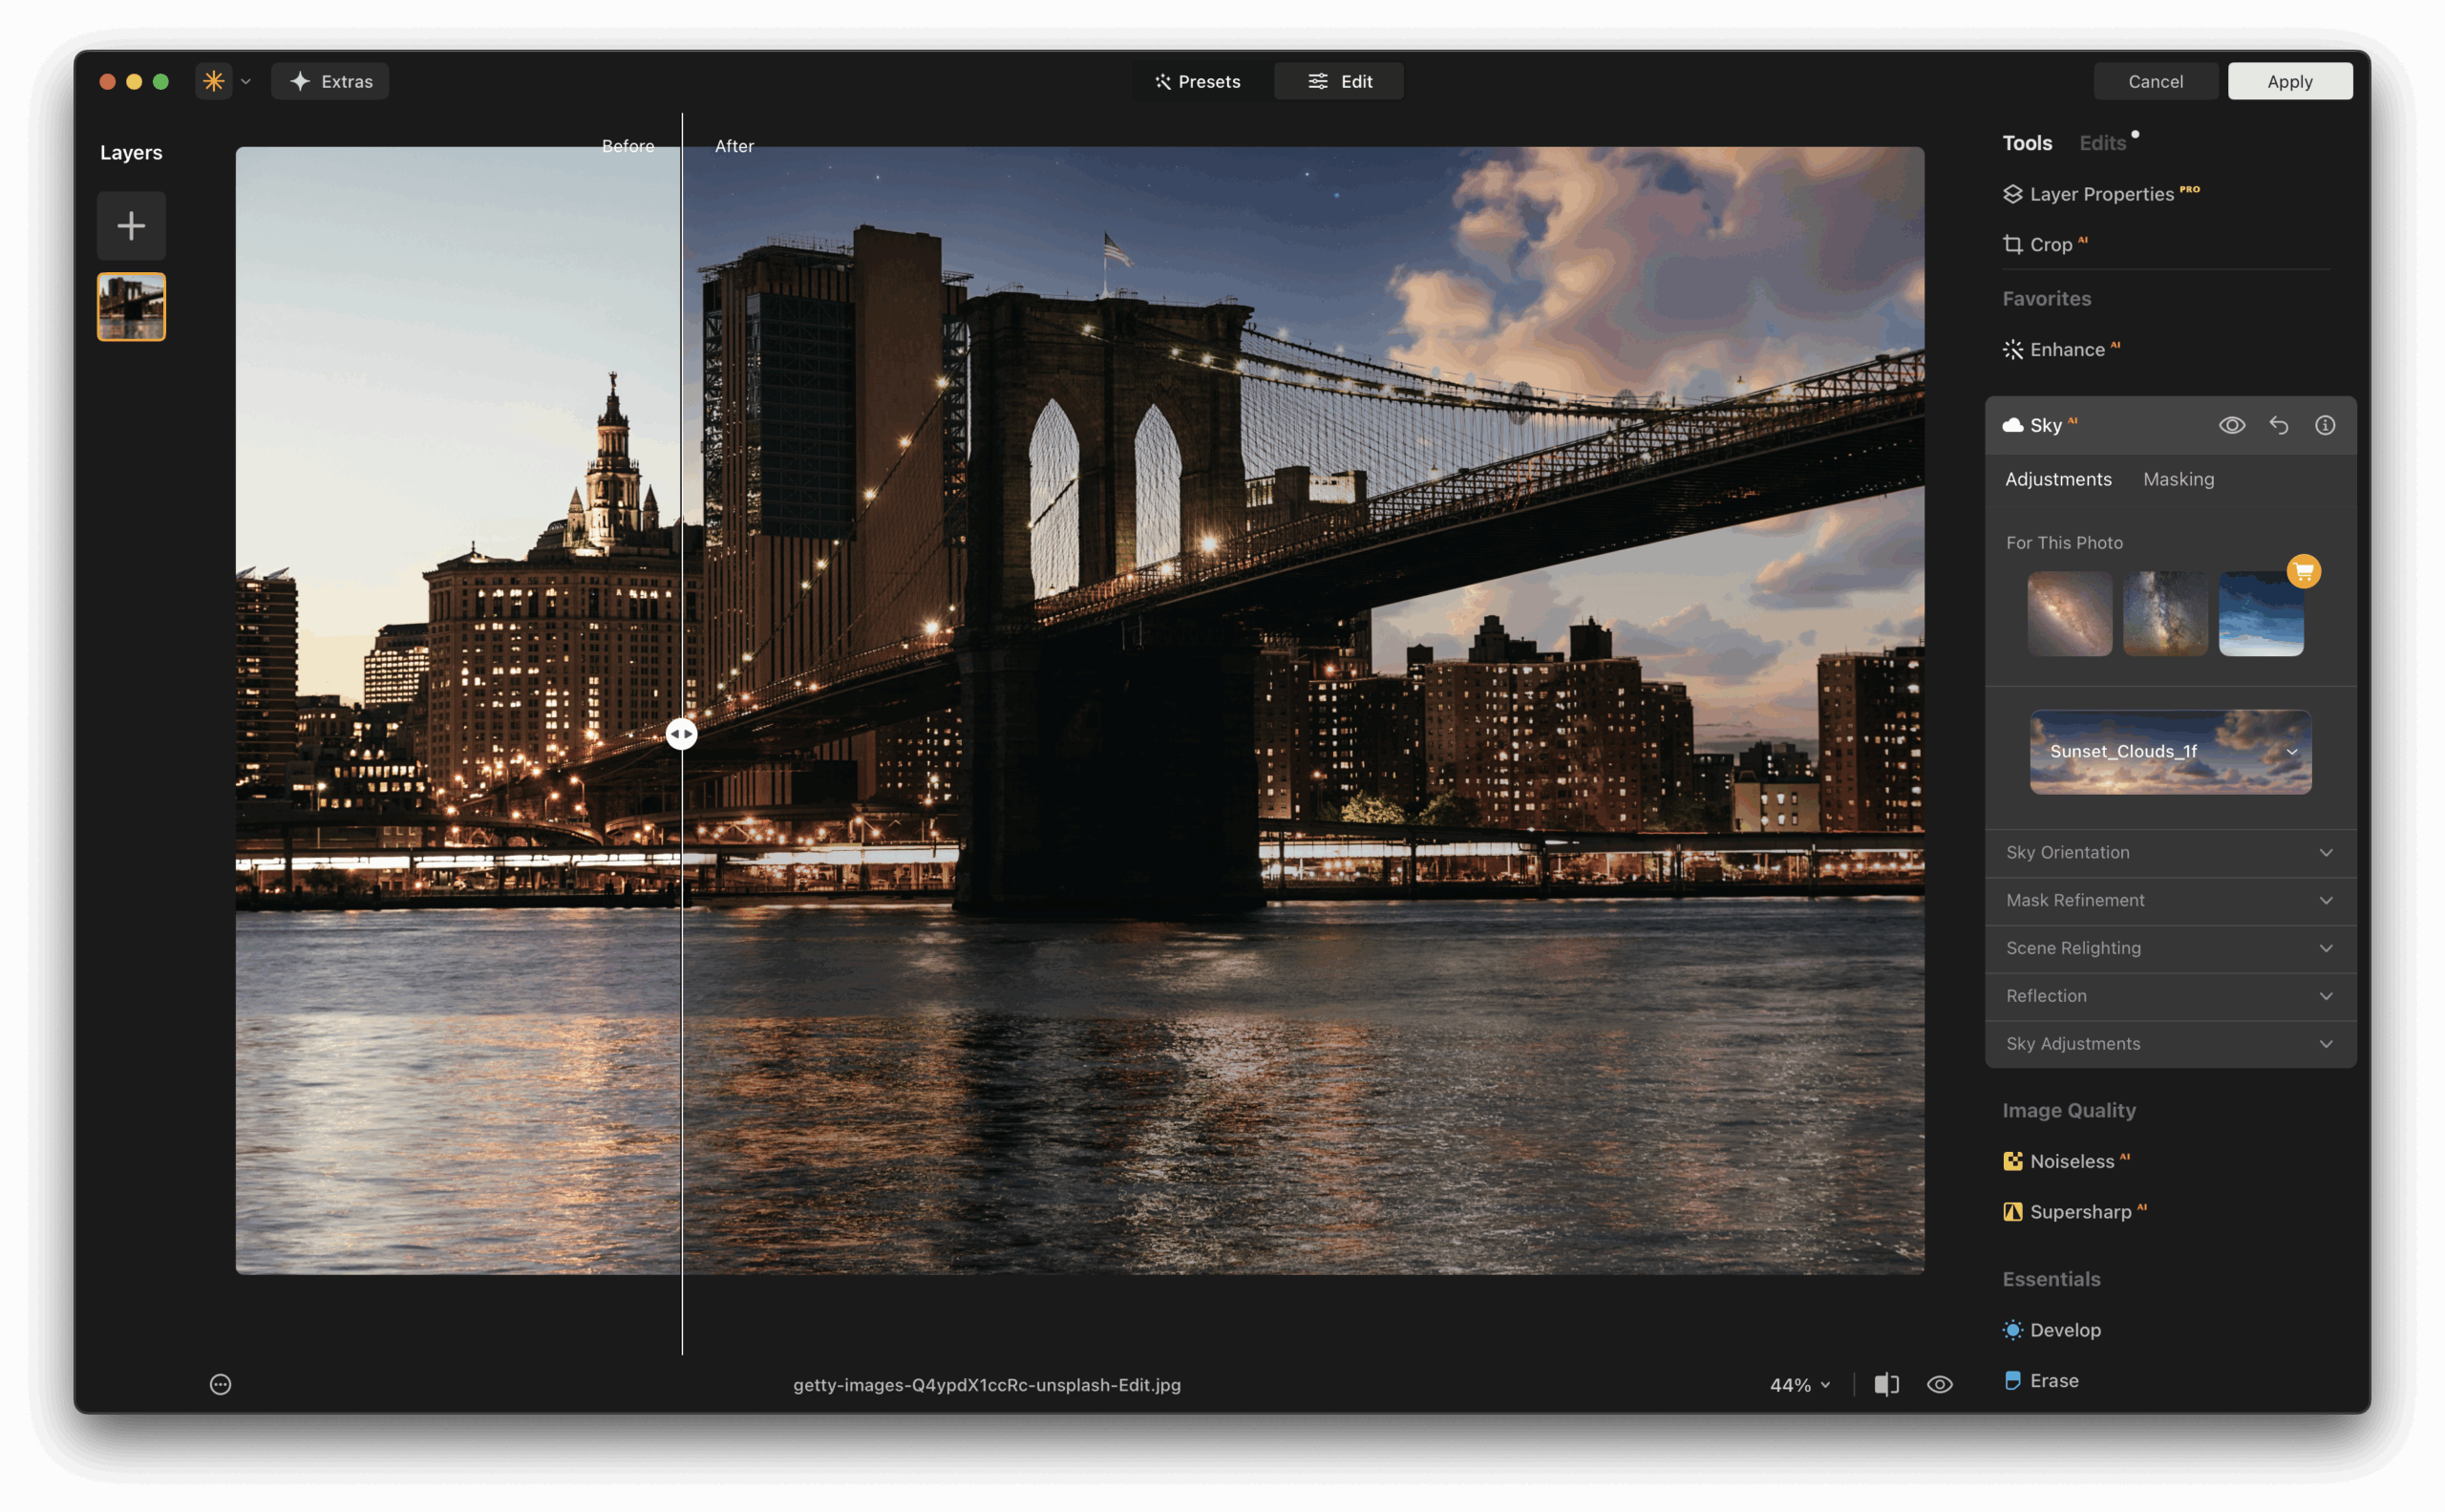
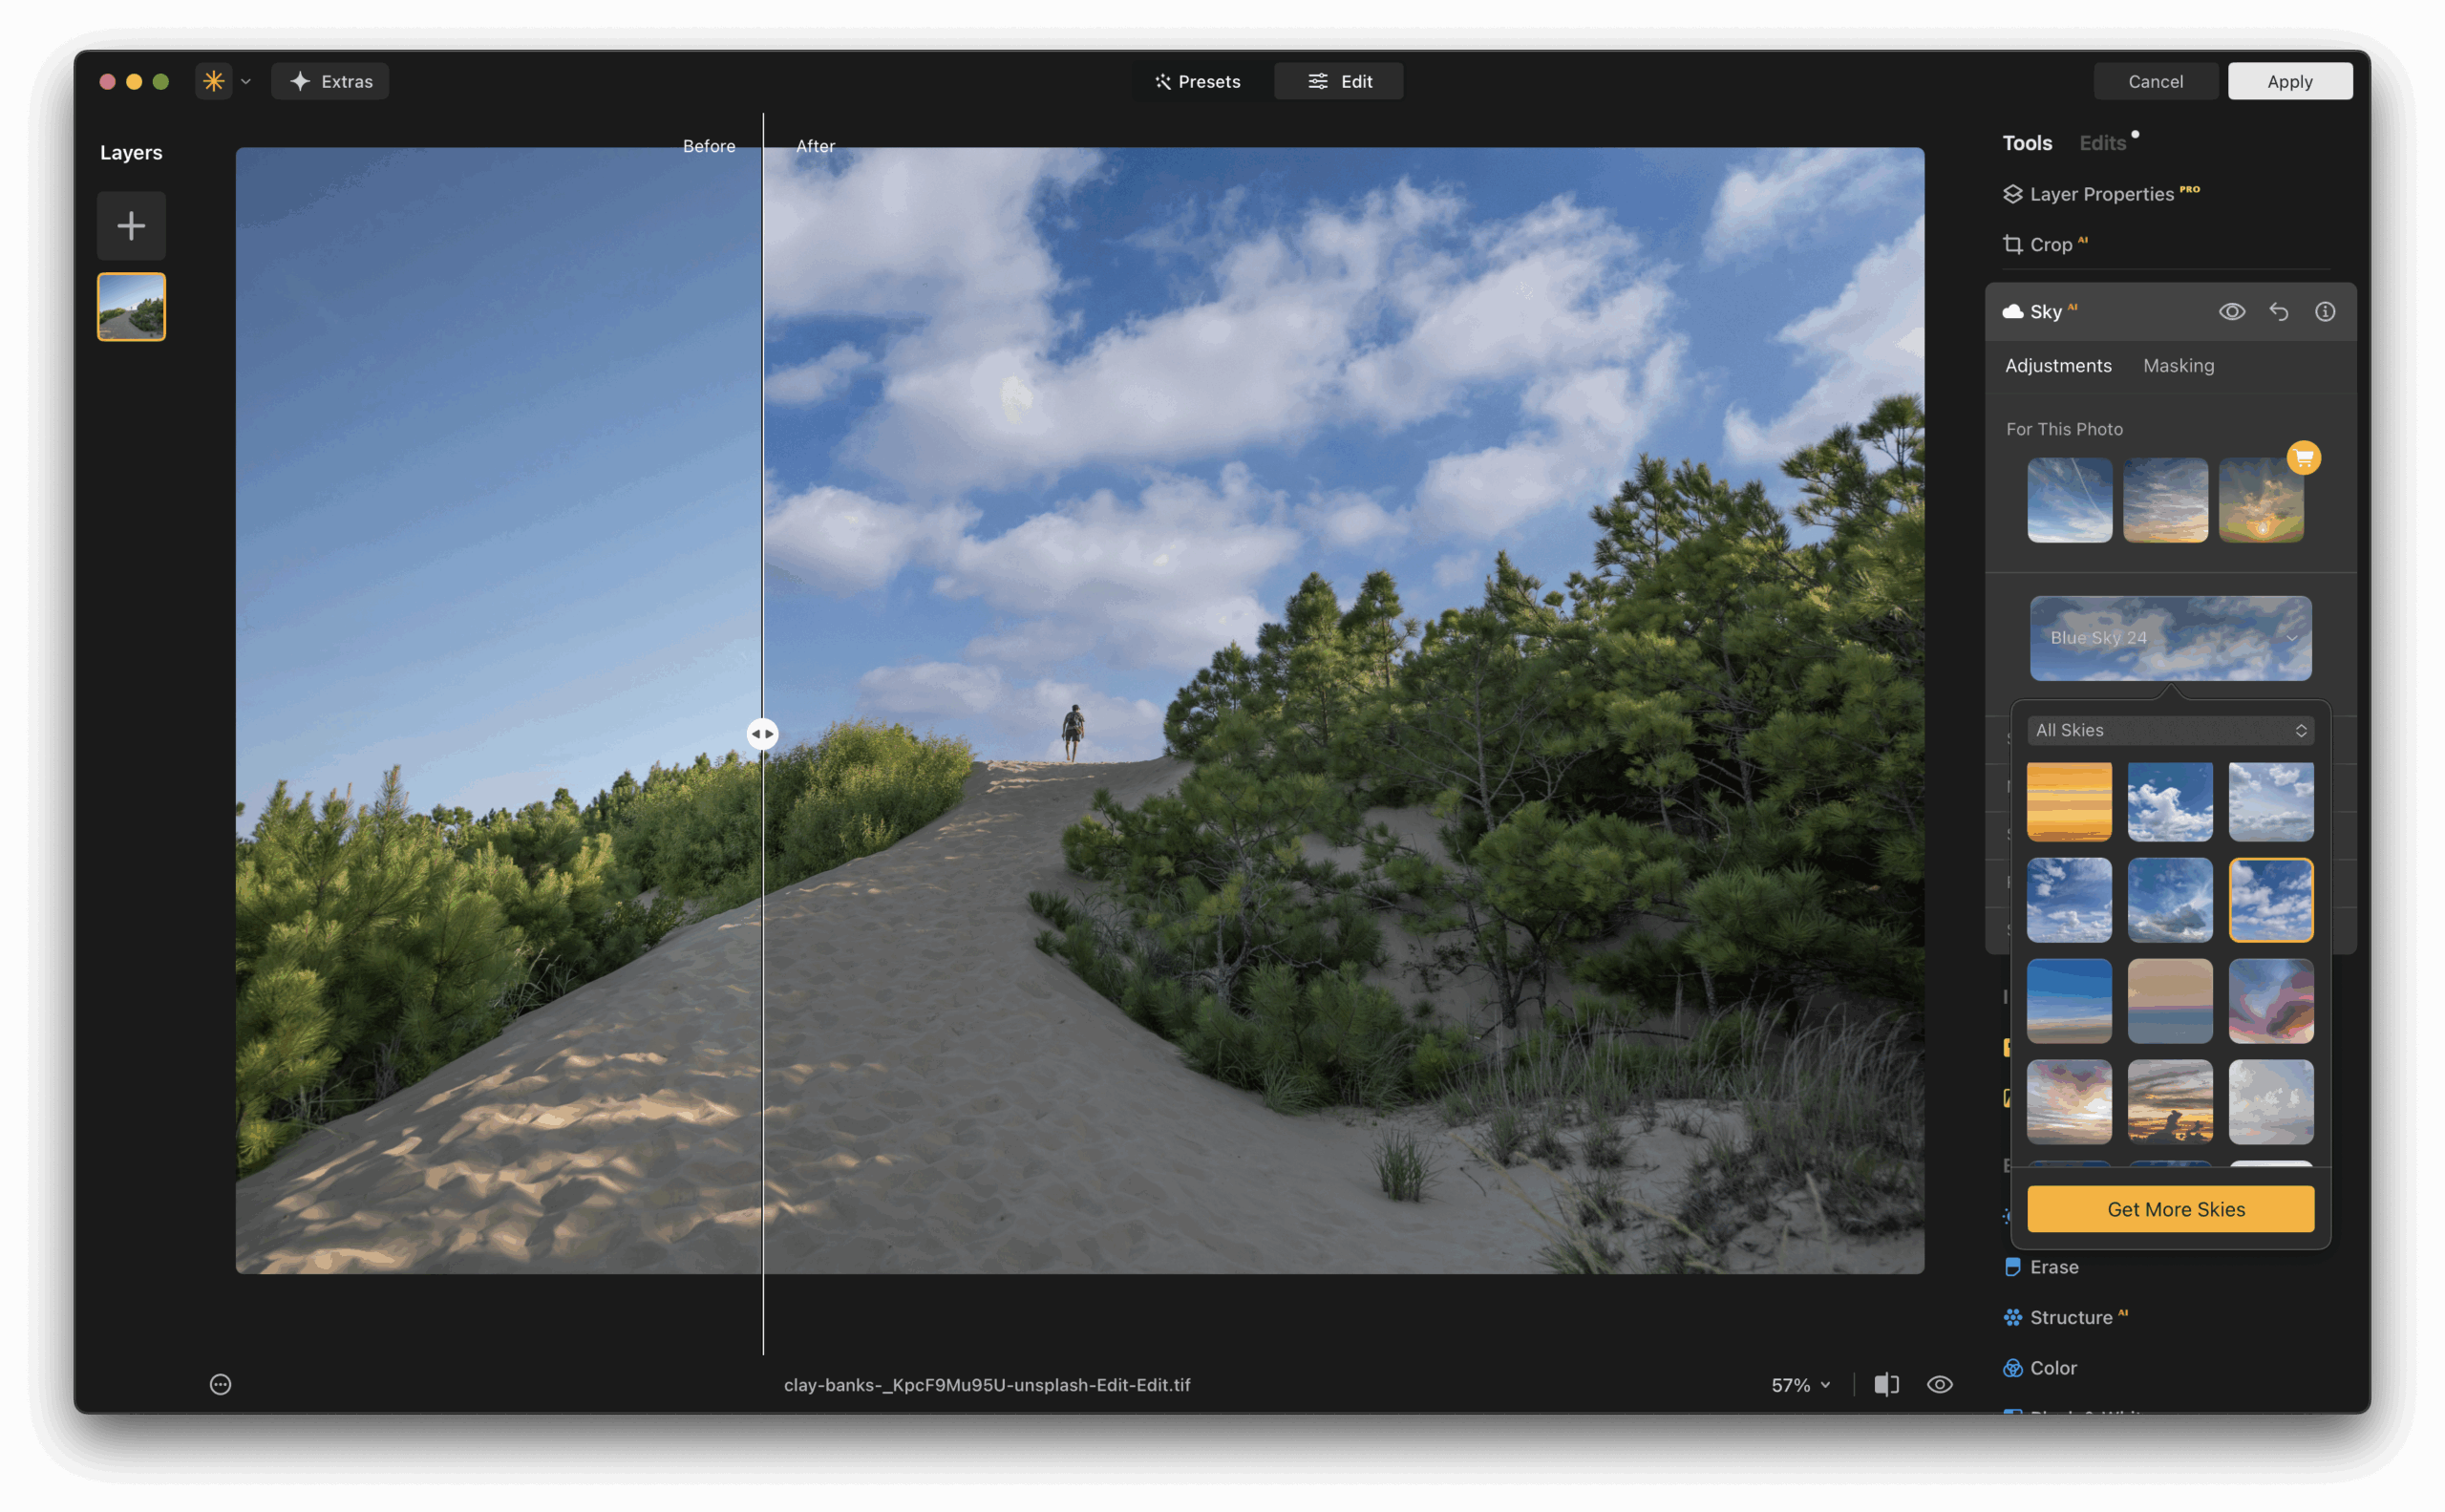
1. Sky AI
Sky AI automatically detects the sky in your image and allows you to replace it with one of your choosing. The plugin even adjusts lighting and reflections in the scene to match the new sky, creating believable results that would otherwise take hours to composite manually.
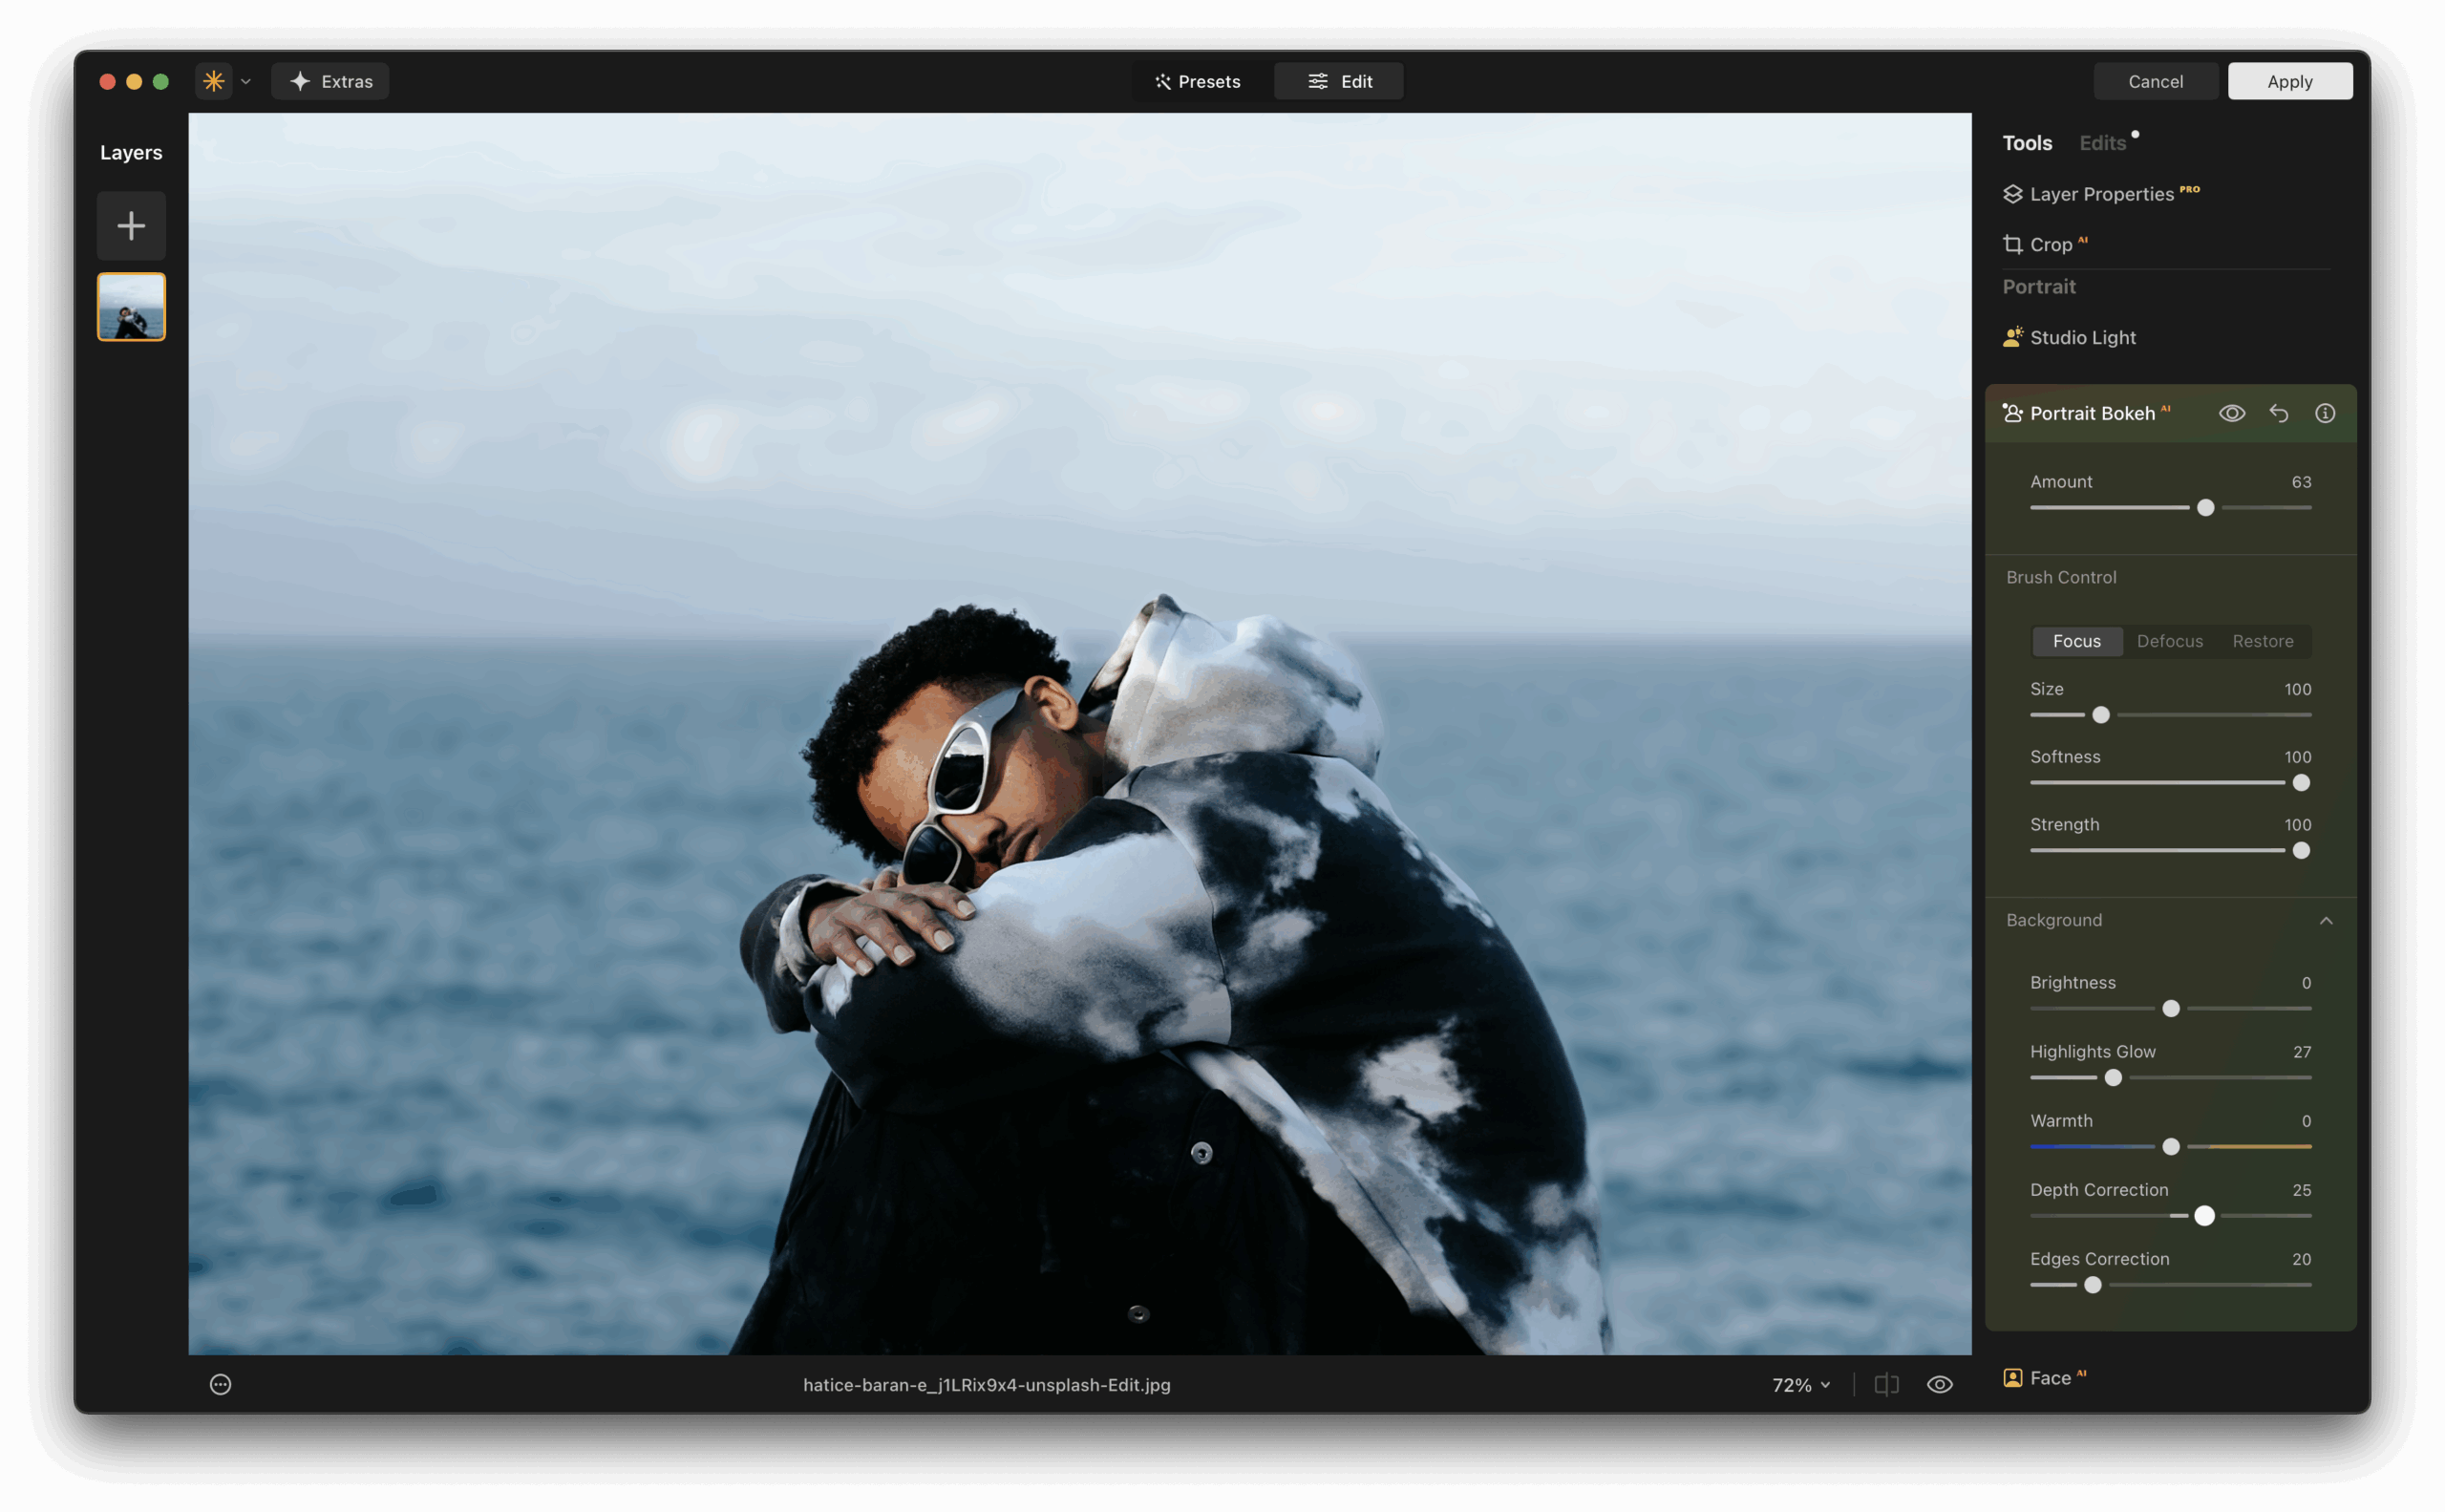
2. Portrait Bokeh AI
This tool uses depth mapping to simulate a shallow depth-of-field effect, perfect for portraits shot in distracting environments. You can blur the background and control the strength, edge transitions, and even the focus point with surgical precision.
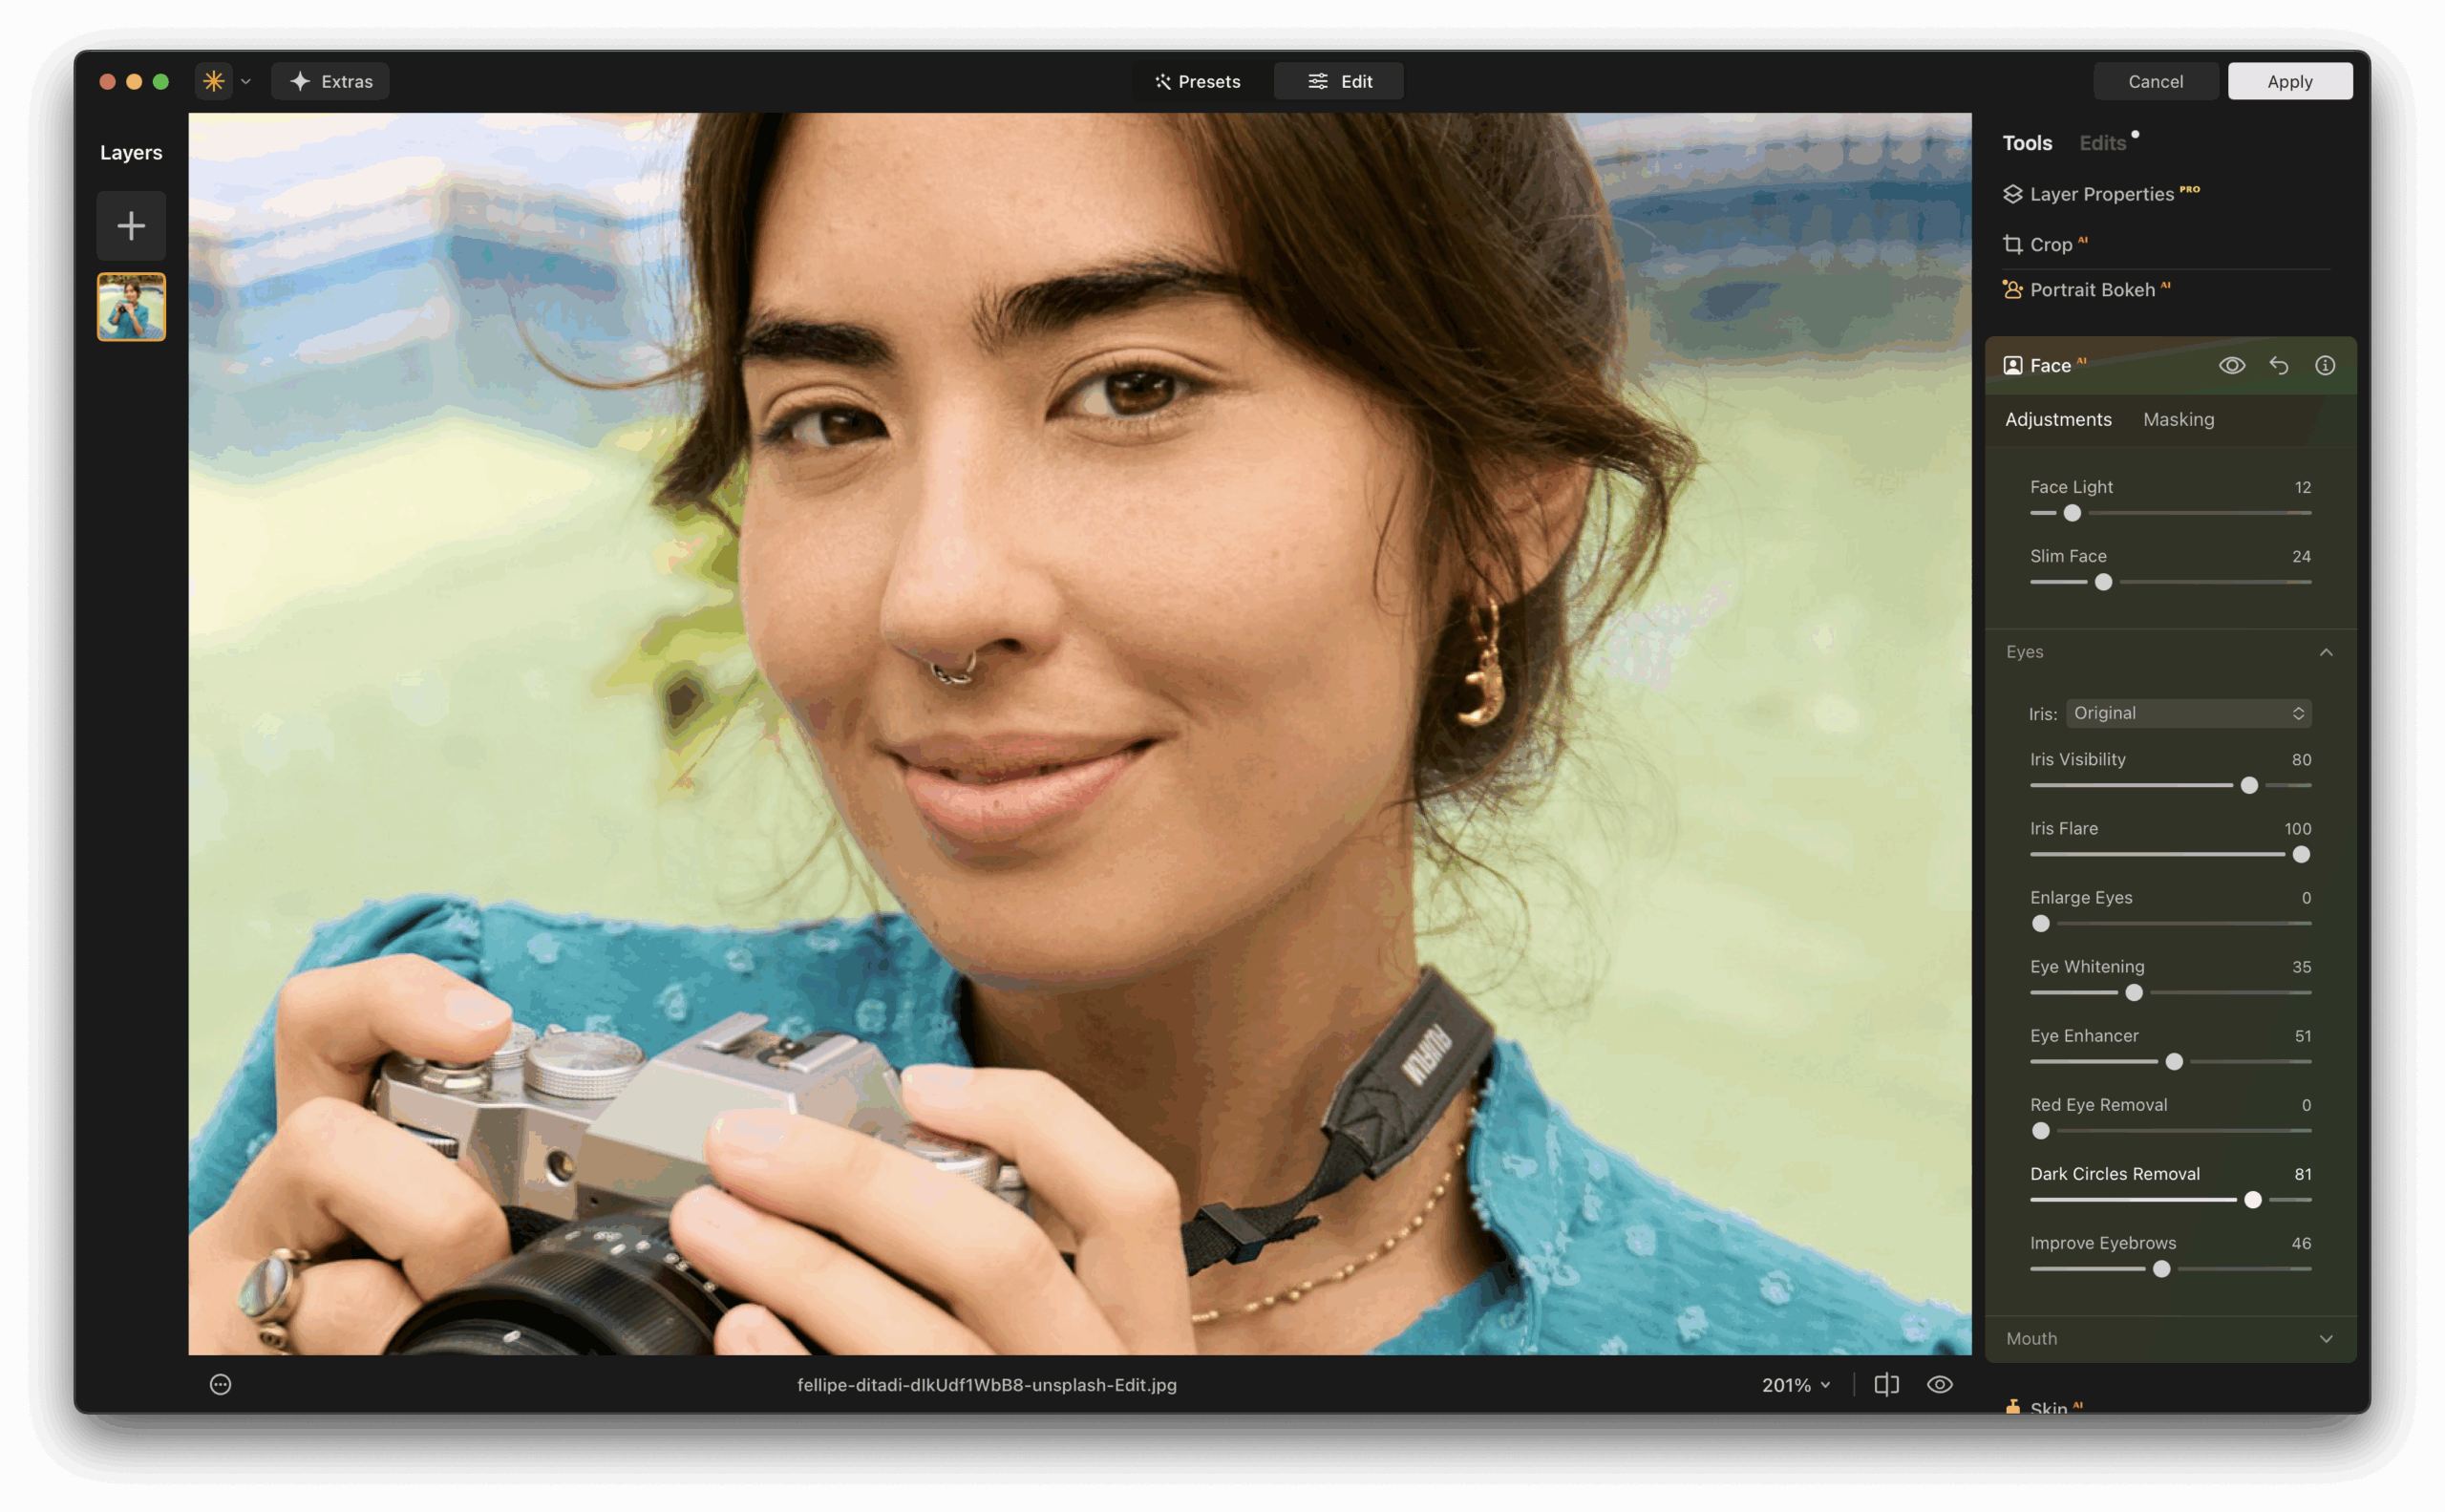
3. Skin AI and Face AI
Ideal for photographers who specialize in headshots or lifestyle images, these tools smooth skin, reduce blemishes, and enhance eyes and lips without making subjects look plastic or over-edited. The adjustments are subtle and refined.
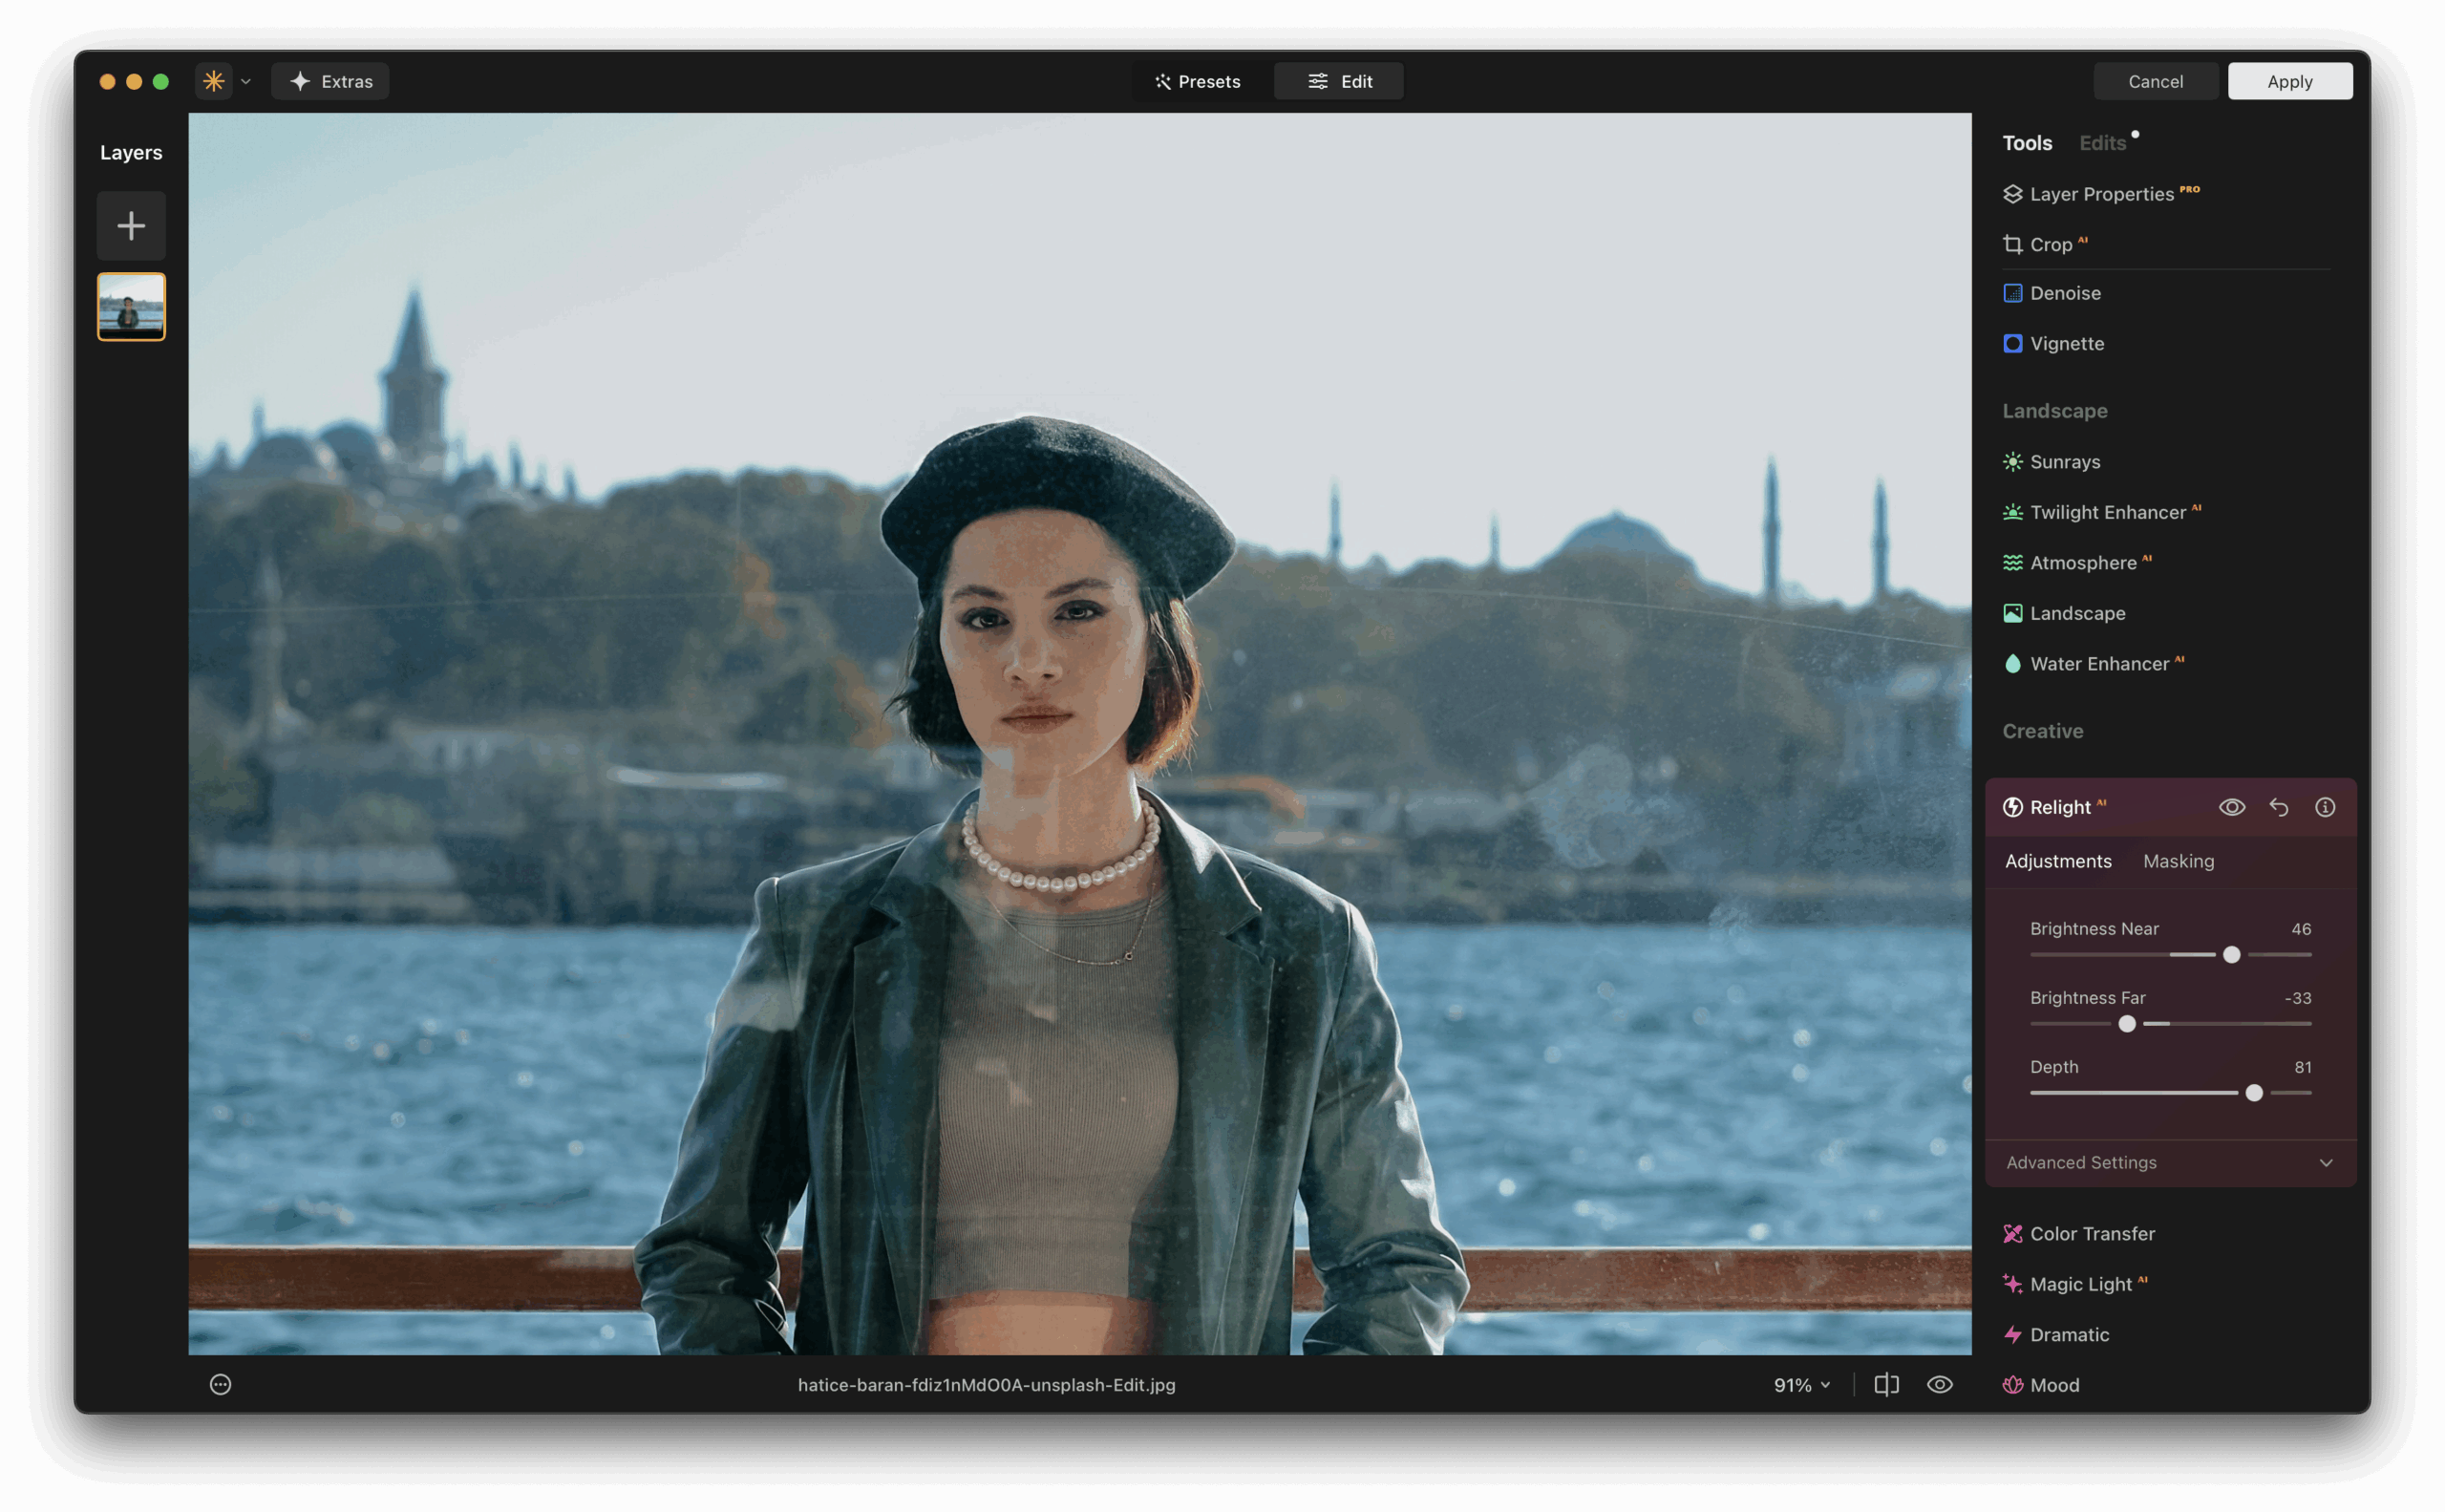
4. Relight AI
Perhaps one of the most game-changing features, Relight AI separates your image into foreground and background lighting zones. You can fix underexposed subjects or creatively relight scenes to match mood and atmosphere.
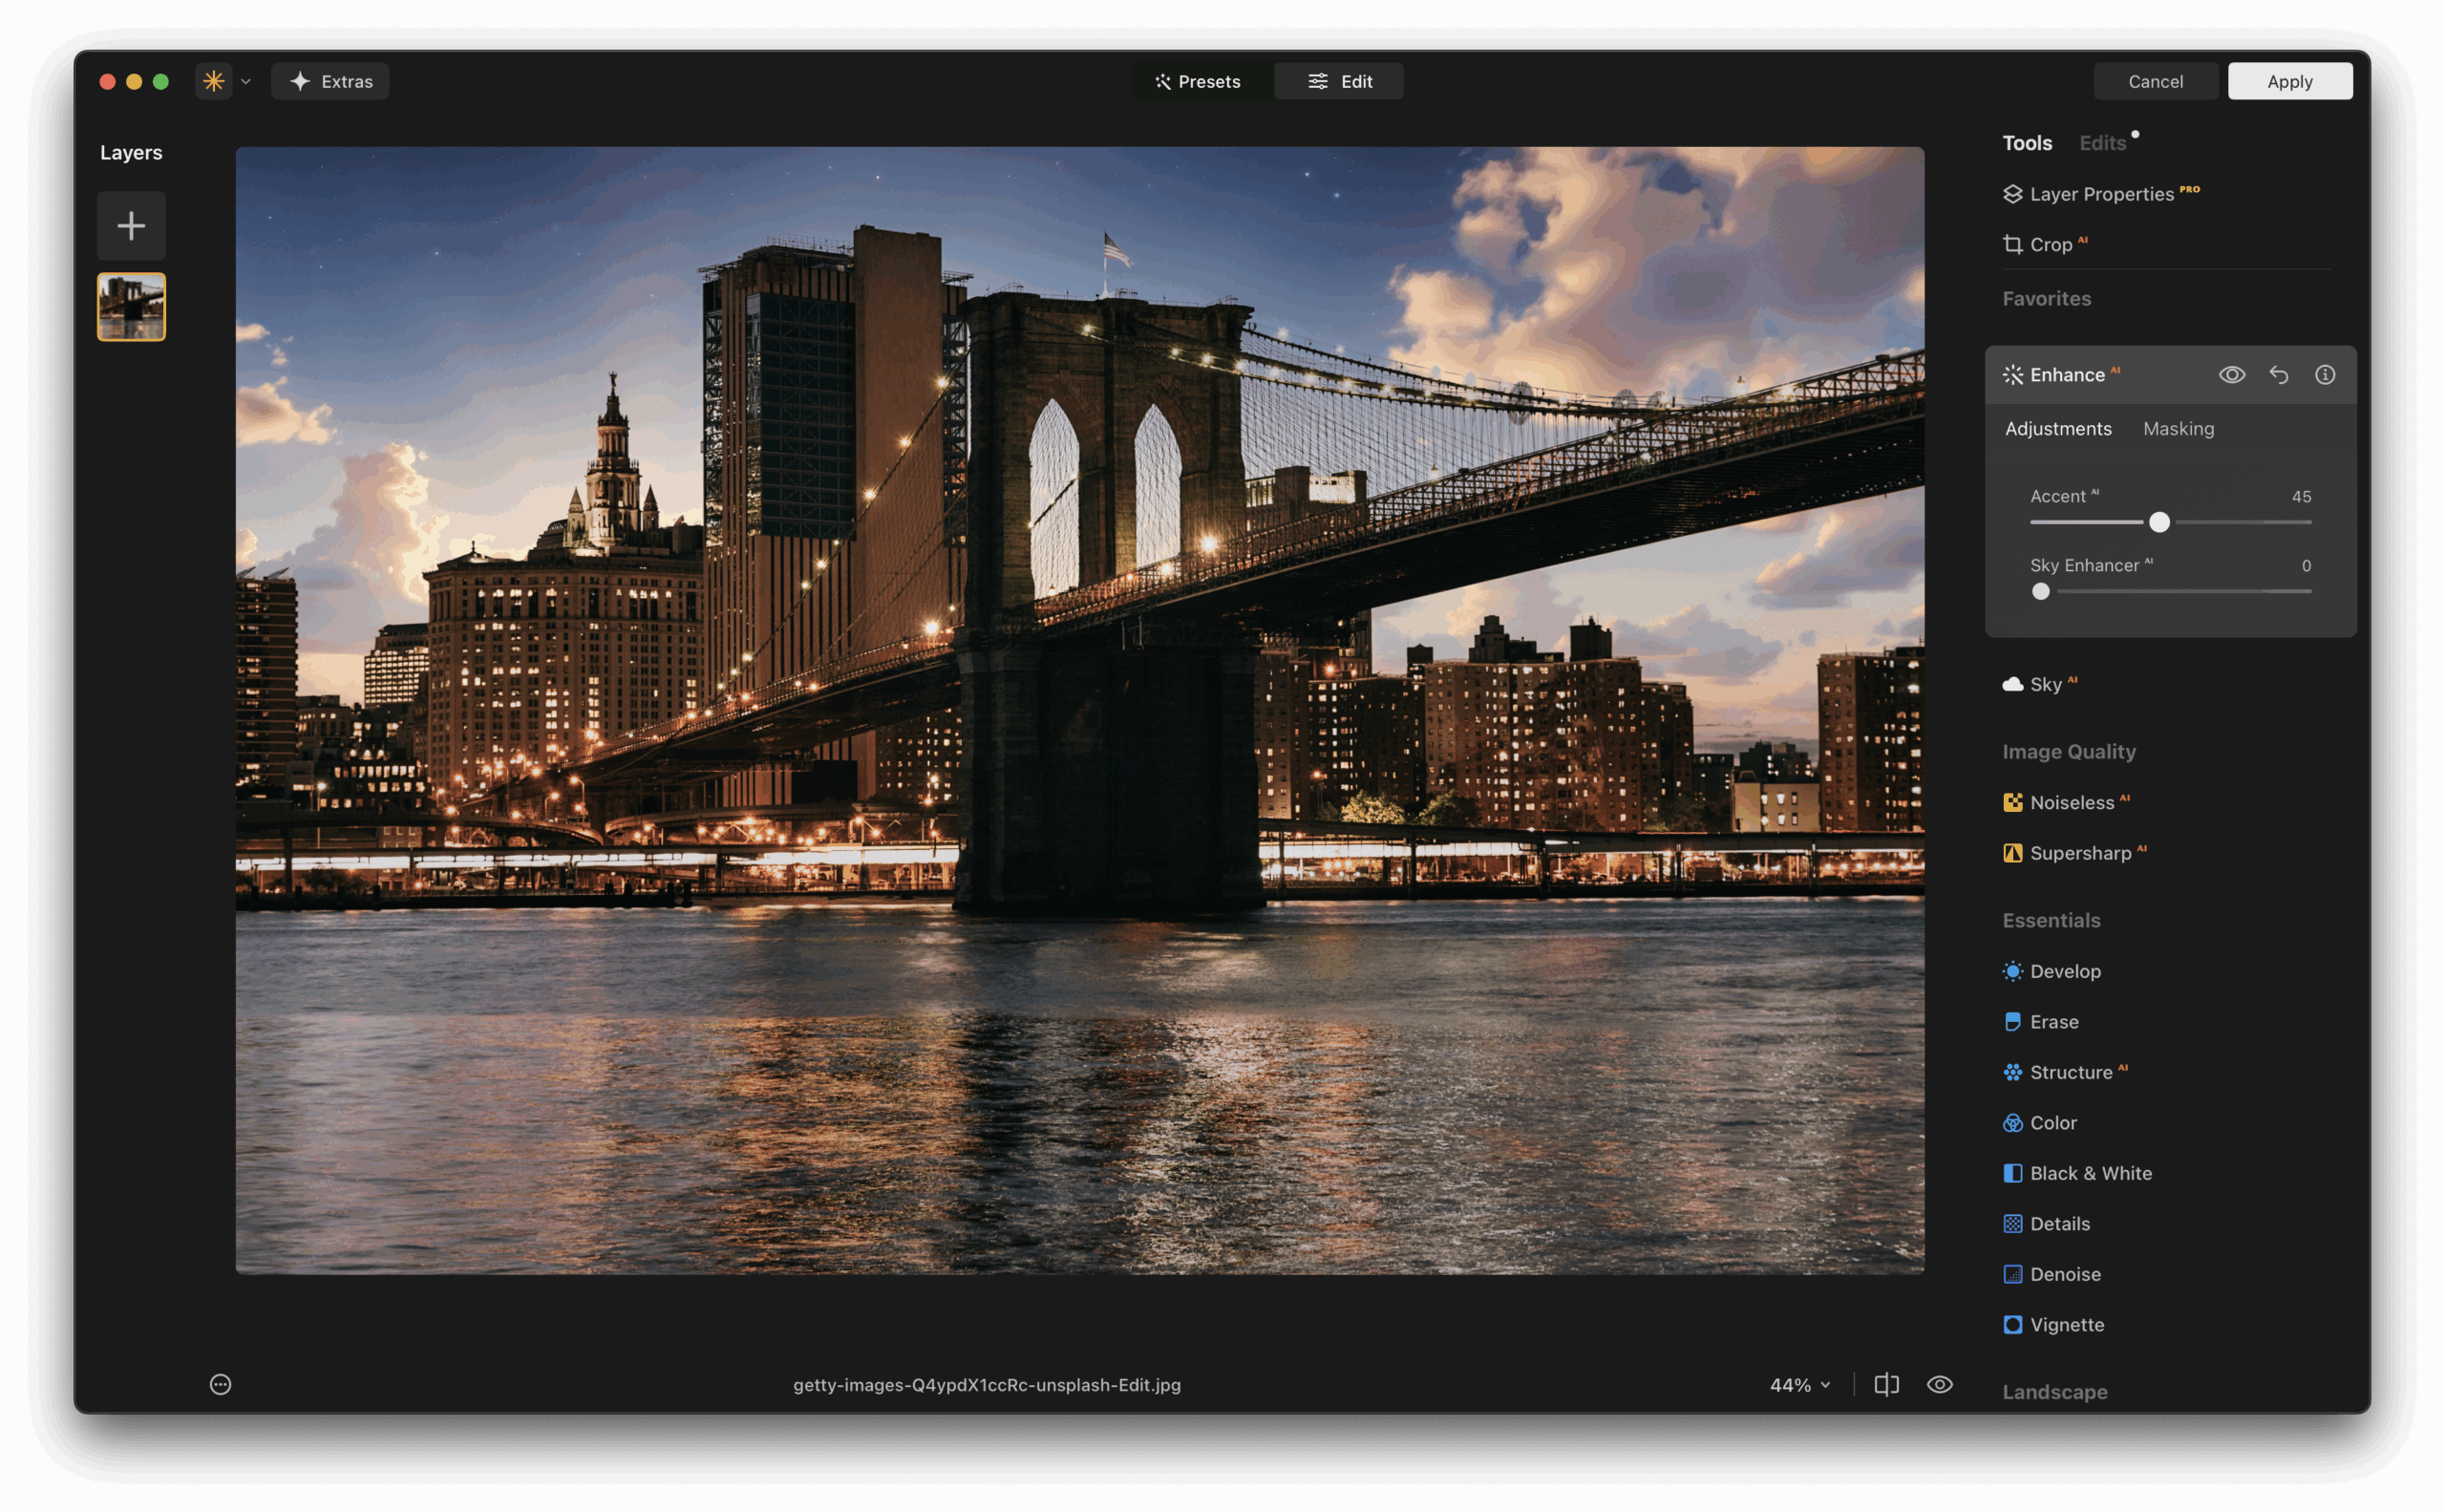
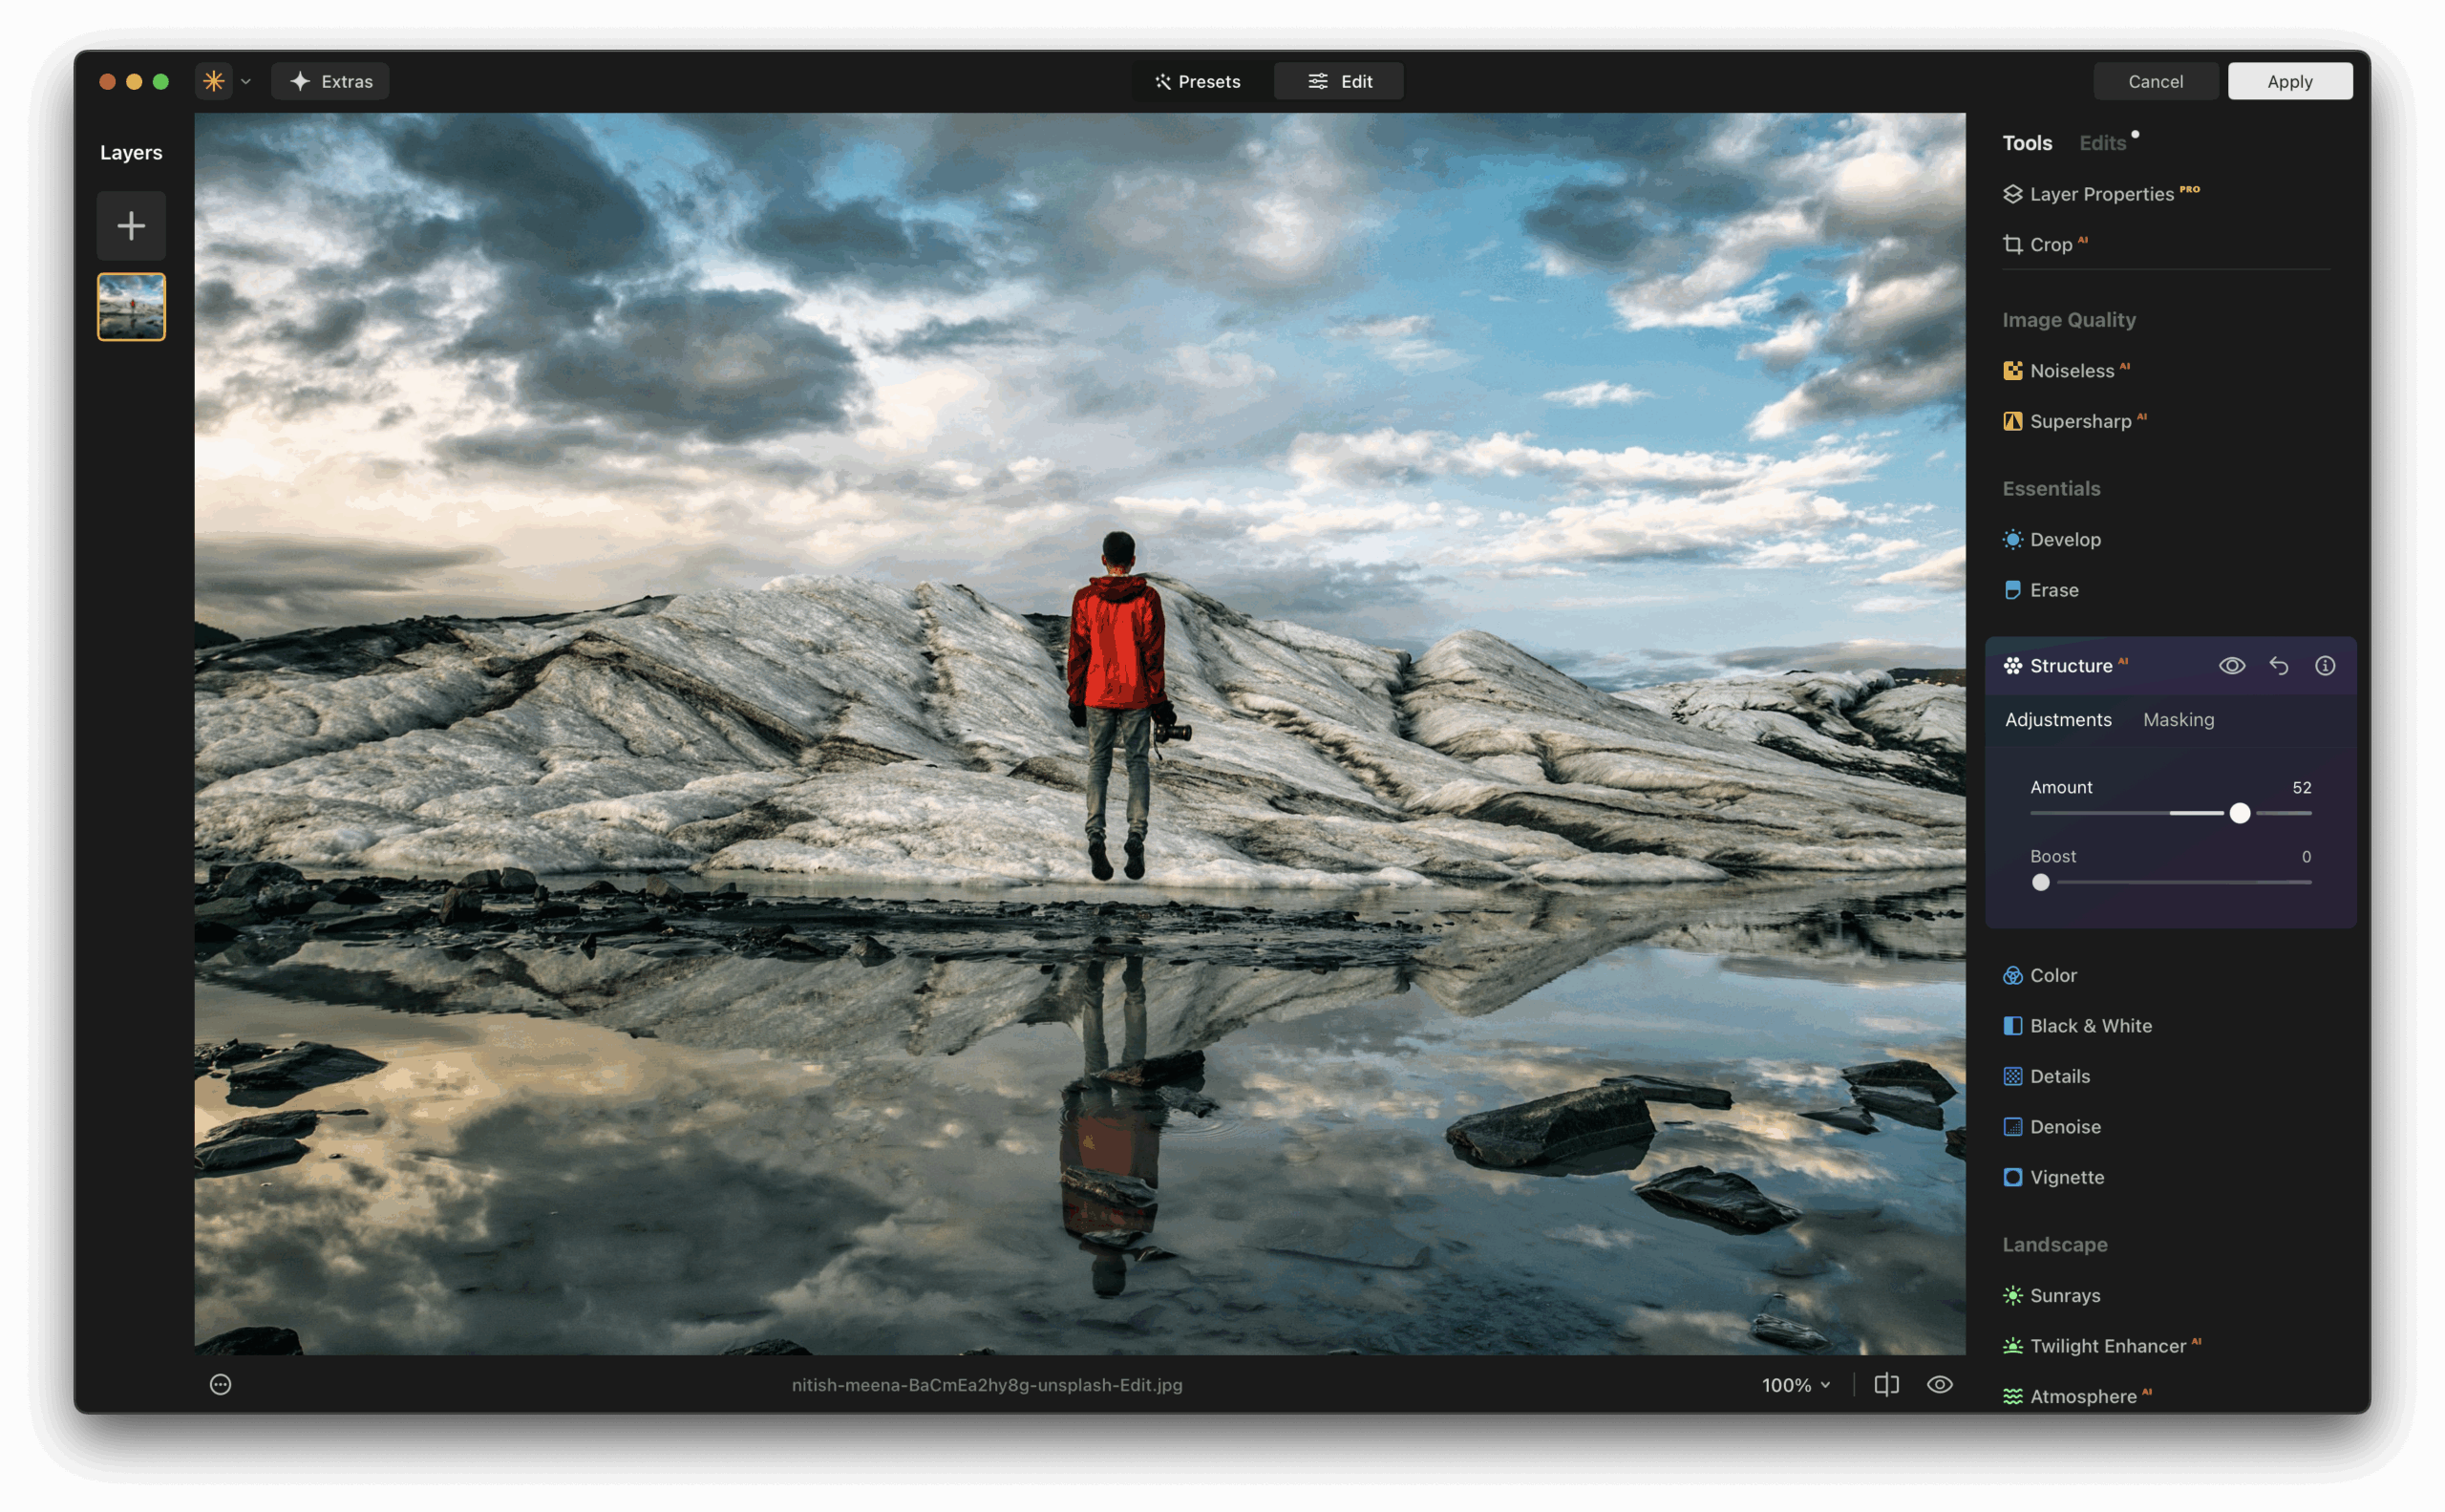
5. Structure AI and Enhance AI
Structure AI adds intelligent detail and contrast without introducing unwanted noise or artifacts. Enhance AI gives you a one-slider improvement tool that adjusts contrast, clarity, color, and detail in a balanced way.
These tools are especially helpful for wedding, travel, and portrait photographers who need fast, beautiful results without hours of retouching.
Try This:
Open a portrait photo in Luminar Neo from your Lightroom library. Use Portrait Bokeh AI and Face AI to quickly enhance the subject and soften the background. Compare it to what you could achieve with Lightroom alone. It’s a huge difference with minimal effort.
How To Integrate Luminar Neo Plugin with Lightroom?
Getting started with the Luminar Neo plugin for Lightroom is surprisingly straightforward, even if you’re not a tech wizard. Here’s how to set it up and start editing.
Step 1: Install Luminar Neo
Download and install Luminar Neo from the official website. Make sure it’s the latest version to ensure plugin compatibility.
Step 2: Enable Plugin Support
Once Luminar Neo is installed, launch it as a standalone app first. Then go to “File” ? “Install Plugins.” A dialog will pop up showing all available host applications. Click “Install” next to Adobe Lightroom.
Step 3: Launch Lightroom and Access Luminar
Open Lightroom Classic and right-click on an image. Go to “Edit In” and select Luminar Neo. Lightroom will send a TIFF (or another selected format) to Luminar Neo. Make your edits, hit “Apply,” and the finished image will appear back in your Lightroom catalog.
Step 4: Set Your Preferences
In Lightroom, you can choose how your edited files are saved (TIFF, PSD, JPEG) and whether you want them stacked with the original. Tweak these settings to match your workflow for better file management.
Step 5: Create Presets and Streamline Workflow
Once you find an edit style you love in Luminar Neo, save it as a preset. This allows batch processing of Lightroom images via Luminar’s plugin, especially helpful for event or wedding photographers dealing with large sets of similar photos.
Try This:
Once the plugin is installed, send a landscape photo from Lightroom into Luminar Neo. Use Sky AI to replace a dull sky with something dramatic. Let the AI match the lighting and tone automatically, then hit “Apply” to send it back. It’s a fast way to see the power of Luminar Neo in action.
Let Your Edits Work Smarter, Not Harder
For photographers who want the best of both worlds, Lightroom’s robust cataloging and basic adjustments combined with Luminar Neo’s intelligent editing, this plugin integration is a perfect match. Whether you’re enhancing portraits, retouching skies, or exploring creative compositions, Luminar Neo doesn’t disrupt your Lightroom flow. It elevates it.
If you haven’t already tried it, give the Luminar Neo Lightroom plugin a spin. You’ll be surprised at how much time it saves and how creatively satisfying it can be. Want to make your edits faster and more artistic at the same time? Now you can, without switching programs or learning a new system from scratch. And now you can save 10% using the discount code KELBY10.

About the Author: Vanelli
Vanelli is a passionate photographer, educator, and storyteller with years of experience behind the lens. He currently serves as the Director of Education for Skylum, where he helps photographers around the world improve their creative process through practical training and inspiration. Known for his energetic teaching style and deep love for visual creativity, Vanelli has spent much of his career helping photographers, from beginners to pros, build confidence and sharpen their skills. Whether he’s capturing dynamic portraits or leading workshops globally, he brings a unique blend of technical know-how and artistic intuition to every project. His approachable style makes complex concepts easy to grasp, and his mission is simple, to inspire others to create with purpose and passion.