This tutorial will show you how to use Photoshop’s Layer Styles and a simple Brush to create a metallic rivets – inspired text on a denim background.
Tutorial Assets
1- ETH font (ETH Sans/EthRomainEthon.ttf).
2- FabricPlain0067 (Small 1024×625 ) texture.
Loading the Contours
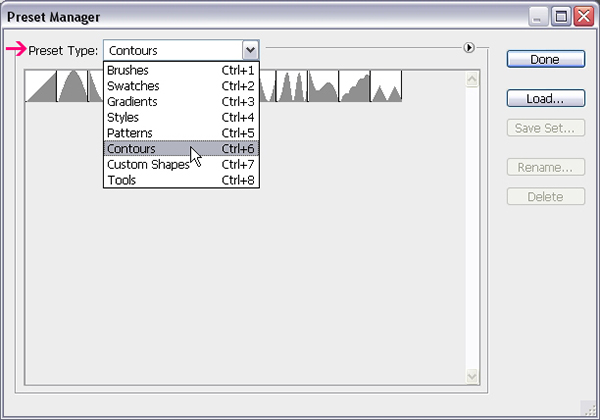
You might need to load the Contours used in some of the Layer Styles below. To do so, go to Edit -> Preset Manager, and choose Contours from the Preset Type drop down menu.
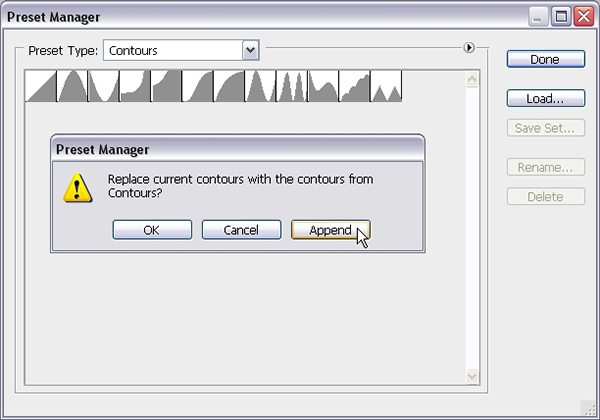
Click the small arrow in the top right corner, and choose Contours.

Click Append to add the new contours to the existing ones.
Step 1
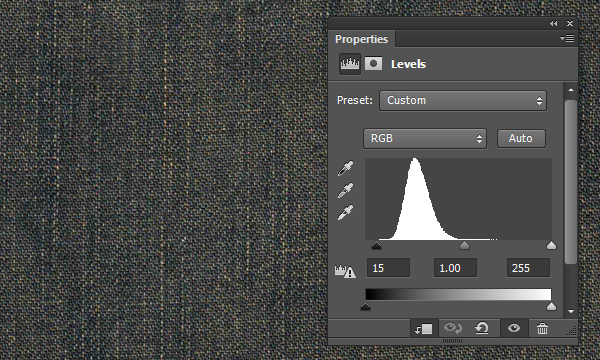
Open the “FabricPlain0067” image, then click the “Create new fill or adjustment layer” icon down the Layers panel and choose Levels.
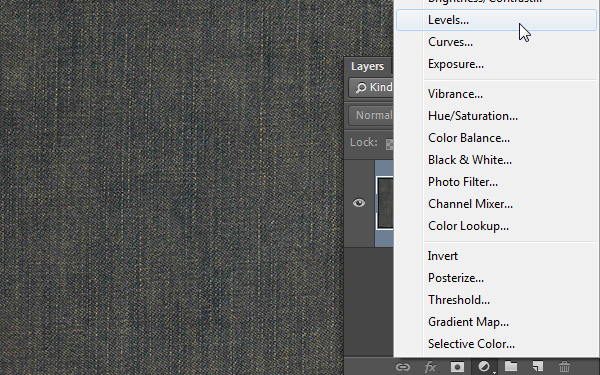
Change the Shadows value to 15 to darken up the texture a little bit. You can change this value any time later if needed as well.
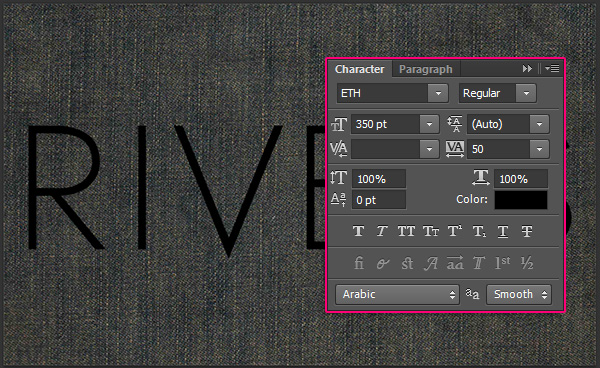
Create the text using the ETH font, or any other font you’d like to use as a reference. The Size is 350 pt, and the Tracking value is 50.
Step 2
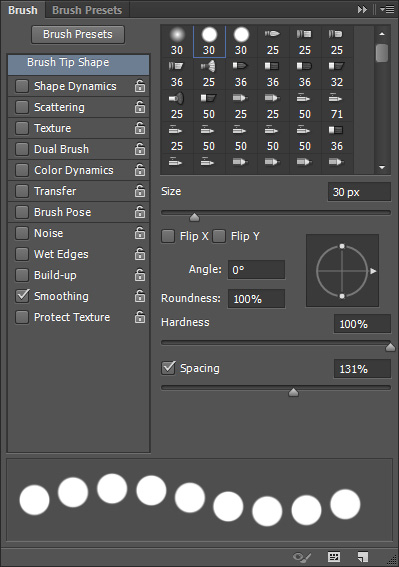
Pick the Brush Tool and open the Brush panel (Window > Brush). Choose a hard round 30 px brush tip and change its Spacing value to 131.
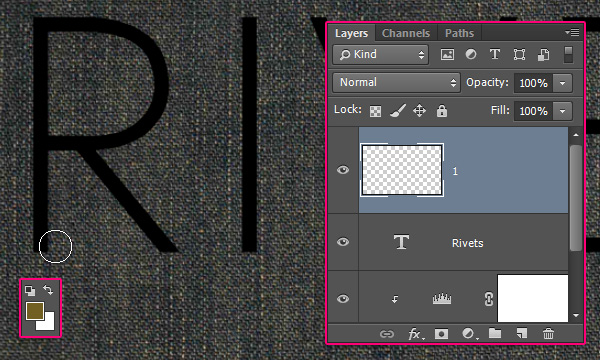
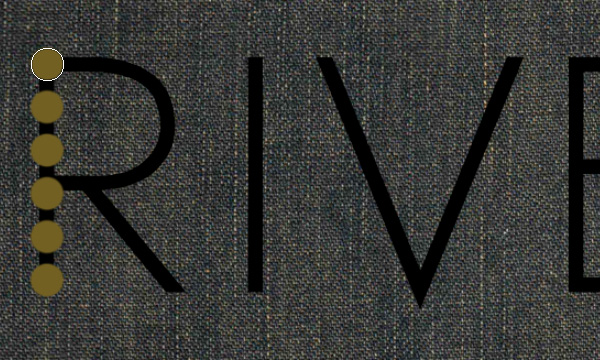
Create a new layer on top of the text layer and call it “1”. Set the Foreground color to #726023, then start adding the rivets on top of the text you have.
For the simple letters, you can either:
1- Click and press and hold the Shift key, then drag to create straight lines. Or,
2- Click once where you want the line to start, press and hold the Shift key, then click again where you want the line to end.
– Stroke
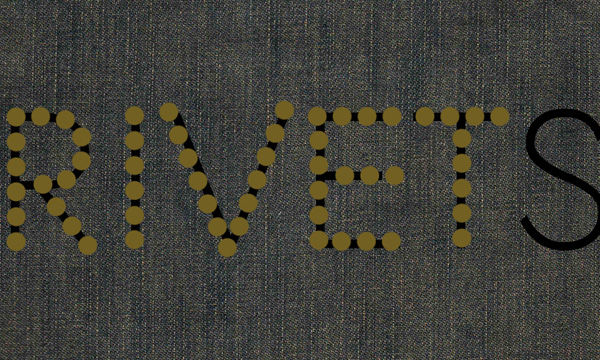
You don’t have to follow the exact shape of the letters. Feel free to make your own adjustments as you’re creating the rivets.
Step 3
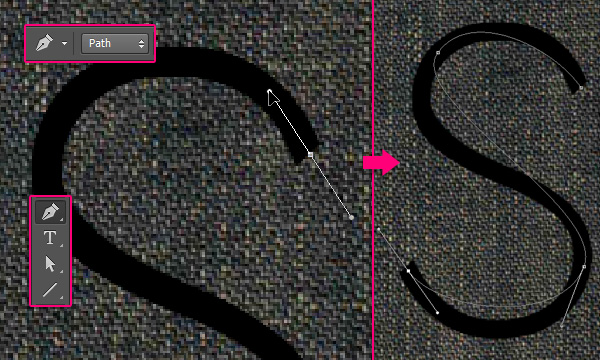
For the more complex/curved letters, you can use the Pen Tool, with the Path option selected in the Options bar to create a work path that you can stroke with the brush.
You can click once to create sharp points, or click and drag to create curves. Just map out the basic shape of the letter, and then you can modify it as shown next.
Pick the Direct Selection Tool to modify the path. You can click and drag an anchor point to move it around, or you can click the Direction Points at the end of the two Direction Handles, then move them around to change the orientation of the curve, or drag them outwards and inwards to make the curve wider or narrower.
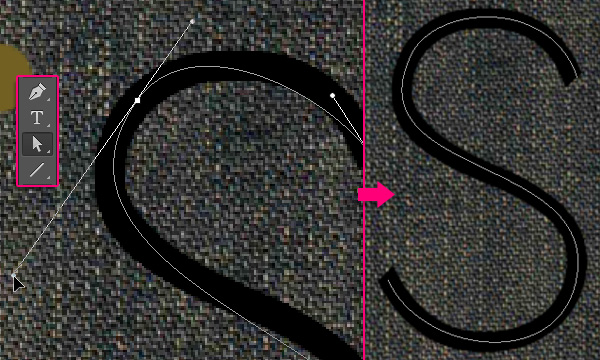
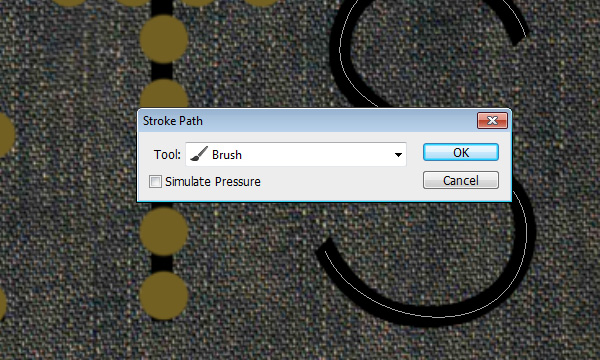
Once you’re done, right click the path and choose Stroke Path.
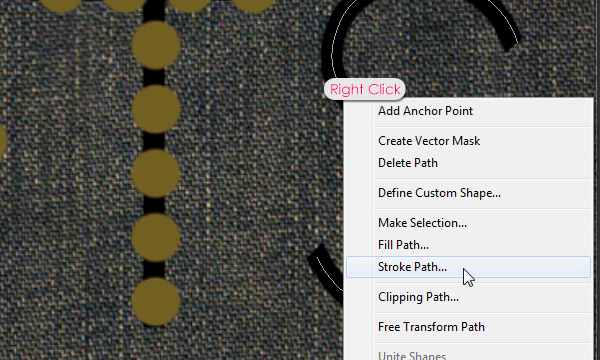
Choose Brush from the Tool drop down menu and click Ok, then hit the Enter/Return key to get rid of the work path.
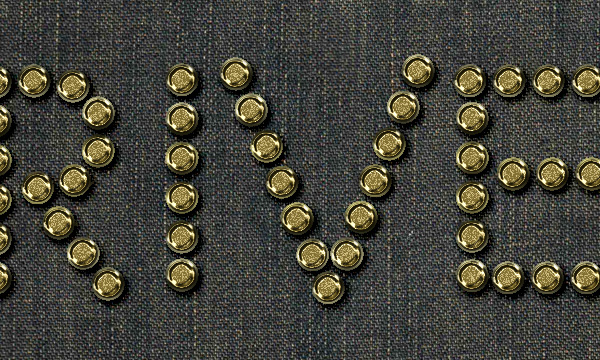
Once you’ve added the rivets to all the letters, make the original text layer invisible by clicking the eye icon next to it.
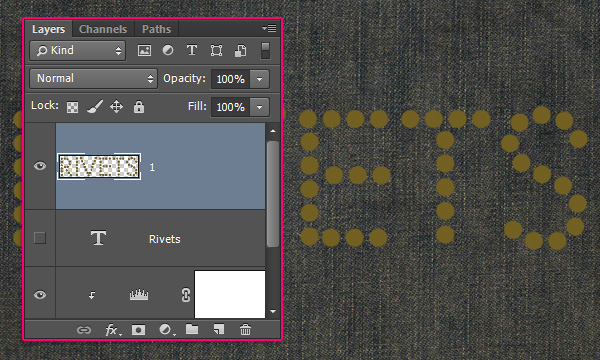
Duplicate the layer “1”, rename the copy to “2”, then change its Fill value to 0. Duplicate the layer “2” and rename the copy to “3”.

Step 4
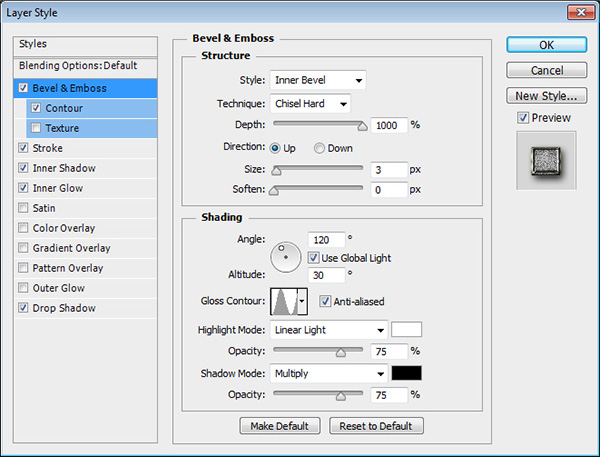
Double click layer “1” to apply the following Layer Style:
– Bevel and Emboss
Technique : Chisel Hard
Depth : 1000
Size : 3
Gloss Contour : Ring
Check the Anti-aliased box
Highlight Mode : Linear Light
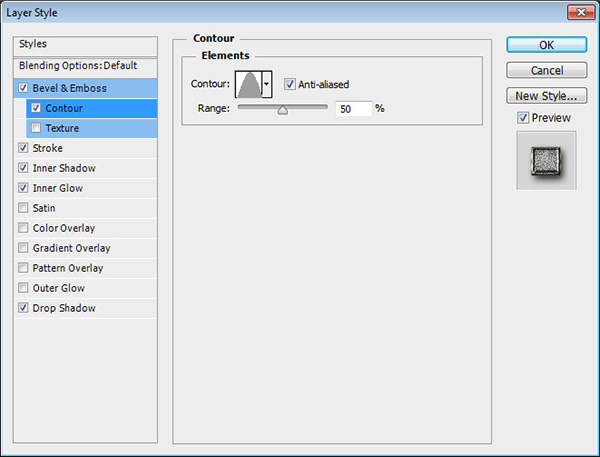
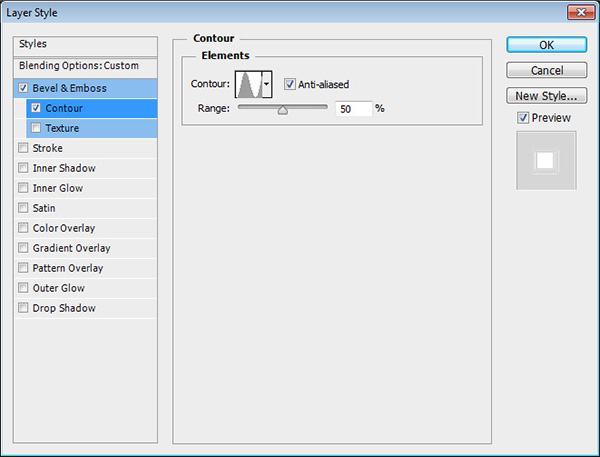
– Contour
Contour : Cone
Check the Anti-aliased box.
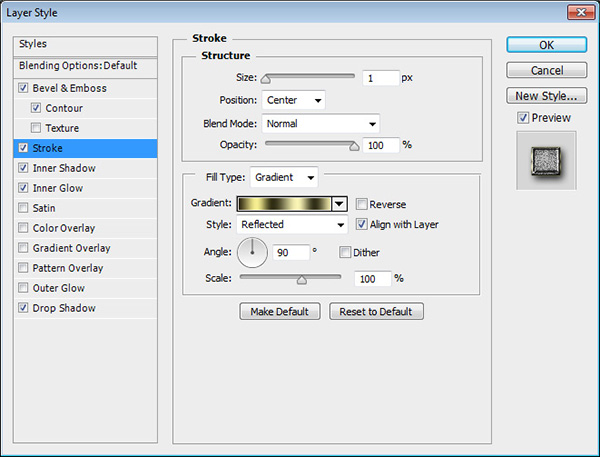
– Stroke
Size : 1
Position : Center
Fill Type : Gradient
Style : Reflected
Angle : 90
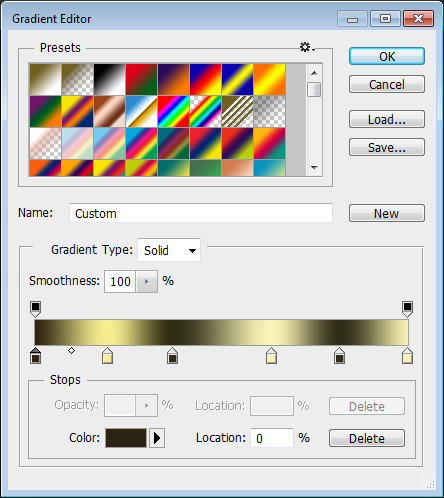
Click the Gradient box to create the gradient
To create the Gradient, you’ll need to click below the gradient bar to add Color Stops, then assign the Color and Location value for each one. Here are the values used from left to right:
Color – Location
#2c2410 – 0
#f6ee91 – 19
#2f2d13 – 37
#f9f3c3 – 63
#302e17 – 82
#faf2b2 – 100
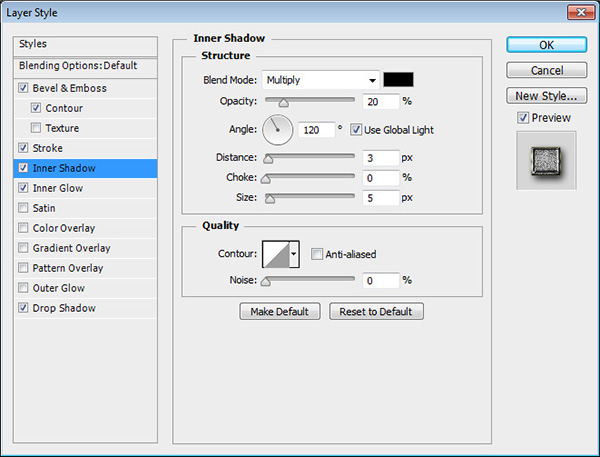
– Inner Shadow
Opacity :20 %
Distance : 3
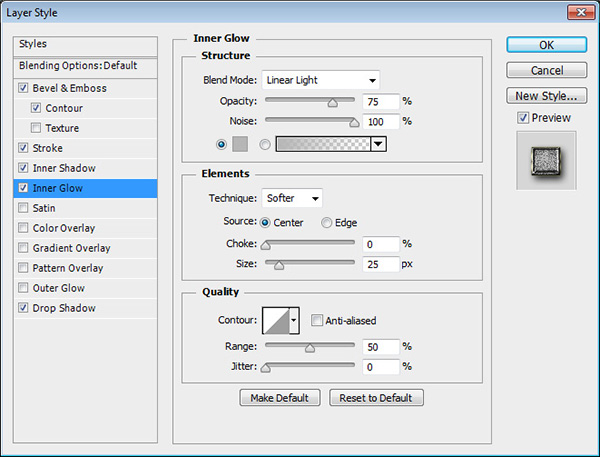
– Inner Glow
Blend Mode : Linear Light
Noise : 100%
Color : #b6b6b6
Source : Center
Size : 25
– Drop Shadow
Blend Mode : Linear Burn
Size : 9
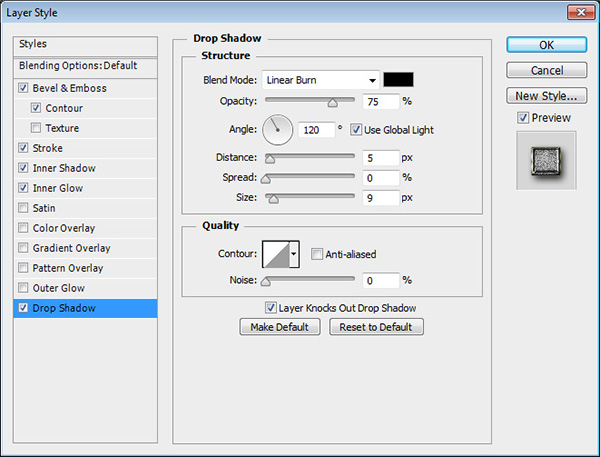
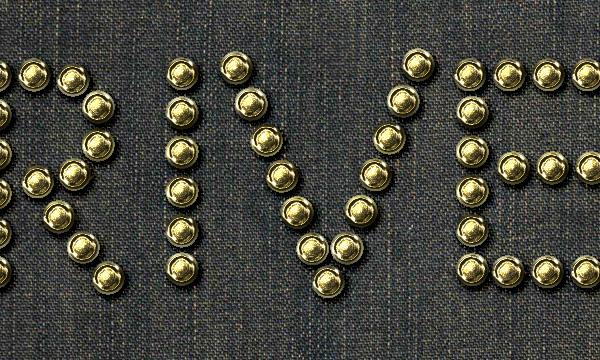
This will create the first layer of the rivets.
Step 5
Double click layer “2” to apply the following Layer Style:
– Bevel and Emboss
Size : 13
Uncheck the Use Global Light box
Angle : 135
Altitude : 48
Gloss Contour : Rounded Steps
Check the Anti-aliased box
Highlight Mode : Vivid Light

– Contour
Contour : Log
Check the Anti-aliased box.

This will style the second layer.

Step 6
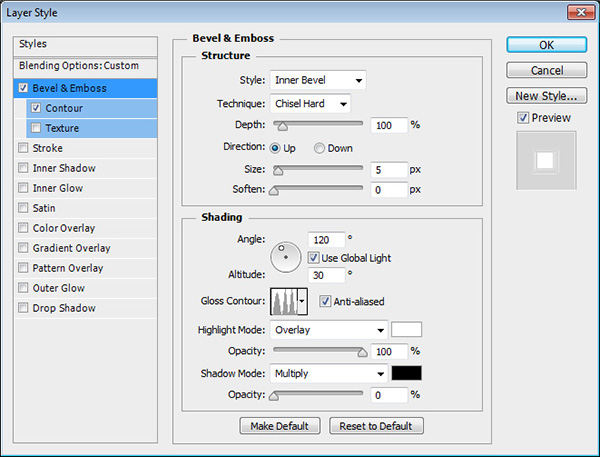
Double click layer “3” to apply the following Layer Style:
– Bevel and Emboss
Technique : Chisel Hard
Gloss Contour : Ring – Triple
Check the Anti-aliased box
Highlight Mode : Overlay
Opacity : 100%
Shadow Mode – Opacity : 0%
– Contour
Contour : Ring
Check the Anti-aliased box.
This will style the final layer of the rivets.
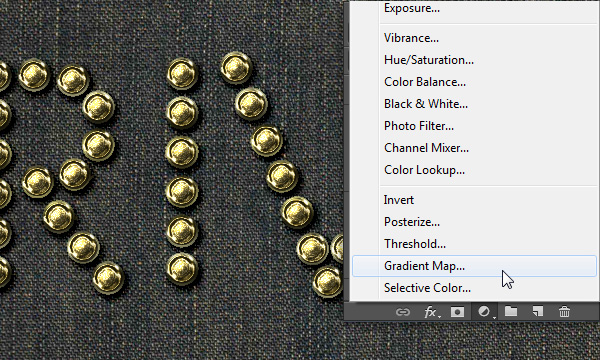
Step 7
Click the “Create new fill or adjustment layer” icon down the Layers panel and choose Gradient Map.
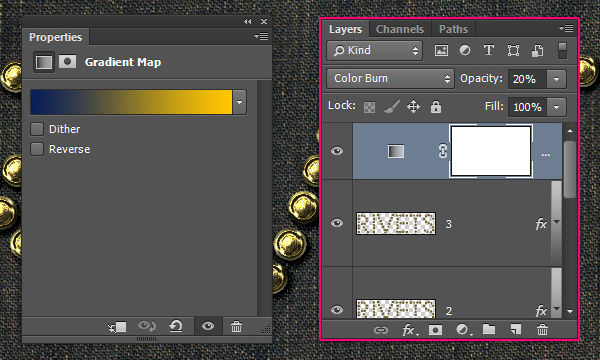
Create the Gradient using the colors #0a1e59 to the left and #ffc600 to the right. Then, change the Adjustment Layer’s Blend Mode to Color Burn and its Opacity to 20%.
Step 8
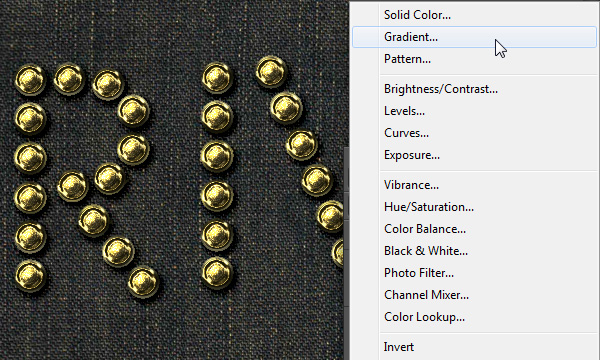
Click the “Create new fill or adjustment layer” icon down the Layers panel and choose Gradient.
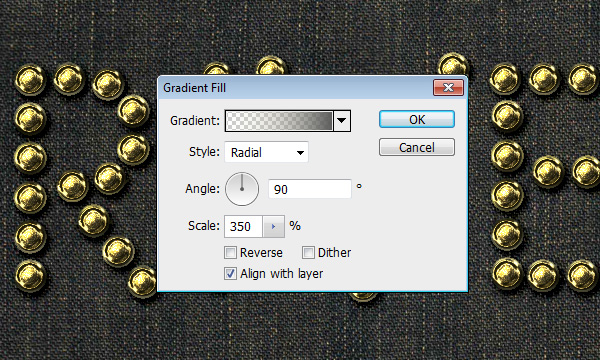
Choose a transparent to fill color gradient, with the colors #dfdbba to the left and #5b5b5b to the right. Change the Style to Radial, the Angle to 90, and the Scale to 350.
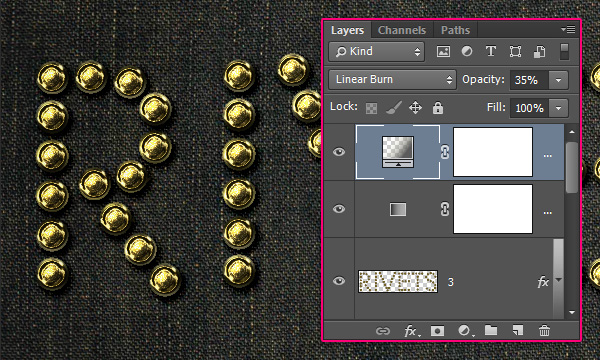
Change the Gradient layer’s Blend Mode to Linear Burn and its Opacity to 35%. This will darken up the final result, and add some nice vignette.
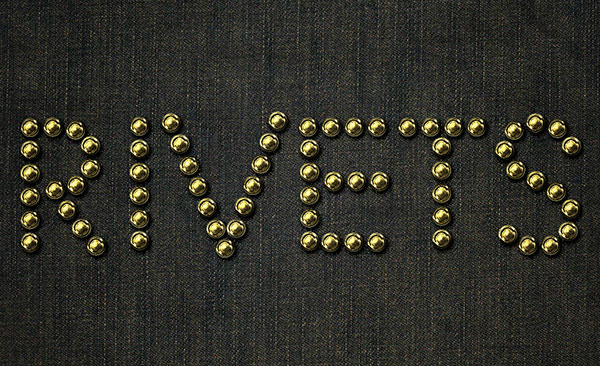
Conclusion
This is the final result. A really simple way to stroke a path and use Layer Styles to make it look more interesting.
Hope you enjoyed the tutorial and found it helpful.