
Although Photoshop doesn't have a built-in atmospheric effects generator, there are ways to create just about anything from rain to snow to fog. In today's tutorial, we'll take a look at a quick-and-easy way to create rain using a little-known layer style by the name of (you guessed it) "Rain."
Step 1: Open a Dreary Image
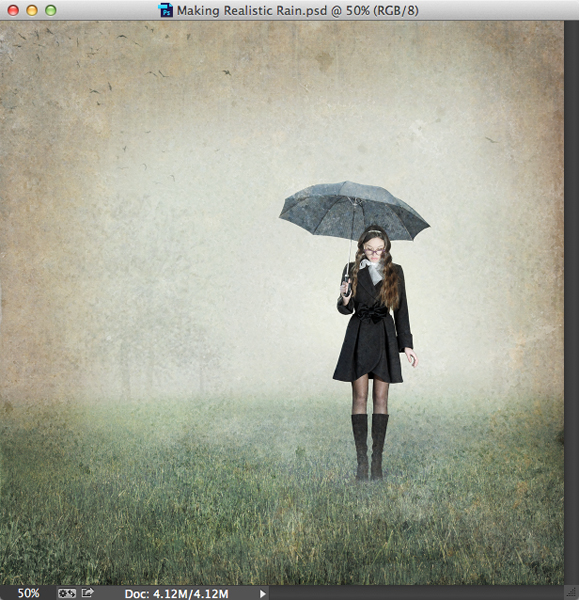
Open an image where you'd like to see rain, but none exists.
Step 2: Make Rain
Click on the Create a new layer icon at the base of the Layers panel. Choose Edit>Fill. Set the Use pull-down to 50% Gray.
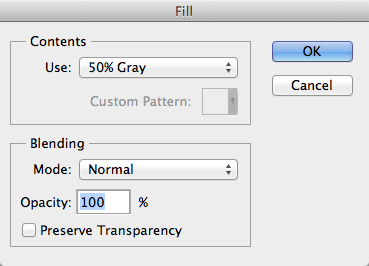
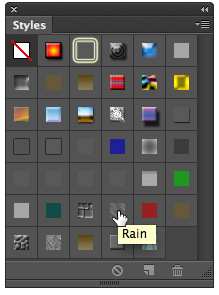
Click OK. If the Styles panel is not open, choose Window>Styles. From the flyout menu, choose Image Effects.
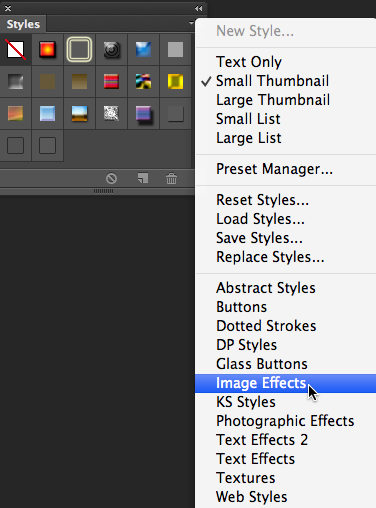
In the alert dialog, click Append to add the Image Effects layer styles to your existing inventory. Near the base of the panel, click on the "Rain" style icon.
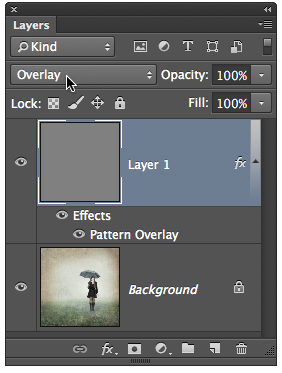
In the Layers panel, change the blend mode to Overlay.
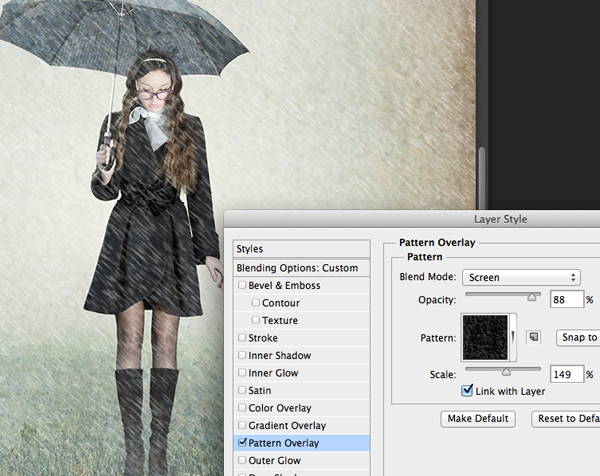
Click on the Pattern Overlay layer effect name to open the Layer Style dialog. Modify the Opacity and Scale of the rain until it suits your needs.
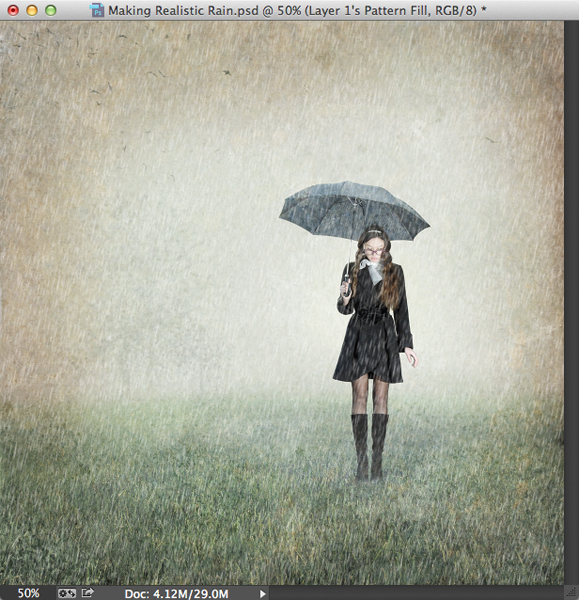
Press OK. If 45-degree-angled rain doesn't suit you, choose Layer>Layer Style>Create Layer. Click on the "Layer 1's Pattern Fill" layer and press Command-T (PC: Control-T) to activate Free Transform. Hover just outside one of the corner handles until the cursor becomes a bent arrow. Click-and-drag to rotate the rain to a desirable angle.
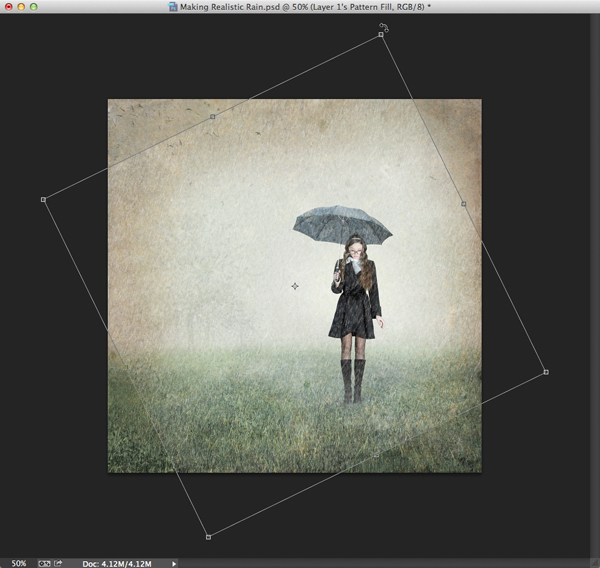
While pressing Option-Shift (PC: Alt-Shift), drag one of the corner handles to scale the rain until it covers the entire photo. Press Return (PC: Enter).
Step 3: Make Blurry Foreground Rain
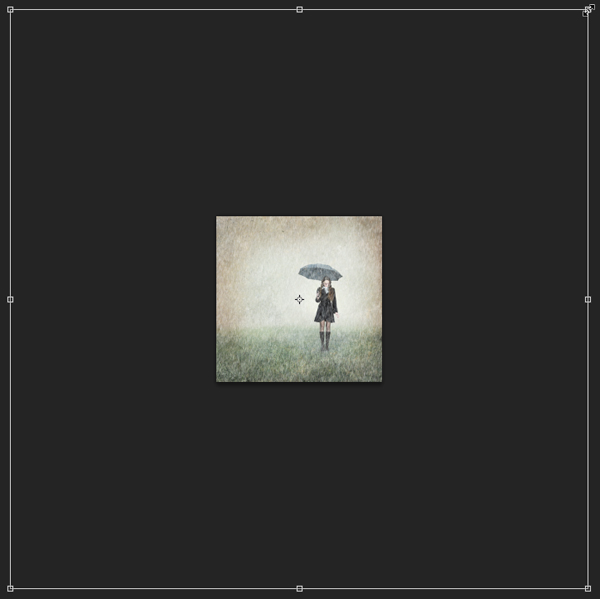
Now we'll create blurry foreground raindrops to add depth to the scene. Press Command-J (PC: Control-J) to duplicate the rain layer. Press Command-T (PC: Control-T) to activate Free Transform. While pressing Option-Shift (PC: Alt-Shift), drag one of the corner handles outward to scale the rain until it forms a layer of larger, more blurred raindrops. Note: If you can't locate the corner handles, press Command-0 (PC: Control-0).
Tap Return (PC: Enter) to commit the transformation. Here's a look at the scene prior to raindrops.
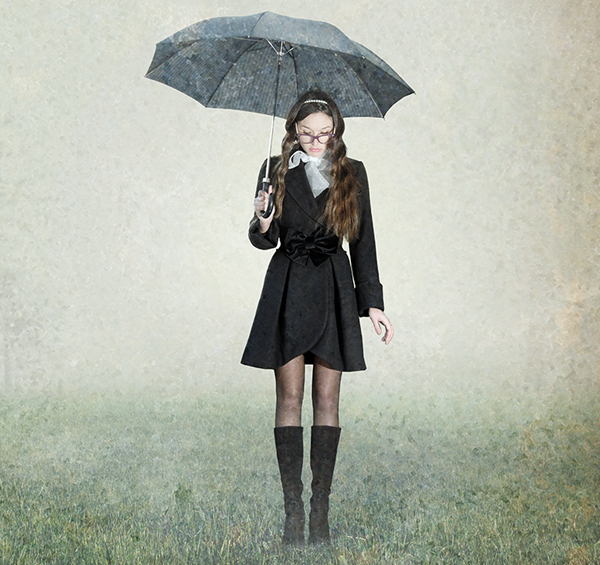
Here's a look prior to adding the big, blurry raindrops.
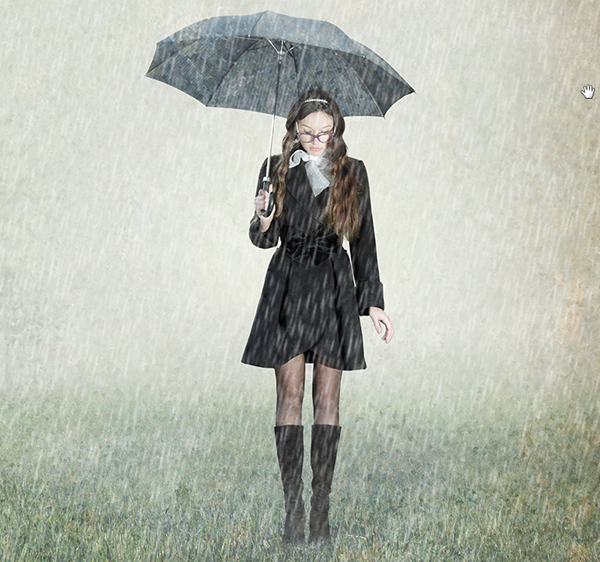
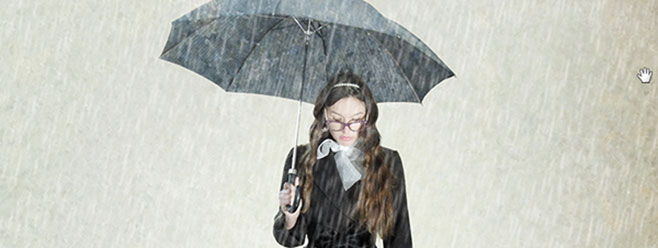
And here's the completed look with two independent layers of raindrops.

Keep in mind that since the foreground raindrops are on a separate layer, it's possible to reduce their opacity or blur them independent of the other, smaller raindrops. Have fun and stay dry!
Mark S. Johnson Photography
msjphotography.com
