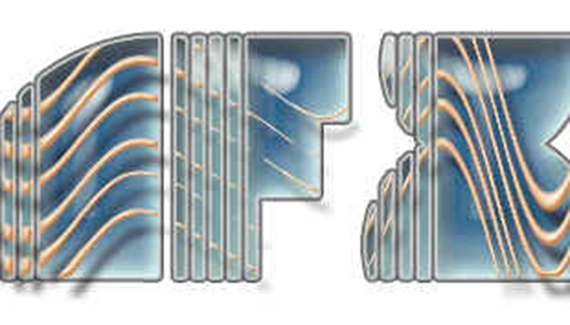
There is a way, however, to pull a Style effect, such as a drop shadow or such, from the layer it was applied to and give it its’ own layer, on which it may be manipulated, edited, or set on fire.
Just for fun, let’s make a quick, cool text style:
1) Open Photoshop. I’m using PS 7 for this tutorial.
2) Create a new image. If it isn’t already, fill the background layer with white.
3) Create a new Layer.
4) On the new layer, enter some large type with the Type Mask Tool.
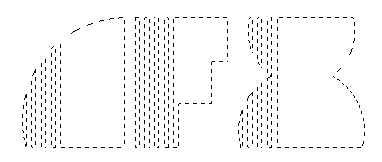
5) Select 2 somewhat opposing colors for the fore and background colors.

6) Fill the Text Selection with one of the colors.

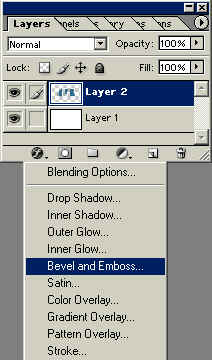
7) Let’s set up a style for this layer. Click the Add Layer Style icon on the bottom of the layers palette, and click on Bevel/Emboss.
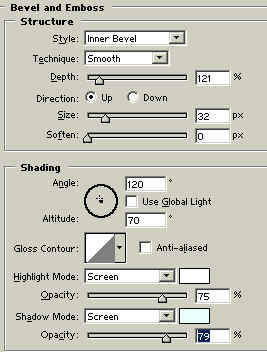
8) Apply a bevel with settings similar to those seen in the capture below.
9) Now some Inner Shadow:
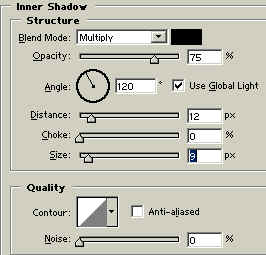
10) Inner Glow:
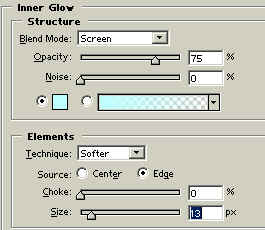
11) Lastly, let’s add a Stroke:

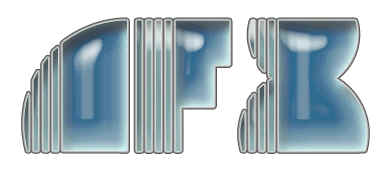
Here’s our type thus far:
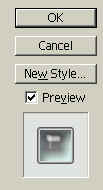
12) If you like the style, open the Layer Styles Dialog Box. On the right hand side, save it, name it, and then it will appear in the Layer Styles Palette.

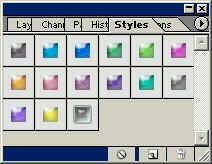
Ok, that was exciting… but what does it have to do with the original premise of this tutorial? In this case, probably not much… yet. But say I have another layer with styles applied above the type layer? Case in point, take a look at this.
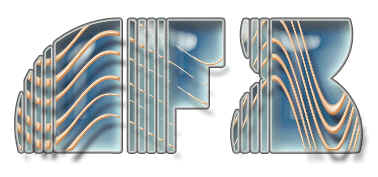
In this case, I’ve added a beveled and drop shadowed wavey pattern over the face of the text. The idea here is to add to the type’s illusion of transparency by having the drop shadow for the wavey layer seen inside the text. The problem is the drop shadow also appears outside the boundary of the text, an effect I do not want. Solution? Here it is!
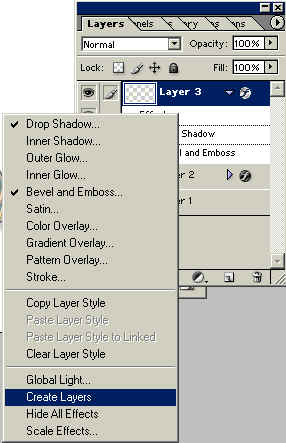
Right click on the layer style inside the Layers Palette. In the menu that pops up, go down the list and select ‘Create Layer’. This will drop all the style effects in their own individual layers where you can manipulate them.
Command/CTRL+Click the text layer in the palette to bring up the type
selection again.
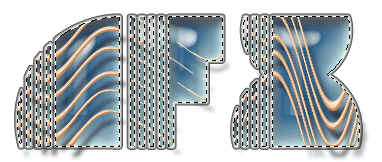
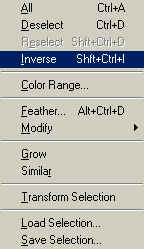
Go to Select>Inverse.
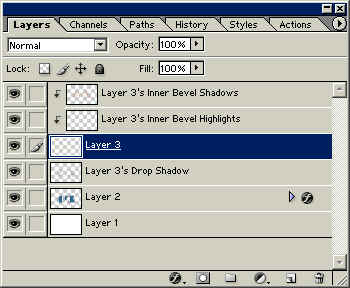
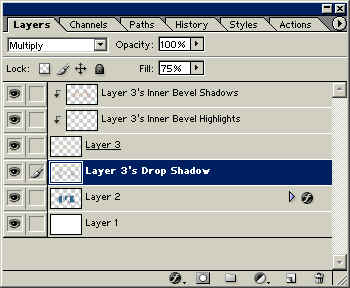
In the Layers Palette, select the layer that now holds the Drop Shadow from the style, and hit Delete. This will wipe away the excess drop shadow from outside the type boundary, while still allowing it to show up inside the plastic/glassy text.
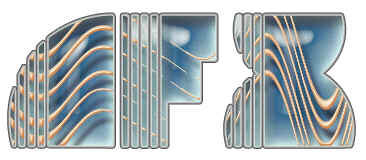
That’s about all this week. Until next time, I’ll see you at Action Fx!


I found this article very difficult to follow. It would be better to explain things just a little better on things like what font to use for good results as well as how the layer “above the type layer” came into being. The article up to the reference of this layer, although at times difficult to follow, was somewhat helpful. The real effect I was going after was the transparency with the waves; I still don’t know how to do that. In short a disappointing experience.
Is it possible to do the same with elements 5? create layers is not an option, do you know a way ariund it?