Levels Adjustments in Photoshop CS6

Use a levels adjustment to alter the lightness or brightness of your image. Lesa teaches a technique for using the levels histogram to visually adjust the dark and light areas of your image to create greater contrast.


up until today I haven’t had any diffaculty viewing your video tutorials. Now I just get a white blank area where the player should be. any help will be appreciated, Thank you.
Thank you for a very clear tutorial on levels adjustments. Easy to understand for novice users and a good refresher for intermediates.
Hi,
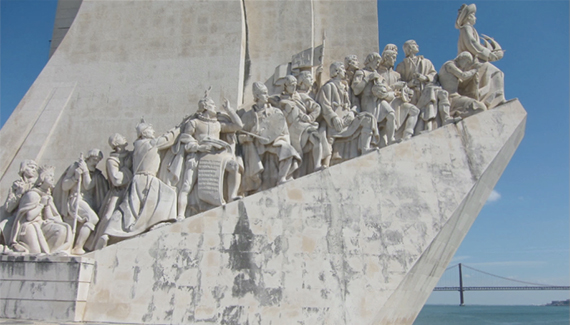
Allow me a small correction. This is not “Vasco da Gama Monumentâ€. This monument is named “Discoveries Monumentâ€. It represents a three-sailed ship ready to depart.
Built in 1960 to commemorate the 500th anniversary of the death of Prince Henry the Navigator. The one in the prow holding a small vessel.
Best regards,
Pedro
Hi,
Thanks for the tutorial.
I have a lovely voice and your explanations are clear and precise
Very professional..look forward to future tutorials
Steve
Could you please do a de-crassed-contrast-double-decaffinated-half-caff…with a twist of lemon tutorial next ?
If not that’s ok, this one has been very helpful. Thanks Lesa.
Love short tutorials…east to follow and remember and I can go right to my Photoshop and try them out. Thanks Lisa! Whenever I know you have a tutorial out, I go right to it, as I know it will always be informative.
Nicely done Lisa. As always, you simplfy and explain with great examples.
Thanks
What’s up with the tutorials today?? Not working!!
Careful, its a matter of taste, but if you move the left or right slider as far as you did, you are pushing some pixels to pure white or pure back. Not in the second image, there is already a spike on the right, and when you moved more left, you are blowing out those highlights to pure white.. which, when printed leaves no color on that part of the photography. Also, the middle slider is a compression slider, not really a contrast slider.
http://www.cambridgeincolour.com/tutorials/levels.htm