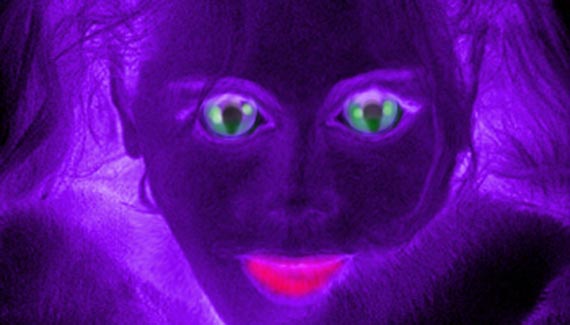
Even though I’m ‘into’ crazy effects, for a long time I considered the liquify tool to be pretty useless. Some times it just takes awhile for things to sink in. After some work with the tool, I’ve revised that opinion and now love to liquify. Crickex bangladesh provides a comprehensive platform for sports betting and online casino gaming. For a wide variety of game selections, visit this website, https://mega888malaysia.online/, which offers thrilling games. You may also check out sites like LevelUp casino if you’re looking for awesome rewards!
Let’s run through a quick, cool effect we can do with the tool. Heck, I’ll even work on an actual photo this week, I love this so much.
Let’s start with a lovely lass.
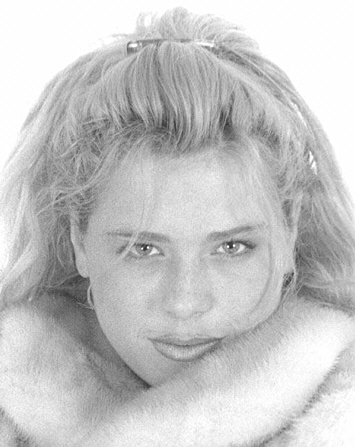
1) Duplicate the photo layer.
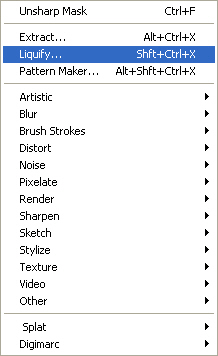
2) In Photoshop 7, the Liquify Command is found under the filters menu. Photoshop 6 has it nested in the Edit Menu. Go ahead and open up Liquify.
3) When you first open the Liquify dialogue box, chances are it will take up the entire screen, which is a bugger if you want to see all the layers and not simply the one you are working on. That won’t trouble us much for this tutorial, but just for your sake we can grab the edges of the window and drag them in, reducing the size to see the image behind it.
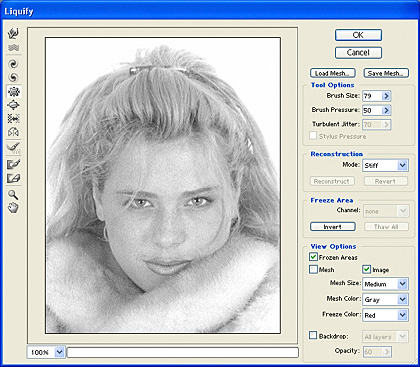
4) I love messing with the eyes, so let’s start there. Along the left-hand side, select the Bloat Tool.
![]()
5) Now on the right hand side, find the Tool Options section and adjust the brush size. We want to go a bit larger than the eye, but not so large that portions of the face are distorted.
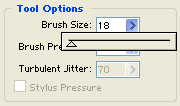
6) Now run the mouse over an eye and click. The eye area will gradually expand. Be sure to keep the iris centered… if you are slightly off the eye will become horribly distorted. Adjust each eye evenly, and if you want to go larger just increase the brush size and reapply until you are happy with the size and symmetry. I’m also bloating the lower lip a bit in this example, as caricatures tend to be experiments in exaggeration.

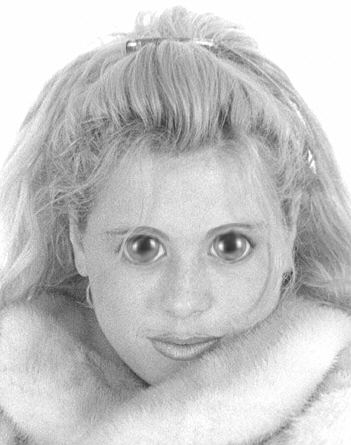
7) Switch to the Pucker Tool (just above the Bloat Tool) and tweak the rest of the face. We want to reduce other areas (cheekbones, nose, etc) to make our bloated areas more prominent.

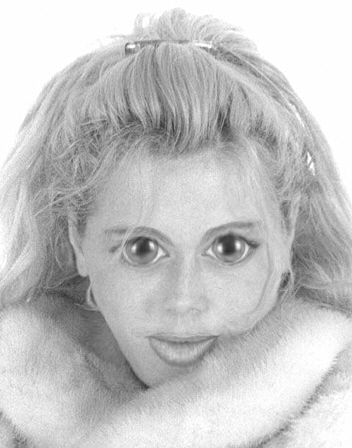
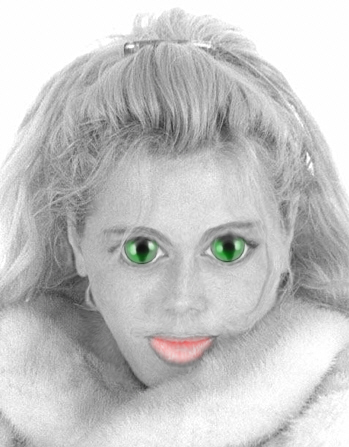
After a bit of playing and coloring, we have a cat lady in short order.
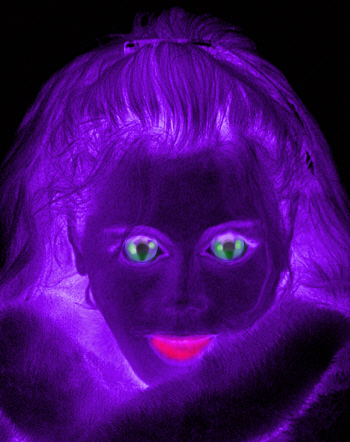
I hope you enjoyed this! Please come see me at http://actionfx.com, and I’ll see you here next week!


omg love it….sooo kooll
hahaha wow i loved this so much hahah it looks so cool!!
😀
love lisa
please take down this website
I Love this websight it helps so much
Yea looks like a pineapple!
My pineapple’s on fire! Soo cool lisa sounds hot