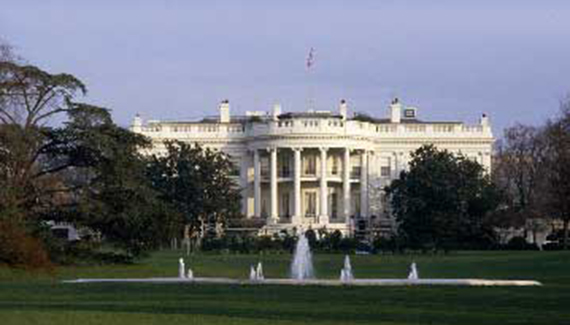
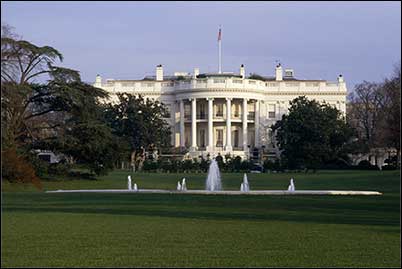
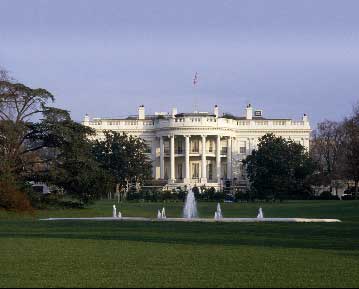
More often than not, a digital photograph isn’t shaped to fit your picture frame. Most digital images have an aspect ratio of 3:2, while common picture frames are 5:4 (4×5″ and 8×10″) or 7:5 (5×7″). (“Aspect ratio” refers to the relationship between the width and height of an image.) Often the most practical solution is to crop the image to fit, which is discussed here. Sometimes, however, you may want to add to an image rather than subtract from it. PhotoSpin’s image #PS020030 is a lovely shot of a temporary housing facility in Washington D.C. Measuring 1600 pixels by 1200 pixels (approximately), it has an aspect ratio of 4:3. If we resize this to fit in a 10-inch wide frame, it’s only 6.667 inches tall. Here’s how we can make the image fit the full 8-inch height of the frame with no white border or cropping.
NOTE: Aspect ratio is also often expressed as the relationship of the larger dimension to 1, as in 1.5:1 (equivalent to 3:2) or 1.37:1 (the aspect ratio of 35mm film).
STEP 1 In the Layers palette, double-click the layer name “Background” (if any) and rename the layer. That converts the layer from a background layer to a regular layer.
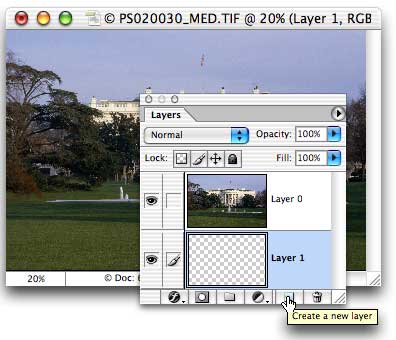
STEP 2 Add a new layer below the original image layer, now named (by default) Layer 0. Hold down the Command key (Mac) or the Control key (Windows) when you click the New Layer button at the bottom of the Layers palette and the new layer is added below the currently-active layer.
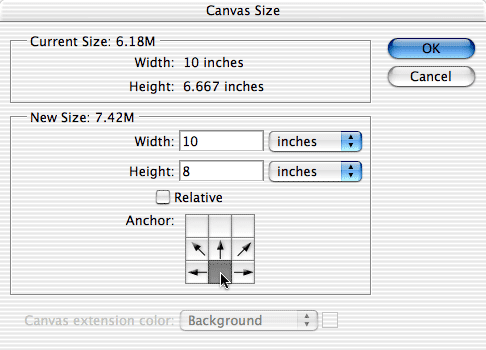
STEP 3 Use the menu command Image> Canvas Size. Increase the Height field to 8 (in this example) and click in the lower row of boxes in the 3×3 proxy so that the new canvas is added to the top of the existing image. Since we no longer have a background layer, the “Canvas extension color” option is unavailable and the new area will be transparent.
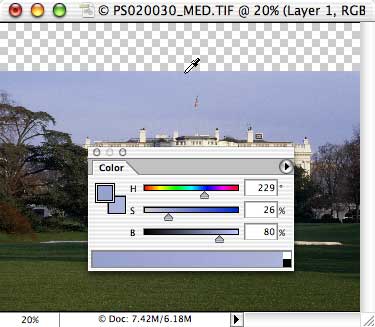
STEP 4 Select the Eyedropper tool in the Toolbox and click on the very upper pixels in the center of the existing sky. That sets the foreground color to the sky’s color at the point from which we’ll extend. Press X on the keyboard to make that the background color and click once more in the same spot with the Eyedropper. Open the Color palette and from the palette’s menu, select HSB. Increase the Saturation slider by about 5% and decrease the Brightness by about 5%. This will give us some variation in the sky in the next step.
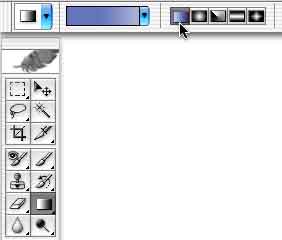
STEP 5 Select the Gradient tool in the Toolbox. In the Options Bar, select the linear gradient option and make sure the selected gradient is foreground-to-background. Stick with the Normal blending mode and 100% for opacity. Check the box for Dither, and leave Reverse unchecked. (Since there are no transparent sections in our gradient, the Transparency box is insignificant.)
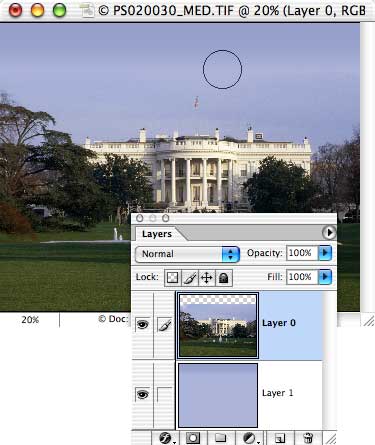
STEP 6 With the lower (empty) layer active in the Layers palette, drag a gradient from the top of the image window to the top of the existing sky. Select the Eraser tool in the Toolbox and choose a very large brush with a hardness setting of 0%. In the Layers palette, make the upper layer active and drag along the very top of the original sky to blend the two layers a bit more.
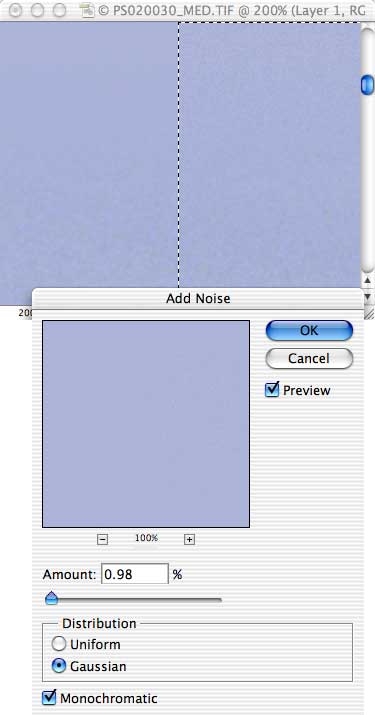
STEP 7 With the lower layer active, you can use the filter Texture> Grain or Noise> Add Noise to match the new too-smooth sky to the original. In this zoomed example, you can see that the top and bottom of the selected area on the right match very well, while on the left, the upper area lacks the character of the lower area.
Photoshop CS’s Healing Brush is another very effective way to match grain (film images) or noise (digital images). Make sure to check the Use All Layers box in the Options Bar, and Option-click (Mac) or Alt-click (Windows) in an area of the layer that you want to match. With the target layer active in the Layers palette, drag to make the new sky match the original sky.


Excellent step by step advice. Thank you very much.
Yes, very clear and complete tutorial, just what I was looking for. Thank you.
That is one of the first tutorials where it actually works! A big thank you for making my Friday a bit eaiser…
I have the same ” aspect ratio” problem but with a family group too nesr th top but the background to extend is not clear sky but a mor detailed hedge. How do I cope with the detail