An interesting background effect, suitable perhaps for a Web interface or layering for a “Eurocollage” image, can be created by separating elements of a black-white-black gradient to individual layers, then using reversed bevels. Dennis Garyson, a member of the National Association of Photoshop Professionals, recently wrote to the NAPP Help Desk to discuss an interesting technique he’d developed, using the Magic Wand to separate elements of a gradient to layers, then applying a variety of layer styles to those layers. Here’s an application of that technique that can be used to create the appearance of a row of hollow pipes.
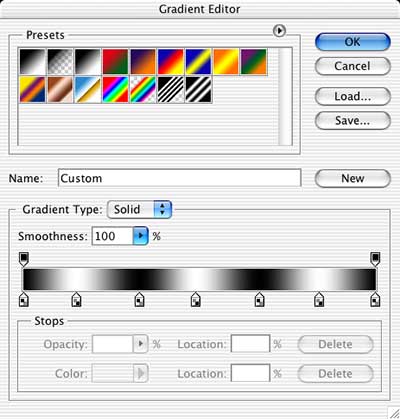
Start with a custom gradient that alternates black and white stripes. The number of stripes determines the number of “pipes” that will be created. With this gradient and the Gradient tool set to the Reflected Gradient option, we’ll create six pipes.
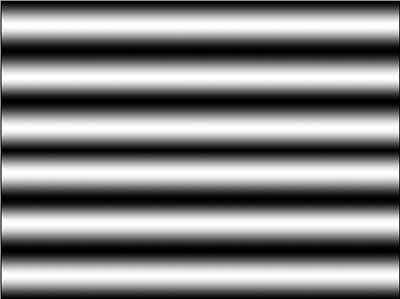
With the Reflected Gradient option, the pattern will be repeated on both sides of the point from which you drag. Clicking in the center of the image and dragging to the bottom reproduces the gradient in both the lower and upper halves of the image (or selection).
Using Select> Color Range, it’s easy to make a selection of the white and light gray areas of the gradient. Holding down the Shift key, you can drag the Color Range eyedropper through one of the light stripes.
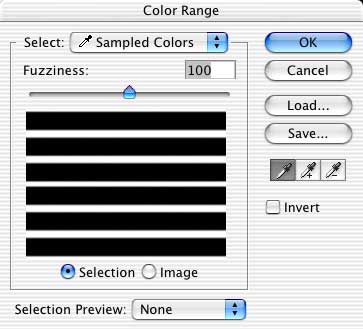
The keyboard shortcut Command-J (Mac) or Control-J (Windows) copies the selection to a new layer. With the layer “Background” again active in the Layers palette, Color Range can be used again to select the dark stripes, which can be placed on another separate layer.

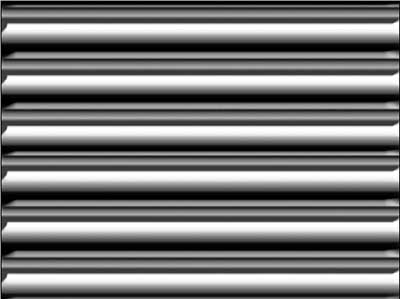
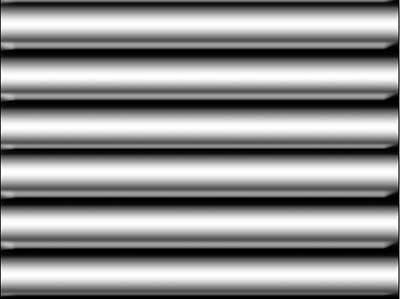
Add a rather substantial bevel to Layer 2 (the black stripes) to create basic gray/white pipes.
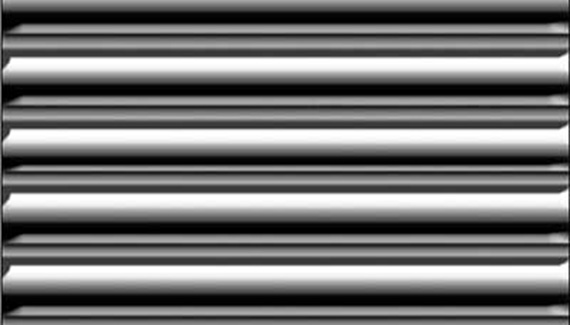
Add the same bevel to the white stripes (Layer 1) by dragging the layer effect from one layer to the other in the Layers palette. Double-click the bevel effect for Layer 1 to open the Layer Style dialog box. Uncheck the Global Angle box and change the angle of the bevel 180 degrees. (In this case, one angle is at -120 degrees and the other at 60 degrees.)
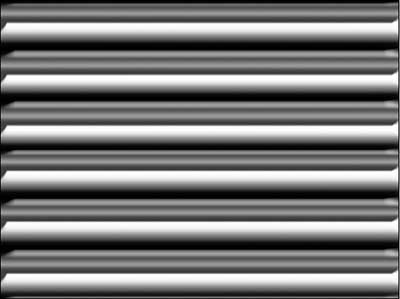
Applying the Unsharp Mask filter to each layer produces the final look, hollow open pipes running across the image.