A More Complex Distortion Problem
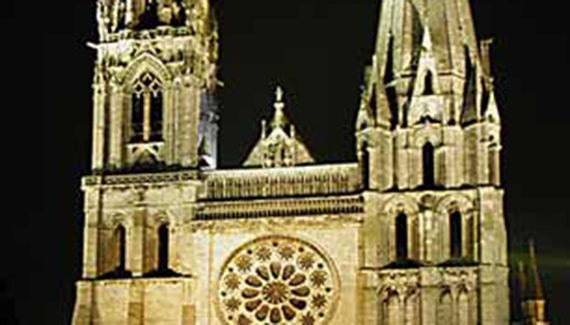
The city and countryside of Chartres, France, are dominated by the magnificent cathedral. Visible from 15 miles away, the cathedral grows taller with each step closer one takes. By the time I reached the vantage point of this photo, I knew some perspective correction would be needed in Photoshop.
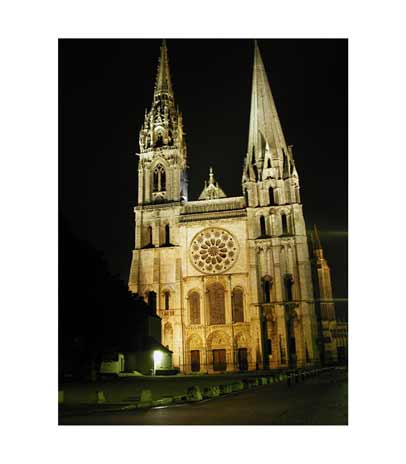
I set up my camera with 24mm wide angle attached on a tripod and used the self-timer to ensure a steady, long exposure in Program mode (about two seconds, I would guess). While I made several exposures, this one was the best but for some reason, the tripod head slipped a bit and left the cathedral on a slight tilt.
And its spires ARE soaring toward heaven as intended by its builders, but not in an architecturally pleasing fashion due to the camera pointing up.
Again, for this tutorial I have sent the image it its own layer (Command/Control-J), erased the background to white and created a larger canvas size.
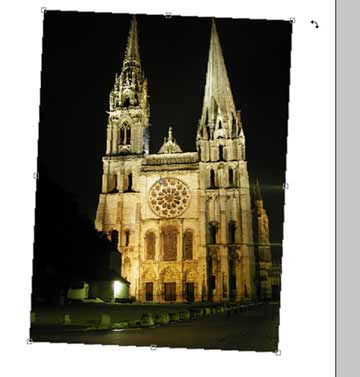
With the image layer selected and unlocked, choose the Move tool (V) and then the Free Transform function (Command/PC: Control-T). The first step is to rotate the image to the right. I pulled down a guide from the ruler bar to the left edge of the lawn and judged my rotation to that.
Place the cursor outside the Transform box and it will turn into a Rotate arrow. Drag the arrow down and to the right to achieve the correct rotation. Do not click return.
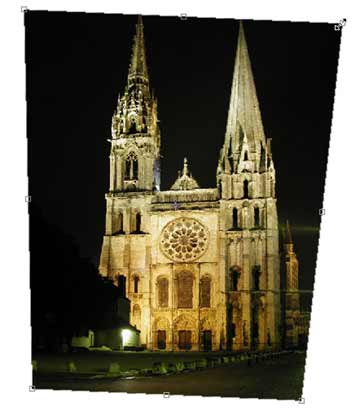
Now it’s time to correct the falling-away perspective. Click and hold the upper-right corner transform handle and hold down the Shift-Command-Option keys (Shift-Control-Alt). Now drag the handle to the right until the towers assume their proper perspective.
Note that the cathedral has become more squat. I drag down the center bottom handle to restore its original lofty height.
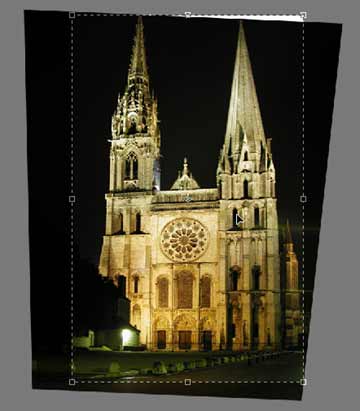
The image is now a free-form shape and needs to be cropped. Choose the Crop tool (C) and work from the narrowest corner of the important part of the image (lower right in this case). I wanted to include both towers in their entirety so my crop left a tiny wedge of the white background.
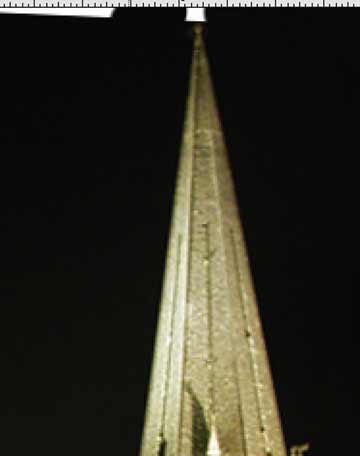
Fortunately, the sky is a nearly total black which makes for a simple application of the Clone tool (S), Clone in the nearby sky, working carefully with a smaller, hard paintbrush to work around the tip of the tower.
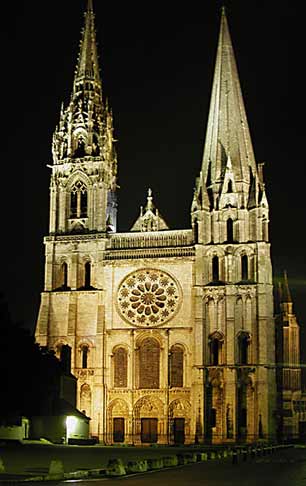
And there you have the finished cathedral in a lot less time than it took the original builders. I would I could show you some images of the stunning stained glass for which Chartres Cathedral is famous but our visit was accompanied by heavy overcast and rain. This night shot was the best I could hope for.
God willing, I now have a married daughter (last Saturday) and am attending MacWorld Expo in New York right now. Next week, I’ll try to bring you my impressions of the digital photography offerings at MacWorld.


Great!