
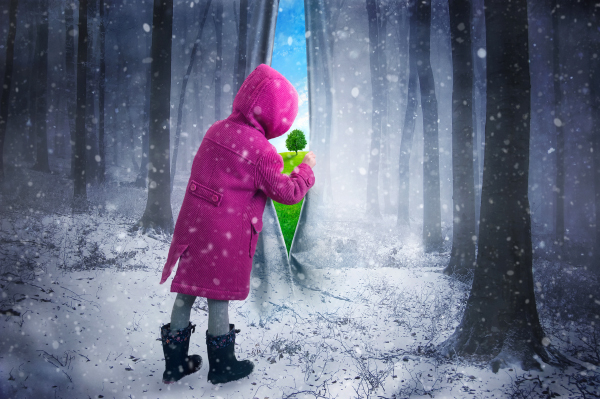
When I stumbled across a PetaPixel webpage using animated GIFs to show the layered photo composite work of Richard Roberts, I was immediately hooked on the idea of sharing layered work in this condensed educational fashion. In a mere 5 - 15 second glimpse, these animated GIFs are able to reveal the lengthy and complex creative process of an artist; not in a detailed way, but in a "peering into the mind of an artist" way. In today’s tutorial, we’ll go through the process of breaking down a photo composite into an animated GIF that can be shared on the web or in eBooks to tell the story of its creation.
Step 1: Open a Layered File
Open a layered file that you'd like to share as an animated GIF.
Step 2: Get Organized for Clear Storytelling
As we prepare to create our animated GIF, it's helpful to think of the GIF as a story and the individual frames in the GIF as pages that reveal a creative process. In order for our story to make sense to the viewer, we must begin by uncluttering the layers and determining which ones tell the best story.
First, delete all hidden (unnecessary) layers by choosing Layer>Delete>Hidden Layers. If an alert dialog appears, click Yes. In the Layers panel, collapse (consolidate) all expanded groups by clicking the inverted triangles to the left of the group names.
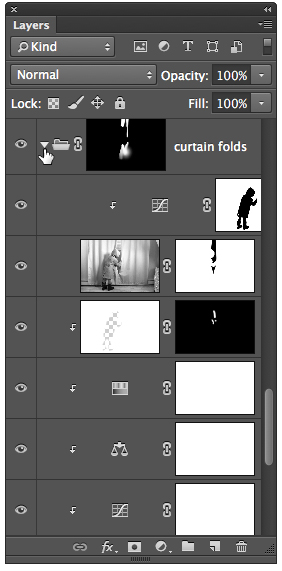
Now we need to determine which layers make the most sense in our story. We'll accomplish this by viewing the layers one at a time. While pressing Option (PC: Alt), click on the visibility (eyeball) icon for each layer and group to view them individually. Jot notes indicating which layers, in what order, tell the best story. Below are sequenced notes about the layers in this exampleâ¦
a. Just the subject with pink curtain
b. Just the snowy background scene
c. The snowy background scene with a gap in the curtain
d. The extracted subject peering through the gap
e. The new background being revealed through the gap
f. The color correction
g. Folds being added to the curtain
h. Snow being added to the subject's shoulders and boots
i. Falling snow being added
j. The subject's boots sinking in the snow
k. Finishing touches
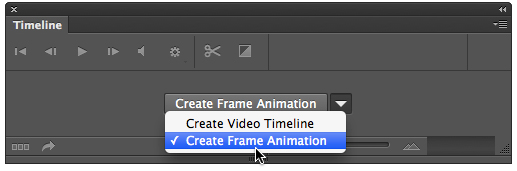
Step 3: Create a Frame Animation
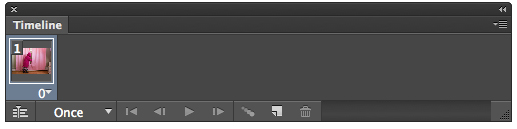
If the Timeline is not already visible, choose Window>Timeline. Click the inverted triangle in the center of the panel and choose Create Frame Animation.
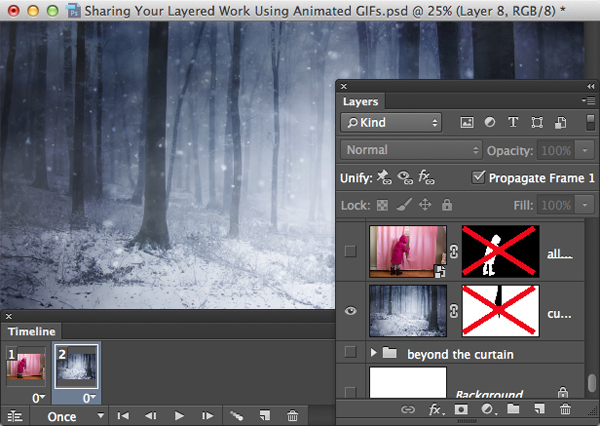
Switch on the layer (or layers) that represents the first "page in the book." If the layer contains an undesirable mask, switch off the mask by Shift-clicking its thumbnail.
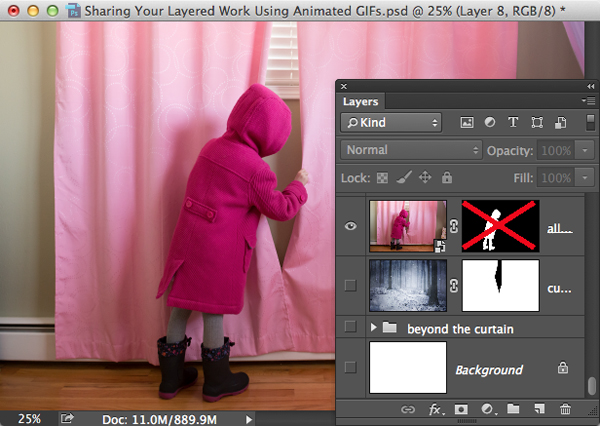
In the Timeline, click the Create Frame Animation button. This creates the first frame in the animation using the visible content from the Layers panel.
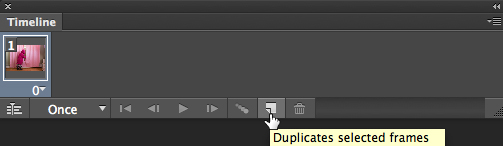
Click the Duplicates selected frames icon at the base of the Timeline panel to add a second (currently identical) frame.
Return to the Layers panel and switch on the layer or group that illustrates the next step (page) in the creative process. By referencing your notes, the process should move along quickly.
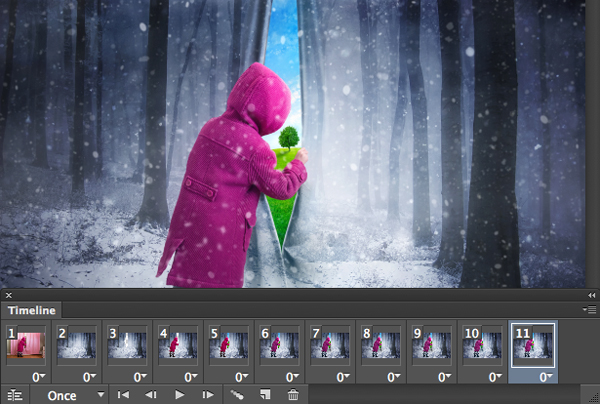
Repeat the steps from the previous paragraph to add as many frames as are necessary to tell your story. Feel free to click through the frames as you go to check your work, but remember to always activate the last frame before continuing to add new frames.
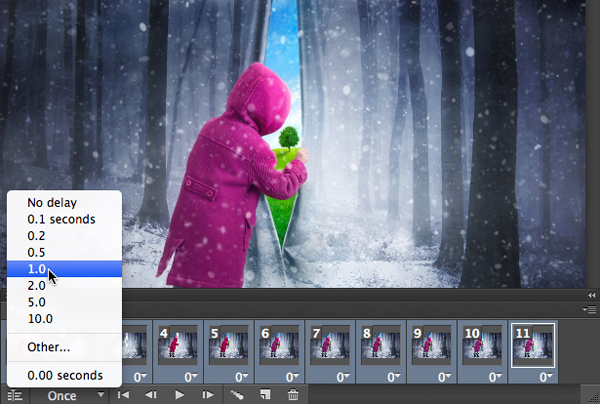
Establish the length of time each frame will be visible by clicking the last frame, Shift-clicking the first frame, then clicking the frame delay time icon (number with an inverted triangle beside it) and choosing an appropriate delay, such as 1 second.
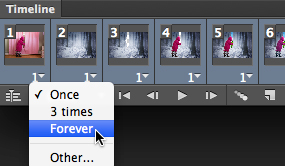
Since educational animated GIFs are designed to shine light on the creative process, it makes sense for the animation to loop indefinitely for viewers to watch more than once. To accomplish this, click on the word Once at the bottom of the Timeline panel and change it to Forever.
If the animated GIF will be shared on the web, it should be scaled to a suitable size, such as 1024 pixels in the long dimension. To accomplish this, choose Image>Image Size and set the longest dimension to 1024 pixels.
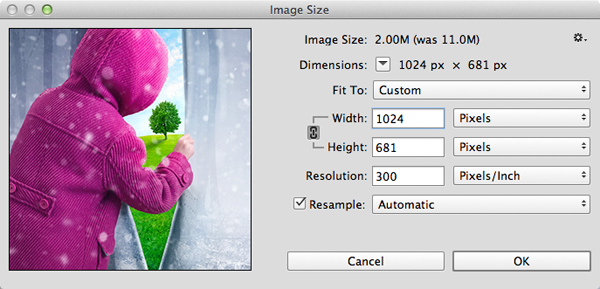
Press OK.
Step 4: Save for Web
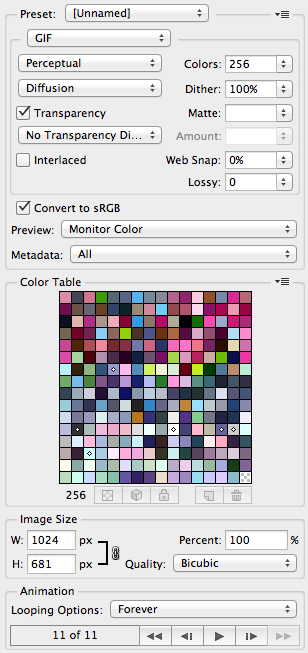
We're now ready to save the animated GIF for the web. Choose File>Save for Web. Match the settings in the screengrab below.
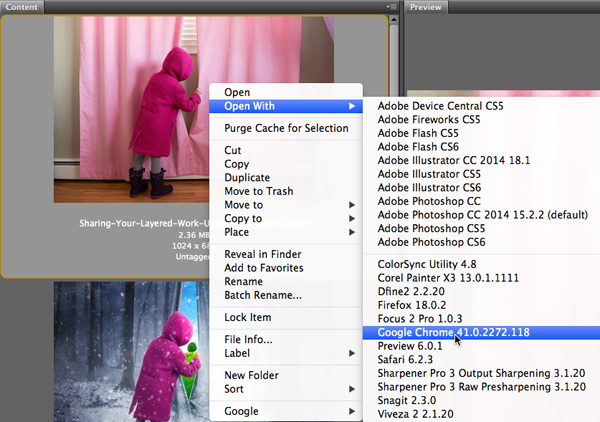
Click Save and place the GIF in a meaningful location. Open Adobe Bridge (or the Finder/Explorer if you prefer), locate the GIF in the Content panel and Control-click (PC: Right-click) to open a contextual menu. Choose Open With and select your favorite web browser.
Watch as the story unfolds before your eyes!
Mark S. Johnson Photography
msjphotography.com
