

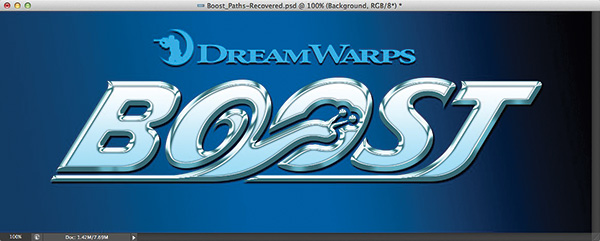
How could you go wrong with Turbo, a movie about a turbocharged snail winning the Indy 500? The storyline probably goes something like this: Snail gets really fast, learns important life lessons along the way, wins the big race, and fulfills a lifelong dream. Pretty standard. So is the logo created for the movieâ”sort of. While it doesn't use super-complicated Photoshop effects, the logo itself is extremely clever. Kudos to the designer that created a great logo without using a ton of over-the-top effects. Here's our version using several different layer styles.
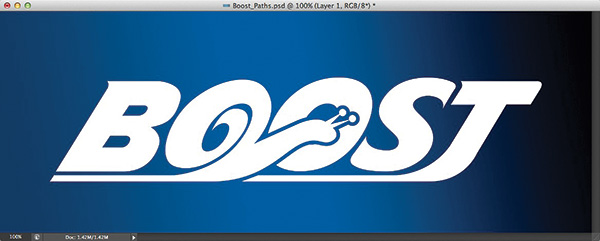
STEP ONE: Create a new document, and fill the Background layer with a color or gradient. Using the Pen tool (P), draw a path for the text or shape to which you want to apply this technique. [KelbyOne members may download the file used in this tutorial at http://kelbyone.com/magazine/issue/october-2013/. The practice file, Boost_ Paths.psd, includes the path we're using here. All files are for personal use only. To learn more about KelbyOne, visit http://kelbyone.com.] Create a new layer (Layer 1) by clicking on the Create a New Layer icon at the bottom of the Layers panel. Press D to reset the Foreground color to black and the Background color to white. Command-click (PC: Ctrl-click) on the thumbnail for your path in the Paths panel (Window>Paths) to make it a selection. Press Command-Delete (PC: Ctrl-Backspace) to fill the selection with white. Press Command-D (PC: Ctrl-D) to deselect.

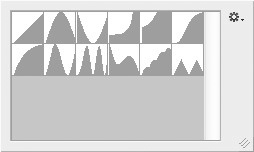
STEP TWO: Click on the Add a Layer Style icon (fx) at the bottom of the Layers panel and choose Bevel & Emboss. Enter 600% for Depth and 10 px for Size. Enter 90º for Angle and 27º for Altitude. Check the Anti-aliased box. Click on the down-facing arrow next to the Gloss Contour thumbnail, and choose Ring - Double. Raise the Highlight Mode Opacity to 100%. Click on the black Shadow Mode color swatch, choose a dark-green color (R:21, G:61, B:74), and click OK to close the Color Picker. Don't click OK in the Layer Style dialog yet.

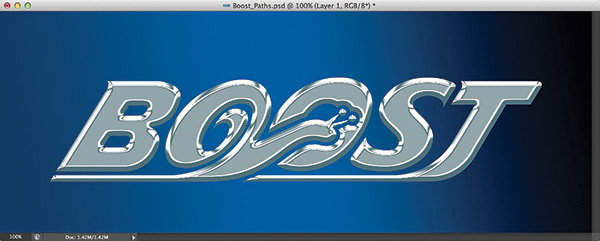
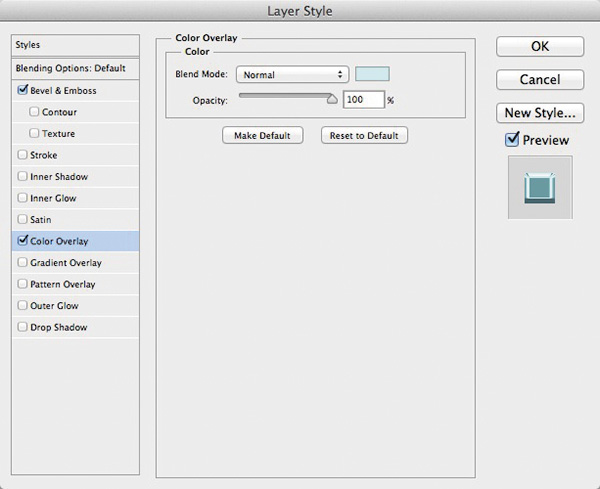
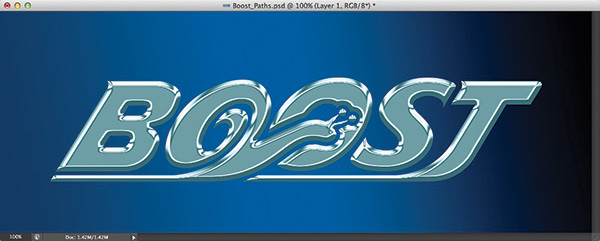
STEP THREE: Choose Color Overlay from the Styles list on the left side of the Layer Style dialog. Click on the color swatch, choose a light-teal color (R:189, G:244, B:248), and click OK.
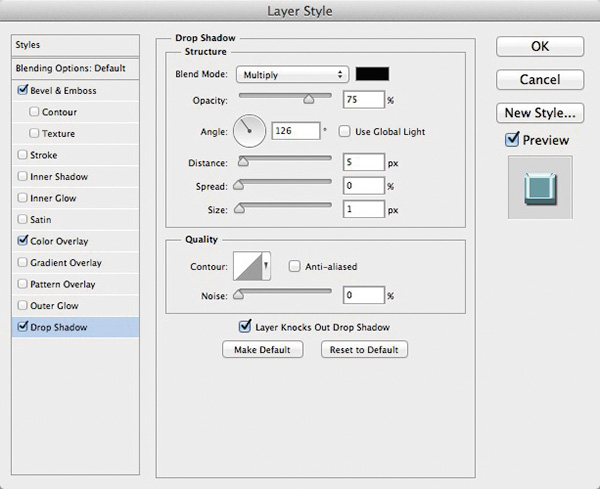
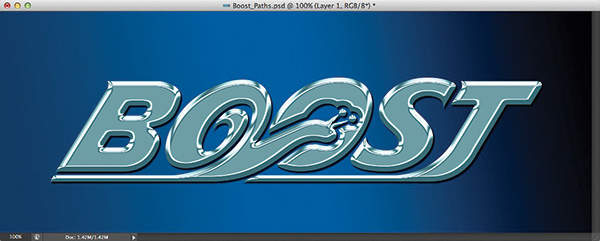
STEP FOUR: Now, choose Drop Shadow from the Styles list. Uncheck the Use Global Light box, enter 126° for Angle, 5 px for Distance, 1 px for Size, and click OK to apply the layer styles.
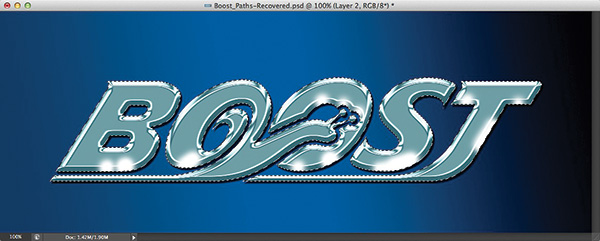
STEP FIVE: Add a new layer (Layer 2). Command-click (PC: Ctrl-click) on Layer 1's thumbnail to make it a selection. Press X to set the Foreground color to white. Choose the Brush tool (B) from the Toolbox. Using a soft-edged brush, paint some highlights on the edges of some of the characters (see example). Change the layer blend mode near the top left of the Layers panel to Overlay, and lower the layer Opacity to 65%.
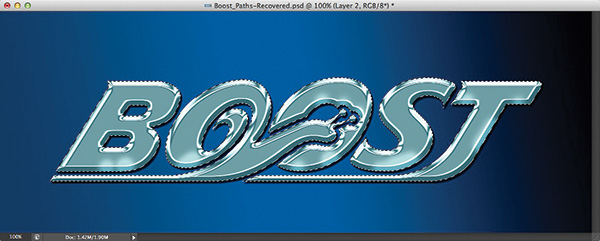
STEP SIX: Add a new layer (Layer 3). Press D to switch the Background color to white. Click on the Foreground color swatch to open the Color Picker. Choose a light-teal color (R:164, G:230, B:255), and click OK. Choose the Gradient tool (G) from the Toolbox. Go to the Options Bar and click on the Gradient thumbnail. Choose Foreground to Background in the Presets and click OK.

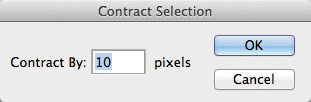
STEP SEVEN: Choose Select>Modify>Contract. Enter 10 pixels and click OK. Now, using the Gradient tool, click-and-drag a gradient from the bottom toward the top of the selection. Deselect.
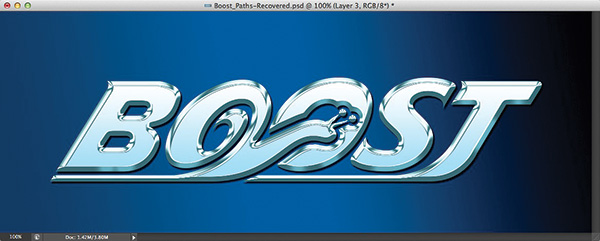
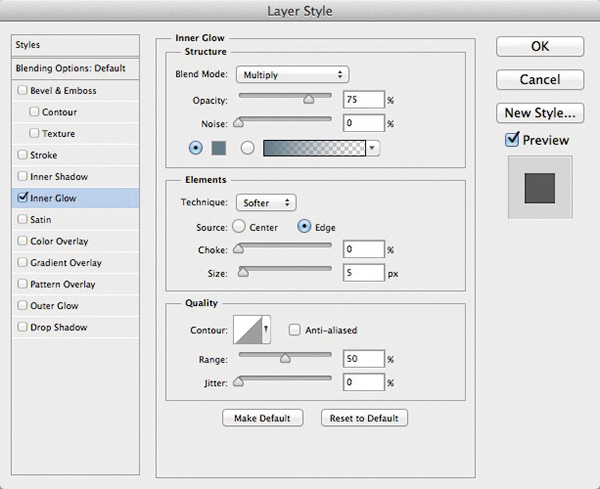
STEP EIGHT: Click on the Add a Layer Style icon at the bottom of the Layers panel and choose Inner Glow. Choose Multiply for the Blend Mode, click on the color swatch, choose a dark-teal color (R:97, G:123, B:136), and click OK. Enter 5 px for Size and click OK to apply the layer style. Add some additional text and a logo to complete the effect.
This article is courtesy of Photoshop User magazine, the official publication of KelbyOne, which provides quality online education for creative people. For more information, visit KelbyOne.com.

This effect is so nice, this effect mean tow types like a logo or like a text effect.