Photoshop’s Motion Blur is a great filter, but it doesn’t really look like someone is moving fast- it looks more as if you’re rapidly shaking your head back and forth. Here’s a quick tutorial on how to take a skier (courtesy of PhotoSpin.com)…and make him look as if he’s flying downhill.
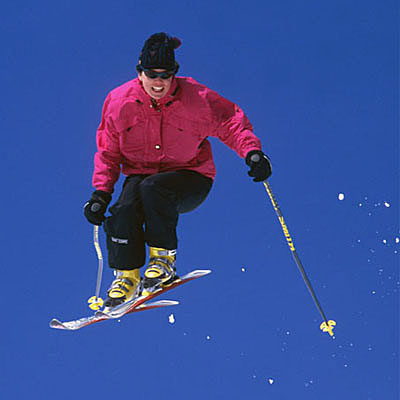
Step 1
Open the image, and use the Motion Blur (Filters > Blur > Motion Blur…). Set the angle to match the direction the skier’s heading, and choose a distance that will give you enough blur to work with- in this example, I chose an angle of 14 degrees and a distance of 40 pixels.
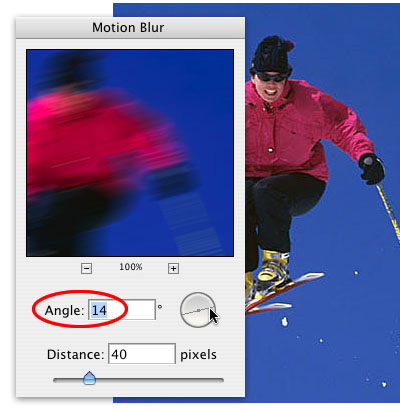
Step 2
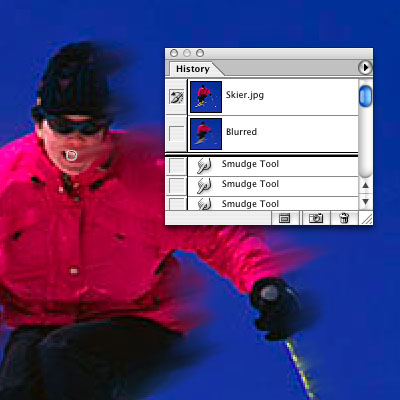
Next, open your History palette. You’ll notice that you already have a Snapshot of the image as it was when you opened it. Tap on the little camera icon to create a Snapshot of the current state, and name this new Snapshot Blurred.
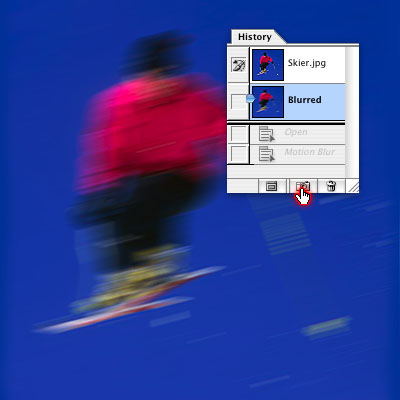
Step 3
Tap on the first snapshot (Skier.jpg) to change the blurred image back to a sharp one. Next, tap in the little square directly to the left of the Blurred snapshot- you’ll see a paintbrush appear. That lets you know that you’re painting from the Blurred snapshot.
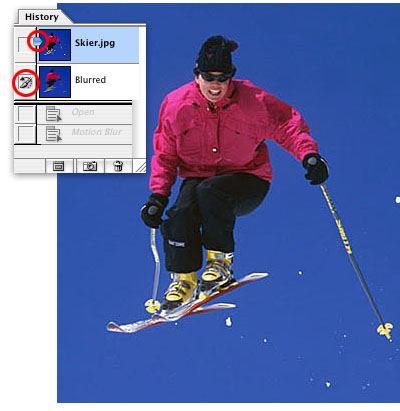
Step 4
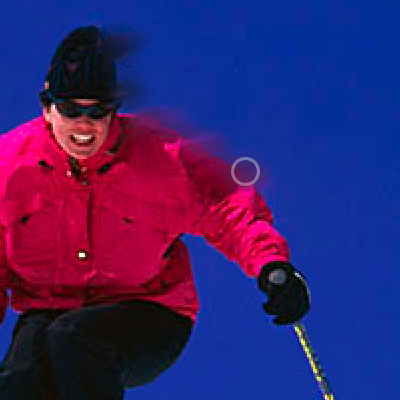
Paint in the motion blur on the right side with the History brush.
Step 5
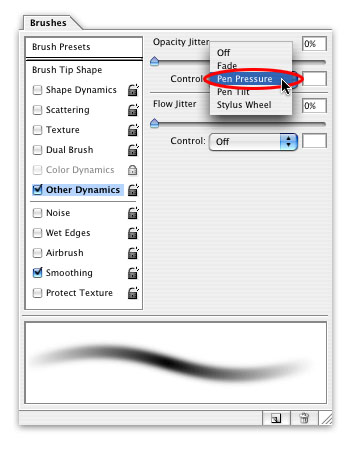
If you’re using a Wacom tablet, set the Brush Dynamics to react to pressure with Opacity, and you can control how much of the motion blur you paint in. Press softly for less blur, and firmly for more of the motion blur.
Step 6
If you blur more than you wanted, simply tap to the left of the first snapshot and paint in from the original. Tap to the left of the Blurred snapshot to continue painting in the motion blur.
Step 7
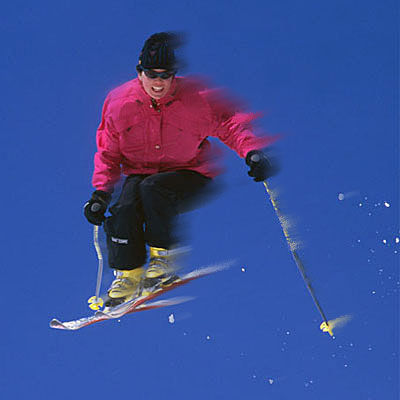
And there you are- a realistic motion blur.


Great, I didn’t know of this snapshot/ history artbrush relation.
Thank you.