The calm and peaceful waters are ruining your image and you want to stir things up a bit. Here’s an easy way to add pond ripples to your image.
STEP 1
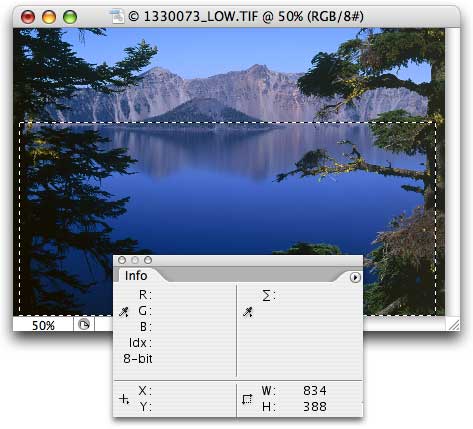
Open the image to which you want to add ripples. In this example, I’m using #1330073 from PhotoSpin.com. Make a selection of the area in which you need ripples and check the W: and D: fields in the Info palette to see the dimensions.
STEP 2
Create a new document (RGB, Transparent) that’s square and about twice the size of the longer of the W: and D: values you saw in the Info palette. Deselect or Undo after noting the size.
STEP 3
Use the Eyedropper tool to “sample” colors from the original image to use for the ripples. (You could use black and white, but I prefer to use colors from the original image.) Click once near the outer edge of the water, press X on your keyboard, then click once near the center of the water.
STEP 4
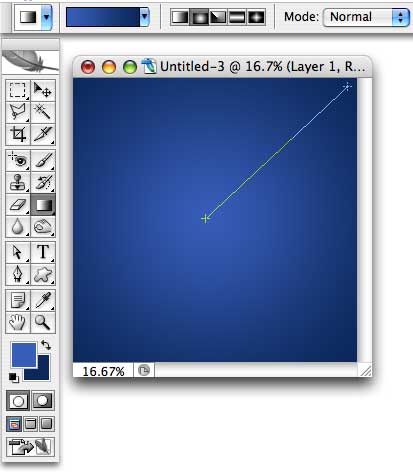
Select the Gradient tool and in the Options bar select Radial for the style and foreground-to-background for the gradient content. Drag the tool from the center of your empty document to one corner.
STEP 5
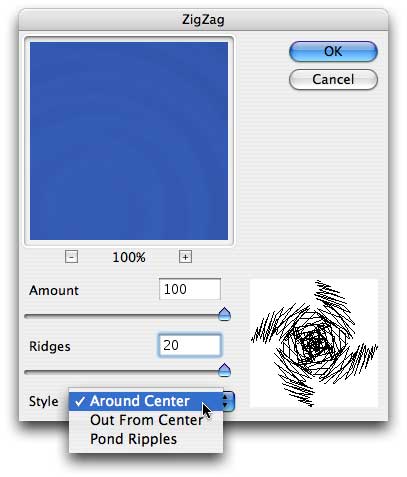
Select the menu command Filter> Distort> ZigZag and choose Around Center for the style. The appropriate values depend on the pixel dimensions with which you’re working. In this case, my image is 1700 pixels by 170 pixels, so I need the maximum values. (You want visible ripples in the image.) Click OK. If the ripples don’t seem strong enough, press Command-F (Mac) or Control-F (PC) once or twice to re-apply the filter. You can also use the Unsharp Mask or Smart Sharpen filter if desired.
STEP 6
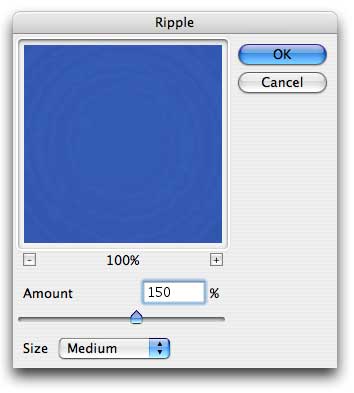
(OPTIONAL) Open the Distort> Ripple filter’s dialog box, select Medium for the size and an amount just enough to break up the edges of the ripples a little.
STEP 7
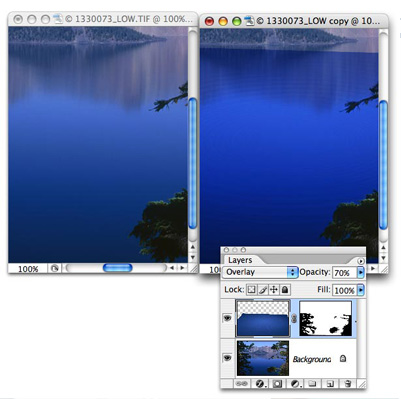
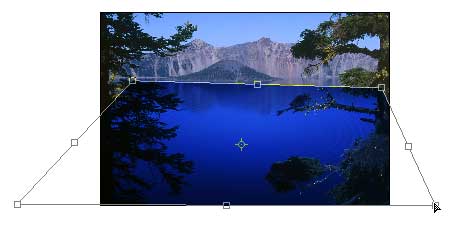
Drag the layer from the Layers palette to the window of your original image. Change the upper layer’s blending mode from Normal to Overlay. Press F on the keyboard once to enter Full Screen mode. Press Command-T (Mac) or Control-T (PC) to enter Free Transform. Zoom out until the corners of the transform bounding box are visible. Drag and Command-drag (Mac) or Control-drag (PC) the bounding box anchor points to skew, scale, and adjust the perspective of the ripple layer. Press Return/Enter when done.
STEP 8
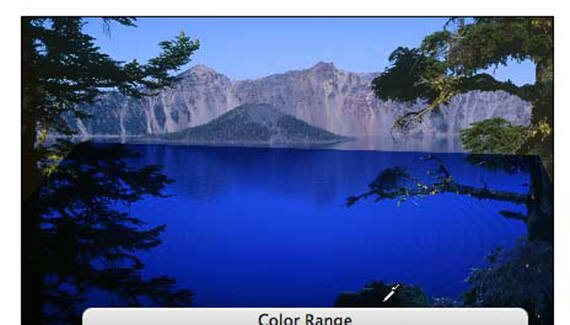
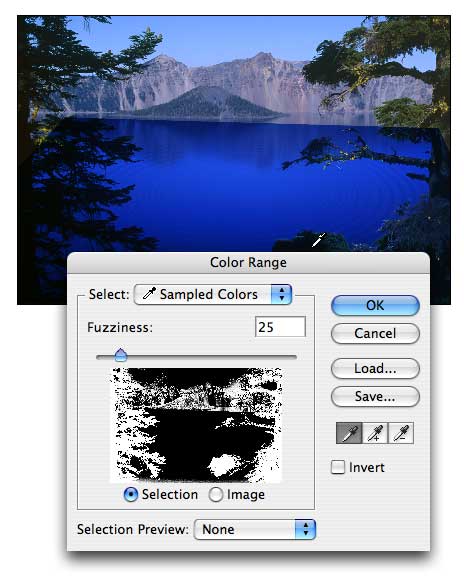
Make a layer mask the excludes anything that is between the camera and the water – anything that should not have ripples on it. The Select> Color Range command is often a good tool for the job. (Remember to use the Select> Inverse command before clicking the Add Layer Mask button at the bottom of the Layers palette.)
STEP 9
(Optional) Experiment with blending modes and opacity to get just the right look for your image.