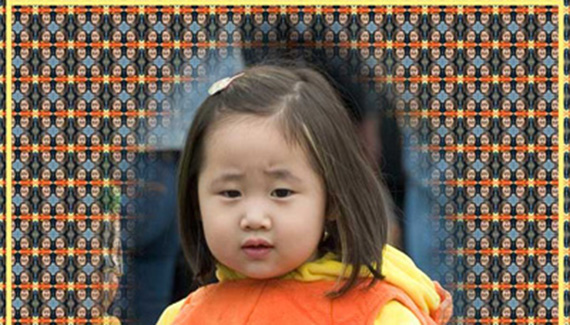
In Part 1 of this tutorial, we created a very simple non-destructive vignette. Now, it’s time to have some fun with it and see the real advantages of working “non-destructively.”
We’ll use the same image as in Part 1 (pumpkingirl.jpg).
You can alter the frame in many different ways or you can choose a different color for it. Let’s experiment with some different color possibilities.
1. Double-click on the color icon on the left of the Color Fill 1 layer in the Layers palette. The Color Picker appears. Move it so that it doesn’t cover up your image.
2. If you place the cursor over your image, you’ll see the eyedropper. You can click on any color in the image to make it the new Fill color. Try clicking on the child’s face, her lips, the orange of her costume, her yellow hood, her mother’s green sleeve, or the blonde streak in her hair. Without making a final choice, you can preview each of these colors. I happen to like the blue, so we’re going to click Cancel, but if you prefer a different color, choose it now. The following images show different color choices. My main point is that you can try out any color that you’d like without committing to it, and see exactly how it will look in the image.
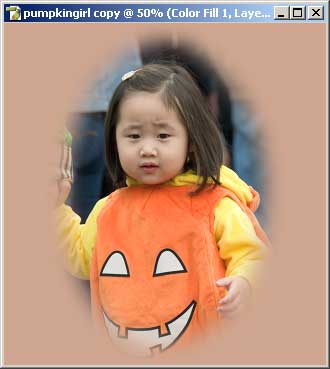
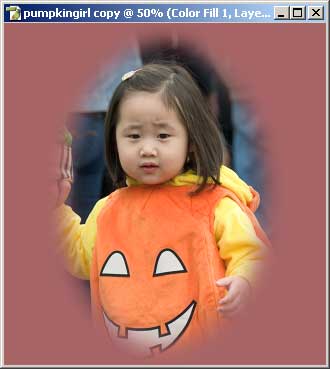
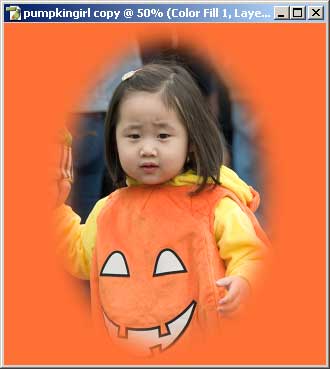
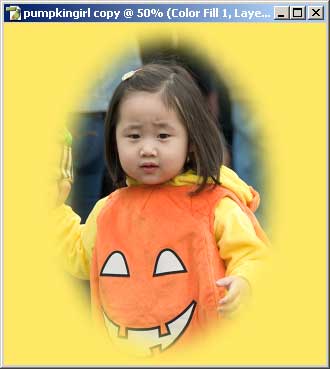
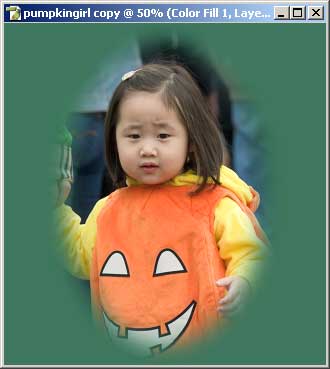
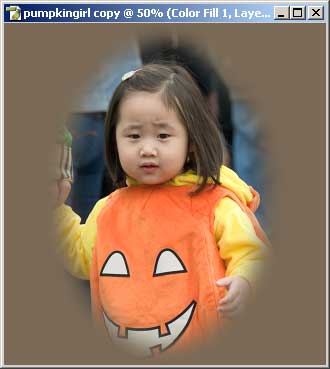
Let’s go a bit farther and add a small frame near the outside edge.
1. Choose the Rectangular Marquee tool (M) and leave an even border at the edges (just use your eyes).
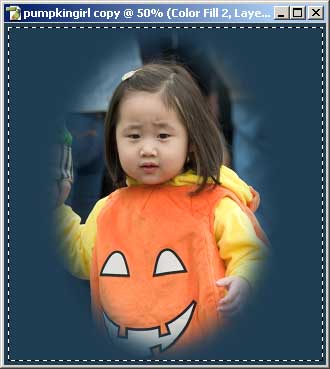
2. Choose Select>Inverse to select just the border area.
3. Add another Solid Color Fill layer. The color doesn’t matter at all right now.
4. In the Layers palette, drag the Fill slider to 0%. The layer effectively becomes invisible; however, the Fill only affects the contents of the layer but any Layer Styles added to the layer will be fully visible.
5. Click on the RGB channel in the Channels palette to make that active. The Color Fill layer mask is active by default and if you leave it active, you won’t be able to choose a color from the image to add a Stroke effect to the layer.
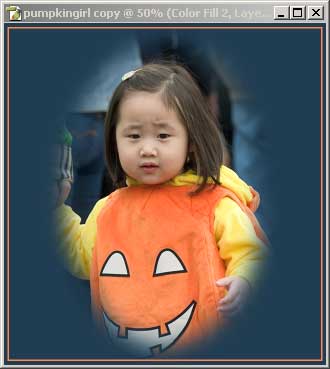
6. Choose Layer>Layer Style>Stroke. In the Stroke dialog box, click the red stroke color patch to open the Color Picker. Click on the orange of the child’s costume to make that the new Foreground color. Choose an Inside stroke with a width of 4 pixels.
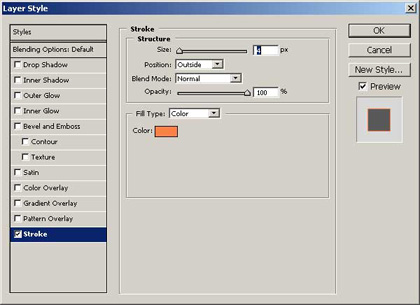
Click OK to exit. Here’s our image now.
Adding a frame around the edge is not your only option. (Of course, you could do that on the destructive version too). On the destructive version, however, you can’t group other layers to the vignette. You can if you use my non-destructive method. This is the last change that you’ll try here, and although I artistically prefer the blue background with the orange stripe for this image, the grouped pattern method is also interesting and would be an excellent choice for many images.
1. Download and open the tiny image shown below. This is a seamless tile that I created from the child’s head, then reduced the tile to 30 pixels wide.

2. With the pattern image active, choose Edit>Define Pattern.
3. Make the Color Fill 1 layer active and choose Layer>New Fill layer>Pattern. In the New Layer dialog box, click Use Previous Layer to Create Clipping Mask. (If you’re using Photoshop 7, you’d choose Group with Previous Layer.)
4. If the girlpattern is not visible in the pattern dialog box, click on the pattern shown and select the correct pattern to use. Click OK. The pattern will fill only the area of the vignette as you can see.
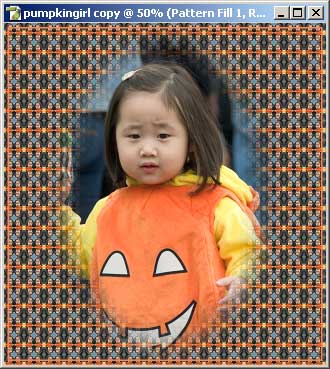
The stroke effect is now lost in the shuffle. You need to make it wider and change its color. That isn’t really easy if you want to pick up a color from the image. If you double-click the layer to open it, the Stroke dialog box will only show you the black or white of the mask as color options. Here’s how to trick it into letting you choose a color from the image:
1. Make the Color Fill layer 2 active (that’s the border layer).
2. Click on the RGB channel in the Channels palette.
3. Choose Layer>Layer Style>Stroke or choose Stroke from the Add a Layer Style icon at the bottom of the Layers palette. Do not double-click on the layer style in the Layers palette. The Channels palette will stay on the RGB channel.
4. Change the width of the stroke to 6 pixels.
5. Click the orange stroke color in the dialog box to open the Color Picker. Click her yellow hood to choose yellow for the stroke color. Click OK to close the Color Picker and OK to exit the Stroke dialog box. Here’s our final image.
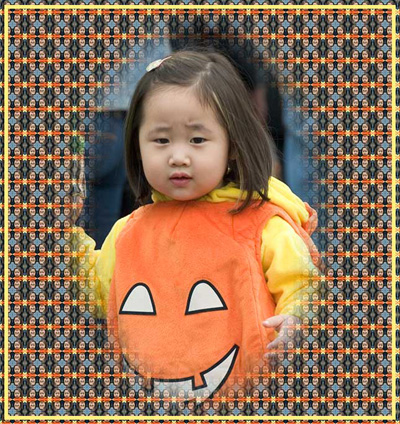
You can group other layers to the vignette base and alter the blend modes if you wish to create a more complex background. You can easily remove the pattern fill if you decide you don’t like it: Just turn off the Eye icon to keep the option of using it again.
I hope that you’ve enjoyed this tutorial and can see the benefits of working non-destructively.
Sherry London writes the “Photoshop Quick Tips” column for Photoshop User magazine. She’s written numerous books on Photoshop, Illustrator, Painter, and related graphics. Sherry can be reached at pracingpixel@yahoo.com and her website is http://www.sherrylondon.com.

