
Facial Warp: Time For A Makeover
If you are like me, you have the bad habit of collecting photos, textures, or other graphic objects for future use in your work. I’ve been collecting these things for years, and have quite a library of unused images just gathering dust in various nooks and crannies on my hard drive or around my office. They call to me occasionally, begging to be warped or manipulated. When your CD collection starts talking, you need to do 2 things fast: get your head checked for injuries, and for Pete’s sake, get them to shut up! There is little more annoying than whining graphics.
I have been working on several actions (I think I’m up to 30 variations now) for getting some use out of these photos. Most of these first turn an image into an artistic rendering and then warp said photo into something seamless, giving it a Goth-like quality that on occasion is pretty creepy but generally always cool. How could I describe the process without taking a full month of tutorials is the question. I think I’ve found an answer. Why not use an existing online tutorial for the first portion of the process, and then complete the effect here? I’m not sure if this will work, but we can surely give it a try.
For the first part of this tutorial, please direct your browsers to an excellent Photoshop Tutorial Resource, Access Denied (http://www.axxessdenied.com/). This site is fantastic and has quickly become a personal favorite of mine. In the upper right corner of the main page you will find a navigation menu. Go into Tutorials, then Click Photoshop. Scroll down through the long list of tutorials (maybe stopping to perform a few on the way) until you find one entitled “Photo -> Sketch by axxessdenied”.
Open an image/photograph, preferable a head shot as these work best for the rest of the tutorial I’ll be covering here.
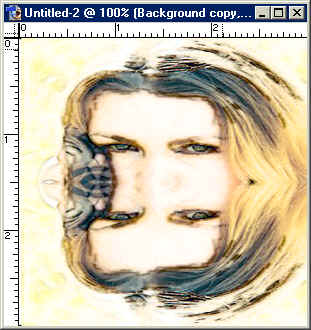
I’ve just gone through the tutorial, and here is the before image alongside the after image:
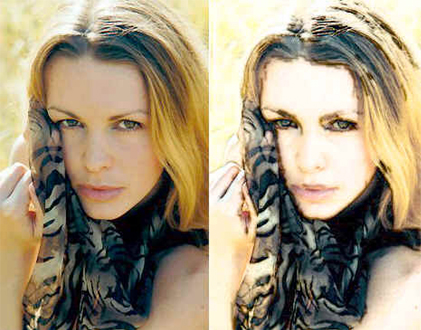
I love the process the author of the tutorial uses to create the subtle brushing in that effect. Nicely done!
Ok, now to my portion of the tutorial.
1) Once you have your image ready, collapse it. Duplicate the background layer.
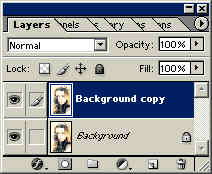
2) With the duplicate layer selected in the Layers Palette, go to Edit>Transform>Flip Vertical.

3) This next part of the process is basically covering the seamless tutorial we did on texture photos a few weeks ago, but wait until you see the result! With the duplicate layer selected, click the ‘Add a mask’ icon on the bottom of the layers palette. The foreground/background colors should default to Black/White respectively.
![]()
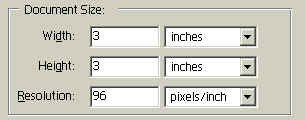
4) Before we apply the mask, let’s square things up a bit. Go to Image>Image Size and set the size to 3 inches x 3 inches, resolution 96 DPI.
5) Now select the Gradient tool. Set your gradient up so that there is a fairly stark division between the 2 colors.
![]()
Also, make sure the Linear Gradient is selected.
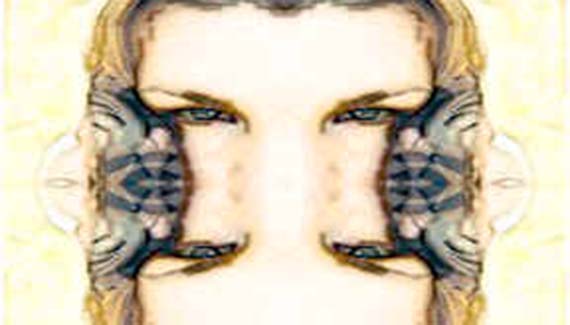
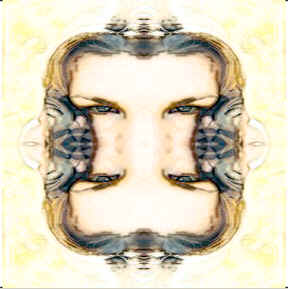
6) Starting at the top edge of the image, draw the gradient down to the bottom edge. Use a strait vertical line⦠any variation will mess up the end effect. Your image should appear reflected, like this example:
7) Go to Layer>Merge Visible. Duplicate this newly merged layer. Select the Duplicate again and go to Edit>Transform>Flip Horizontal.
8) Again, Click the Add a Mask Icon. This time draw your gradient from the left edge to the right edge, as strait as possible. Here is the result:
Have a great week, everyone!
