
When you're seeking to add drama to a night scene, one of the most powerful approaches is to add light beams. In today's tutorial, we'll create a dramatic light beam from scratch using a series of Curves adjustment layers.
Step 1: Open a Night Scene
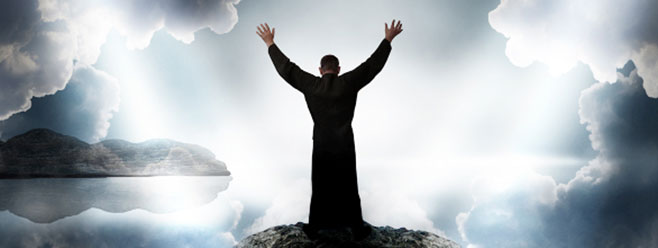
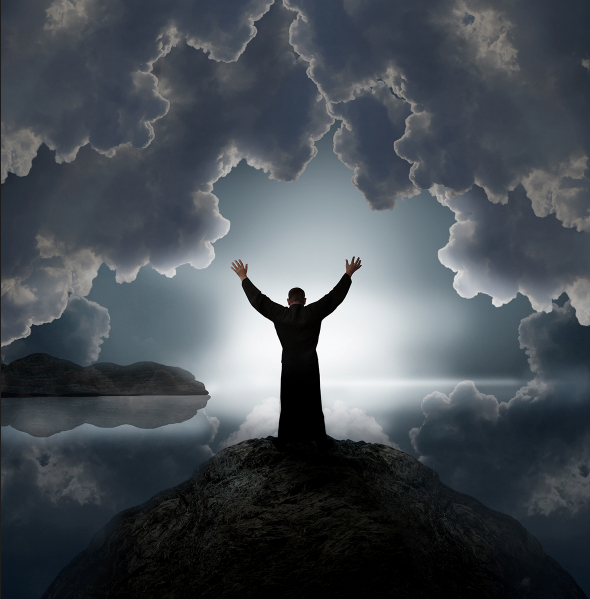
Open a night scene that can benefit from a dramatic light beam.

Step 2: Add a Diffuse Beam
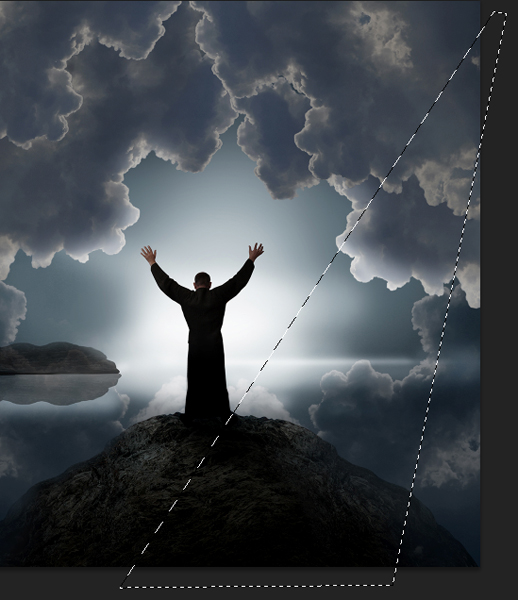
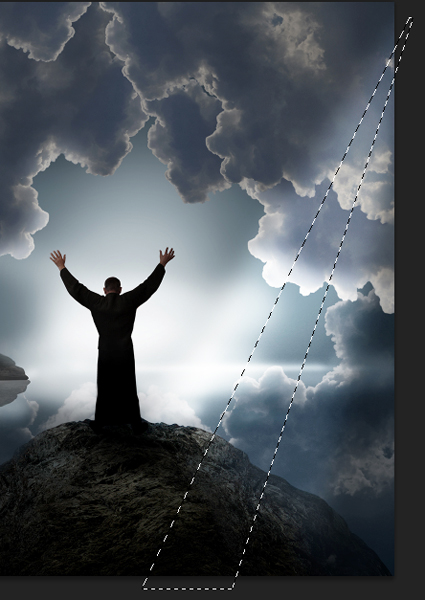
In this step, we'll add a diffuse beam that represents the outer edge of the light's glow. Activate the Polygonal Lasso tool. Using a connect-the-dots approach, draw a triangular-shaped beam similar to the screen grab below.
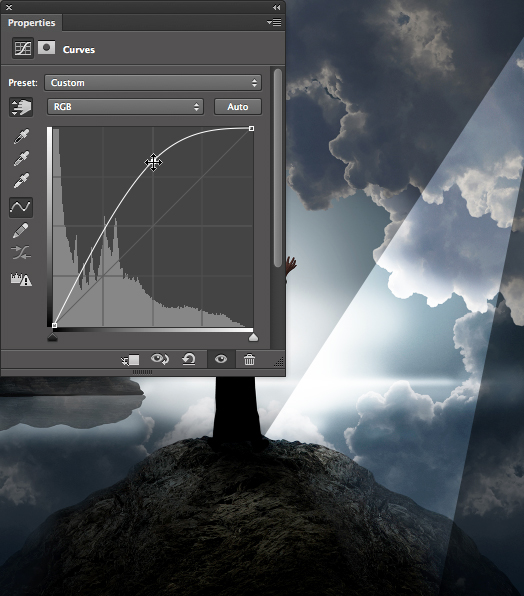
Open the Adjustments panel and click on the Create a new Curves adjustment layer icon. Grab the center (midtone) point and drag up to add light to the selected region. Don't worry about perfecting the amount of light. Since this is an adjustment layer, the amount of light can be modified at any moment simply by dragging the point higher (more light) or lower (less light).
Blur the beam by choosing Filter>Blur>Gaussian Blur. Adjust the Radius until the outer edge of the beam looks realistic.
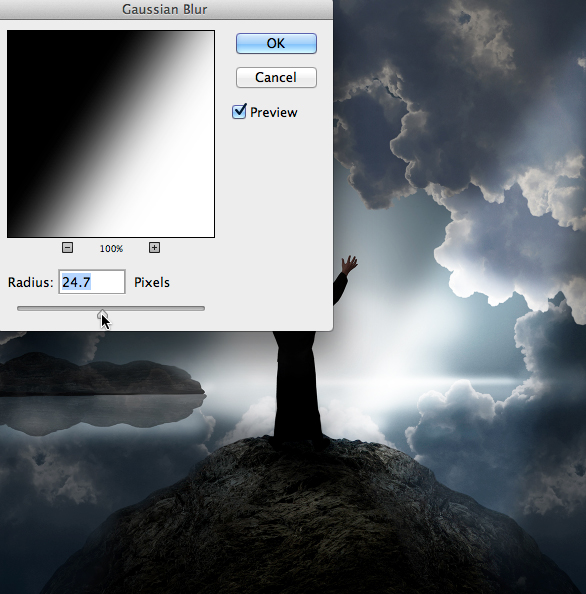
Press OK.
Step 3: Add a More Focused Beam
The center of the beam should have a more intense glow than the exterior, so we'll add a more focused beam in this step. With the Polygonal Lasso tool still active, draw a narrower triangular-shaped beam inside the original beam.
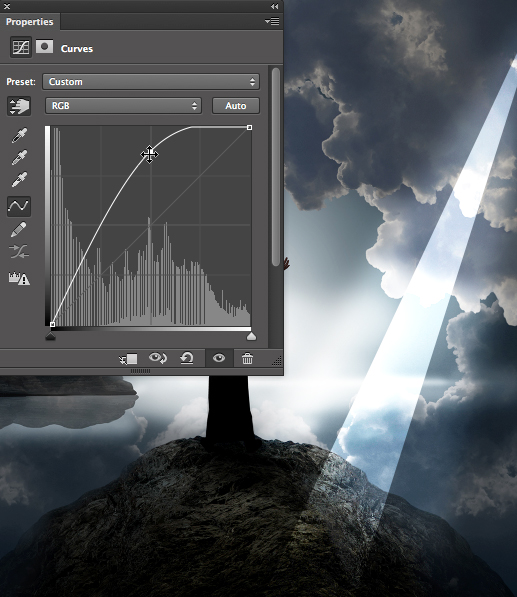
Add a Curves adjustment layer and drag the center point up a little higher than before to add slightly more intense light.
Blur the beam with Gaussian Blur using a Radius similar to the original beam.

Press OK. Keep in mind that you have the ability to adjust the intensity of each Curve at any time.
Step 4: Fade the Beam
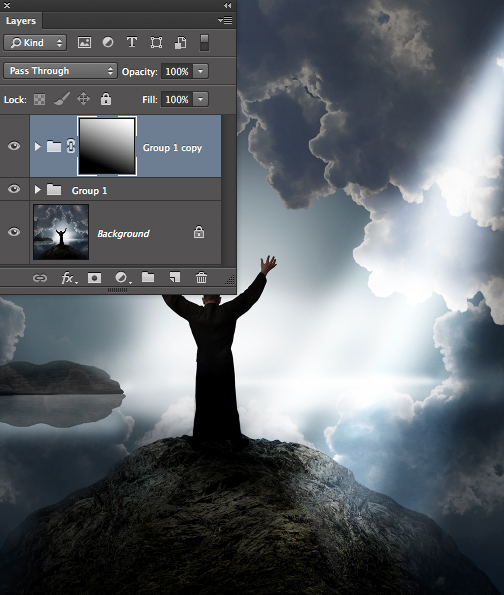
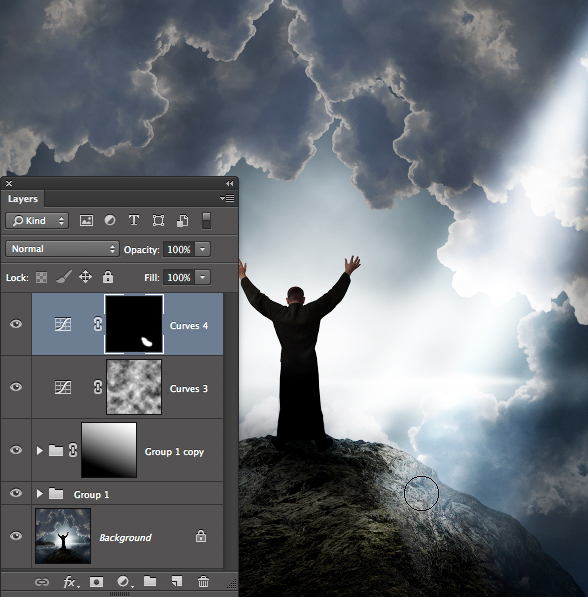
Since light is strongest at the point of origin, we'll bring more intensity to the narrow (top) portion of the beam. With the top Curves layer (Curves 2) active, press Shift and click on the bottom Curves layer (Curves 1) to activate them both.
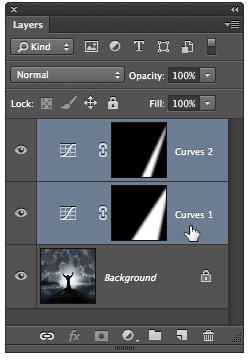
Now press Command-G (PC: Control-G) to place both Curves layers into a group (Group 1). Duplicate the group by pressing Command-J (PC: Control-J).
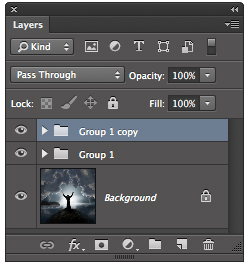
With the top group (Group 1 copy) active, click the Add layer mask icon at the base of the Layers panel. Tap D, then X to set black as the Foreground color. Select the Gradient tool. From the Gradient picker in the Options Bar, choose the Foreground to Transparent option.

Click at the base of the light beam and drag to the top to fade the lower portion of the beam.
Step 5: Add Atmosphere
Without atmospheric particles, such as dust or water, light beams are not possible. In this step, we'll add some atmosphere to the scene. Add another Curves adjustment layer. As with the previous Curves layers, drag the midtone point up. Choose Filter>Render>Clouds. This fills the mask with a cloud effect. To refine the intensity of the effect on the image, play around with the point on the curve.
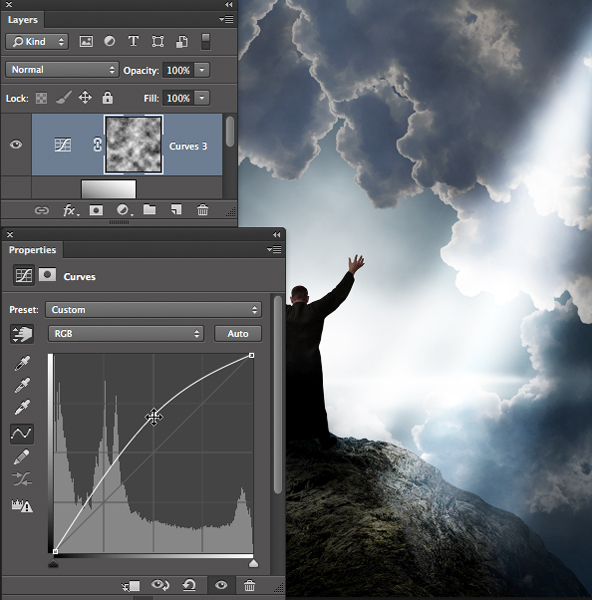
If desired, the effect can be isolated to certain regions by painting with black (or gray) on the cloud-filled mask. Additionally, the clouds can be stretched using Free Transform.
Step 6: Brighten the Ground's Surface
When light strikes the ground, the surface glows. Let's bring just a touch more glow to the spot where the light strikes the rock. Add a final Curves adjustment layer. Click the hand-with-arrows icon to activate the on-image controls.
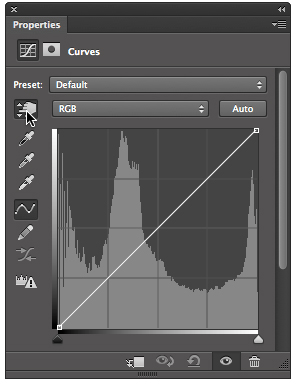
Click on a bright portion of the rock and drag upward to increase the light's intensity.
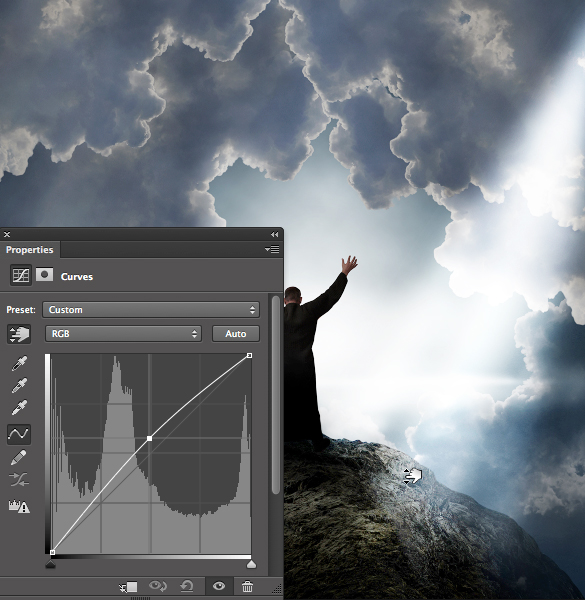
Temporarily hide the effect by pressing Command-I (PC: Control-I). Tap D to set white as the Foreground color. Grab a soft-edged brush and paint over the rock's surface to selectively add light.
Here's the image before adding the beam.
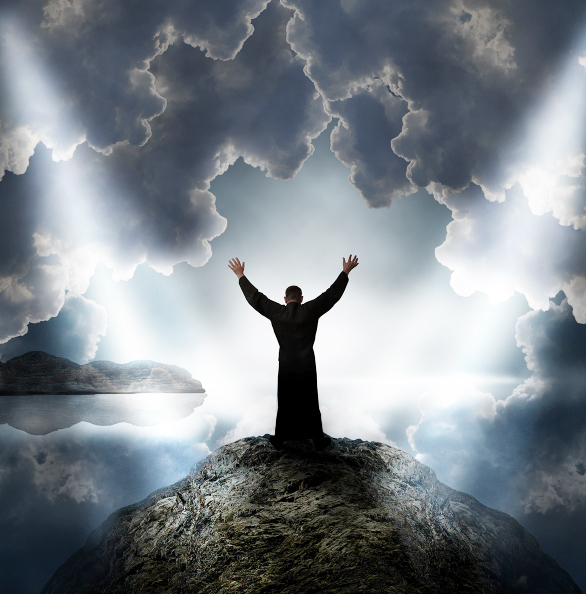
And here it is with a beam emanating from both sides.
Mark S. Johnson Photography
msjphotography.com
