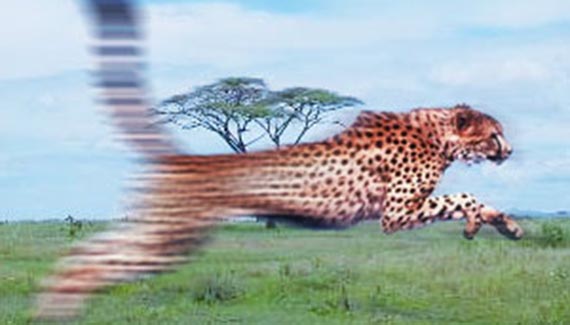
What happens if you can’t find that perfect photograph? What if you want to make things a little bit more active than they are in the stock photo? Here is a little technique that should help you in those circumstances.
What I want to do is to take a photo that I have of a cheetah, put a background behind it and then make it look as though the cheetah is moving.
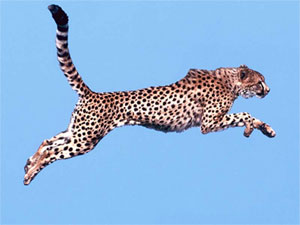
I start out with a photo of a cheetah. The background is completely blue, which will save me a lot of time.
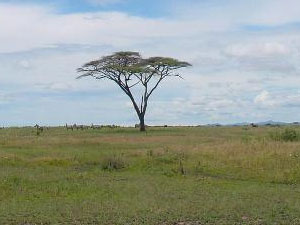
Then I choose a nice background image. Here is a shot of the the Serengeti.
Since the background on the cheetah photo is all blue, I can use my magic wand tool to select the blue parts and then simply hit delete. I love the magic wand tool. Here’s what it will look like.
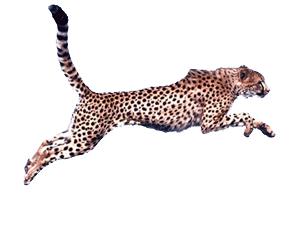
Now I simply place my cheetah photo on a layer above the background photo. The background photo will now show through just perfectly.
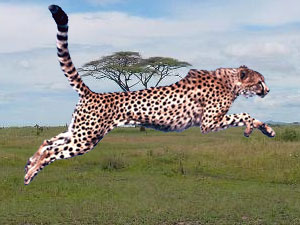
At this point it looks pretty fake. I want to make the image look as though I took it with a camera with a shutter speed that was a little slow. This will give me a nice blurred effect. Yet the only thing that is blurred should be the cheetah. The background would not be moving, only the animal. To achieve this, we will create a controlled blur on the cheetah.
Select your circle marquee tool and draw a oval shaped selection around the cheetah’s head.
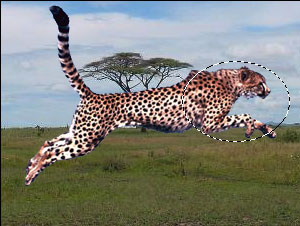
Now we want to feather the selection a bit to make it more realistic. Go Modify -> Feather. I gave mine a 30 pixel feather. Now invert the selection Shift + Command + I .
Now we are going to do the blur.
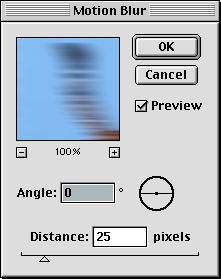
We are going to give it a motion blur with the angle at 0 degrees. This will be straight across. Look at the dialog box above for the exact numbers I used.
Once we have completed the blur, we are done. On this piece I decided to duplicate my first cheetah layer (with the blue background), set it on top of the other two layers and set the blending mode to Overlay. I also dropped down the opacity a bit. This seems to have lightened the image a bit and gave the whole thing a more consistent lighting that I think is more realistic.
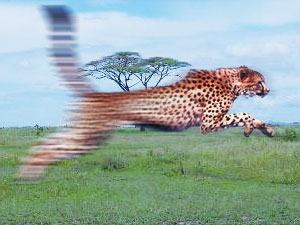
That’s it for this week. Have fun!


This tutorial gives no help at all.
thanks corey