
If you do any Photoshop work at all, you’ll know how often clients ask you to do the impossible. Can you get rid of those leaves in the background? Can you get rid of those pimples on my wedding picture? Well, if you get asked that again… say yes.
I’m going to show you how to use the clone stamp tool this week. You’ll love what it can do for you. I know I have really made some clients bow down at my feet in astonishment over some pretty easy tasks.
Remember to always say “sure, I can do it, but it’s gonna cost you.” Just kidding.
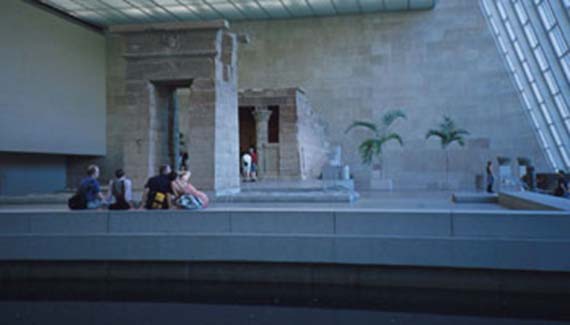
Let’s start with a photo. This is the first one I found.
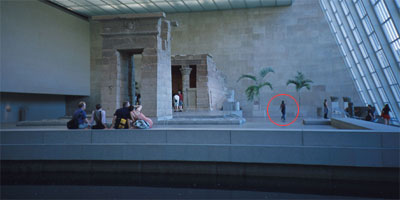
See the lady in the background between the two plants? I don’t like her. Let’s get rid of her.
Now get your cloning stamp tool. I have it pictured below.

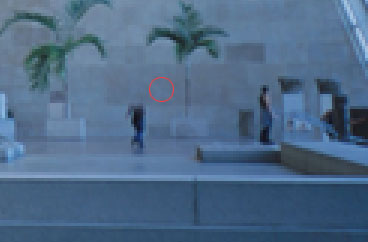
The trick to this is that you want to find an area that matches the color and pixel assortment of the area you are going to change. Zoom in to your picture very closely. Here you can see that the brick pattern has some obvious areas that are different from one another. The brick where her head is, is darker than the lower ones. Let’s take a sample of that area to “erase” her head.
Hold down your option/alt key and click in that area. Select a brush size by hitting your [ key for smaller sizes and your ] key for larger before you do this. Pick a size that will fit within the brick area by her head. Use something small. Now go over to her head and makes some clicks right on top of. You should get something like this. I circled the area that I took a sample from. The circle is a little bigger than the sample brush size I used.
To finish the remaining portions, just do the same thing. Match the color with the area you are going to “erase” by looking closely around the area and finding a match. Then you can click on the area to get rid of.

Here are a few tips:
1. Use a smaller brush when in doubt.
2. Only make a few clicks at a time, and then go back to take another small sample. The results are always better this way.
3. Try not to take sweeping strokes as you would with a paintbrush. You lose control and your computer will sometimes bog down a bit.
4. Take your time and use your histroy palette if something goes wrong. You can always do it over.
5. Always make a copy of the layer you are going to work on. You’ll save yourself a headache. Trust me.
5. Have fun
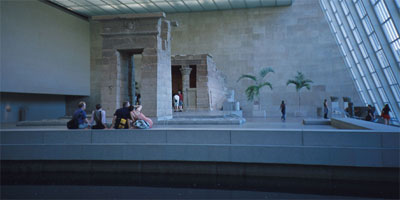
Here is my final product. Not too bad for about 25 seconds of work. Especially when everyone thinks it’s so hard! Now you will find much more challenging pieces to deal with than this one, but in time you’ll have it mastered.

Thanks for the great tip.
I was crazy to learn this command. Thanks.
Splendid! That will teach her to walk between two plants!