
Recently, while playing in the Refine Edge dialog, I was struck by the idea that it's possible to combine Refine Edge's powerful sliders with textures to create an unlimited variety of borders that can be applied to any photo in your inventory. The process is fast and simple, and with the array of textures available on sites such as CGTextures, there's no limit to the creative possibilities.
Texture image: © CGTextures
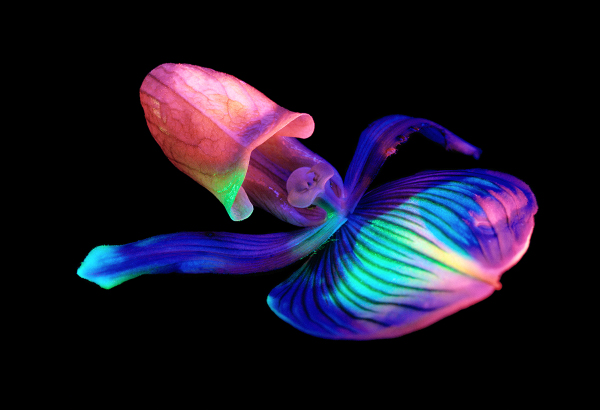
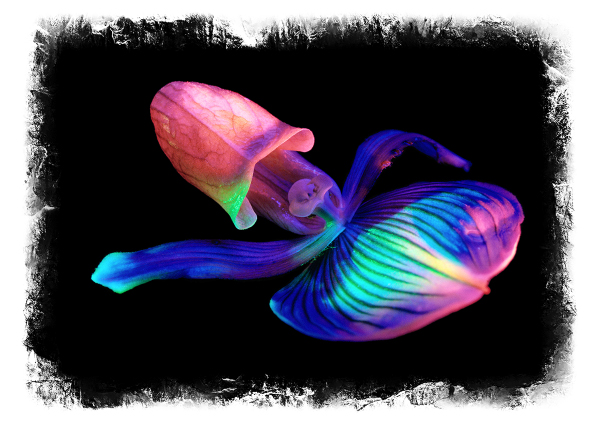
Botanical image: © Mark S. Johnson Photography
Step 1: Open a Texture
Open a texture with lots of edge detail. Textures can be captured with your camera or downloaded from sites such as CGTextures ( http://www.cgtextures.com/ ), Flypaper Textures ( http://flypapertextures.com/ ), or French Kiss Collections. Discounts for Flypaper and French Kiss textures are available on the MSJPhotography Discounts page.

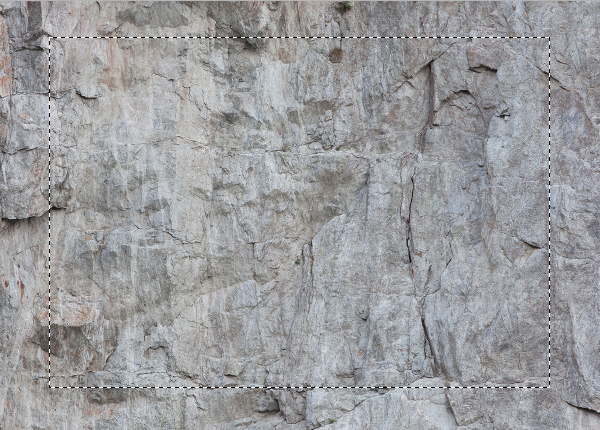
Step 2: Make a Rectangular Marquee Selection
Activate the Rectangular Marquee tool and pull out a selection. Leave a 10 - 20% border. Remember that it's possible to reposition the selection while scaling by adding in the Spacebar.
Step 3: Creatively Refine the Edge
In the Options Bar, click the Refine Edge button.

Choose On White from the View menu. Experiment with the Radius, Contrast, and Shift Edge sliders until the border looks interesting.
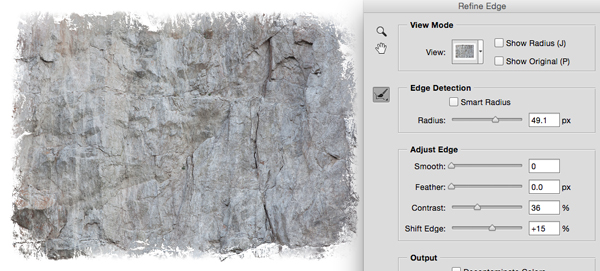
Set the Output To menu to Selection. Press OK.
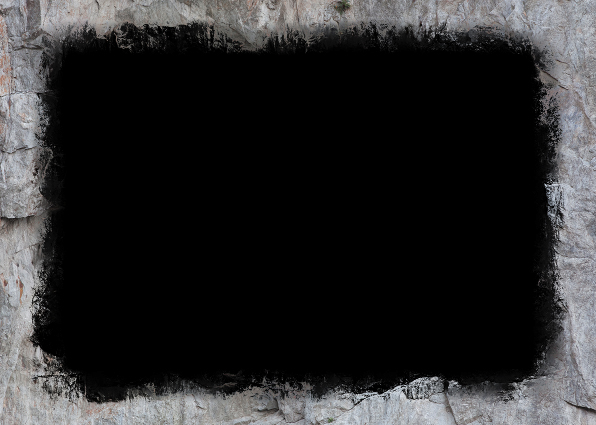
Step 4: Create a "Clip" Layer
Now we'll create a layer that will cut the border for any photo we choose. Click the Create a new layer icon at the base of the Layers panel. Tap D, then press Option-Delete (PC: Alt-Backspace) to fill the selection with black. Press Command-D (PC: Control-D) to deselect.
Step 5: Clip in a Photo
Open the photo to which you'd like to apply the border.
Press Command-A (PC: Control-A), then Command-C (PC: Control-C) to copy the photo. Return to the "border" document and press Command-V (PC: Control-V) to paste the photo. Choose Layer>Create Clipping Mask to clip the photo inside the border. Wowâ¦custom border, minimal effort!
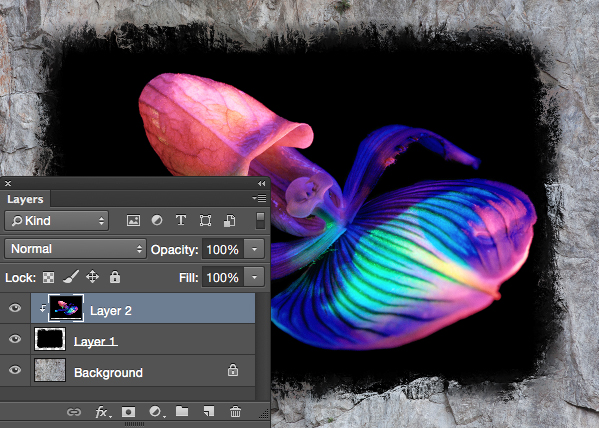
If desired, scale the photo and/or border so they fit together better.
Step 6: Hide the Texture
Since the stone texture is still visible around the edges, we'll add a white layer to hide it. Activate the Background (the texture). Click the Create a new layer icon. Tap D, then press Command-Delete (PC: Control-Backspace) to fill the layer with white. Ta-da!
To apply this border to another photo, open the photo and pick up with Step 5. To create other borders, open other textures and have fun experimenting with this technique!
Mark S. Johnson Photography
msjphotography.com
