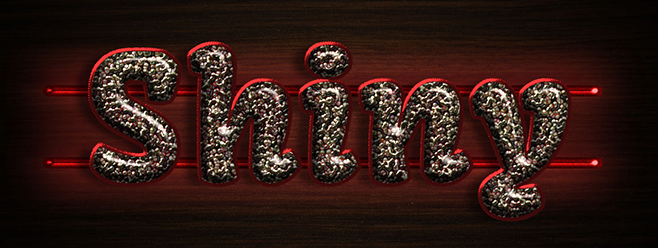
This tutorial will show you a simple way of using some Photoshop Filters to create a metallic mosaic tiles inspired text effect. It will also explain how to create some background elements to finish off the effect.
Tutorial Assets
1- Kavoon font.
2- Plain Wood 03 by H9Stock.
3- Green Fibers pattern by Matteo Di Capua.
Loading the Contours
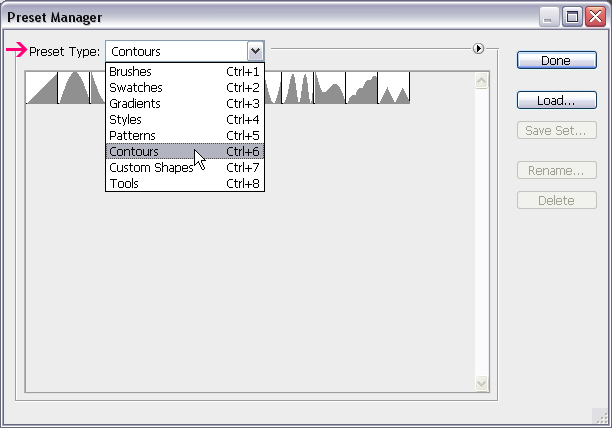
You might need to load the Contours used in some of the Layer Styles below. To do so, go to Edit -> Preset Manager, and choose Contours from the Preset Type drop down menu.
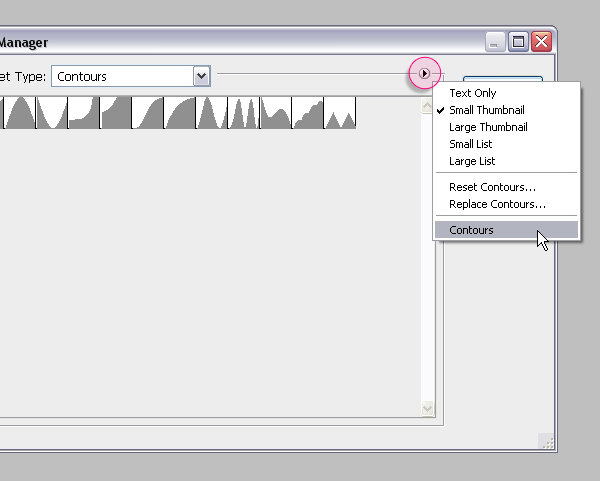
Click the small arrow in the top right corner, and choose Contours.
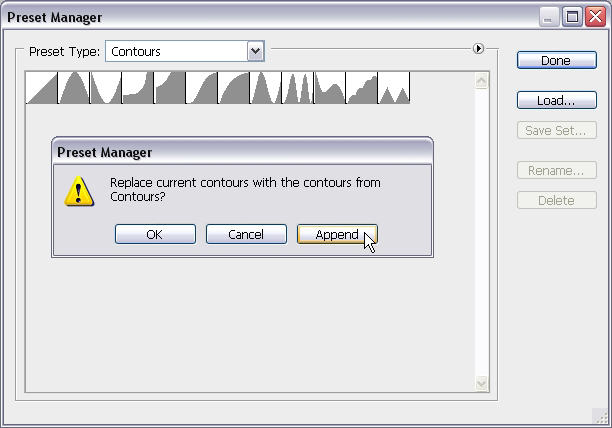
Click Append to add the new contours to the existing ones.
Step 1
Create a new 1150 x 825 px document. Set the Foreground color to #535353 and the Background color to #020202. Pick the Gradient Tool, choose the Foreground to Background, Radial Gradient, in the Options bar. Then click and drag from the center of the document to one of the corners.
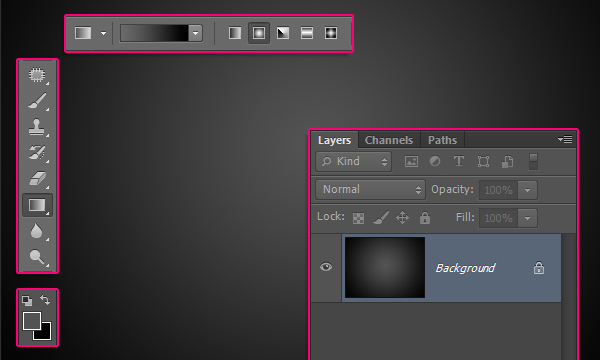
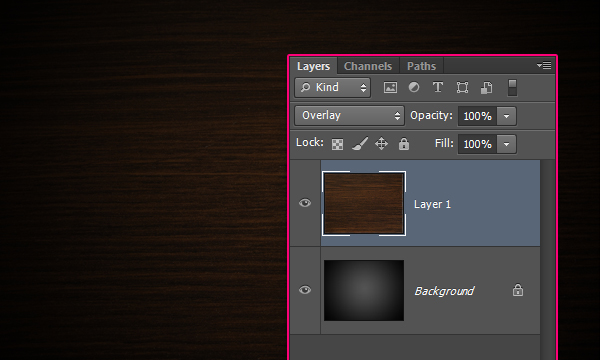
Place the ” Plain Wood 03″ image on top of the Background layer, resize it so that it fits within the document, then change its layer’s Blend Mode to Overlay.
Step 2
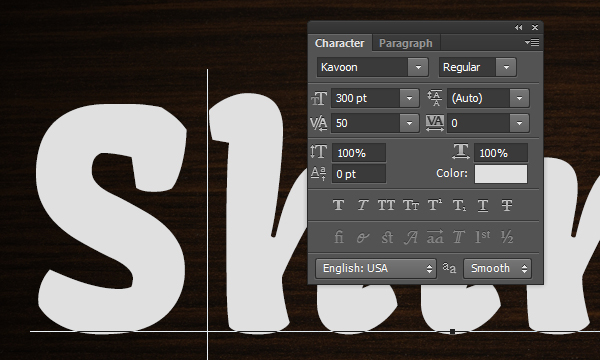
Create the text using the font Kavoon, the color #e0e0e0, and the font Size 300 pt. You might notice that the first letter is a bit closer to the next one than the other letters are. We’ll fix that next.

With the Type Tool still active (selected), click between the first two letters. Then, in the Character panel (Window > Character), change the Kerning value to 50. This will adjust the spacing between those two letters without affecting the rest of the text.
You can do that to any two letters you think need adjusting, and using the values you think give the best result.
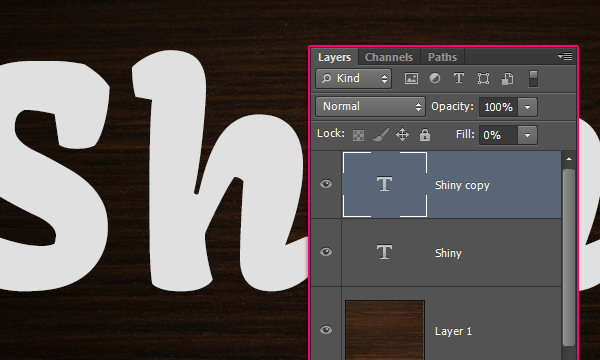
Duplicate the text layer and change the copy’s Fill value to 0%.
Step 3
Double click the original text layer to apply the following Layer Style:
– Bevel and Emboss
Style : Stroke Emboss (You will not see the result of this effect until a Stroke effect is applied next)
Depth : 602
Size : 10
Gloss Contour : Cove – Deep
Check the Anti-aliased box
Highlight Mode : Vivid Light

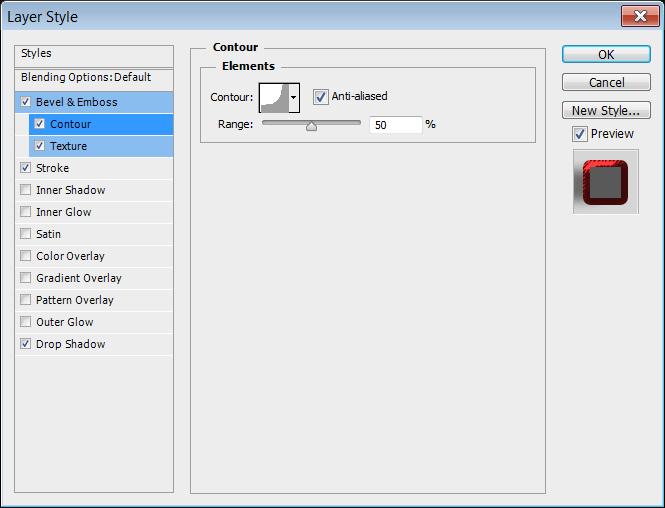
– Contour
Contour : Cove – Deep
Check the Anti-aliased box.
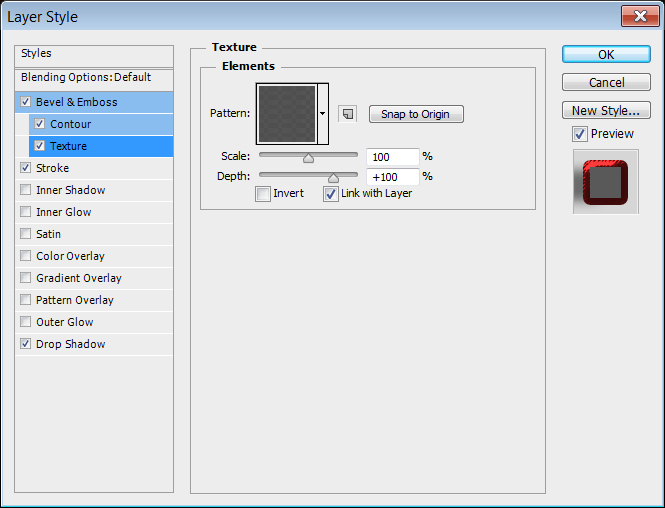
– Texture
Pattern : Green Fibers
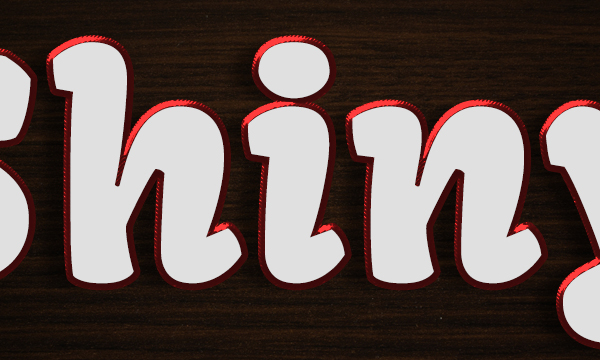
– Stroke
Size : 7
Color : #5e0f0f

– Drop Shadow
Opacity : 50%
Uncheck the Use Global Light box
Angle : 6
Distance : 27
Size : 13
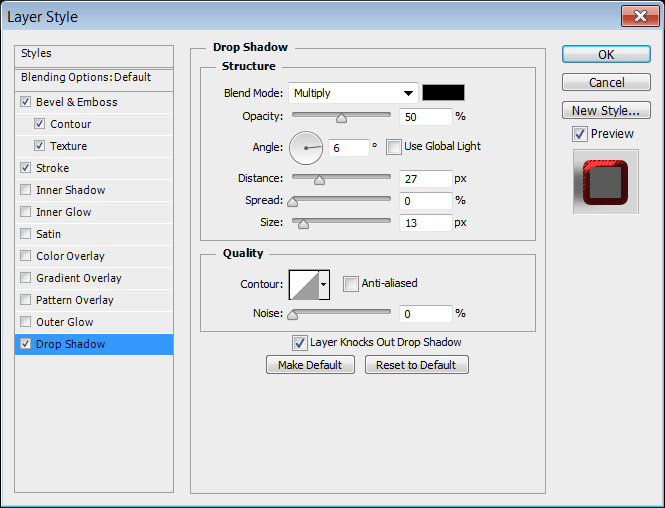
This will create the text stroke and the drop shadow.
Step 4
Double click the copy text layer to apply the following Layer Style:
– Bevel and Emboss
Depth : 205
Size : 16
Uncheck the Use Global Light box
Angle : 63
Altitude : 58
Check the Anti-aliased box
Highlight Mode : Linear Light
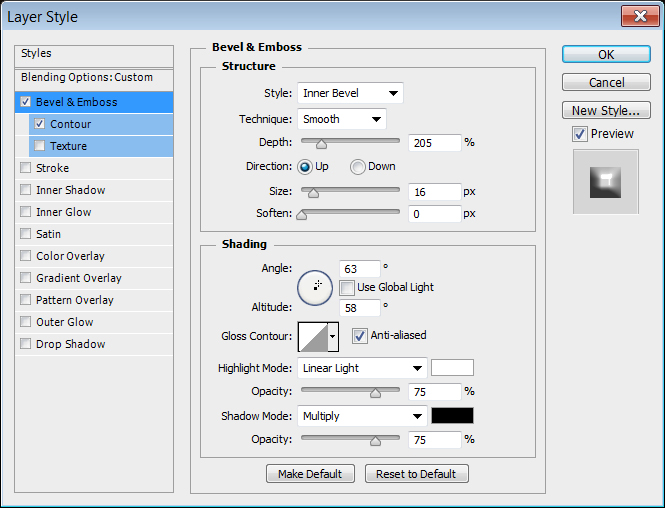
– Contour
Check the Anti-aliased box.
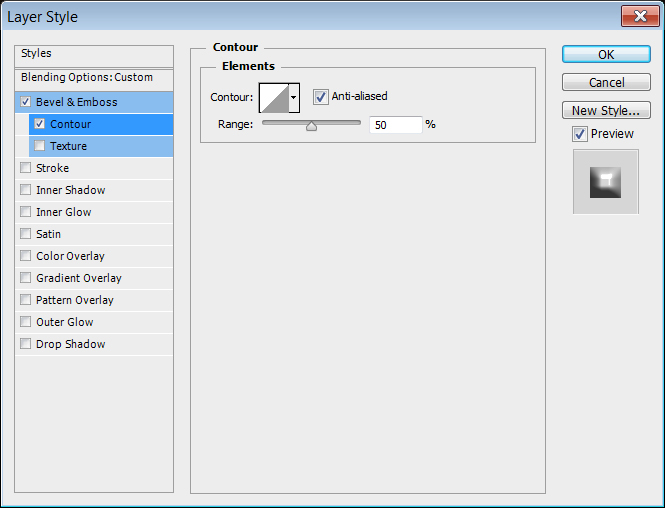
This will create the glossy part.

Step 5
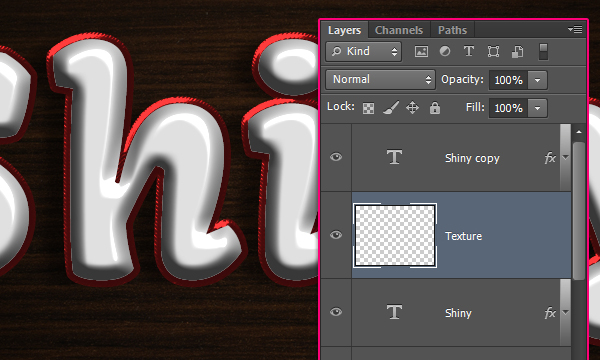
Create a new layer between the two text layers and call it “Texture”.
Set the Foreground color to #a6851e and the Background color to #780001. Then go to Filter > Render > Clouds.
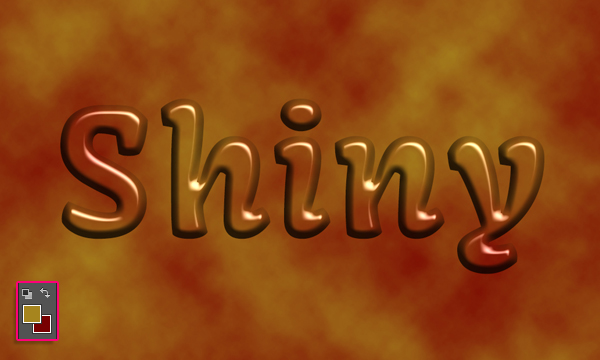
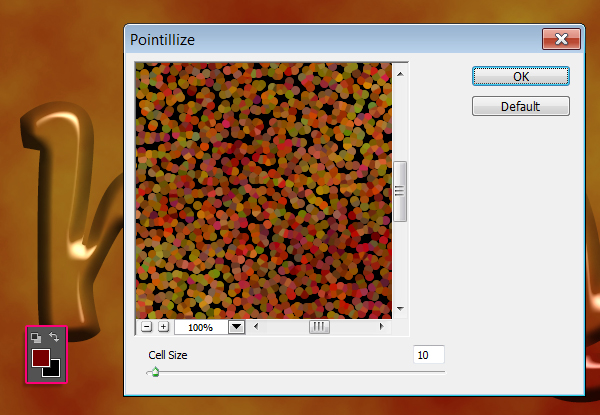
Set the Foreground color to #780001and the Background color to #000000. Then go to Filter > Pixelate > Pointillize, and set the Cell Size to 10.
Duplicate the “Texture” layer.
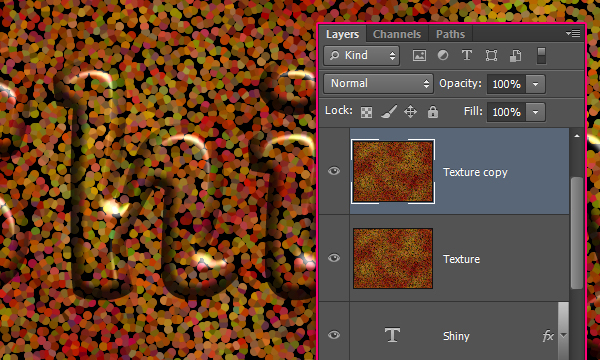
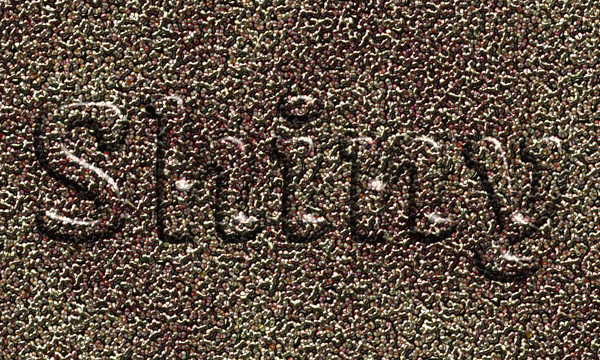
Step 6
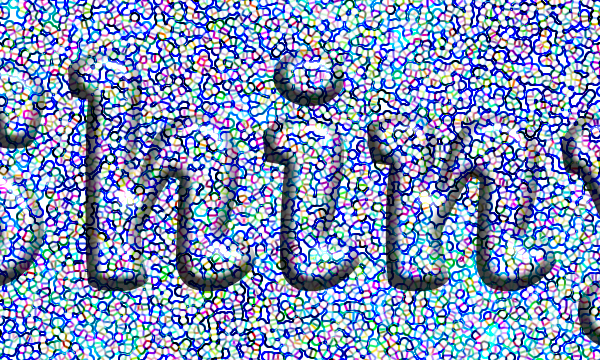
Go to Filter > Stylize > Find Edges. This will basically find, and emphasize, the edges of the poitillized texture. Which will result in some colored edges, and everything else set to White. That will help us create a selection next.
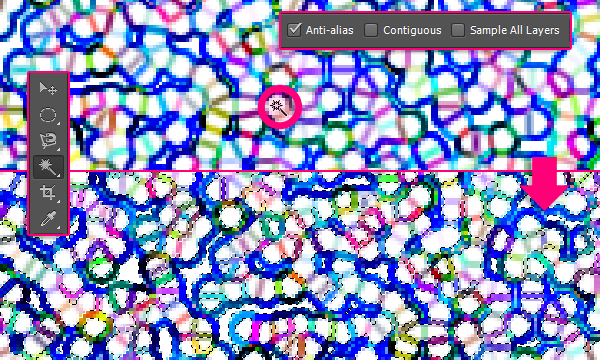
Zoom in until you can see a white area clearly. Pick the Magic Wand Tool, and make sure to un-check the Contiguous box in the Options bar to select all white areas at once. Then, click any white part to create the selection.
Delete the “Texture copy” layer, select the original “Texture” layer, then press Ctrl/Cmd + J to duplicate the selection into a new layer. Rename that layer to “Texture copy”.
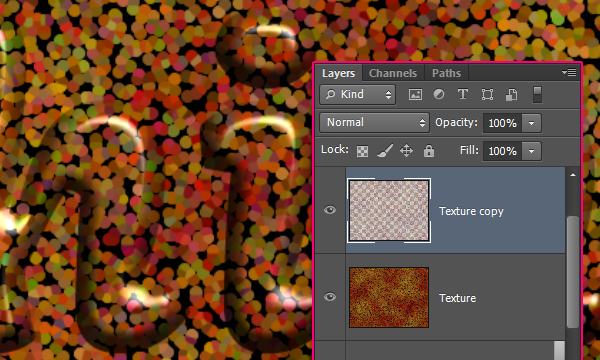
Step 7
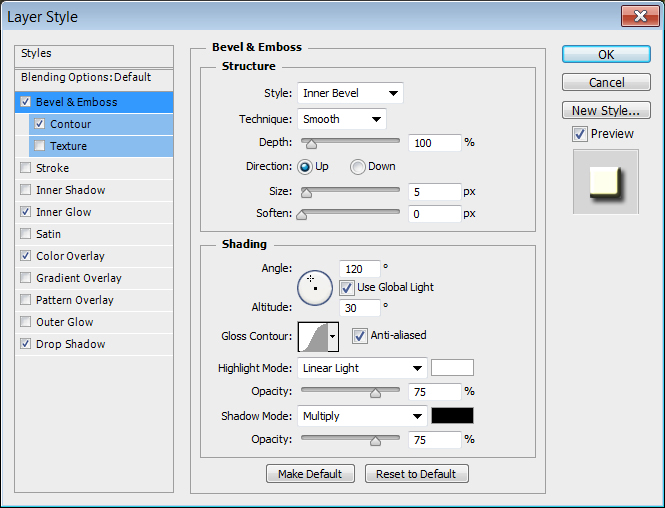
Double click the “Texture copy” layer to apply the following Layer Style:
– Bevel and Emboss
Gloss Contour : Gaussian
Check the Anti-aliased box
Highlight Mode : Linear Light
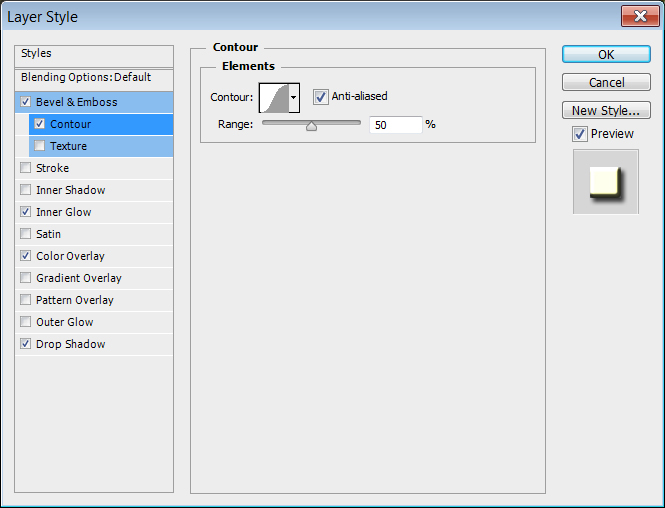
– Contour
Contour : Gaussian
Check the Anti-aliased box.
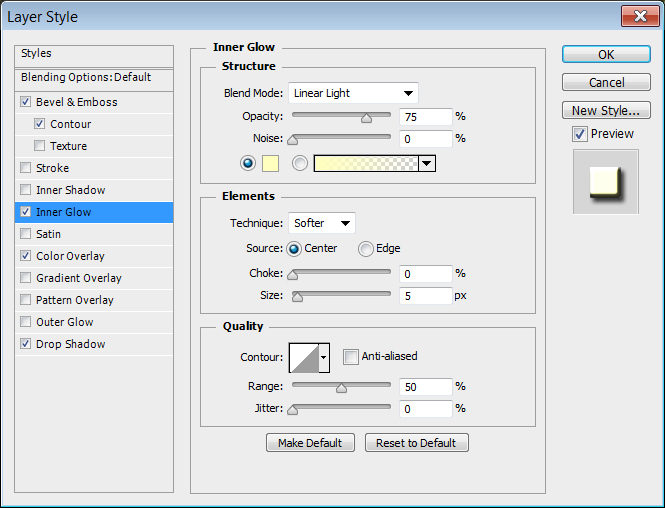
– Inner Glow
Blend Mode : Linear Light
Source : Center
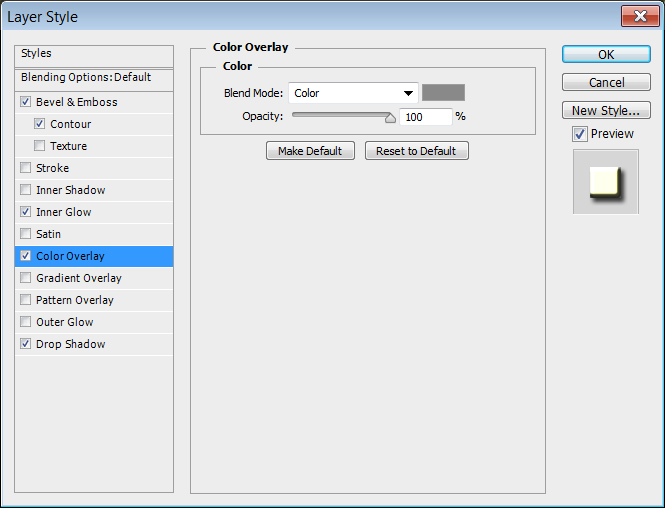
– Color Overlay
Color : #898989
Blend Mode : Color
You can use any other color you like, but you might need to change the original text layer’s Stroke color as well.
– Drop Shadow
Use the default values.
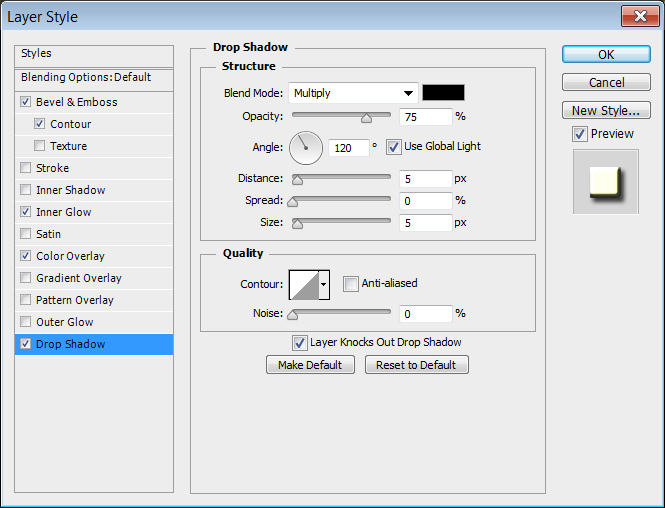
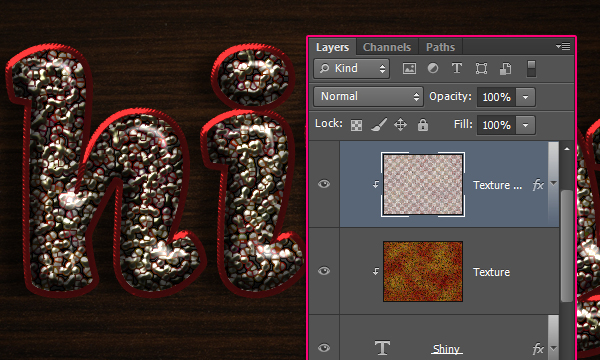
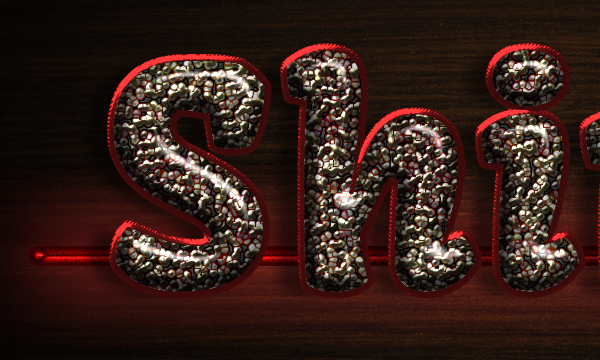
This will create the shiny mosaic tiles.
Select the “Texture” layer, then go to Layer > Create Clipping Mask. Do the same for the “Texture copy” layer as well. This will clip the mosaic tiles to the text you created.
So if, at any time, you decide to change the text, the texture will automatically fill the new text because of the clipping mask.
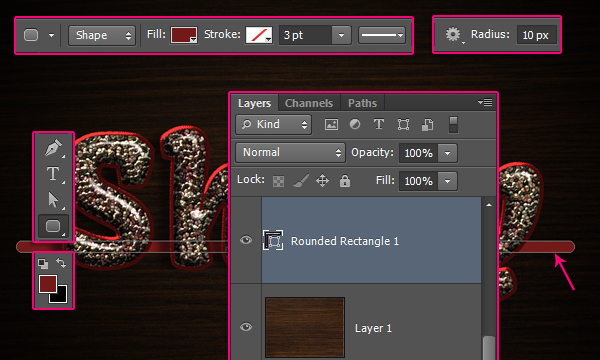
Step 8
Set the Foreground color to #721919, pick the Rounded Rectangle Tool, choose the Shape option in the Options bar, and set the Radius to 10 px.
Create a new layer on top of the Wood texture layer, then click and drag a rounded rectangle behind the lower part of the text.
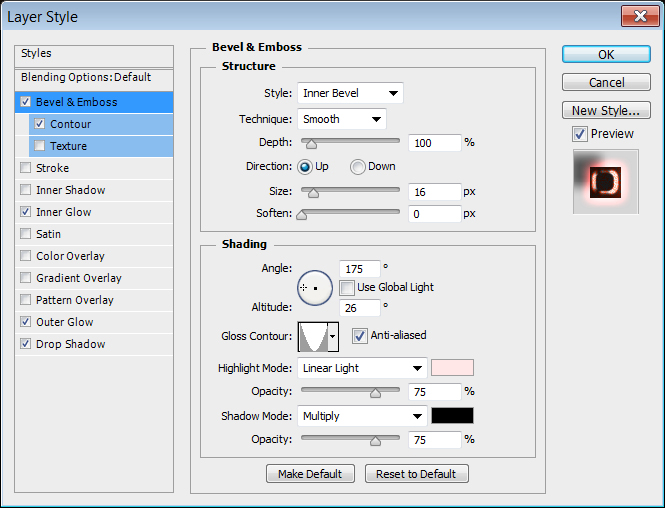
Double click the shape layer to apply the following Layer Style:
– Bevel and Emboss
Size : 16
Uncheck the Use Global Light box
Angle : 175
Altitude : 26
Gloss Contour : Cove – Inverted
Check the Anti-aliased box
Highlight Mode : Linear Light
Color : #ffe7e7
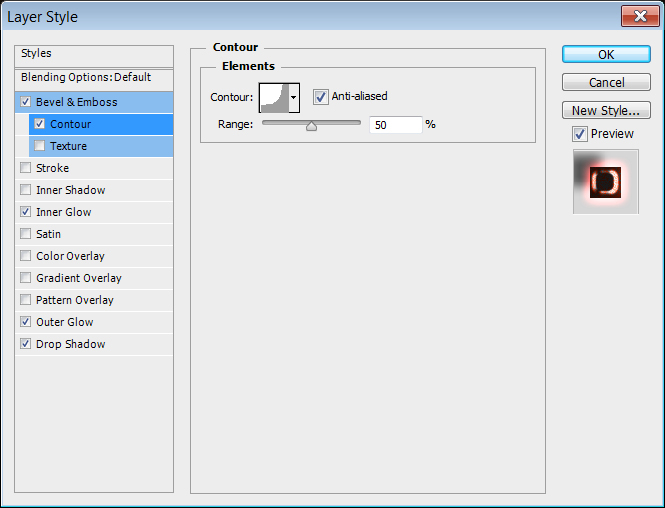
– Contour
Contour : Cove – Deep
Check the Anti-aliased box.
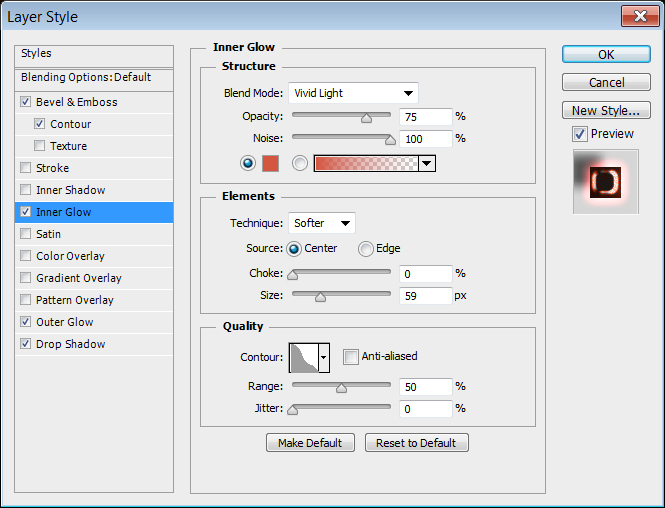
– Inner Glow
Blend Mode : Vivid Light
Noise : 100%
Color : #d4563e
Source : Center
Size : 59
Contour : Guassian – Inverse
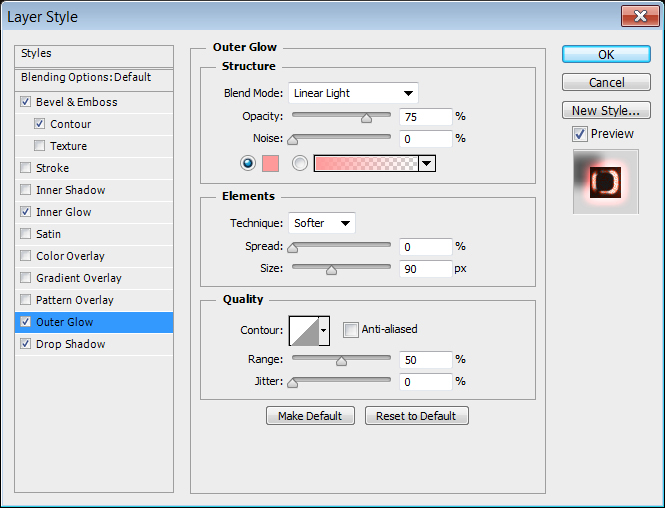
– Outer Glow
Blend Mode : Linear Light
Color : #ff9a9a
Size : 90
– Drop Shadow
Opacity : 60%
Uncheck the Use Global Light box
Angle : -30
Distance : 38
Size : 13
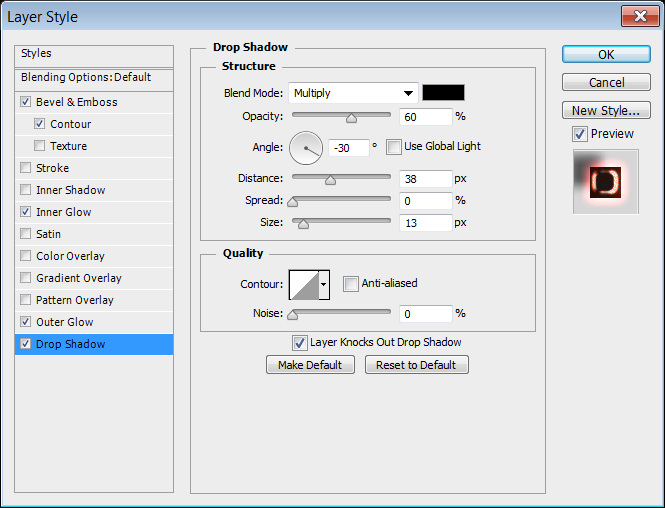
This will create a glowing stick behind the text.
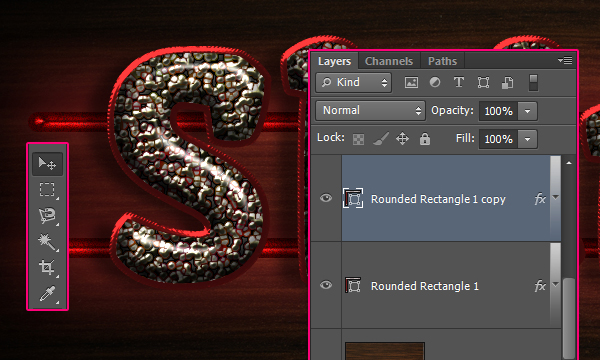
Duplicate the shape layer, then move the copy near the top of the text. You can pick the Move Tool and use the Up Arrow key (or Shift + Up Arrow Key for bigger increments) to do so.
Conclusion
This is the final result. Really simple techniques that make use of Photoshop’s Filters and Layer Styles capabilities. Don’t forget that you can use any colors you like, just have fun with it!
Hope you enjoyed the tutorial and found it helpful.