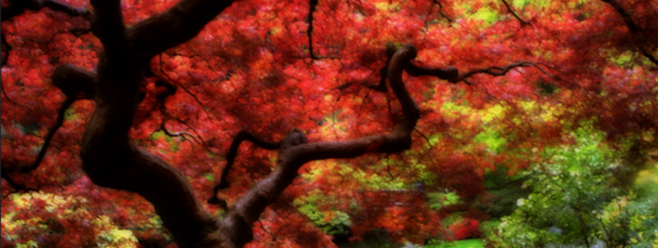
As a photographer who wishes I were also a painter, I’m constantly tinkering with Photoshop techniques that are capable of producing authentic-looking painterly effects. In my experience with in-camera multiple-exposure techniques, I’ve discovered that it’s possible to produce a painterly effect with fine brush strokes merely by overlaying three or more slightly out-of-alignment frames. In today's tutorial, we’ll reproduce this in-camera impressionistic look while also softening the effect and adding drama to the scene.
Step 1: Open an Image with Fine Details
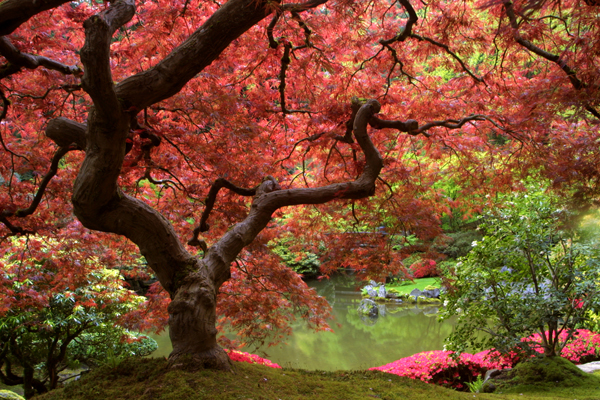
Open an image with lots of intricate details, such as fall foliage or a wildflower meadow. Fine details, as opposed to large blocks of similar colors and tones, are critical to the success of this technique.
Step 2: Record a "Multiple-Exposure" Action
We'll record an action that simulates the look of slightly misaligned multiple-exposed frames. Open the Actions panel (Window>Actions) and click the Create new set (folder) icon at the base of the panel. Name the set "Impressionism" and press OK. Click the Create new action (dog-eared square) icon at the base of the panel. Name the action "Multiple Exposure" and press Record. Press Command-J (PC: Control-J) to duplicate the Background layer. In the Layers panel, change the blend mode of the duplicate layer (Layer 1) to Lighten.
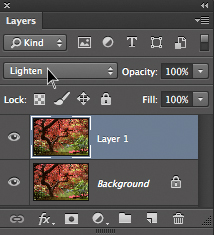
Activate the Move tool. Tap the Up arrow key twice and the Right arrow key twice. Notice how the two layers fall slightly out of alignment.
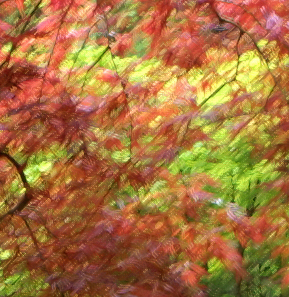
Note: The amount of misalignment impacts the look of the effect. Feel free to experiment with different quantities.
Press Command-J (PC: Control-J) again to duplicate Layer 1. This time, press the Down arrow key twice and the Left arrow key twice. Press Command-J (PC: Control-J) once more to duplicate Layer 1 copy. Press the Up arrow key twice and the Left arrow key twice. When viewed at 100% magnification, the image should now look as though it is made up of tiny brushstrokes.
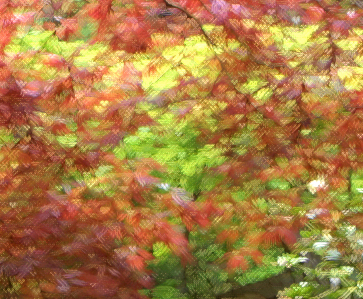
At the base of the Actions panel, click the Stop playing/recording (square at left) icon. In the Actions panel, click the action titled "Multiple Exposure" and press the Play selection (triangle) icon at the base of the panel. This accentuates the painterly effect.
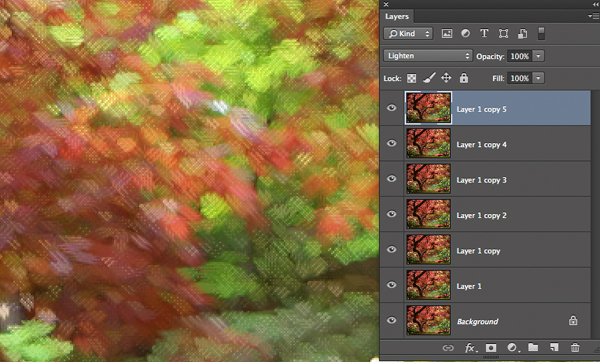
Note: In this scene, I'm happy with the overall effect, but in some scenes, there may be a solid-colored element, such as a road with lines, that does not benefit from the effect. If this is the case, click the top layer, then Shift-click Layer 1 to select all layers except the Background. Press Command-G (PC: Control-G) to add all selected layers to a group. Click the Add layer mask icon at the base of the Layers panel to add a mask to the group. Using a black, soft-edge brush at 100% opacity, paint over the solid-colored element to restore it to its unaffected state.
Step 3: Soften the Effect and Add Drama
While holding Option (PC: Alt), choose Layer>Merge Visible. This non-destructively merges all layers into a new composite layer at the top of the stack. Change the new layer's blend mode to Multiply. This darkens the scene while adding saturation and richness to the blacks.
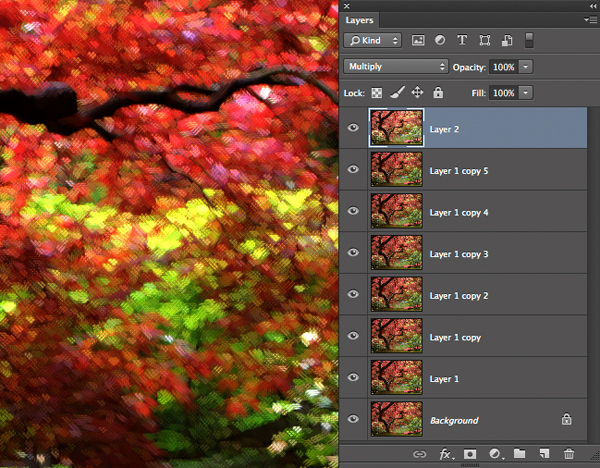
Choose Filter>Convert for Smart Filters. Now choose Filter>Blur>Gaussian Blur. Experiment with the Radius until the scene exhibits a soft, painterly quality with an underlying brushstroke pattern.
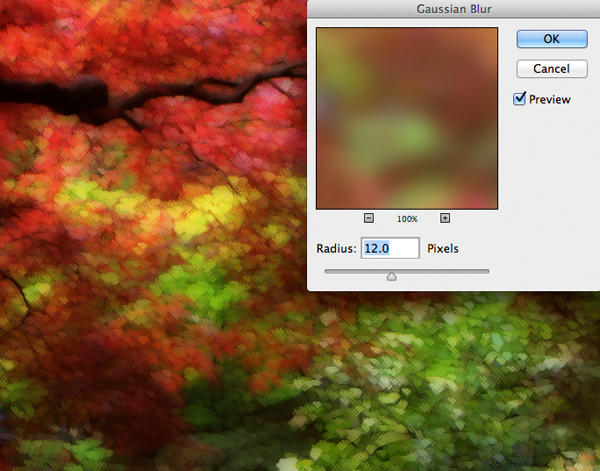
Press OK. Since some parts of the scene are either overly dark or may benefit from the careful addition of light, open the Adjustments panel (Window>Adjustments) and click the Create a new Curves adjustment layer icon. In the Properties panel, click the hand with arrows icon to switch on the on-image controls.
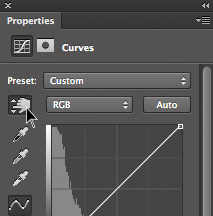
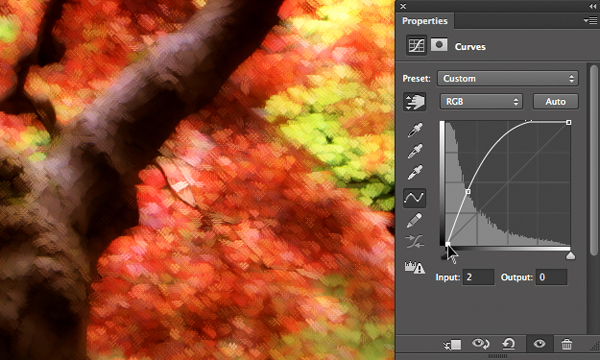
Hover over a highlight that is too dark, such as the light falling on the top edge of tree's forked trunk, and click-and-drag upward to add light. Don't worry if the overall scene becomes too bright. We'll remedy this in just a moment. To restore a little contrast, grab the lower left point on the curve and drag slightly inward.
In the Layer's panel, ensure that the mask is active for the composite layer (Layer 2) and press Command-I (PC: Control-I) to temporarily hide the brightening effect.
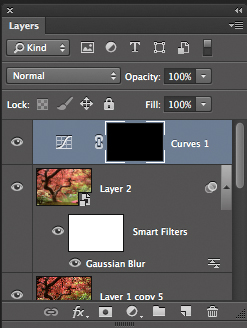
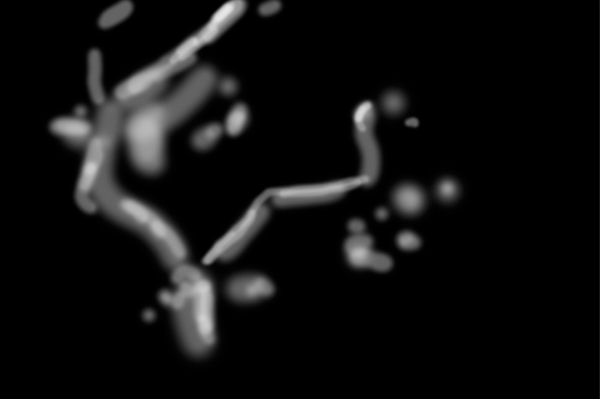
Grab the Brush and set white as the Foreground color. In the Options Bar, set the Opacity to 30%. Paint over dim highlights that benefit from brightening. Adding light to these regions helps to attract the eye and adds dimensionality. If desired, paint over some regions more than once.
Here's a look at the mask. Gray regions indicate where light was accentuated.
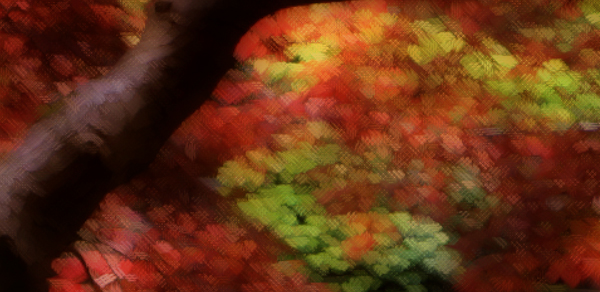
Here's a look at a cross-section of the image to show brushstroke detail.
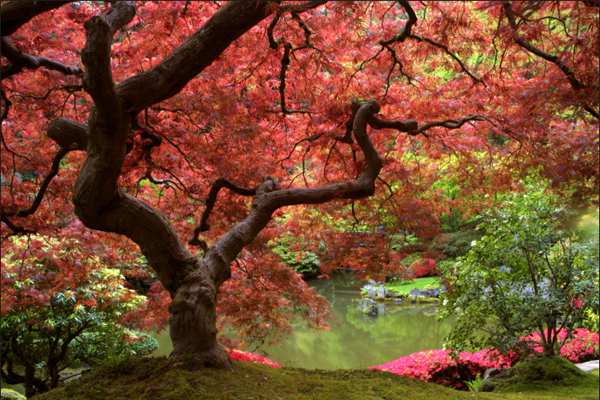
Here's a look at the original image.
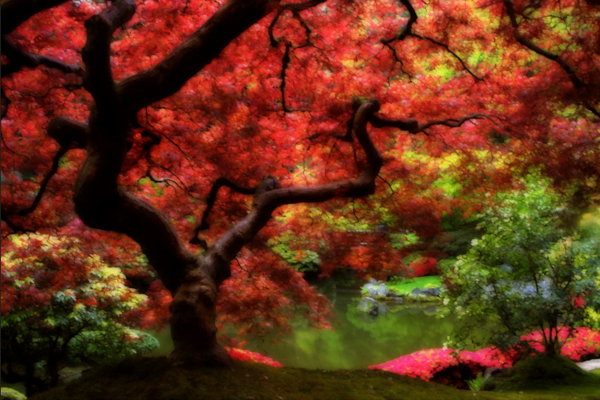
And here's the final image.
Mark S. Johnson Photography
msjphotography.com


Perfect…