
Removing Objects with Content-Aware Fill and Patch in Photoshop CC

But what if you need to use another area of your photo for the fix instead of surrounding pixels? That's where the Patch tool shines. In this column, you'll learn how to use both options safely.
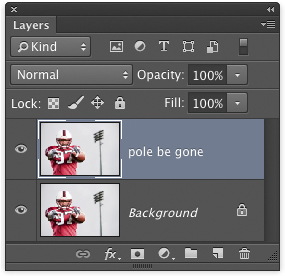
STEP ONE: Open an image with a medium- to large-sized object to delete, like this light post. If you're working with a single-layered document, duplicate it by pressing Command-J (PC: Ctrl-J). If you have multiple layers, activate the topmost layer and create a stamped copy of all visible layers by pressing Shift-Option-Command-E (PC: Shift-Alt-Ctrl-E). Double-click the duplicated layer's name and rename it. We called ours "pole be gone." Tip: To ensure you have plenty of background pixels for Photoshop to work with, do the pixel zapping before cropping.
CREDIT: ISTOCK, JACOMSTEPHENS, IMAGE #12353812
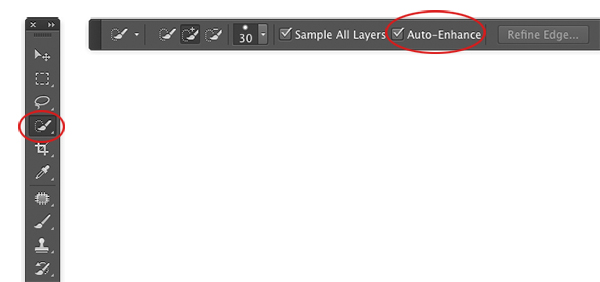
STEP TWO: Activate the Quick Selection tool by pressing Shift-W until you see its icon in the Toolbox. In the Options Bar, turn on the Auto-Enhance checkbox for a slightly smoother and more accurate selection.
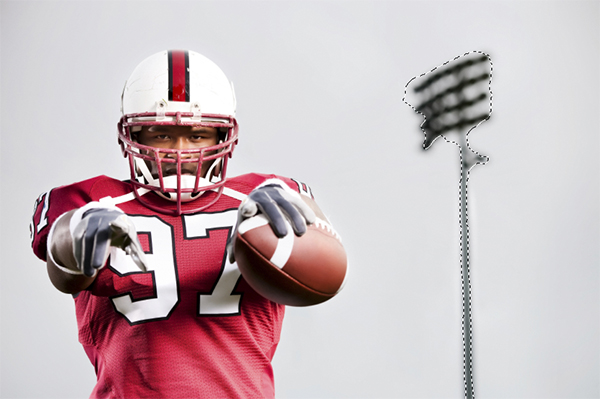
STEP THREE: Click-and-drag to paint a selection onto the light post. As you paint, Photoshop adds similarly colored pixels to the selection, though the quantity of pixels selected is directly proportionate to the size of the tool's brush cursor. For this image, we used a larger brush for the lights (30 pixels) and a smaller one for the pole (9 pixels). If you select too much of the background, Option-drag (PC: Alt-drag) across those pixels to subtract them from your selection.
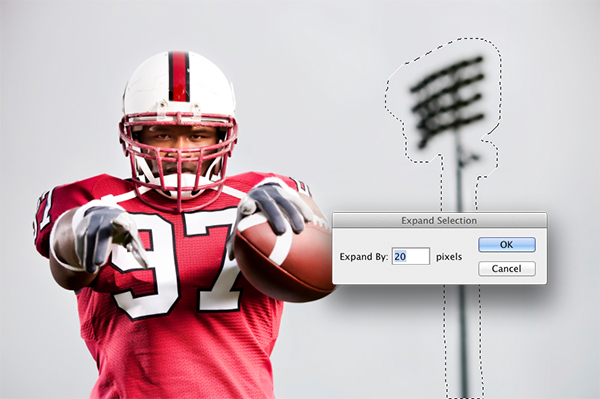
STEP FOUR: Expand the selection to include some background pixels by choosing Select>Modify>Expand. If you're working with a small image like this one, try entering a number between 8 and 20 pixels into the Expand Selection dialog (20 was used here); you'll need to use a higher number on bigger images. Click OK.
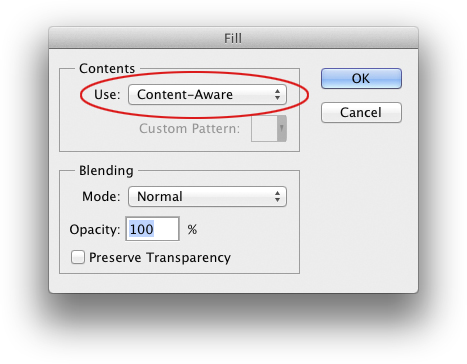
STEP FIVE: Choose Edit>Fill and from the Use menu, choose Content-Aware. Click OK and Photoshop fills the selection with surrounding pixels and blends them. The voodoo it uses to fill your selection is random and changes each time you use the command. So if at first you don't succeed, try choosing Edit>Fill again. Press Command-D (PC: Ctrl-D) to deselect. Here's the final result, with plenty of room for text.

REMOVING OBJECTS WITH CONTENT-AWARE PATCH TOOL
If the object you want to delete isn't surrounded by enough background pixels, you can tell Photoshop to use an entirely different area of your photo with the Patch tool. Here's how:
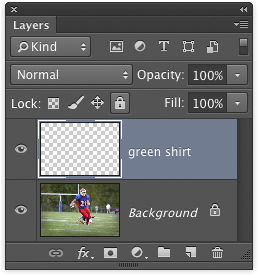
STEP ONE: Open an image and press Shift-Command-N (PC: Shift-Ctrl-N) to create a new layer. In the resulting dialog, give it an appropriate name, and click OK.
CREDIT: ISTOCK, JPBCPA, IMAGE #4364448
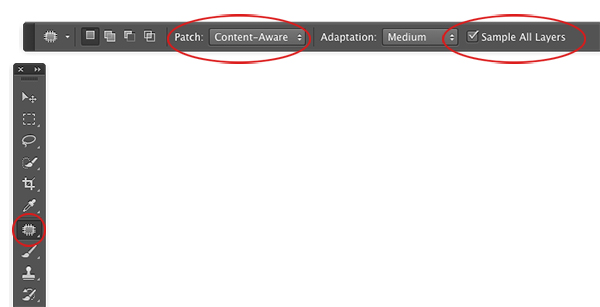
STEP TWO: Activate the Patch tool by pressing Shift-J repeatedly until you see its icon appear in the Toolbox. In the Options Bar, choose Content-Aware from the Patch drop-down menu and turn on the Sample All Layers checkbox. Don't change the Adaptation drop-down menu just yet.
STEP THREE: Click-and-drag to create a loose selection around your target area (the person in the green shirt in this example). If necessary, expand the selection to include more background pixels by choosing Select>Modify>Expand. Tip: You can use the Quick Selection tool to create your selection and then switch to the Patch tool. If you do, turn on the Quick Selection tool's Sample All Layers checkbox in the Options Bar so Photoshop can see through the empty layer to where pixels live on layers below.
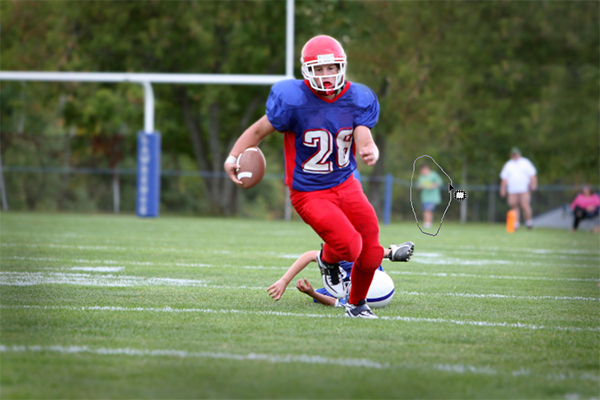
STEP FOUR: Click inside the selection and drag it to the area you want to use for the fix, such as the area next to the goalpost in this image (let's call this the source area). Photoshop shows you a preview of what the fix will look like as you drag. Try to match any horizontal or vertical lines as best you can and release your mouse button when you're finished.

STEP FIVE: The Adaptation drop-down menu in the Options Bar lets you determine how much blending Photoshop performs in the target area. Your choices range from Very Strict to Very Loose, for very little or lots of blending, respectively. Experiment with this menu to see what looks best (Very Loose was used here). When you're satisfied, press Command-D (PC: Ctrl-D) to get rid of the selection. Note: In Photoshop CC 2014, the Adaptation drop-down menu (gear icon) has a Structure and Color field. After you apply the patch, experiment with these fields for the best blend.

STEP SIX: Repeat these steps to remove the other people in the background. Be sure to perform each removal on a new layer for maximum editing flexibility, and experiment with using areas on the left side of the image for the removal. If necessary, use the Clone Stamp or Spot Healing Brush tools for cleanup, as detailed here [use URL for Lesa's Safe Healing and Cloning article that was recently posted on PlanetPhotoshop.com]. Here's a before and after version of the image.

As you can see, Photoshop did a remarkable job of removing the people from the background, creating a less distracting background (photo journalists!).
This article is courtesy of Photoshop User magazine, the official publication of KelbyOne, which provides quality online education for creative people. For more information, visit KelbyOne.com

Awesome post.