
Creating a thought-provoking photo composite doesn’t always have to be a labor-intensive affair. Sometimes it can be as simple as adding a mask and painting with a soft black brush to blend two images. In this tutorial, we’ll explore how to take a simple concept and quickly fashion it into a compelling composite.
Step One: Load Files into Photoshop Layers
Look for two (or more) images that have similar characteristics. Try to imagine what might happen when one image is blended with the other. In this example, I chose two aerial images with frosty white similarities. I wondered how it would look if I blended the white comforter into the snowy mountains.
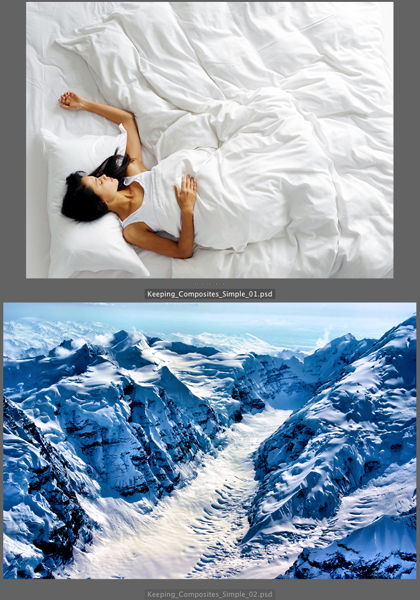
â”CREDIT: Sleeping Woman: Warren Goldswain / Shutterstock; Mountains: Richard A McMillin / Shutterstock
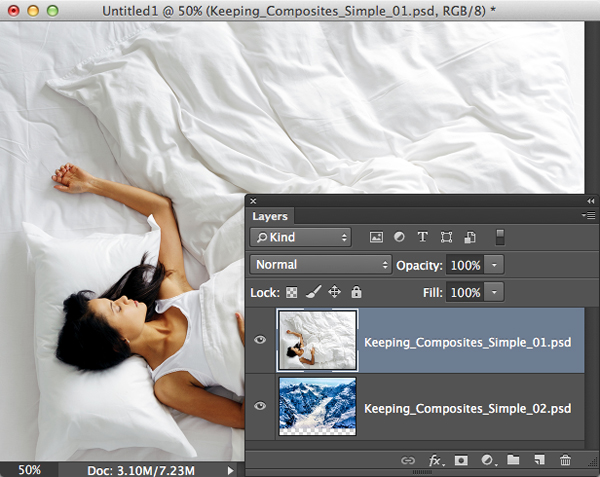
Once you’ve settled on the candidates, open Bridge. In the Content panel, select the candidates and choose Tools>Photoshop>Load Files into Photoshop Layers. This loads the selected images into a single, layered file.
Note: A similar feature is available in Lightroom. Choose Photo>Edit In>Open as Layers in Photoshop.
Step Two: Expand the Canvas
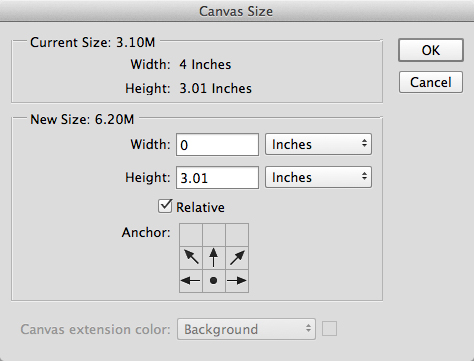
In this example, the subjects will blend best if stacked vertically. To accomplish this, we need to double the document’s vertical dimension. Press D to set the default Foreground and Background colors to black and white, respectively. Choose Image>Canvas Size. Copy the Height value, then check the Relative box. Now copy the value back into the Height field. Anchor the scene to the bottom-center box and click OK.
Step Three: Reposition the Images
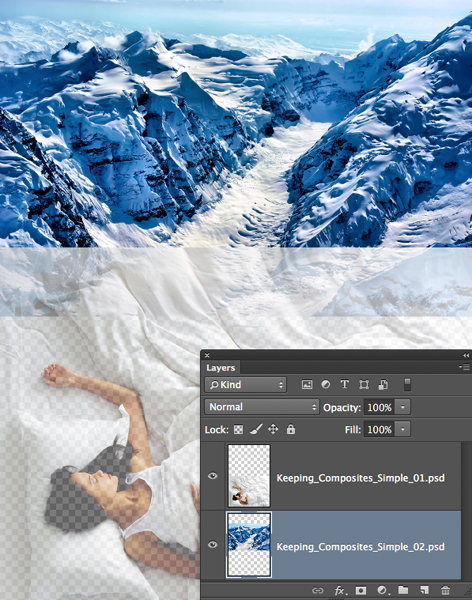
Because the snow from the mountains will flow into the comforter above the sleeping girl, we’ll choose the sleeping girl layer and reduce her Opacity to 80%. Next, we’ll activate the mountain layer and grab the Move tool (V). While holding down the Shift key, we click-and-drag the mountain image above the sleeping girl image, leaving some overlap so the images can be blended. Within the constraints of the subject matter, we do our best to align the ridges and valleys of the mountains with the folds of the comforter. We then reset the sleeping girl layer back to 100% Opacity.
Step Four: Match the Colors
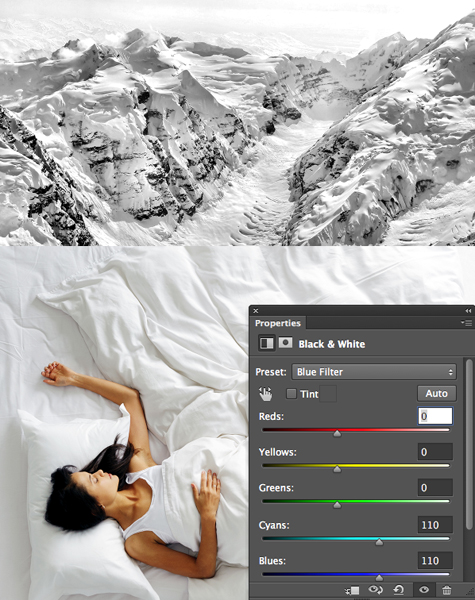
To create a compelling composite, we need to unify the colors of the two photos. We begin by removing color from the mountain scene so it more closely resembles the pale color of the comforter. To accomplish this, we activate the mountain layer, open the Adjustments panel (Window>Adjustments), and click the Create a New Black & White Adjustment Layer icon (second row, third icon). Using the Preset drop-down menu near the top of the dialog, we explore the black-and-white presets. Choose a preset that produces the best matching tones for your images (the Blue Filter worked best in this example).
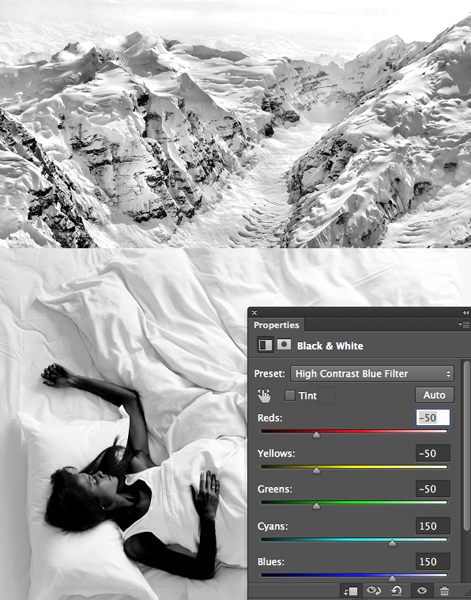
Now that the mountains are colorless, the comforter looks too beige. To remove its color, we activate the sleeping girl layer and add another Black & White adjustment layer. To clip the layer to the sleeping girl layer, we chose Layer>Create Clipping Mask. We used the Preset drop-down again to find a preset that creates consistent tones across the mountains and the comforter. We’re not worried about the girl at this point. In this example, the High Contrast Blue Filter works best.
Now we’ll restore the sleeping girl to her natural color. Ensure that the mask for the recently added black-and-white layer is active and choose the Brush tool (B). Using a soft-edged, black brush at 100% Opacity and Flow, we paint over the girl to restore her color.

Step Five: Match the Contrast
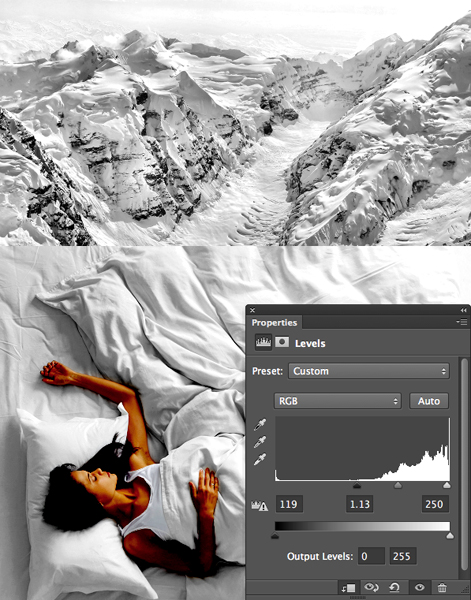
Right now, the comforter has stronger contrast than the mountains. To resolve this, we’ll add a Levels adjustment layer. In the Adjustments panel, we click the Create a New Levels Adjustment Layer icon (top row, second icon) and clip the layer into the sleeping girl layer by choosing Layer>Create Clipping Mask. In the Properties panel, we use all three Input Levels sliders to match the comforter’s contrast to that of the mountains, and ignore what happens to the girl.
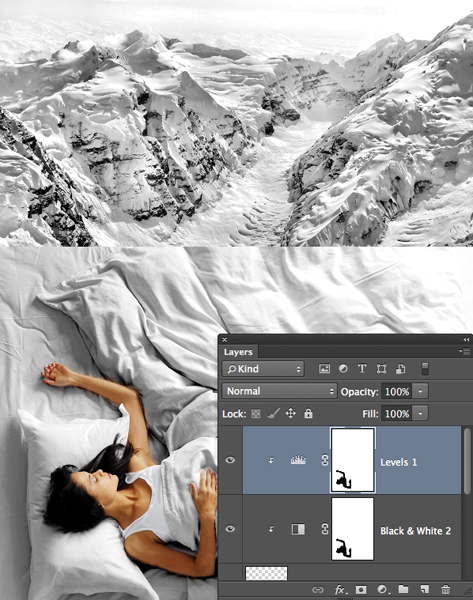
To restore the girl to her former contrast, we simply press the Option (PC: Alt) key and click-and-drag the topmost black-and-white layer’s mask onto of the Levels layer’s mask. In the alert dialog, click Yes.
Step Six: Blend the Images
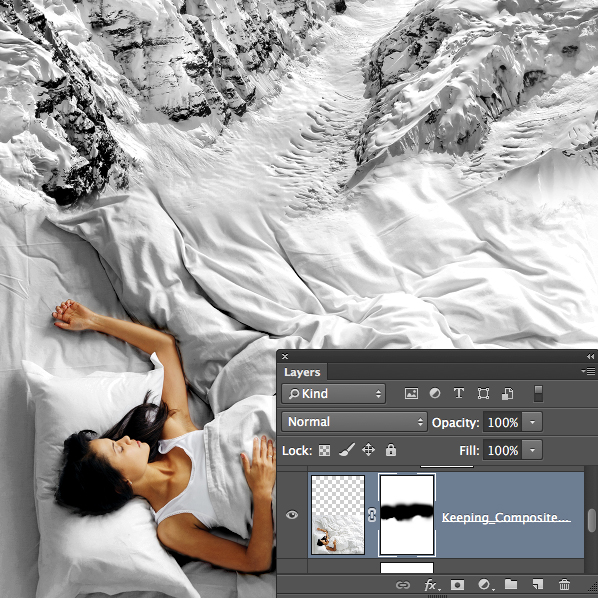
Here’s where the fun really begins. Let’s blend the two layers together using a mask. To do this, we’ll activate the sleeping girl layer and click the Add Layer Mask icon (circle in a square) at the base of the Layers panel. Using a large, soft-edged, black brush at 100% Opacity and Flow, we gradually paint away the seam that separates the two images. Use a smaller brush to refine the transition. If you need to restore an overpainted area, press X to change your brush to white and paint over the area to restore it. Press X to switch back to a black brush.
Step Seven: Trim the Canvas
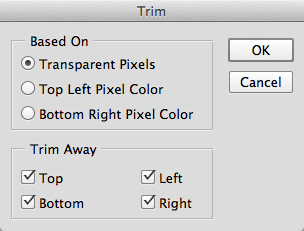
To remove any excess canvas, choose Image>Trim. In the Trim dialog, select Transparent Pixels, check all four Trim Away boxes, then click OK.
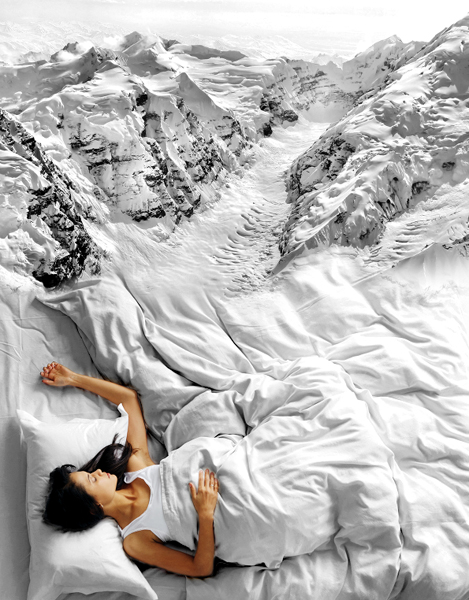
Here’s the completed composite. Have fun coming up with your own simple, yet thought-provoking creations!
Mark S. Johnson Photography
msjphotography.com
