This tutorial will show you how to create cutout text from a shape, then style it to give it a grungy, marble-like look using layer styles and a couple of textures.
Tutorial Assets
1. Titillium font (Titillium Bold).
2. Hidden 02… by the-night-bird.
3. Plaster Cracked Texture 01 by goodtextures.
4. Broken Noise pattern by Vincent Klaiber.
5. Tintable marble texture by RaphaellaNightfire.
Creating Patterns and Loading Contours
Before we begin, launch Photoshop, open the Broken Noise and tintable_marble_texture files you downloaded, choose Edit>Define Pattern, and click OK for each. Close the documents without saving when you're finished.
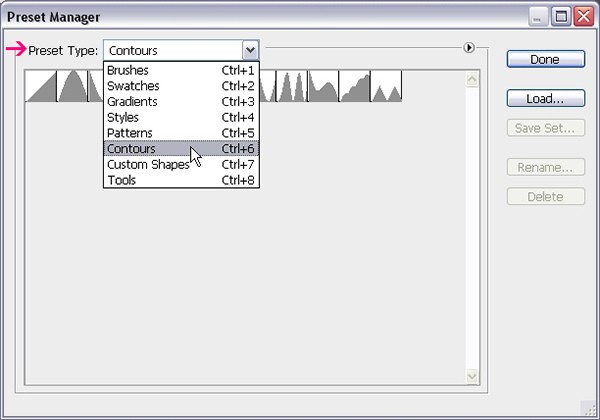
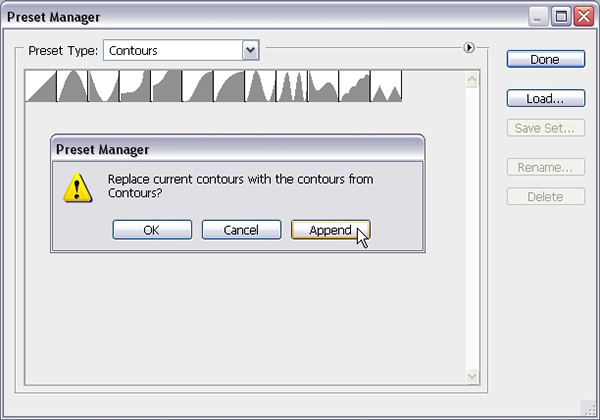
You might also need to load the contours used in some of the layer styles below. To do so, go to Edit>Presets>Preset Manager, and choose Contours from the Preset Type drop-down menu.
Click the flyout menu in the top-right corner, and choose Contours from the list.
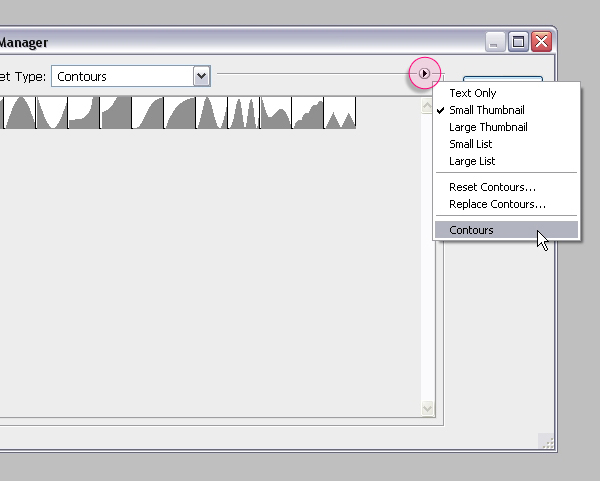
Click Append to add the new contours to the existing ones, then click Done.
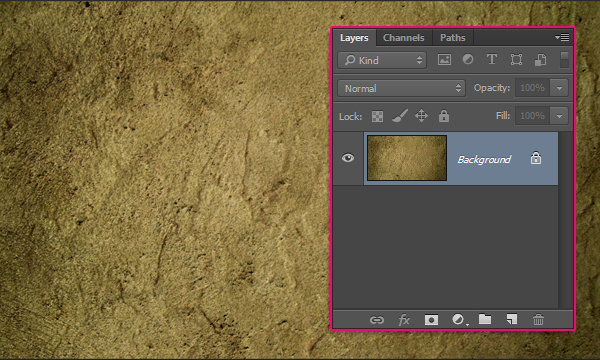
STEP ONE: Choose File>New to create a new 1250×700 pixel document, and click OK. Choose File>Open, navigate to the Hidden 02… image, and click Open. Select the Move tool (V), press-and-hold the Shift key, and drag-and-drop the texture into your blank document on top of the Background layer. (The Shift key centers the new file over the Background layer.) We flattened the image by choosing Layer>Flatten Image.
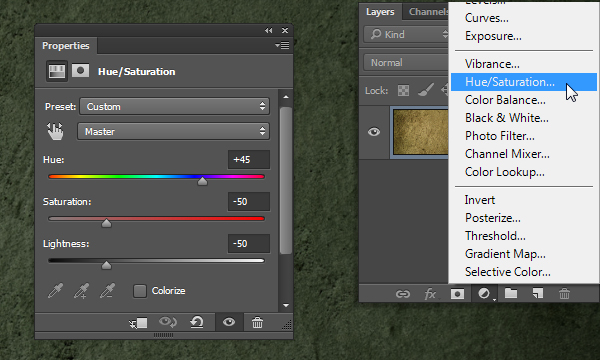
Click the Create New Adjustment Layer icon (half-black, half-white circle) at the bottom of the Layers panel and choose Hue/Saturation. In the Properties panel (Window>Properties), change the Hue value to +45, the Saturation to -50, and the Lightness to -50. This will create a dark emerald green background.
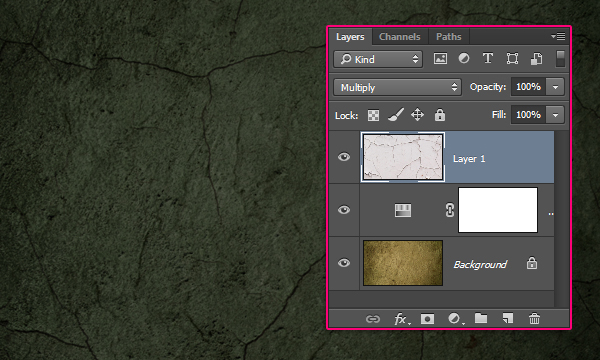
Open the Plaster Cracked Texture 01 image and use the Move tool to drag-and-drop it on top of the adjustment layer. Change the layer blend mode to Multiply, then press Command-T (PC: Ctrl-T) to enter Free Transform. Resize and reposition the texture as needed and press Enter to commit the transformation.
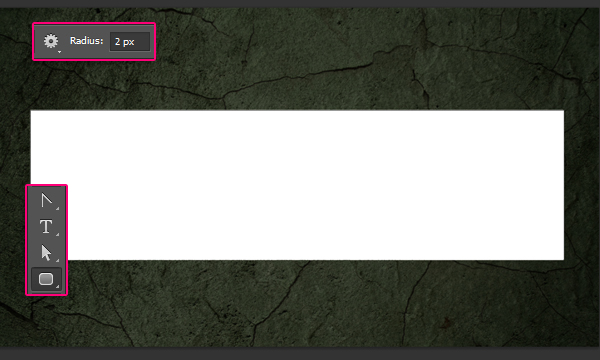
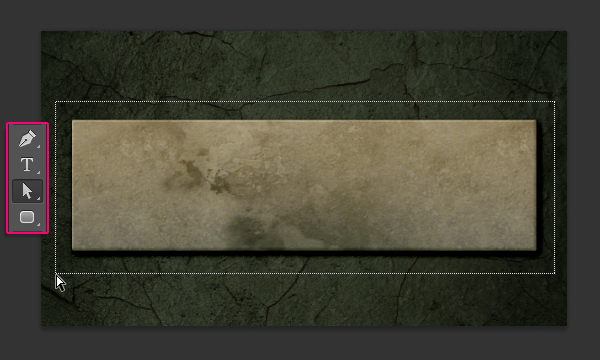
STEP TWO: Choose the Rounded Rectangle tool (nested under the Rectangle tool [U]), and in the Options Bar, set the Pick Tool Mode drop-down menu to Shape, the Fill to white, and the Radius value to 2 px. Click-and-drag to create a rounded rectangle across the center of the document.
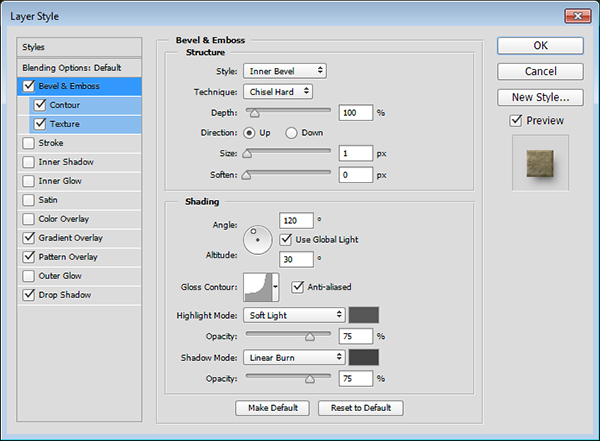
Double-click to the right of the rounded rectangle layer's name to open the Layer Style dialog. Choose Bevel & Emboss from the Styles list on the left. Set Technique to Chisel Hard, Size to 1 px, click the downward-facing arrow next to Gloss Contour, and choose Cove - Deep. Check the Anti-aliased box, set Highlight Mode to Soft Light, click the color swatch, enter #575757, and click OK to close the Color Picker. Set Shadow Mode to Linear Burn, click the color swatch, enter #444444, and click OK to close the Color Picker. Don't close the Layer Style dialog yet.
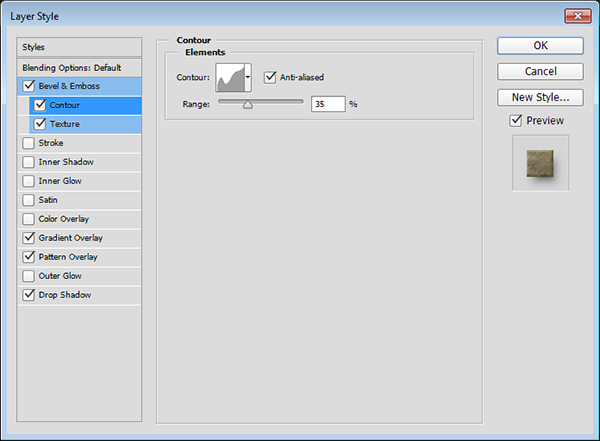
Click Contour under the Styles list on the left. Set Contour to Shallow Slope - Valley, check the Anti-aliased box, and set Range to 35%.
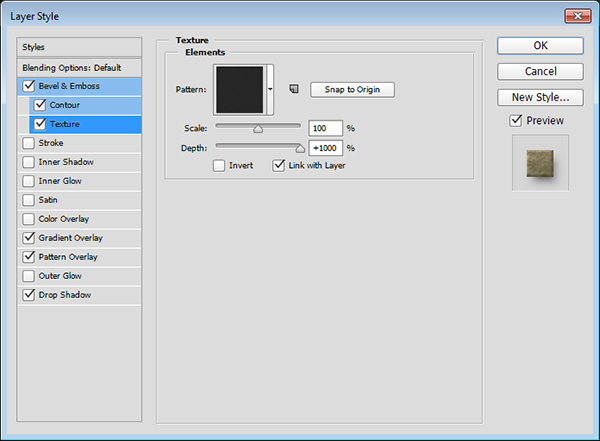
Click Texture on the left, set Pattern to Broken Noise (the pattern you downloaded for this tutorial), and set Depth to +1000%.
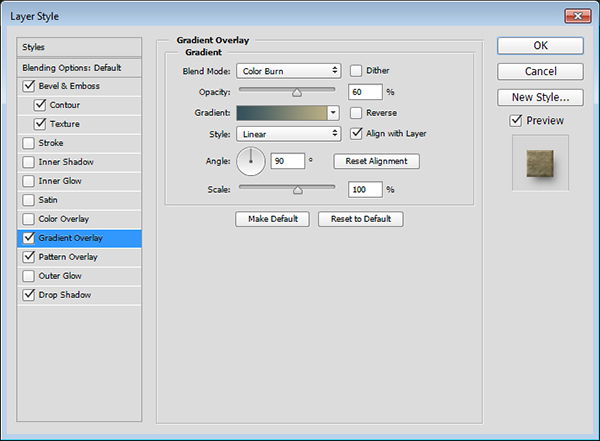
Choose Gradient Overlay from the Styles list, set Blend Mode to Color Burn, and Opacity to 60%. Click the Gradient to open the Gradient Editor. Double-click the color stop at the bottom left of the gradient ramp, set the color to #35515c, and click OK to close the Color Picker. Double-click the color stop at the bottom right, set the color to #bcb086, and click OK. Click OK again to close the Gradient Editor.
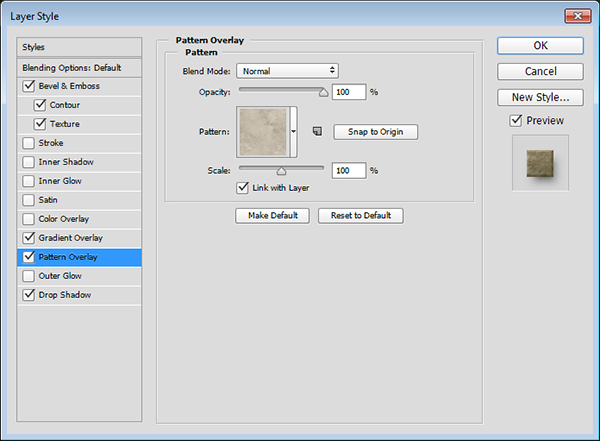
Choose Pattern Overlay from the Styles list. Click the downward-facing arrow next to Pattern and choose the tintable marble texture pattern (it should be at the bottom of the list).
Click Drop Shadow on the left. Set the Blend Mode to Color Burn, Distance to 9 px, and Size to 16 px. Click OK to close the Layer Style dialog.
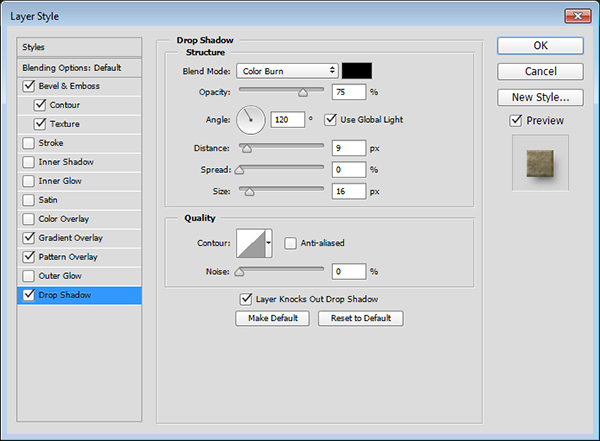
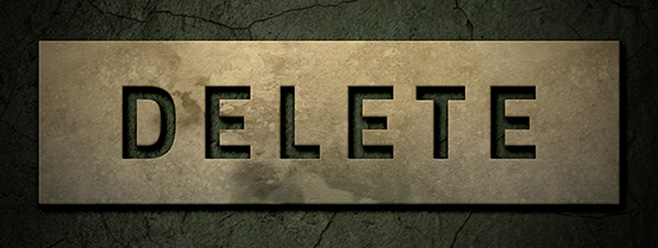
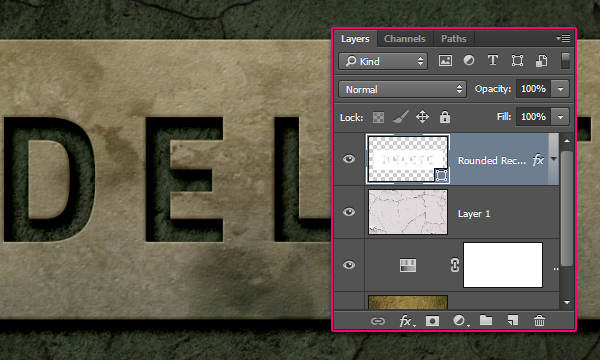
This will create the marble-textured block.

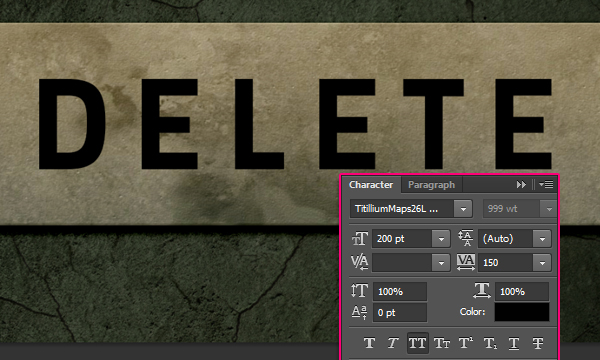
STEP THREE: Press D to make the Foreground color black, select the Type tool (T), hold the Shift key, click in the document, and type DELETE in all caps using the font Titillium Bold, or any other weight you like. (Note: The Shift key will prevent the Type tool from adding the text to the path around the shape layer.) Make the font size 200 pt, and in the Character panel (Window>Character), set the tracking to 150.
Right-click the text layer and choose Convert to Shape.
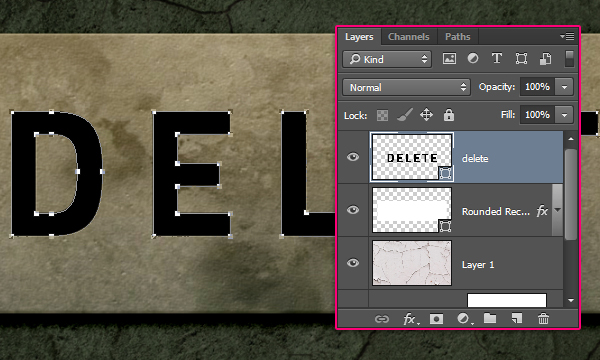
Drag the shape text layer below the rounded rectangle layer, then Shift-click the rounded rectangle layer to select both.

Choose the Direct Selection tool (nested under the Path Selection tool [A]), then click-and-drag around the entire shape layer to select all the shapes.
Click the Path Operations icon in the middle of the Options Bar and choose Exclude Overlapping Shapes from the list.

Go to Layer>Merge Shapes (Command-E [PC: Ctrl-E]). This will merge both shapes and cut out the text from the rounded rectangle.
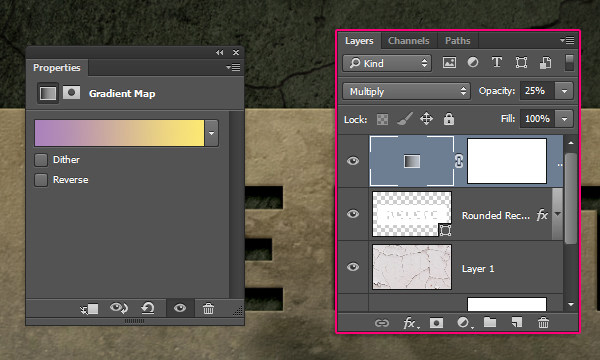
STEP FOUR: Click the Create New Adjustment Layer icon at the bottom of the Layers panel and choose Gradient Map.
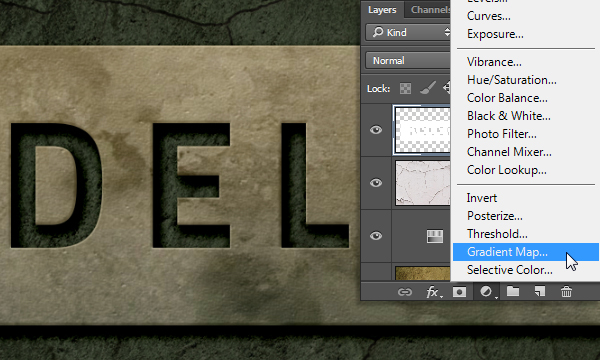
Click the gradient thumbnail in the Properties panel to open the Gradient Editor. Double-click the black color stop below the gradient ramp, set the color to #ab82bc, and click OK to close the Color Picker. Now double-click the white color stop on the right, set the color to #fdea72, and click OK twice. Now change the adjustment layer's blend mode to Multiply and lower the Opacity to 25%.
With the topmost layer selected, press Shift-Option-Command-E (PC: Shift-Alt-Ctrl-E) to merge all the layers into a new layer, leaving the original layers untouched. Double-click the merged layer's name and rename it "Final."

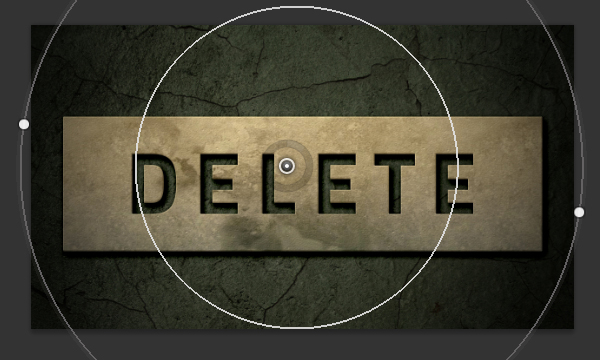
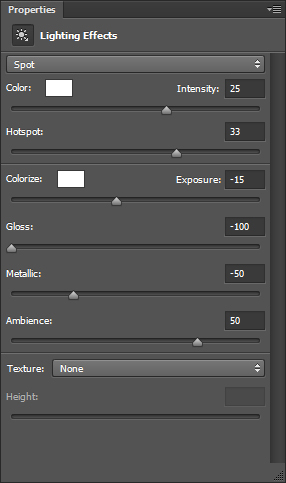
Go to Filter>Convert for Smart Filters to convert the layer to a smart object, and then go to Filter>Render>Lighting Effects. Converting the layer to a smart filter first will allow you to make changes to the Lighting Effects after you apply it. In the Properties panel, click the Color swatch, enter R:246, G:242, B:234, and click OK. Click the Colorize swatch, enter R:247, G:240, B:223, and click OK. Now set the Intensity to 25, Hotspot to 33, Exposure to -15, Gloss to -100, Metallic to -50, and Ambience to 50. Click inside the ellipses and drag them to move them around. Click-and-drag the handles on the outer border to scale them, and click-and-drag outside the ellipses to rotate them. Click OK in the Options Bar to apply the effect. The lighting adds a very nice final touch quickly and easily.
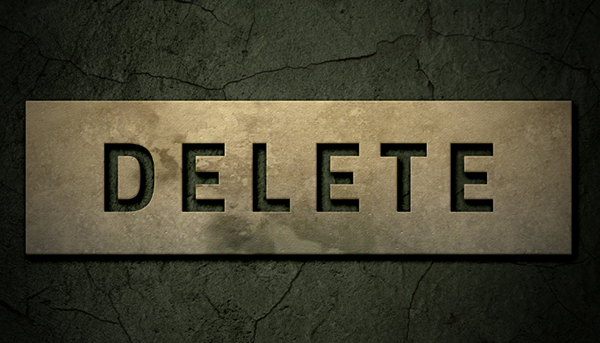
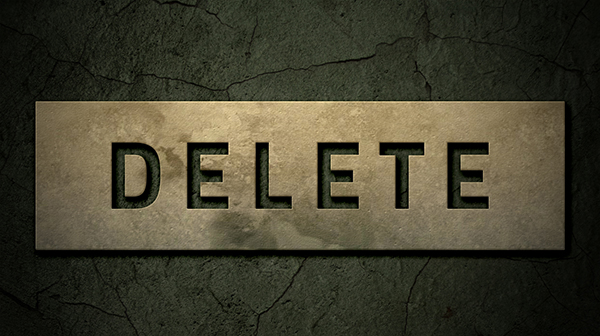
Here's the final result. Layer styles and lighting effects are a great way to achieve interesting results easily and quickly. Hope you enjoyed the tutorial and found it helpful.