
Duotone vs. Multichannel, Part 2
In the first installment of this series, we looked at duotone color mode, how it works, and how you can control it. Now let’s explore the multichannel color mode, a mode designed for storage of masks and for specialized printing.
When you convert an image to Multichannel mode, you no longer have a composite channel with which to work. You manipulate each color channel individually. (You can, however, select multiple channels in the Channels palette and work on them simultaneously.)
Photoshop doesn’t let you create a new document in Multichannel mode, so you’ll have to convert from RGB, CMYK, L*a*b, Duotone, or Grayscale. (You cannot convert to Multichannel from Index Color or Bitmap mode.) The conversion process is simple: Open the image in Photoshop and use the menu command Image> Mode> Multichannel.
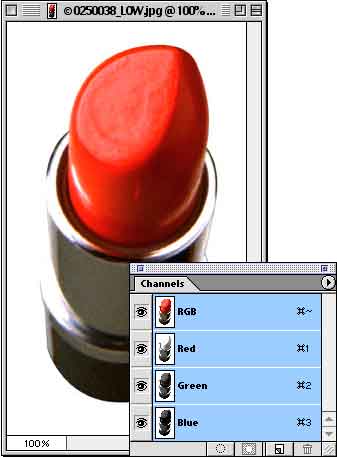
Let’s take a look at what happens. Here’s our test image, PhotoSpin image #0250038. It’s an RGB jpeg file. Naturally, the Channels palette shows three color channels and the composite channel.
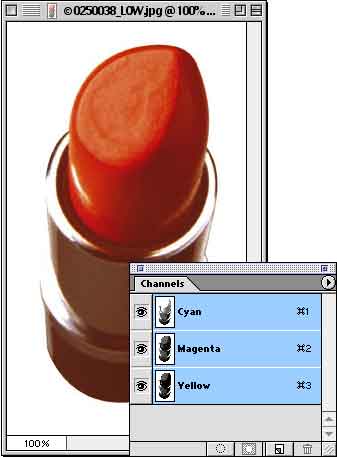
Because Multichannel is a printing mode, the RGB channels are changed to CMY. Notice the extreme change in the image’s appearance.
We can convert the image to CMYK mode first, and then to Multichannel.
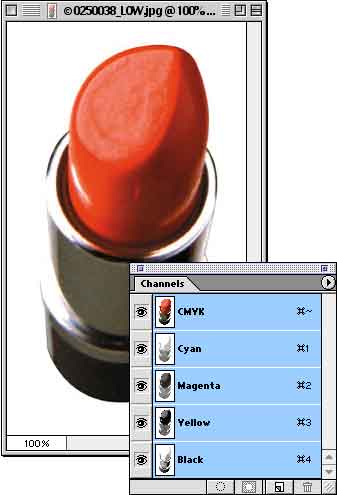
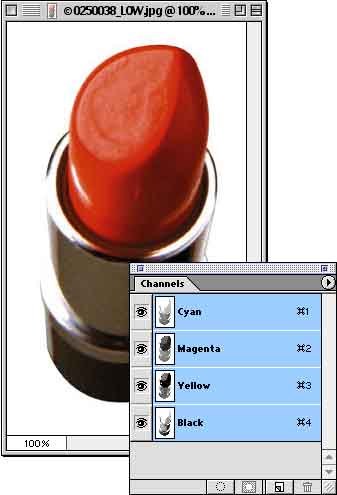
Four channels are created from the CMYK image, called (not coincidentally) Cyan, Magenta, Yellow, and Black. Despite the one-for-one channel conversion, there is a noticeable shift in color in the image. (It is, however, substantially better than the conversion from RGB to Multichannel.) Keep in mind that we want to use Multichannel as a specialty printing mode, not for general printing purposes.
In this case, we’ll create a two-color image, using the black channel and a red spot color. We’ll keep the black channel as it is for now, but we need to decide which of the other three channels to retain. The goal is to retain the color of the lipstick, so we’ll want the channel that best shows that part of the image.
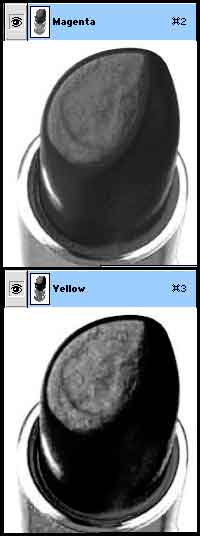
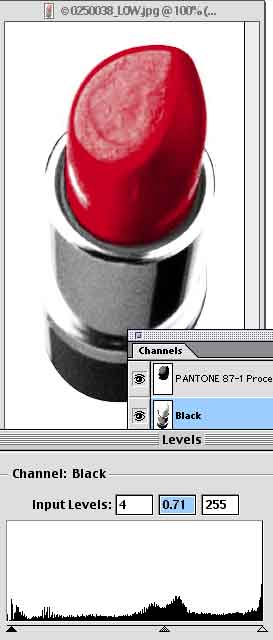
We can view the channels individually by clicking on the eyeball icons in the Channels palette (“poking out the eyes”). Because we’re after red, it makes sense that one of the two component color channels will give us the greater range and contrast. (Red, as we recall, is made of magenta and yellow.) Let’s compare the lipstick part of the image in the Magenta and Yellow channels.
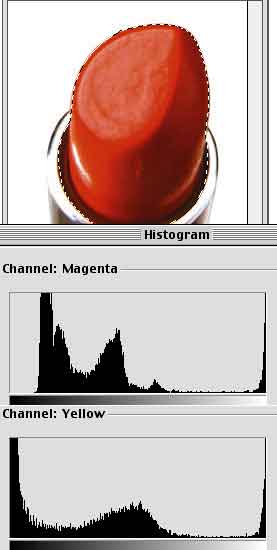
We can even do a comparison numerically using the Histogram. Make a selection to restrict the Histogram to the area of interest. In this case, we’ll look only at the exposed lipstick. (The Magnetic Lasso is wonderful for this particular chore.) Next, in the Channels palette, click on a single channel to get a reading for those color values only. Use the command Image> Histogram to show the distribution. Click OK, switch to the next channel and show the Histogram again. Here we can see that, while neither is great, there’s a better distribution of pixels in the Yellow channel. (This only confirms what our eyes told us when we looked at the channels individually.)
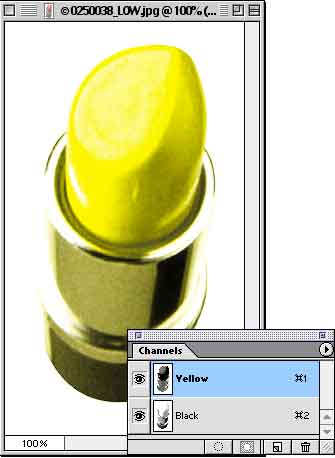
Okay, we’ve decided which channels to keep, Black and Yellow. To get rid of the others, simply open the Channels palette and drag them to the Trash. By the way, you can skip the color mode conversion step if you know which channels you need to delete. If you open a CMYK image and delete one or more channels, it is automatically converted to Multichannel mode.
After deleting the Cyan and Magenta channels, we’re left with a two-channel image. However, it’s not exactly what we want. (Not very “kissable,” is it?)
To change the Yellow channel to a spot color, double-click it in the Channels palette. That opens the Channel Options dialog box.
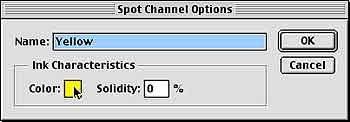
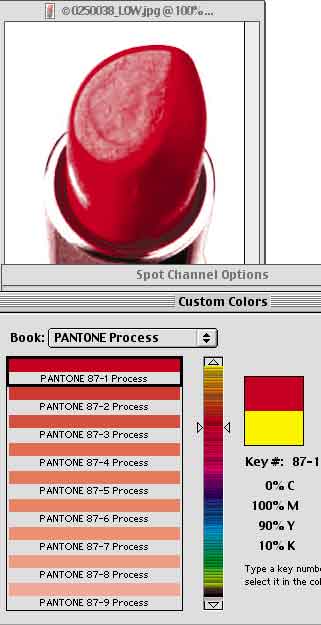
Click on the color swatch (under the cursor in the image above) to open the Color Picker. Clicking the Color Picker’s Custom button takes us to the colors we need.
Here’s something great! When you click on a color, Photoshop automatically updates the image – you don’t need to exit the Color Picker to see the change. That allows you to test drive colors, finding exactly the correct hue.
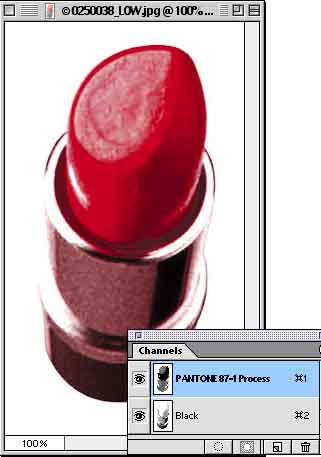
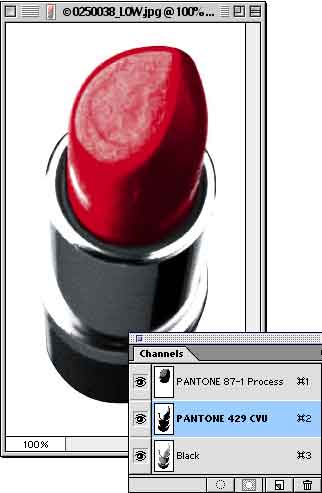
Once we approve the change by clicking OK in the Color Picker and again in the Channel Options dialog box, the Channels palette is updated. (Notice the name of the channel was automatically changed for us.)
Now the value of Multichannel mode comes to the front. We can edit the individual channels using painting tools, selections, masks, adjustment commands, even filters. Each channel is nothing more than a grayscale image. In this case, we can erase everything from the Red channel except the lipstick, removing the tint from the lipstick tube.
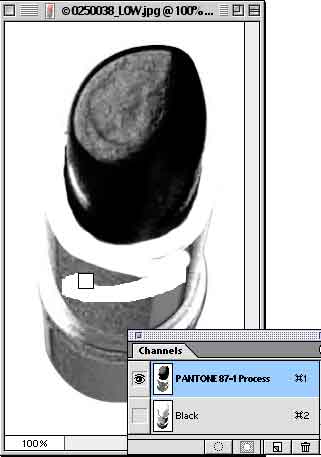
We can even have both channels visible and only one channel active while we edit. Here, we’re monitoring the overall look of the image by making sure that both channels have “eyeballs” in the left column of the Channels palette. But note that only the Black channel is active.
We could even add another spot channel (if we wanted to go three color printing) by dragging the Black channel to the New Channel button in the Channels palette and then assigning it a color through Channel Options.
Duotone images, such as the image we used in the first installment of this series, can also be converted to Multichannel. That gives you the opportunity to edit the channels individually, just as we did here.
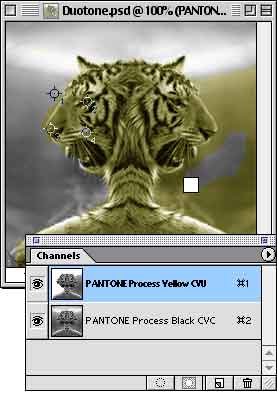
(You cannot return to Duotone mode from Multichannel – remember that you can create duotones only from grayscale images.)
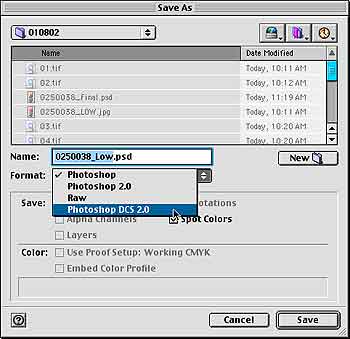
Multichannel images can be saved as Photoshop, Raw, or DCS 2.0. DCS, you’ll recall, stands for Desktop Color Separations, and allows you to create individual files from the color channels, with or without a composite image. It is a variation of EPS.
It is (as always) a good idea to check with your printer about file formats (and other specifications) before creating images that will go to press.

That works really well. I was banging my head on a wall trying to figure this out on my own. Thanks for a great one!
Very helpful. Thank you for beign here.