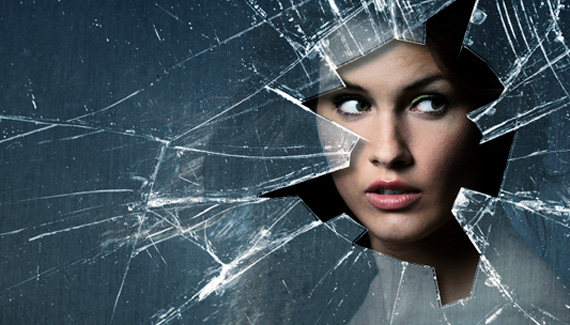
EffectsPhotoshop Dramatic Broken Glass Inspired by a movie poster, Corey shows how to create a broken window effect. Aaron Westgate June 30, 2011 22
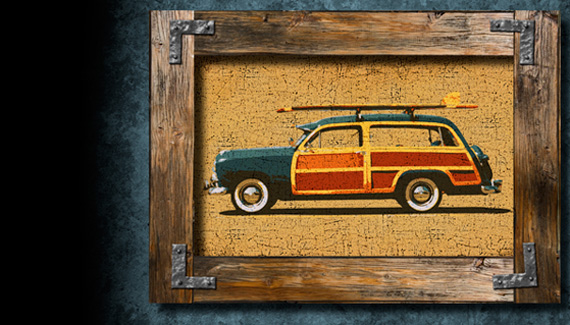
EffectsPhotoshop Wood Frame Effect Corey shows how to create a vintage wood frame complete with realistic metal brackets. Aaron Westgate June 17, 2011 13
EffectsPhotoshop 3D Logo Effects Corey shows you how to flat 2D art and create a full 3D logo using Photoshop CS5 Extended. Aaron Westgate June 3, 2011 19
EffectsPhotoshop Blending & Blend Modes Corey shares a cool way to create mix textures with photos to create a gritty effect. Aaron Westgate May 20, 2011 18
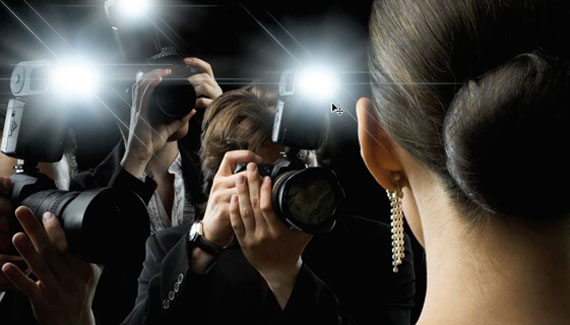
EffectsPhotoshop More Hollywood Effects Corey shows you how to composite several images into a cool Hollywood style graphic. Aaron Westgate May 6, 2011 19
EffectsPhotoshop Lens Flare Brush Corey shows you hoe to add interest to photos by creating a lens flare brush. Aaron Westgate April 22, 2011 13
EffectsPhotoshop Natural 3D Light Effect Corey shows you how to create a natural 3D light effect using Photoshop CS5 Extended. Aaron Westgate April 8, 2011 28
EffectsPhotoshop Tracer Effect Corey has a cool trick for creating a tracer effect using Repousse. Aaron Westgate March 25, 2011 15