

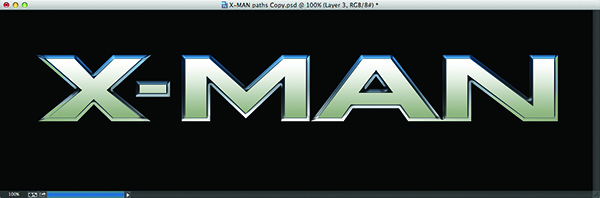
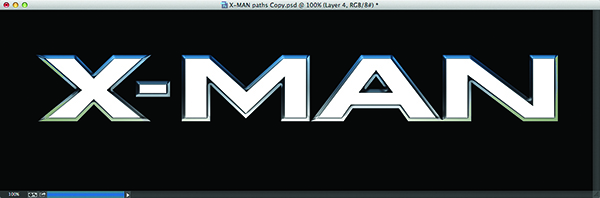
I gave our editor, Chris Main, a few options for this issue's "Down & Dirty Tricks" column and, of course, he went with the X-Men type effect. Now, I really shouldn't have been surprised considering his office is jammed-packed with just about every Marvel action figure known to man, along with Star Wars figures, a Stormtrooper piggy bank, a Doctor Who Tardis cut out, etc. But none of that has anything to do with this tutorial other than Chris's office is a mini Marvel toy store. Anyway, this is a great type effect that can enhance any design, even if you don't wear a cape or tights, which I'm pretty sure Chris has stuffed into a desk drawer.
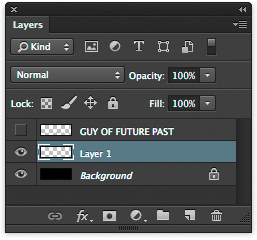
Step One: Open the X-MAN Paths.psd document and create a new layer (Layer 1) by clicking on the Create a New Layer icon at the bottom of the Layers panel. In the Paths panel (Window>Paths), Command-click (PC: Ctrl-click) on the Path 1 thumbnail to load it as a selection.
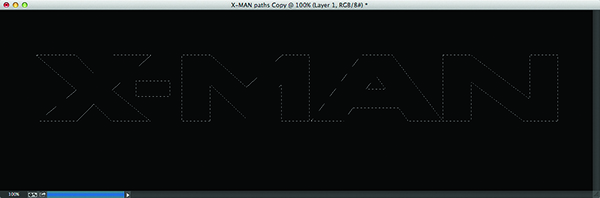
[KelbyOne members may load the file used in this tutorial by clicking here. All files are for personal use only.]
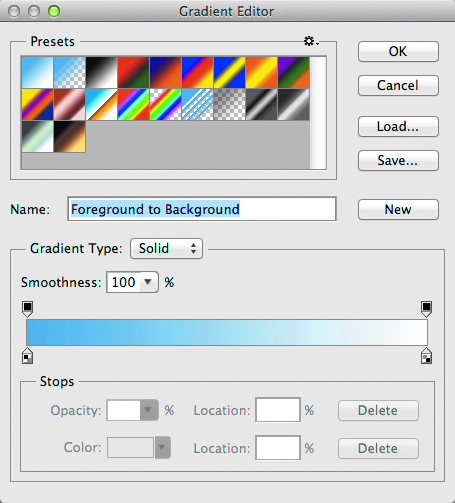
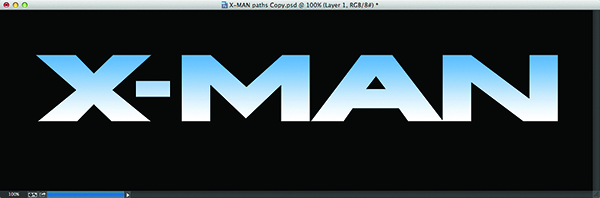
Step Two: Press D to make the Background color white, then click on the Foreground color swatch at the bottom of the Toolbox, choose a light-blue color (R:113, G:150, B:206), and click OK. Choose the Gradient tool (G) from the Toolbox. In the Options Bar, click on the gradient preview, choose the Foreground to Background preset, and click OK. Now, click-and-drag a gradient from the top toward the bottom of the selection. Press Command-D (PC: Ctrl-D) to deselect.
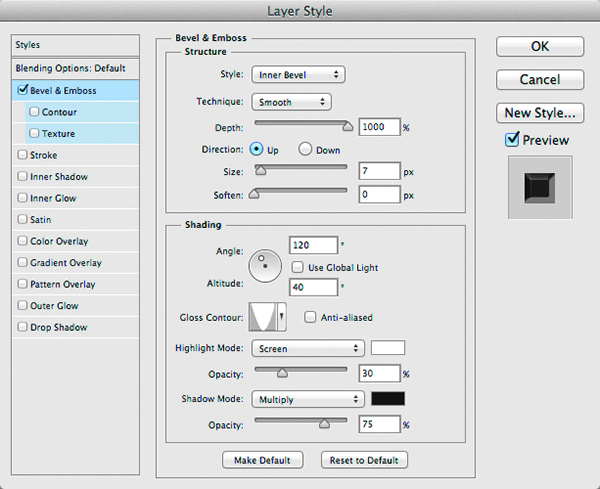
Step Three: Click the Add a Layer Style icon (fx) at the bottom of the Layers panel, and choose Bevel & Emboss. Enter 1000% for Depth and 7 px for Size. Uncheck Use Global Light, enter 120° for Angle and 40° for Altitude. Click on the down-facing arrow next to the Gloss Contour thumbnail and choose Cone - Inverted, then lower the Highlight Mode Opacity to 30%. Don't click OK yet.
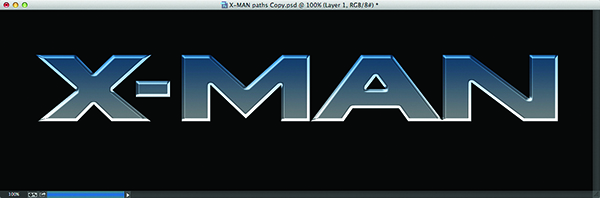
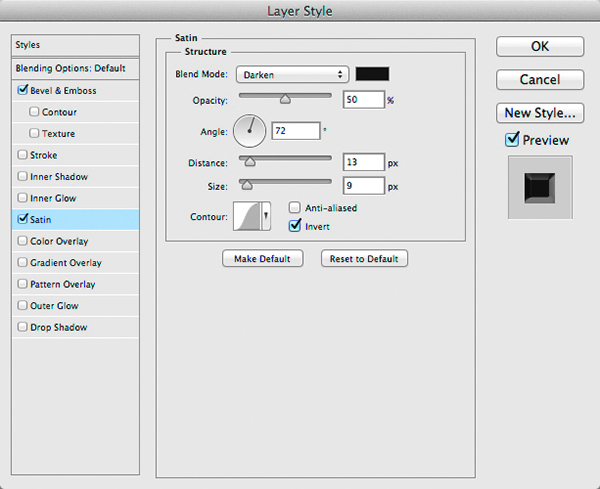
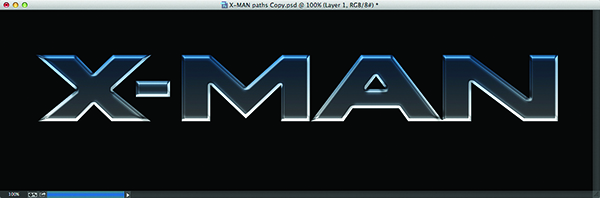
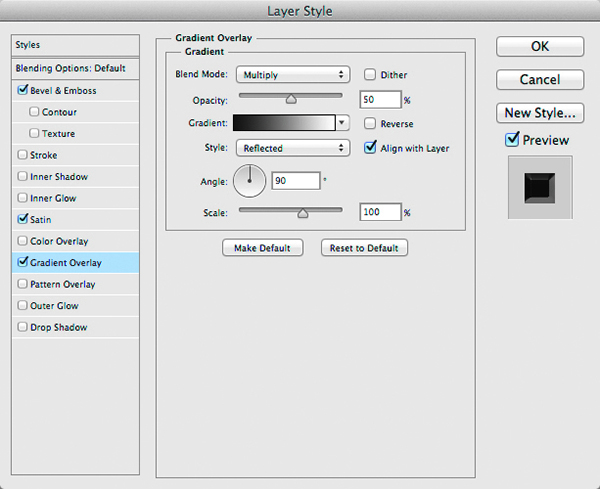
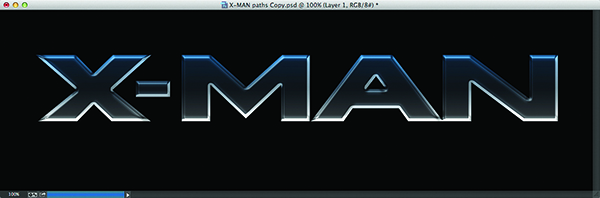
Step Four: Choose Satin from the Styles list on the left side of the Layer Style dialog. Choose Darken as the Blend Mode, lower the Opacity to 50%, enter 72° for Angle, 13 px for Distance, 9 px for Size, and check the Invert box. Now, choose Gradient Overlay from the Styles list. Choose Multiply as the Blend Mode, enter 50% for Opacity, and choose Reflected for Style. Click OK to apply the layer styles.
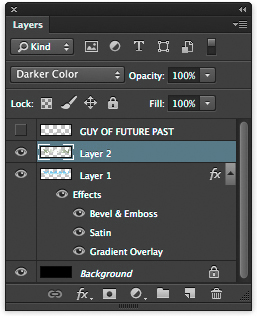
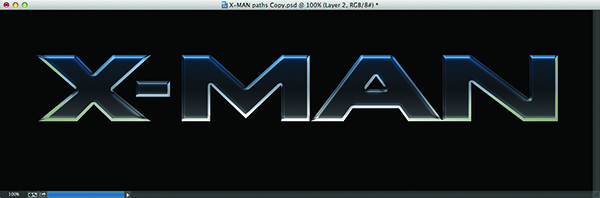
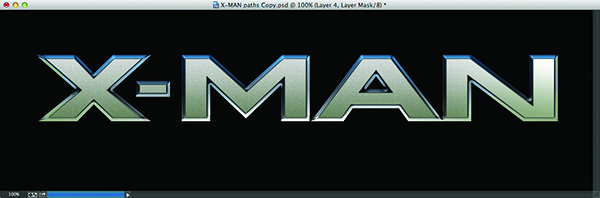
Step Five: Create a new layer (Layer 2) and load Path 1 as a selection. Change the Foreground color to a light gray/green (R:149, G:157, B:134). Press X to switch the Foreground and Background colors. Choose the Gradient tool, then click the Reflected Gradient icon in the Options Bar (fourth icon from left). Click-and-drag a gradient from the center toward the right side of the selection (see example). Change the layer blend mode to Darker Color. Deselect.

Step Six: Create a new layer (Layer 3) and load Path 2 as a selection. With the Gradient tool selected, click the Linear Gradient icon in the Options Bar (first icon). Click-and-drag a gradient from the top toward the bottom of the selection. Deselect.
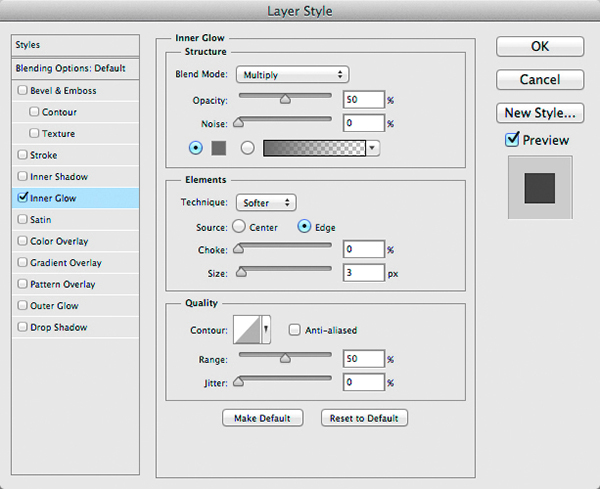
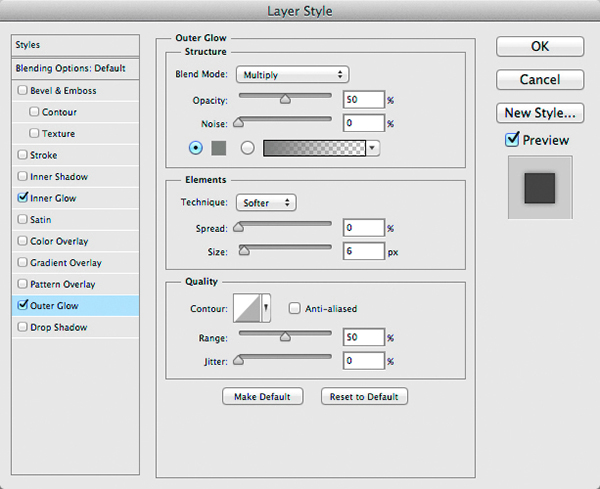
Step Seven: Click on the Add a Layer Style icon and choose Inner Glow. Choose Multiply as the Blend Mode and enter 50% for Opacity. Click on the yellow color swatch, choose a gray color (R:128, G:128, B:128), and click OK. Enter 3 px for Size. Now, choose Outer Glow from the Styles list. Choose Multiply as the Blend Mode and enter 50% for Opacity. Click on the white color swatch, choose a gray color (R:128, G:128, B:128), and click OK. Enter 6 px for Size and click OK to apply the layer styles.

Step Eight: Create a new layer (Layer 4) and load Path 2 as a selection. Press Option-Delete (PC: Alt-Backspace) to fill the selection with white. Deselect.
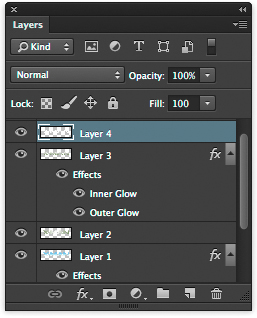
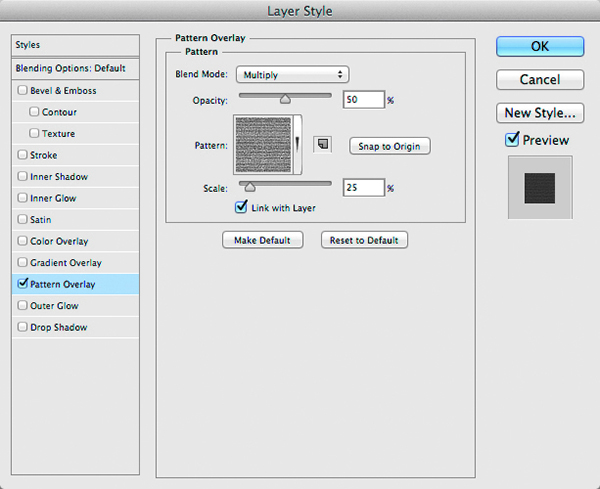
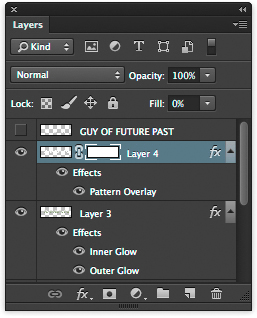
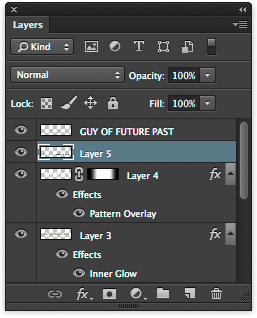
Step Nine: At the top of the Layers panel, lower Layer 4's Fill to 0%. Click the Add a Layer Style icon and choose Pattern Overlay. Choose Multiply as the Blend Mode and lower the Opacity to 50%. Click the down-facing arrow next to the Pattern thumbnail. Using the default patterns, choose Laid-Horizontal, lower the Scale to 25%, and click OK.

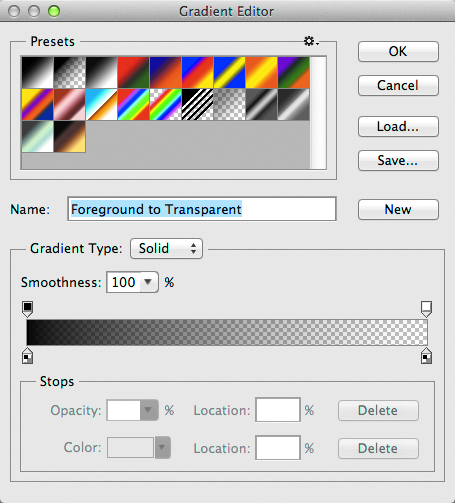
Step Ten: Click on the Add Layer Mask icon (circle in a square) at the bottom of the Layers panel. Press X until the Foreground color is black. Choose the Gradient tool, click on the gradient preview in the Options Bar, choose Foreground to Transparent, and click OK.
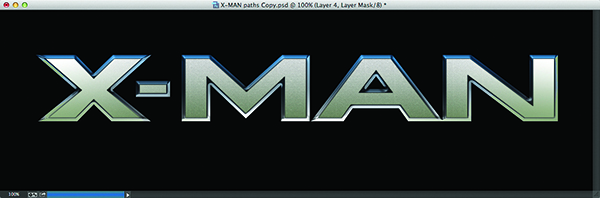
Step Eleven: Click-and-drag a gradient from the right edge of the N toward the A, then click-and-drag a gradient from the left side of the X toward the M to mask out the outside edges of the pattern (see example).
Step Twelve: Click the empty square to the left of the type layer to make it visible (if you're not using the support file we provided, you'll have to create a type layer). Create a new layer (Layer 5) and drag it below the type layer. Command-click (PC: Ctrl-click) on the type layer thumbnail to load it as a selection. Press D to set the Foreground color to black. Now, press Option-Delete (PC: Alt-Backspace) to fill the selection with black. Note: You won't be able to see the black fill on Layer 5 because it's hidden behind the original type layer.


Step Thirteen: Press Command-T (PC: Ctrl-T) to bring up the Free Transform bounding box. Using the Up Arrow key, move the selection up until you see the top of the black fill selection overlapping the bottom of the X-MAN type. Now, click on the bottom-center adjustment point and drag it up to compress the type. Press Enter to apply the transformation.


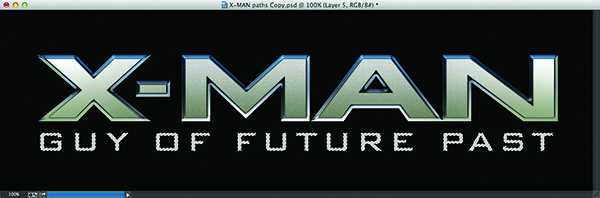
Step Fourteen: Using the selection tool of your choice (we used the Lasso tool [L]), make a selection around the A and S in the word "PAST" on Layer 5. Use the Free Transform function to rotate and reposition the selection over the diagonal portion of the N, and press Enter to apply the transformation. Deselect. Repeat this step using the other characters until all the letters appear to be reflecting under the X-MAN letters (see example).
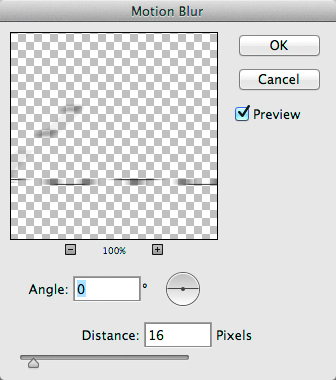
Step Fifteen: Go to Filter>Blur>Motion Blur. Enter 0° for Angle, 16 Pixels for Distance, and click OK. Change the blend mode to Multiply. Duplicate Layer 5 by dragging it onto the Create a New Layer icon at the bottom of the Layers panel to intensify the reflections and complete the effect.

Bonus Step: If you want to add a bit more highlight pop, simply add another layer (Layer 6) and change the blend mode to Overlay. Use a small, soft-edged brush (B) with the Foreground color set to white, and paint in a few highlight spots on some of the bottom edges of the text.

