
Using the Spin Blur in Photoshop CC
The Spin Blur is the last of the five blur filters in the Blur Gallery available in Photoshop CC and later. It enables you to create circular motion effects that emulate an object's rotation. This tutorial will show you how to use the Spin Blur filter to add a spinning motion effect to a car's wheels. You'll get to modify the different values, duplicate the effect, then clean it up using a smart filter mask.
Tutorial Assets
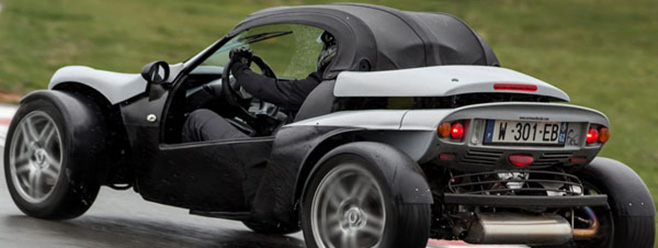
SECMA F16 by SuperCar RoadTrip
Working with Pins and Modifying the Blur and Transition Areas
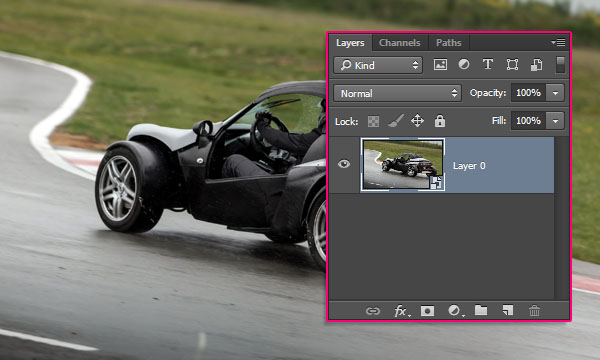
STEP ONE: Open the SECMA F16 image, Right-click the Background layer, and choose Convert to Smart Object. Alternatively, you can select that layer and go to Filter>Convert for Smart Filters. Smart objects are great when using filters, as they make the applied filters editable at any time, as well as create smart filter masks that can help with modifying and cleaning up the final results.
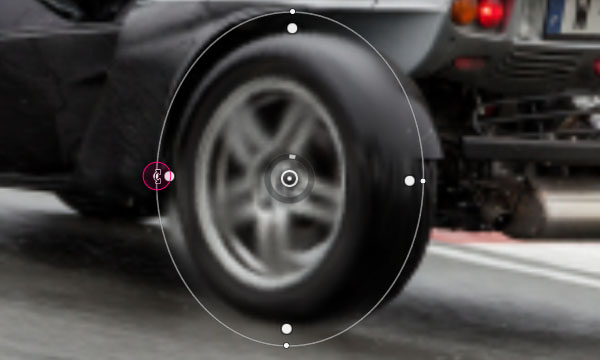
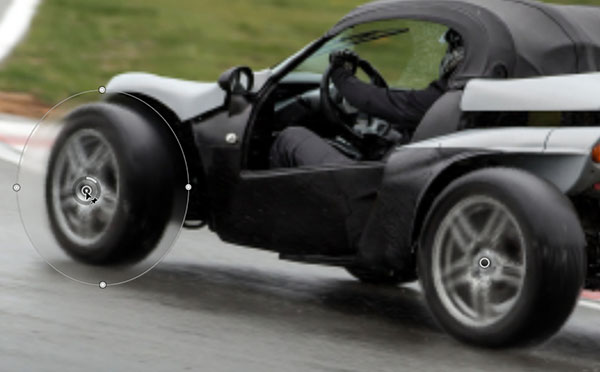
STEP TWO: Go to Filter>Blur Gallery>Spin Blur to open the Blur Gallery. A pin is added with an ellipse surrounding it and controlling the blur effect over the image (hover your cursor inside the circle to see the pin).
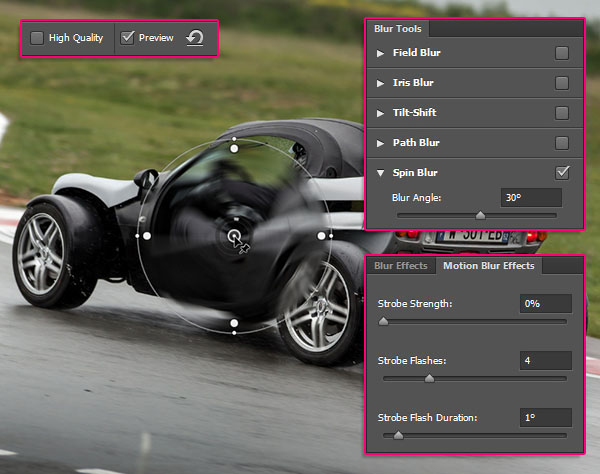
STEP THREE: At the right of the screen are two panels: The main Blur Tools panel at the top, with the Spin Blur's Blur Angle slider, and the Motion Blur Effects panel at the bottom, with some extra options and settings for the Strobe values.
STEP FOUR: There are a couple more controls in the Options Bar that might come in handy, as well. High Quality controls the rendering quality of the preview. If this box is checked, the preview might be rendered a bit slower, depending on your device. When checked, Preview shows the result of any changes in the blur filter's settings. When unchecked, you can view the original image without any blur. Tip: You can press the P key to turn the Preview on and off. Click the Remove All Pins icon (curved arrow) in the Options Bar to remove all the blur pins on the image.
STEP FIVE: To move the pin around, simply click on its center and drag it to a new position, then release the mouse button. To change the Blur Angle, select a pin by clicking its center, then you can either:
• Move the mouse over the ring surrounding the pin, then click-and-drag clockwise to increase the blur angle and counterclockwise to decrease it.
• Drag the Blur Angle slider in the Blur Tools panel to the right to increase the angle and to the left to decrease it.
• Click in the Blur Angle field under the Blur Tools panel and enter an integer value between 0° and 360°.

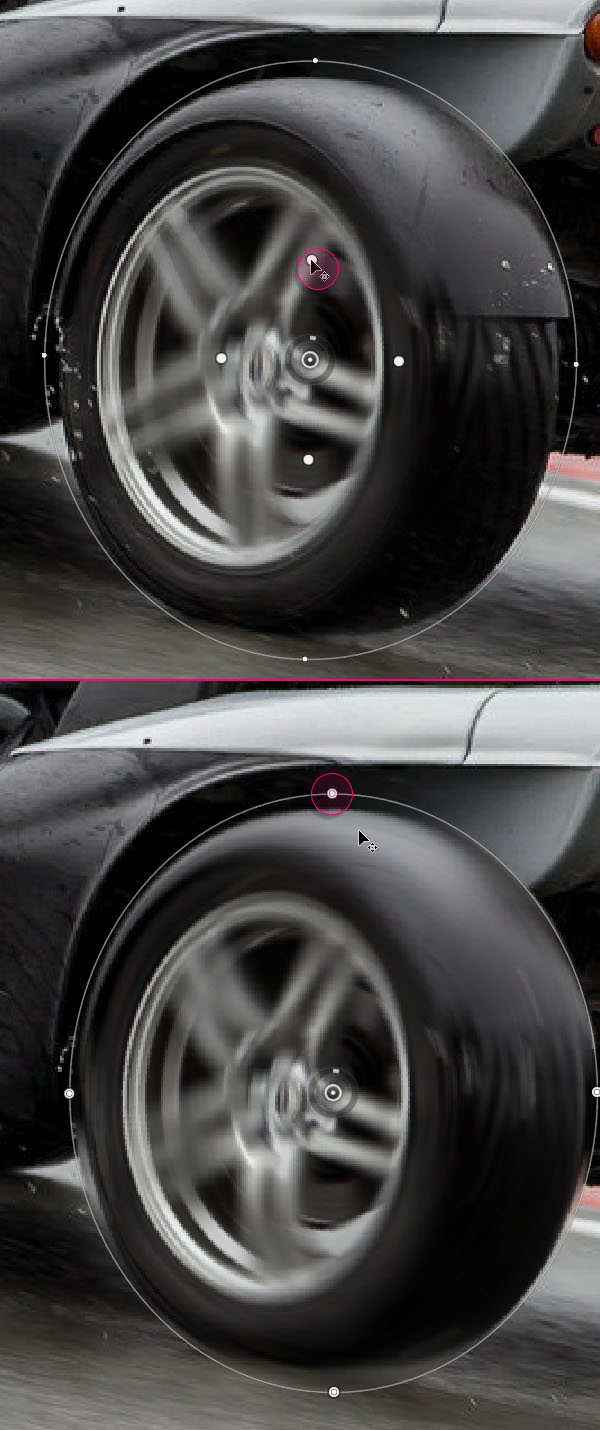
STEP SIX: Click-and-drag the ellipse's line (border) to make it larger or smaller, while constraining its shape and rotation angle.
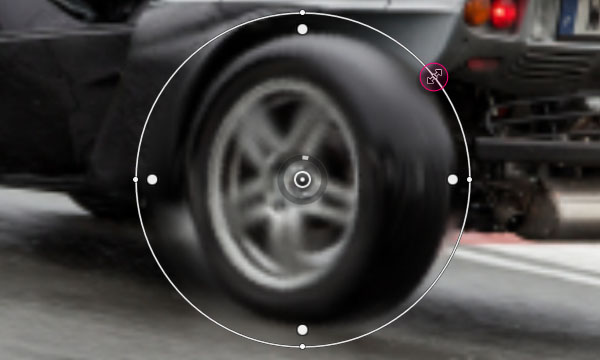
You can change the shape by hovering the cursor over any of the four outer dots, and when the cursor's shape changes into a rotate icon (bent double arrow), click the dot and drag it to reshape and rotate the ellipse.
The four larger dots between the center pin and the ellipse's border are the feather handles, and they control the fade range of the blur effect (the distance between blurred and nonblurred areas). Click-and-drag the feather handles to move them closer to or further from the center pin. If you drag them on top of the outer handles, then there will be no fade range at all.
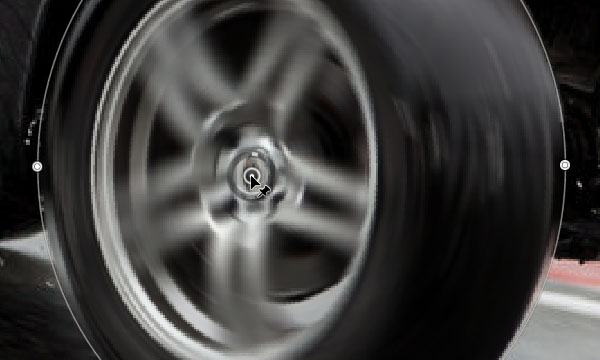
While the feather handles can't be moved independently, the center pin can be moved. If the blur is off-center, press-and-hold the Option (PC: Alt) key, then click-and-drag the center pin to reposition the rotation point of the spin blur.
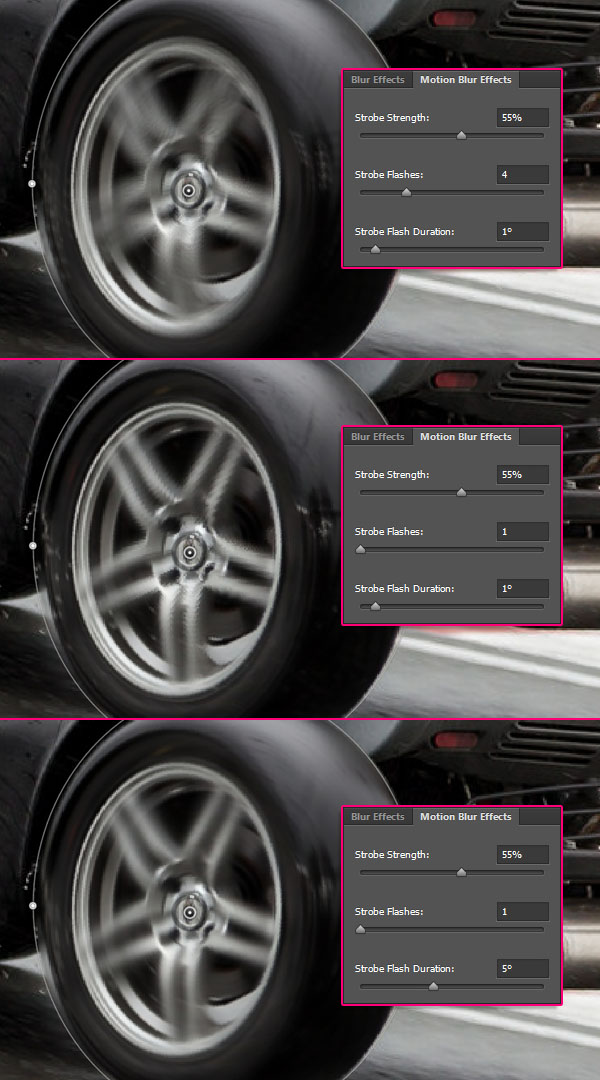
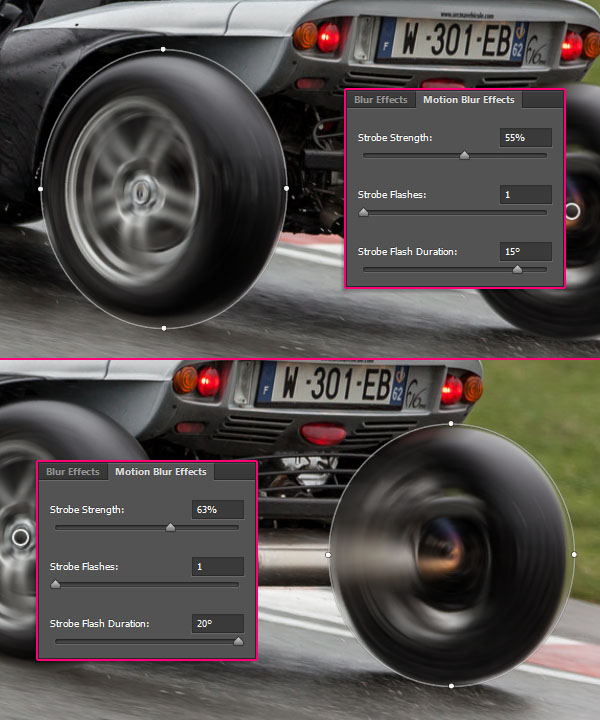
STEP SEVEN: Play around with the controls in the Motion Blue Effects panel to get a result you like. They make the spin blur effect more dynamic and realistic. Strobe Strength determines how much blur will show between the flash exposures. Strobe Flashes determines how many flashes there are, and Strobe Flash Duration controls the length of the flash, and it's measured in degrees.
Adding, Deleting, and Duplicating Pins
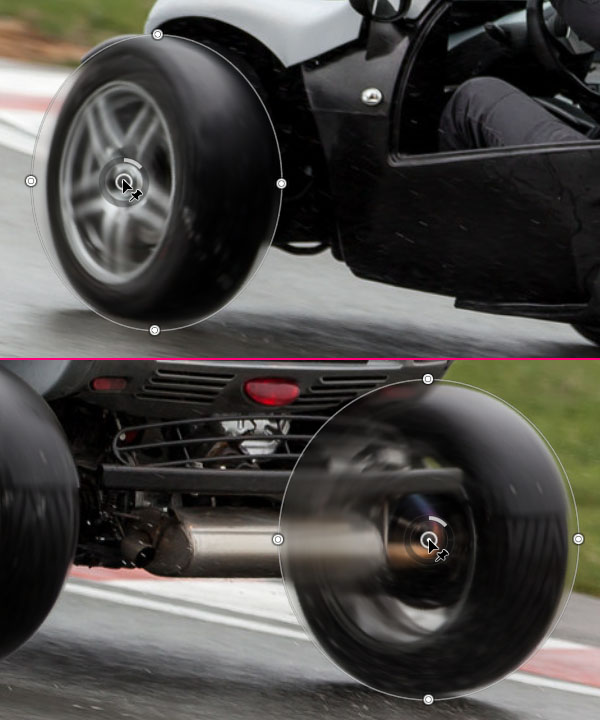
STEP ONE: To add a new pin, place the cursor where you want to add it, then click once. This will create a new pin with the default values. To delete a pin, click its center to select it, the tap the Delete (PC: Backspace) key. If you want to duplicate a pin you've already created and modified, press-and-hold the Command-Option (PC: Ctrl-Alt) keys, then click-and-drag that pin to place the copy where you want it. After you duplicate the pin, you can reshape it and change any of its values as you like. You can create and duplicate as many pins as you want.
STEP TWO: Notice that the pins are affecting areas that shouldn't be affected by the blur, and the pin handles can't solve that problem. This is where the Smart Filter will come in handy, as you'll see.
Using the Smart Filters to Clean Up the Final Result
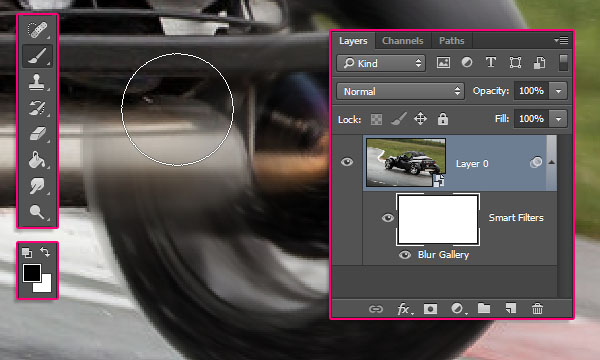
STEP ONE: When you're done working with the pins, click the OK button in the Options Bar or press Enter to apply the changes to the image. Expand the image layer by clicking the arrow to the right in the Layers panel, and you'll see a Smart Filters thumbnail. Click the Smart Filters thumbnail, choose the Brush tool (B), and press D then X to set the Foreground color to black. It's up to you to decide the Size and the Hardness of the brush tip you're using, depending on the area you're painting over. These settings are found in the Brush Preset Picker at the left of the Options Bar.
STEP TWO: Now paint over the areas where you want to remove the blur, masking them out. If you accidentally exclude areas that shouldn't be excluded, press X to change the Foreground color to white, paint any areas that you want to blur again, then press X to set the Foreground color back to black and continue.
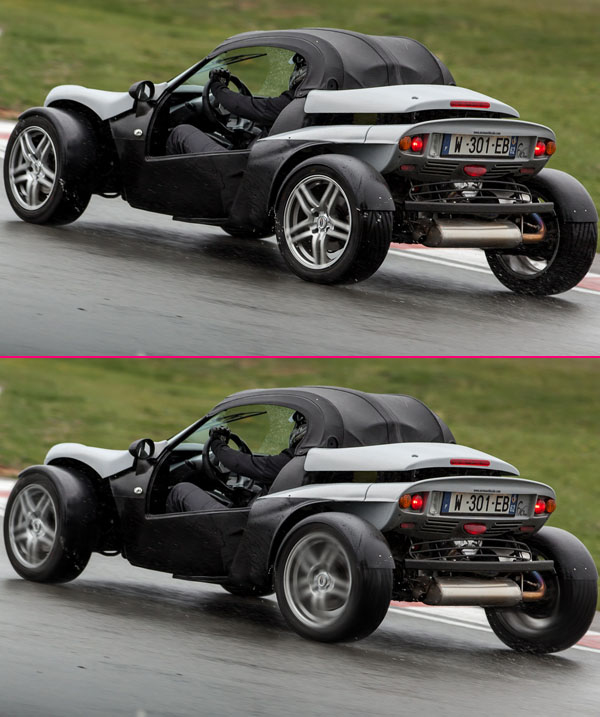
STEP THREE: Because you used a smart object, you can double-click Blur Gallery at the bottom of the Layers panel to open the Blur Gallery, and adjust any values. When you're done, click OK in the Options Bar or press Enter. Here, we adjusted the Strobe Flash Duration values for the back wheels.
There you have itâ”a cool spinning motion effect created in a couple of minutes.
This tutorial covered the basics of the Spin Blur filter, and explained how to use its settings and options to create a spinning motion effect for a car's wheels. I hope you enjoyed the tips and tricks and found the tutorial helpful.
