Things to Make You Go “Oh!”: The Crop Tool
It never ceases to amaze me as to how many people work with Photoshop day in and day out and STILL find things that will make them go "Wow, I didn't know that that was there!" Instead of working with something from start to finish, I wanted to just jump back and remind of things that are out there and keep it short and sweet. Today's focus? The Crop Tool!
 Crop Can Also Extend Canvas Size:
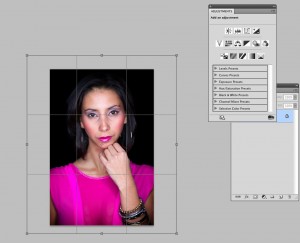
When you use the Crop tool in Photoshop, its a two step process. You draw the crop first, then adjust it when the Shield is up (That's the name of that dark overlay). Instead of cropping into the image, extend past your canvas and you'll see the canvas extend filling the area with your default background color if you're locked, or adding blank space on the layer.
Adjust your Perspective While You Crop
If something just didn't quite line up right, you don't have to crop it, THEN transform it to adjust the perspective. Just click on the Perspective checkbox at the top, and you can adjust the corners against something you think is supposed to be a straight line. When you hit enter, the image will be adjusted for Perspective. Cool huh!
Click on the link below to check out more!
![]() You Can Change Overlays and Type
You Can Change Overlays and Type
I try to use the Crop tool sometimes as a compositing assist. Problem is, it makes it really hard for me to do so if I still see the rest of the area and it can confuse me when Im trying to â˜see' the final product. This is why when I crop, I change the Opacity to around 90 percent. This way, I can better see the result and go from there.
 A Mask Without A Mask: Hide
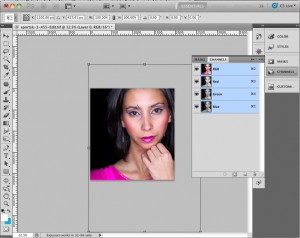
When you crop with an unlocked layer, you actually have two options. You can choose to get rid of the information OR you can just choose to hide it. Click on the Hide button at the top of the toolbar and when the crop is completed, the information will still be there, it will just be hidden outside of the canvas area. Use the move tool and you'll be able to adjust the image by dragging it.
Find out How Big your Image is without going into File>Info
Inside of the Crop tool theres a button called Front Image. This takes the dimensions of the image that's on top of yor series and populates it into the crop fields. If you're working on one image, theres only one place to pull from. Click on Front Image and you'll immediately know what size of document you're working on. Once you're done, hit Clear.
See? There's so much more stuff in there than just "Let's take a little off the top" Enjoy!
(To see more of RC’s Ramblings, visit him at www.aboutrc.com or follow him on Twitter!)
