
I’ll get to this week’s tutorial shortly, but first I wanted to express my deepest thanks to all of you. A few years ago I suffered through the rigorous schedule of a double-major at the University of Montana. I had it in mind to conquer the worlds of both Computer Science and English, much to the confusion of my wife. She didn’t see how those 2 courses of study could possibly translate into a single job or source of income. Thanks to the grace of God, Scott Kelby and all of you who read these columns, the niche I was searching for certainly does exist. The release of the book I co-authored, ‘Foundation Photoshop 6’, (check it out here or at http://actionfx.com) has also been the realization of a dream; all possible because people like you put up with me on a weekly basis. I thank you, my wife thanks you, and my children as well. Though far short of wealthy in the monetary sense, I’m a rich man in that I get to do what I love, earn a living at what I do, and watch my kids grow up at the same time. To sum it up, I’m learning the meaning of ‘truly blessed’.
If you have surfed around graphics-related websites for awhile, you have certainly come across those fancy little 88×31 pixel buttons. They are the standard for linking websites these days, as they are functional, stylish and save space over those huge banners of yesteryear. Granted, you can’t display entire ads on the buttons; their size is a bit restrictive in this regard. When done right they can be incredibly attractive, just begging a person to click and see the wonders beyond.
I receive several requests for a link button through the course of a week, but had procrastinated in generating one because, quite frankly, I couldn’t seem to achieve the resolution that so many of these buttons displayed. Animating the thing wasn’t a problem; Image Ready takes care of that rather nicely. The problem stems from creating text that a vie
-
wer can actually read. Even crisp fonts set to 6-8 points would turn out fuzzy or otherwise unimpressive when applied to the buttons.
![]()
So what is the answer? Well, for me it was choking down a bit of pride and actually asking another webmaster how they did it. The response I received was a real head-slapper… I should have known.
First, the fonts: The primary concern here is resolution, something the true type font style has a problem with when reduced to 6-8 points. This is resolved by downloading a few bitmap or pixel wide fonts; these were designed to give you great resolution in a small viewing area.
Here are a couple resources to download fonts of this caliber:
http://www.miniml.com/
http://www.geocities.com/Area51/Shadowlands/7677/
http://www.xs4all.nl/~remcodek/fontpage.html
http://www.04.jp.org/extra/bitmap
Another trick used by the ‘Button Masters’ deals with single pixel offset beveling. Say you want to add a bit of texture or depth to your button… too much is going to distort the image beyond recognition. The size simply doesn’t allow for much in the manner of styles. When you decide to apply a bevel, reduce the bevel settings to a single pixel… this will still give the illusion of depth. The eye expects subtlety… you brain will recognize the size of the image and say’ hey, that’s small, so the effects should be small’.
The last tip deals with the Highlight and Shadow modes for the bevel. Instead of using the standard Screen/Multiply modes, use the Color Dodge/Color Burn modes respectively. This helps to further draw contrast out of small characters, creating legible text.
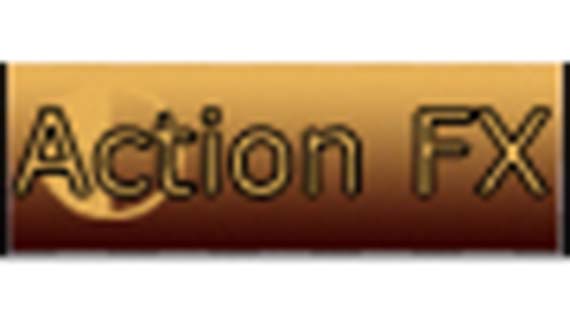
After all this, here’s the button I came up with for http://actionfx.com:
![]()
Crisp, stylish, and catchy… just what a button is supposed to do.
Until next week, Caio!
