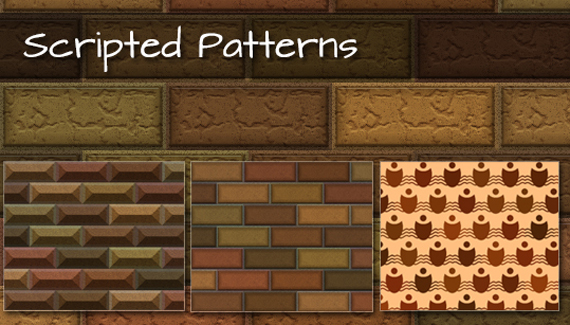
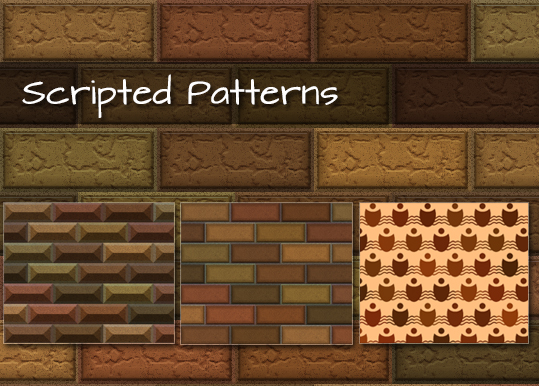
Using Photoshop CS6 Public beta preview create an array of art d©cor patterns from a pattern swatch (or image patch) into a user defined area (selection) or onto the bounds of the active Layer.
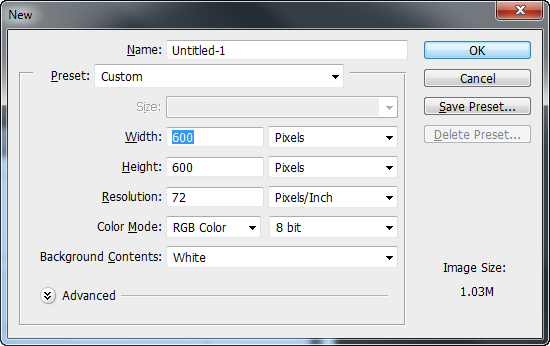
Open Photoshop CS6 beta preview and go to the File > New menu command and create a preset document size of your choice. Preferably a large enough document (say 600×600) so that the pattern fill will be more visible.
Locating the Scripted Patterns
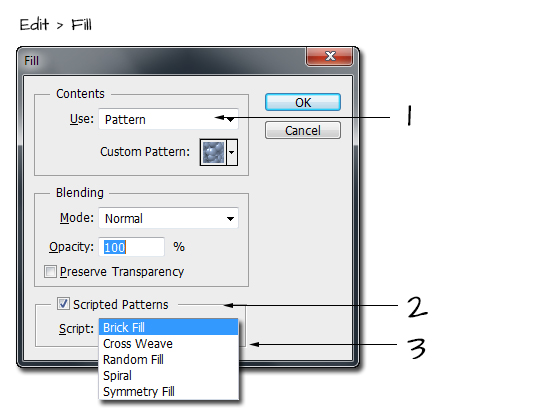
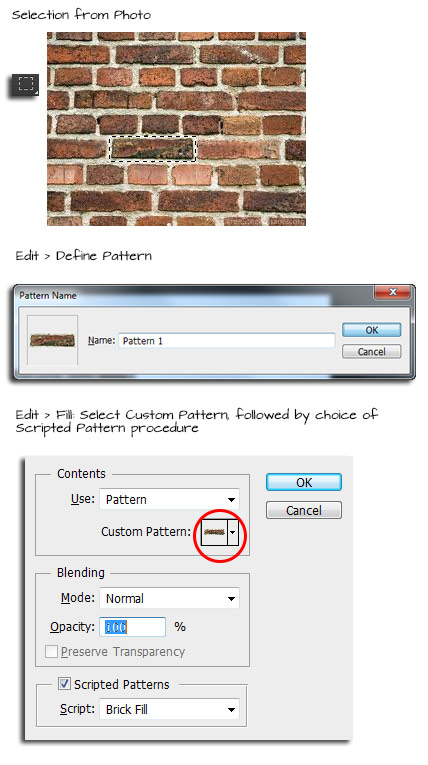
Simply go directly to the Edit > Fill (or Shift + F5) and from the Fill dialog choose:
1. Use: Pattern and choose a Pattern Preset/Swatch
2. Tick Scripted Patterns
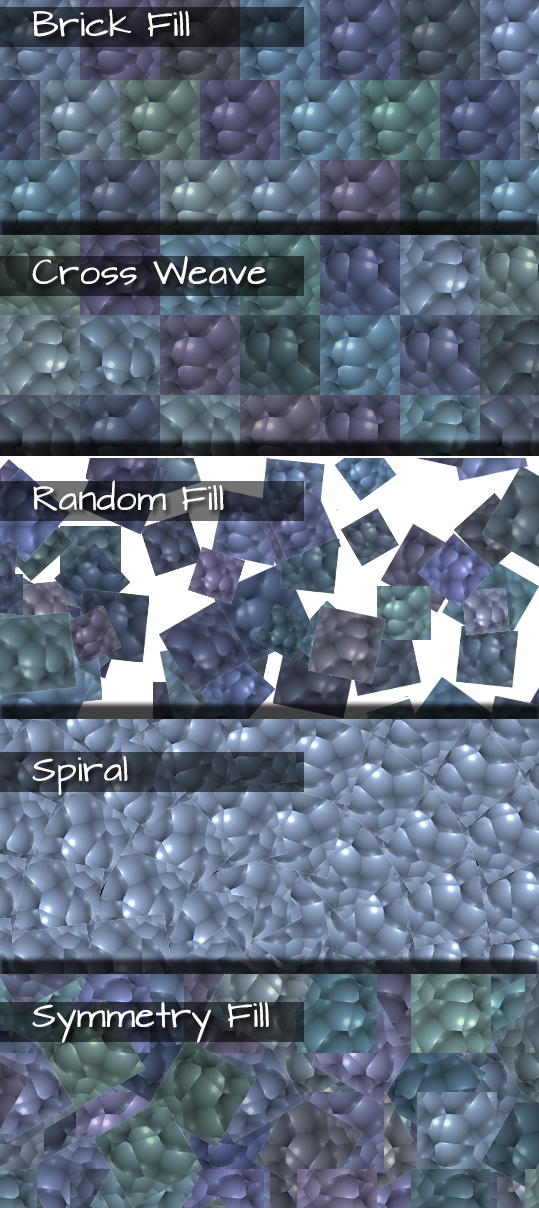
3. And choose from the five available scripted presets from the Script dropdown: Brick Fill, Cross Weave, Random Fill, Spiral, and Symmetry Fill.
Then click OK to commit the pattern to the user-defined selection or the entire bounds of the active Layer.
Using the default â˜Bubbles' Pattern Preset Swatch, captured below, samples what the five scripted pattern options will look like on separate Layers in the current document.
Create Patterns from Photo Source
The default pattern preset collection may not prove useful when used with the scripted pattern procedures, but creating a pattern from a selected area from an existing photograph will.
As captured below, select an area of the image you want to create a Pattern preset from. Then go to the Edit > Define Pattern menu command and save it into the collection. Create a new Layer and go back to the Edit > Fill process again, except choose your new custom pattern, followed by your choice of scripted pattern procedure.
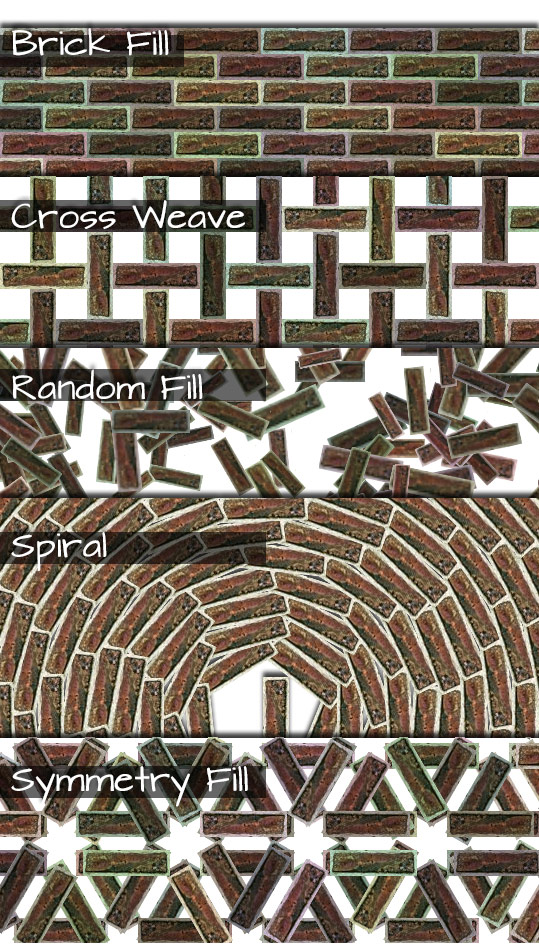
Here is the result of the custom pattern procedures.
Of course you are not confined to the default preset collection you can also create your own using native workflow methods.
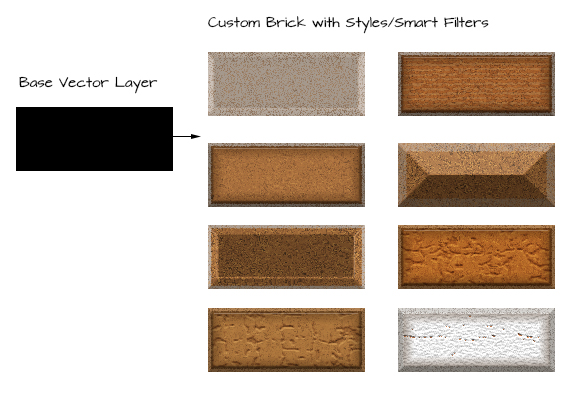
The following download and capture demonstrates a simple base vector shape Layer with Blending Styles and Smart Filters.
Download .psd here ; open the file in Photoshop CS6 and â˜select and define as pattern' each of the brick layer as a Pattern swatch and explore the Edit Fill > Scripted Pattern procedural options noted above.
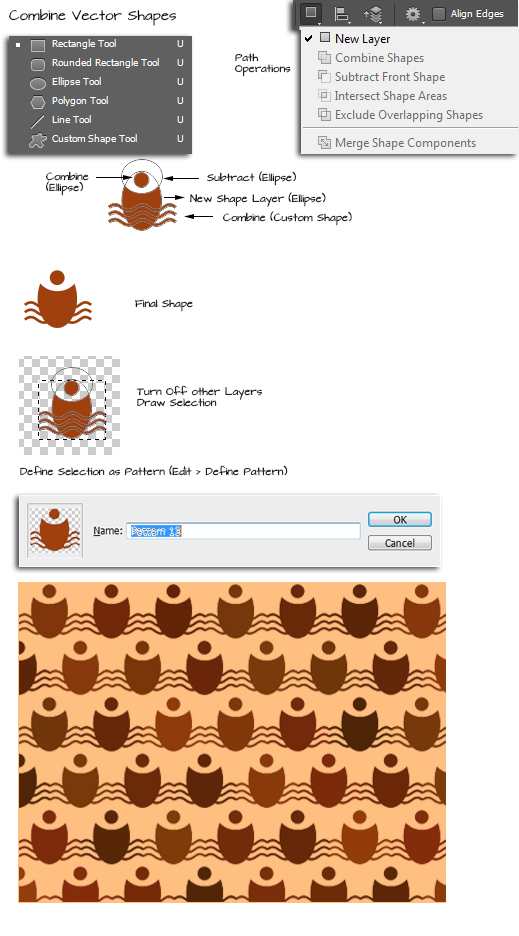
Another option is to combine the native Vector shape Tools with various Path Operations (New, Combine, Subtract etc) to create the base deco pattern. Once created, turn off all other Layers so that there is transparency; draw a selection around the shape then go to the Edit > Define Pattern menu command.
As captured below, I started with a base Ellipse Shape vector Layer (its default path operation is New Layer), followed by a subtract operation with the Ellipse at the top of the shape; followed by a â˜combine' using the Ellipse Tool to add a small oval; followed by a â˜combine' path operation using the Custom Shape Tool preset.
Until next week
Happy trails
http://www.heathrowe.com


Thanks for this tutorial. Well appreciated