
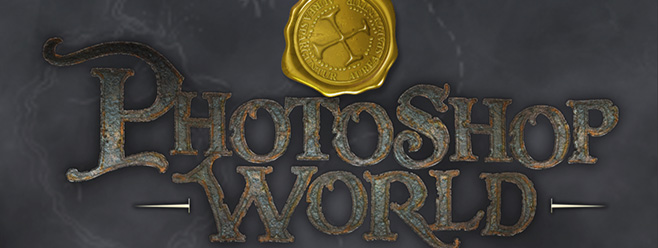
I wanted to create a type effect to go along with the pirate theme for Photoshop World 2014. While finding a swashbuckler-looking font was pretty easy, I also wanted the type to have a very textured, rusty appearance, as if it were a piece of iron or steel that had been exposed to the elements of the high seas for an extended period of time.
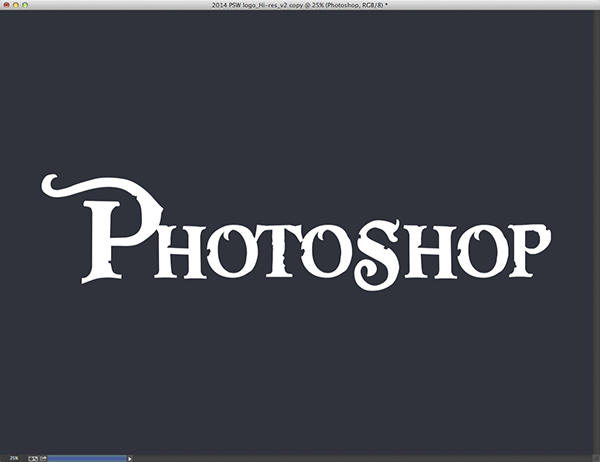
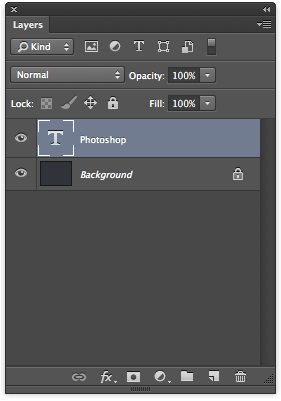
STEP ONE: Create a new 17×12.75″, 300-ppi document. Click on the Foreground color swatch near the bottom of the Toolbox to open the Color Picker, choose gray as the color (R:52, G:57, B:65), and click OK. Press Option-Delete (PC: Alt-Backspace) to fill the entire Background with gray. Press D then X to set the Foreground color to white. Choose the Type tool (T) from the Toolbox, click on the center of the document, and enter your text (we used the font Pieces of Eight at 305 pt but you can use any font you like).
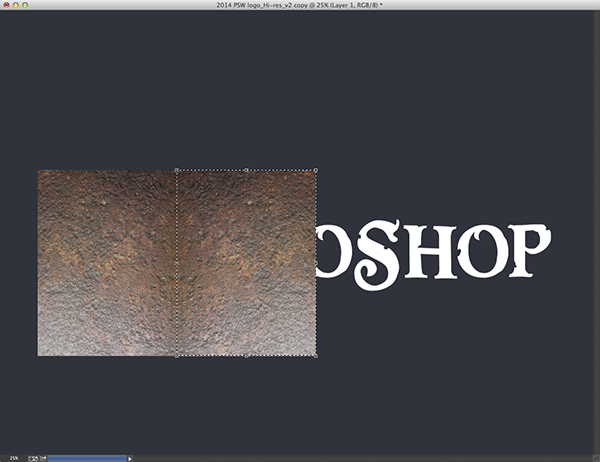
STEP TWO: Open an image of a rusty or worn piece of metal. Our image is courtesy of iStockphoto. Using the Move tool (V), click-and-drag the image into your original document (this will create a new layer, Layer 1), and reposition it over the P and H. Press Enter to place the texture.
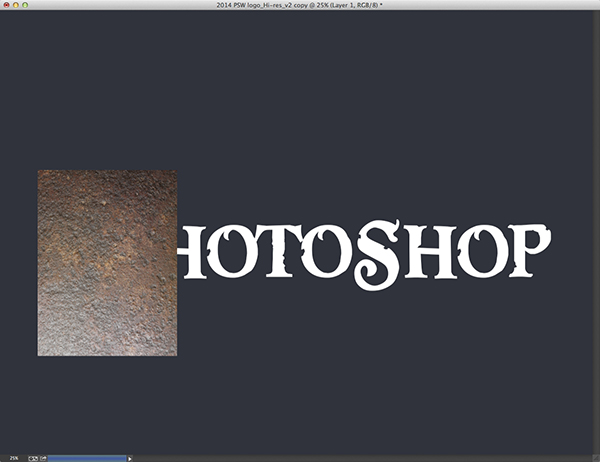
CREDIT: RUSTY TEXTURE: ISTOCK, WRAGG, IMAGE #7286875
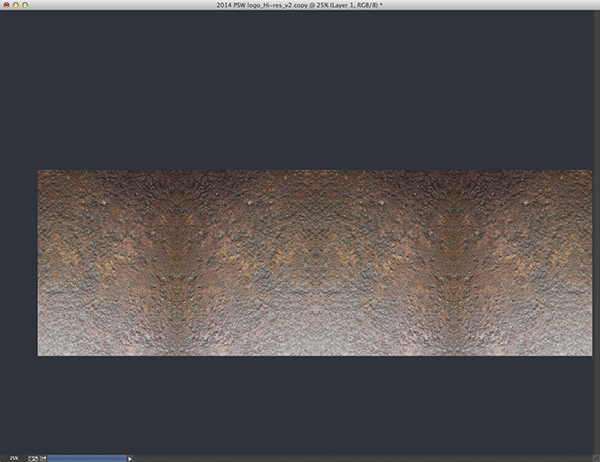
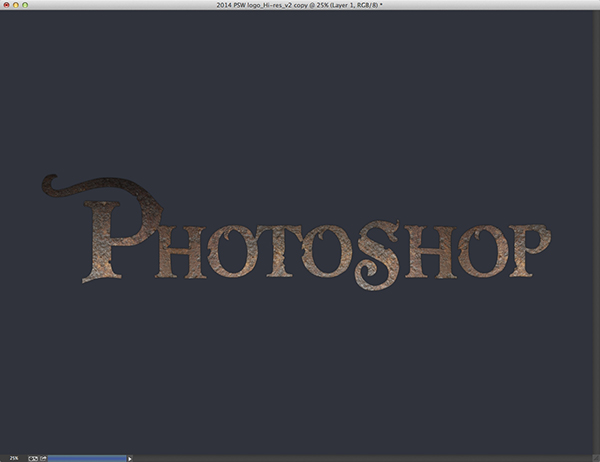
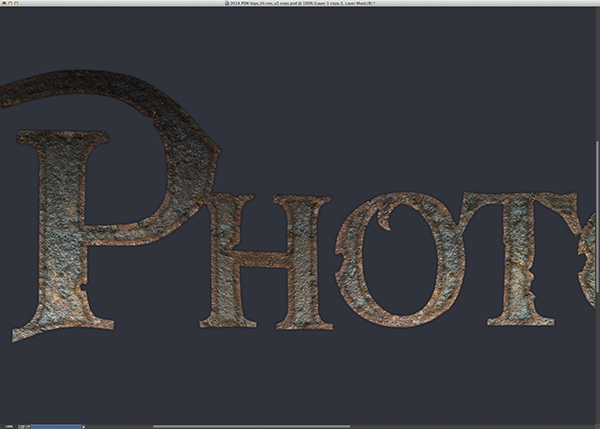
STEP THREE: Command-click (PC: Ctrl-click) on the Layer 1 thumbnail in the Layers panel to make it a selection. Press Command-Option-T (PC: Ctrl-Alt-T) to duplicate the selection and bring up the Free Transform bounding box. Right-click in the bounding box and choose Flip Horizontal. Now, move the bounding box toward the right until the edges of the original texture and the copied texture align (see example). Press Enter to apply the transformation. Repeat until the entire word is covered by the texture.
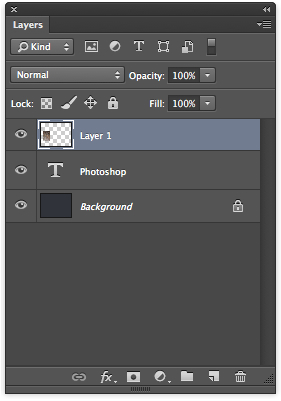
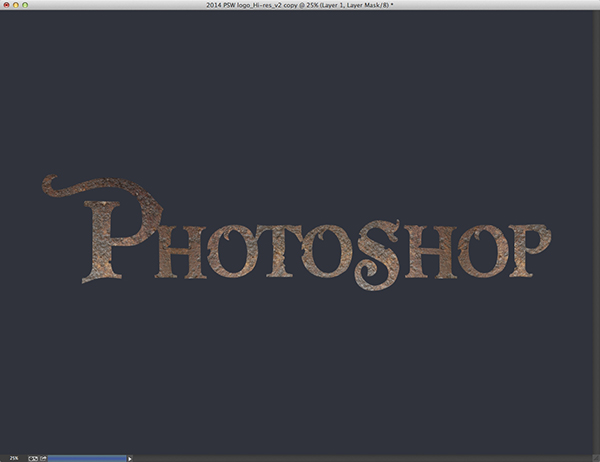
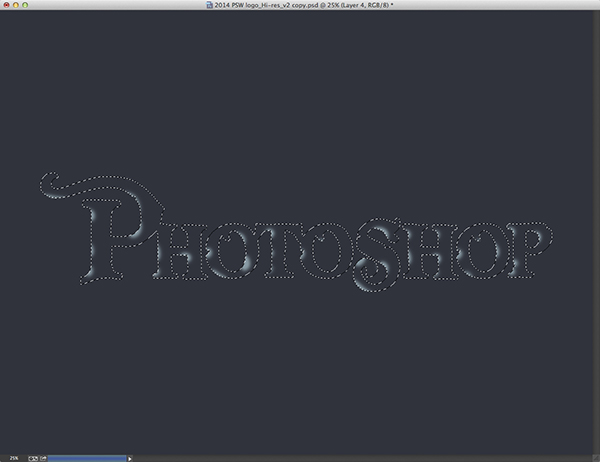
STEP FOUR: With Layer 1 active, Command-click (PC: Ctrl-click) on the type layer thumbnail to make the type a selection. Click on the Add Layer Mask icon (circle in a square) at the bottom of the Layers panel. Click on the Eye icon next to the type layer to hide it from view. Click on the layer thumbnail for Layer 1 so the mask isn’t active, and then press D to reset the Foreground color to black.
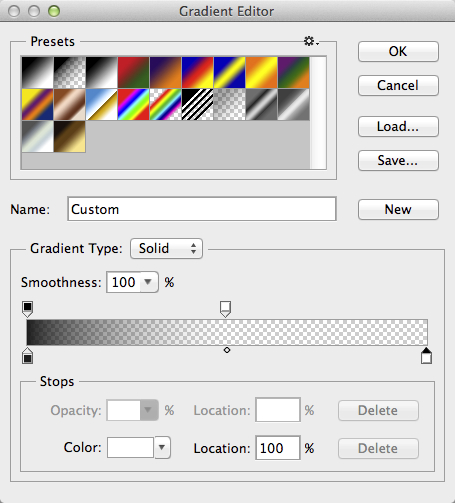
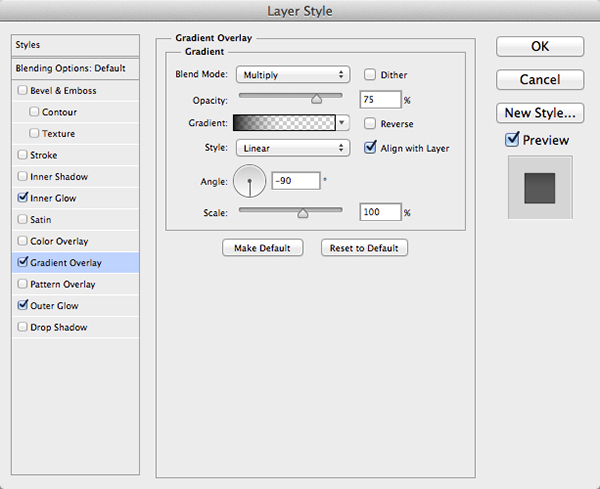
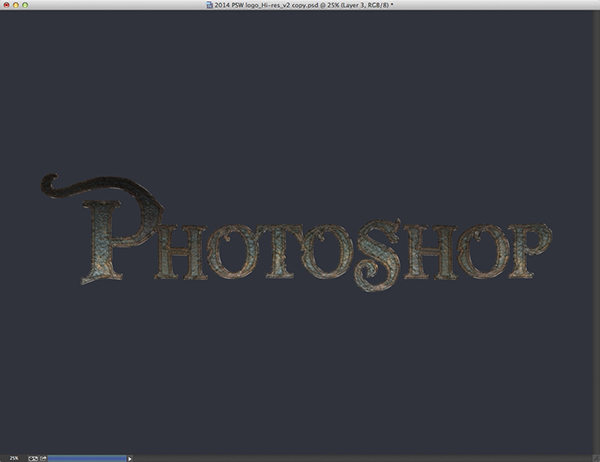
STEP FIVE: Click on the Add a Layer Style icon (Æ’x) at the bottom of the Layers panel and choose Inner Glow. Select Multiply for the Blend Mode, and lower the Opacity to 50%. Click on the yellow color swatch, choose black, and click OK to close the Color Picker. Enter 5 px for Size. Choose Gradient Overlay from the Styles list on the left side of the Layer Style dialog. Choose Multiply as the Blend Mode, and lower the Opacity to 75%. Click on the Gradient thumbnail, and choose the Foreground to Transparent preset in the Gradient Editor. Click-and-drag the right opacity stop above the gradient ramp toward the center (see example), and click OK to close the Gradient Editor. Enter -90º for Angle. Don't click OK yet.
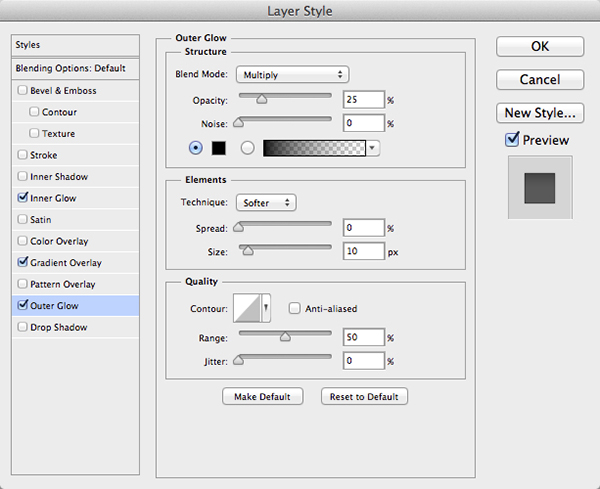
STEP SIX: Choose Outer Glow from the Styles list. Choose Multiply for the Blend Mode, and enter 25% for Opacity. Click on the yellow color swatch, choose black for the color, and click OK to close the Color Picker. Enter 10 px for Size and click OK to apply the layer styles.
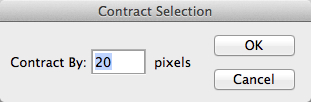
STEP SEVEN: Duplicate Layer 1 (Layer 1 copy) by dragging it into the Create a New Layer icon at the bottom of the Layers panel. Click directly on the layer mask thumbnail next to Layer 1 copy to make it active. Now, Command-click (PC: Ctrl-click) on the layer mask thumbnail to load it as a selection. Go to Select>Modify>Contract. Enter 20 pixels and click OK. Press Command-Shift-I (PC: Ctrl-Shift-I) to inverse the selection. Finally, press Command-Delete (PC: Ctrl-Backspace) to fill the selection with black. Deselect.
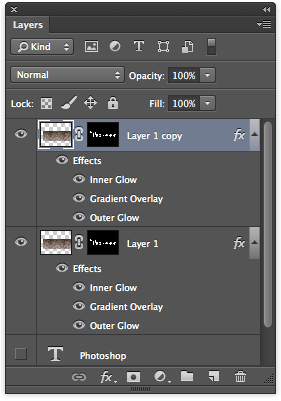
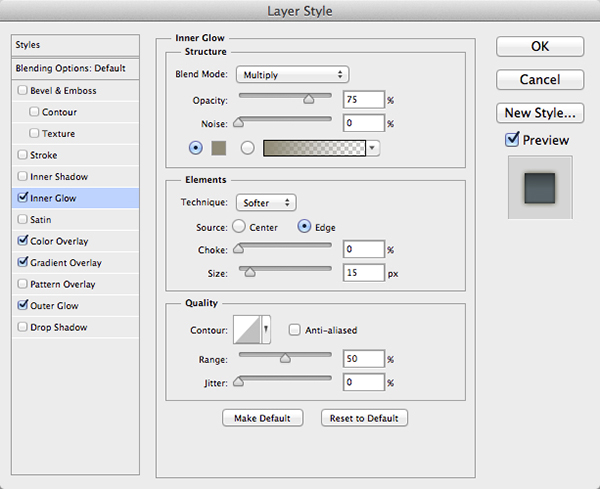
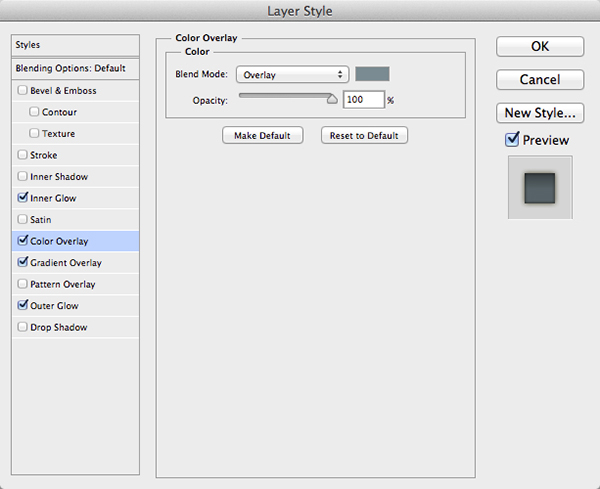
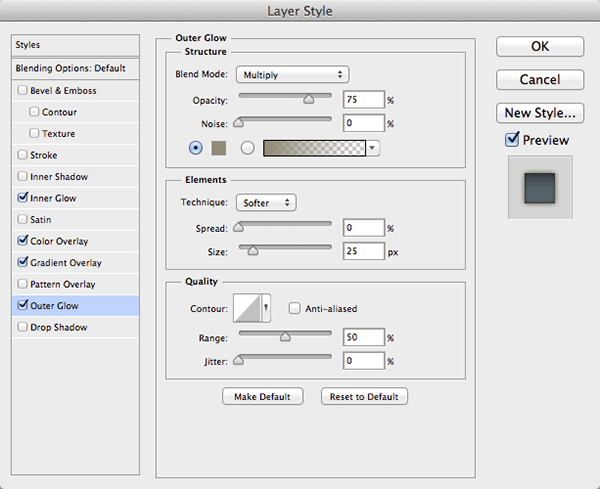
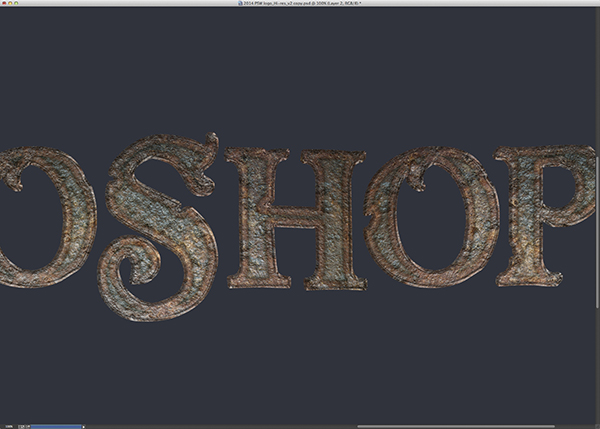
STEP EIGHT: Double-click on the words "Inner Glow" under Layer 1 copy to open the Layer Style dialog. Enter 75% for Opacity, click on the black color swatch, choose a light-brown color (R:147, G:139, B:118), and click OK to close the Color Picker. Enter 15 px for Size. Choose Color Overlay from the Styles list. Choose Overlay for the Blend Mode, click on the red color swatch, choose a bluish-gray color (R:114, G:141, B:148), and click OK to close the Color Picker. Now, choose Outer Glow from the Styles list. Choose Multiply for the Blend Mode, and set the Opacity to 75%. Click on the color swatch, choose the same light-brown color used for the Inner Glow, and click OK to close the Color Picker. Enter 25 px for Size and click OK.

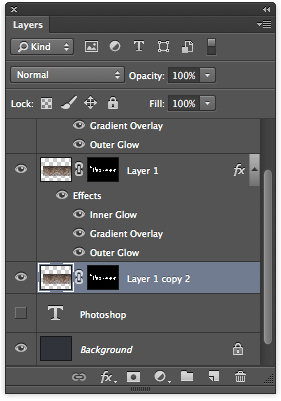
STEP NINE: Click on Layer 1 to make it the active layer. Duplicate Layer 1 again (Layer 1 copy 2) and move it below Layer 1 in the layers list. Click-and-drag the word "Effects" under Layer 1 copy 2 into the Trash icon at the bottom of the Layers panel to remove the layer style. Click directly on the layer mask thumbnail next to Layer 1 copy 2. Now, Command-click (PC: Ctrl-click) on the layer mask thumbnail to load it as a selection. Go to Select>Modify>Expand. Enter 20 pixels and click OK. Press Option-Delete (PC: Alt-Backspace) to fill with white, revealing more of the rusty texture around the edges of the text.

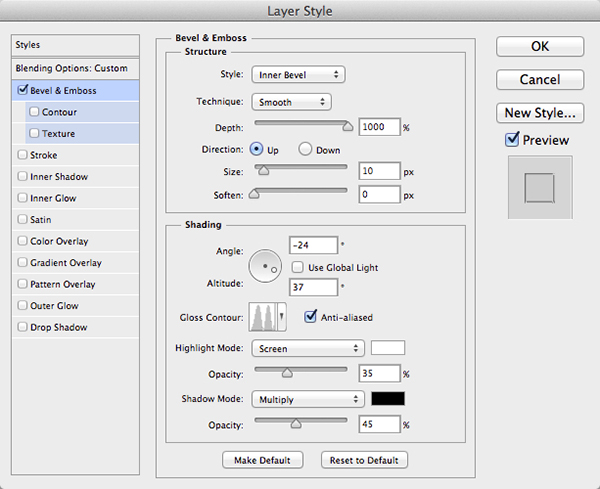
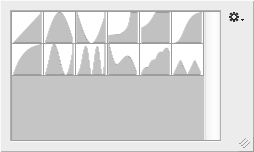
STEP TEN: Add a new layer (Layer 2). Press Option-Delete (PC: Alt-Backspace) to fill the layer with black. Change the layer blend mode to Overlay near the top left of the Layers panel, and lower the Fill opacity to 0%. Click on the Add a Layer Style icon and choose Bevel & Emboss. Enter 1000% for Depth, 10 px for Size, uncheck the Use Global Light box, enter -24° for Angle and 37° for Altitude. Click on the down-facing arrow next to the Gloss Contour thumbnail and choose Ring - Double. Lower the Highlight Mode Opacity to 35% and the Shadow Mode Opacity to 45%. Click OK.

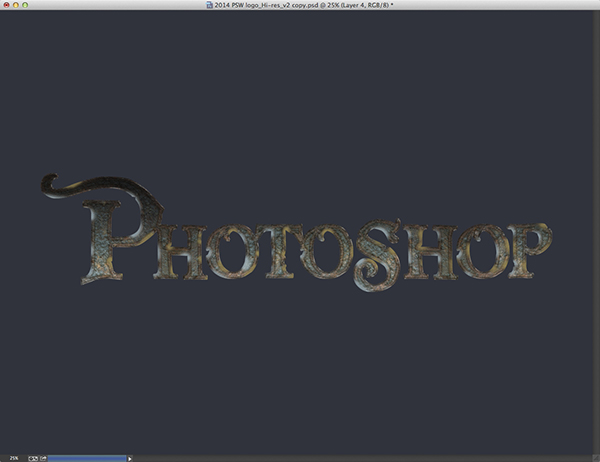
STEP ELEVEN: Add another new layer (Layer 3) and move it to the top of the layers stack. Change the layer blend mode to Overlay. Click on the Foreground color swatch near the bottom of the Toolbox. Choose a blue-gray color (R:106, G:117, B:118), and click OK. Press Option-Delete (PC: Alt-Backspace) to fill the selection.
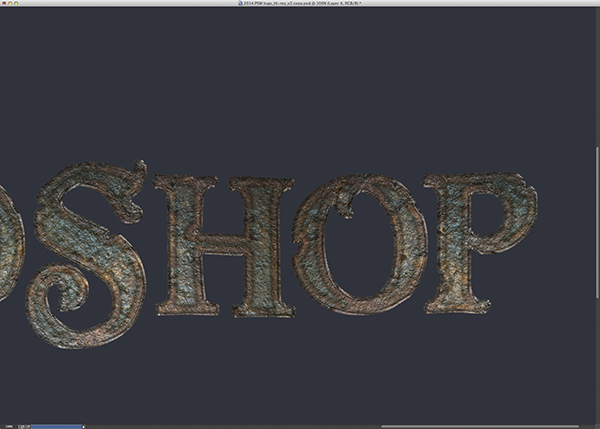
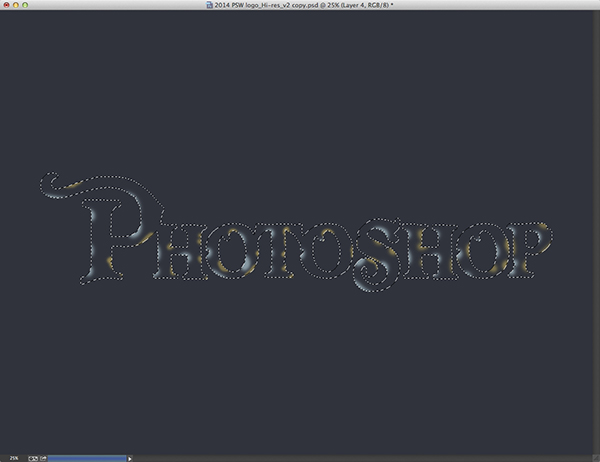
STEP TWELVE: Add another new layer (Layer 4). Command-click (PC: Ctrl-click) the layer mask for Layer 1 copy 2 to load it as a selection. Change the Foreground color to a light blue (R:149, G:182, B:182).Choose the Brush tool (B) from the Toolbox. Using a large, soft-edged brush, start painting in some rusty areas (see example). The blue color won't look much like rust, but it will add some discolored areas to the texture that will help enhance the worn, rusty look.

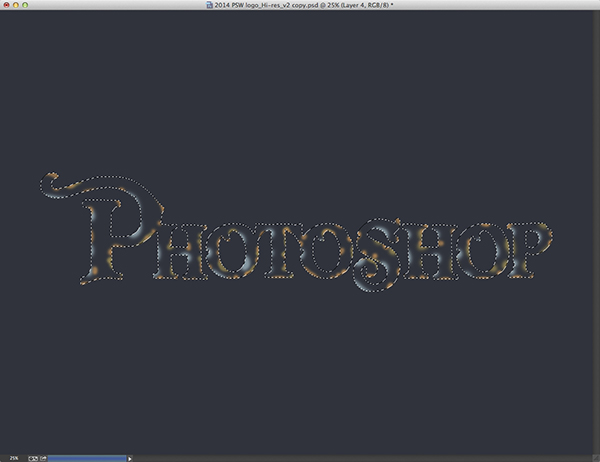
STEP THIRTEEN: Change the Foreground color to an olive green (R:148, G:128, B:78). Paint in more discolored areas (see example).
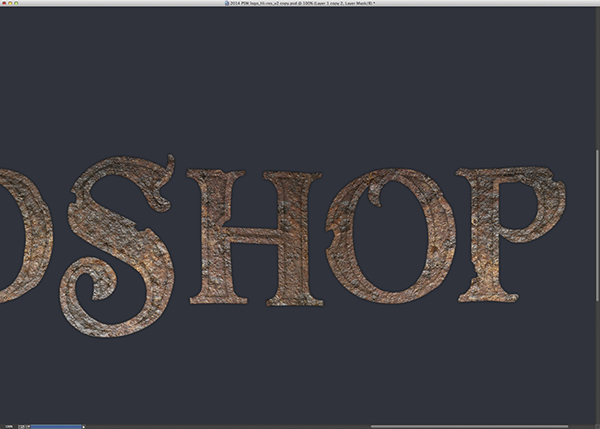
STEP FOURTEEN: Change the Foreground color to a burnt-orange color (R:184, G:127, B:78). Now, paint in your rust areas (see example). Once you're finished, change the layer blend mode to Overlay to complete the effect.

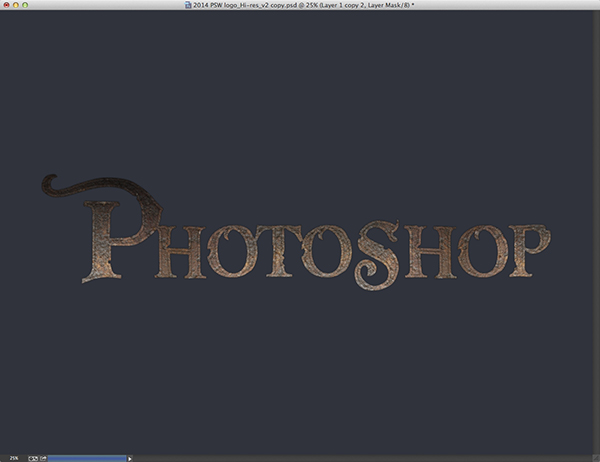
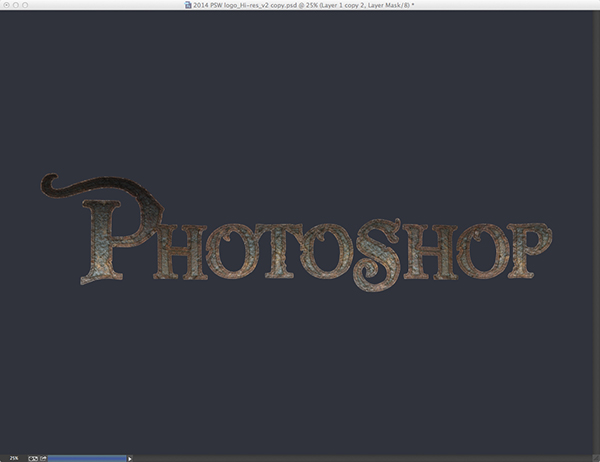
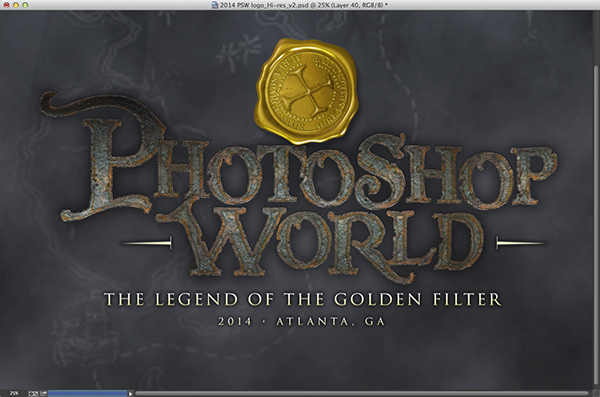
We used the same technique on the word "World." Here's how the textured type fit into the rest of the logo.
This article is courtesy of Photoshop User magazine, the official publication of KelbyOne, which provides quality online education for creative people. For more information, visit KelbyOne.com.
