
Crafting a compelling photo composite is as much about artistic process as it is about technique. A willingness to experiment and persist is the key to creating art that delights your soul. In today's tutorial, we'll build a Zen-like, misty mountains composite from existing landscape photos and textures. Along the way, hopefully we'll pick up a few useful techniques and also discover that creation is a fulfilling (sometimes arduous) process.
Note: The textures used in this tutorial are from the Flypaper Textures collections. I love these textures so much that I'm part of their affiliate program. To receive 15% off any of the collections, enter the code MARKSJ during checkout.
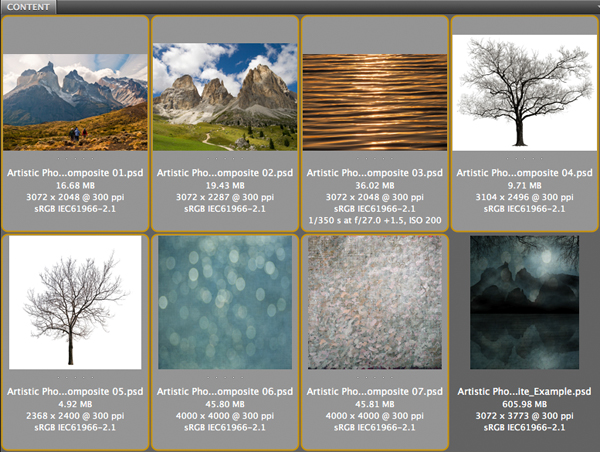
Step 1: Gather Assets
When preparing to composite, I always begin by assembling all of the image candidates into a single document. To accomplish this, open Bridge and Shift-click on all of the candidates.
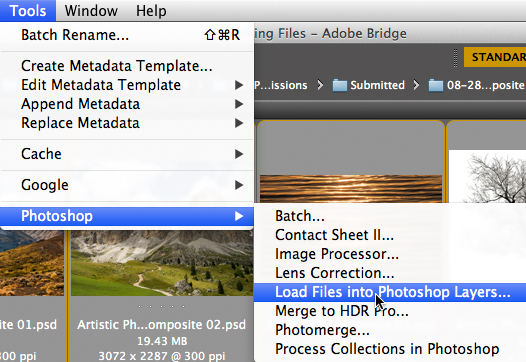
Choose Tools>Photoshop>Load Files into Photoshop Layers.
Note: A similar feature is available in Lightroom. Choose Photo>Edit In>Open as Layers in Photoshop.
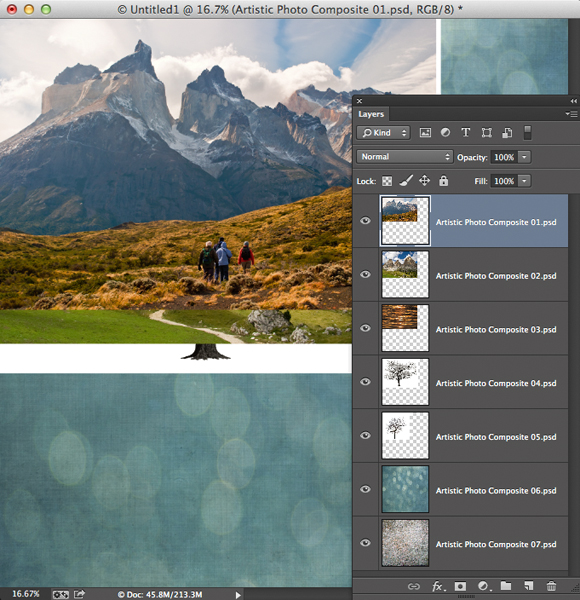
We now have a single document containing all of the potential images.
Step 2: Make a New Document
Choose File>New to make a new document that will serve as the canvas for our composite. Enter dimensions and a resolution that make sense based on the size of the original photos and your intended output. Set the Background Contents to White.
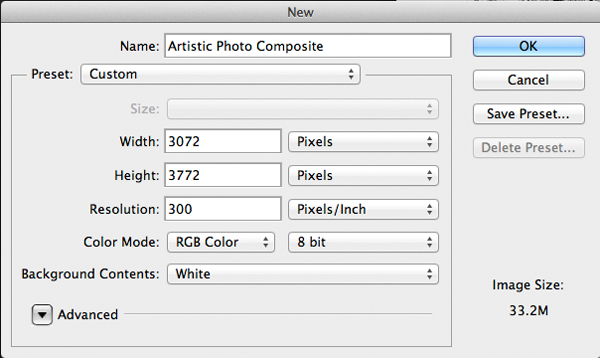
Press OK.
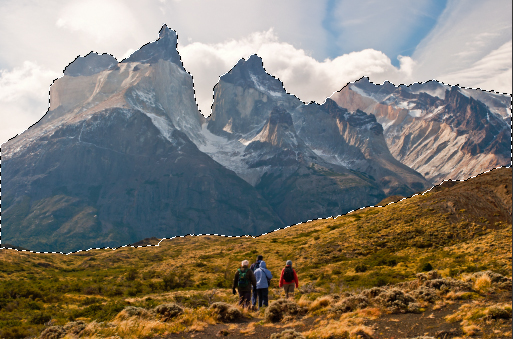
Step 3: Add Misty Silhouetted Mountains
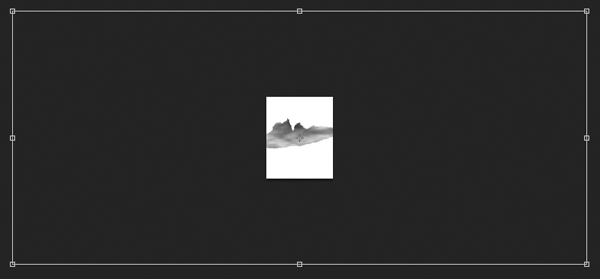
Return to the document containing all of the assets and activate the topmost mountains layer. Choose the Move tool. While pressing Shift, click-and-drag the mountains layer into the "canvas" document.

Grab the Quick Selection tool and paint over the mountains to select them.
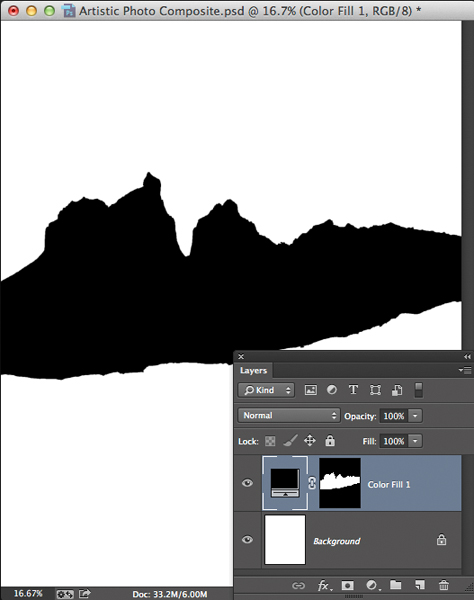
Since the mountains will be in silhouette, choose Layer>New Fill Layer>Solid Color. Press OK in the New Layer dialog. In the Color Picker, choose pure black.
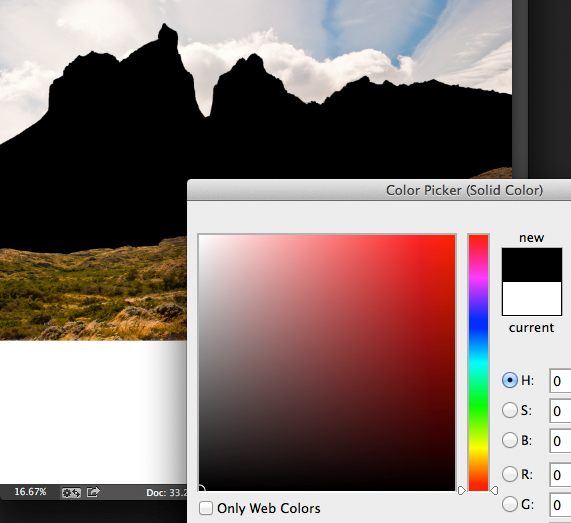
Press OK. In the Layers panel, drag the original mountains layer to the trash icon.
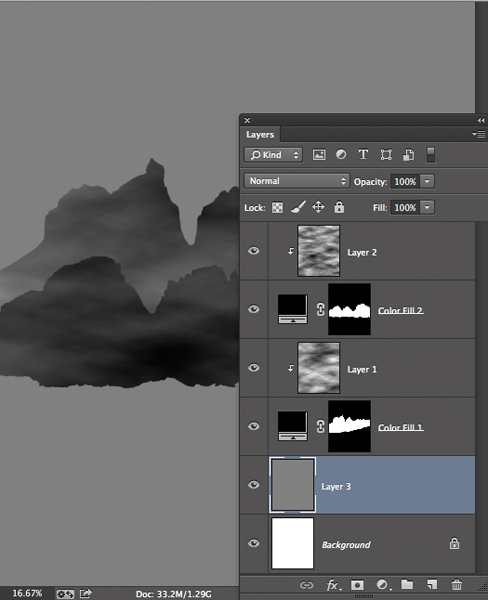
Now we'll add a mist effect. Click the Create a new layer icon in the Layers panel. Tap D to set the default Foreground and Background colors. Choose Filter>Render>Clouds. Change the blend mode to Screen.
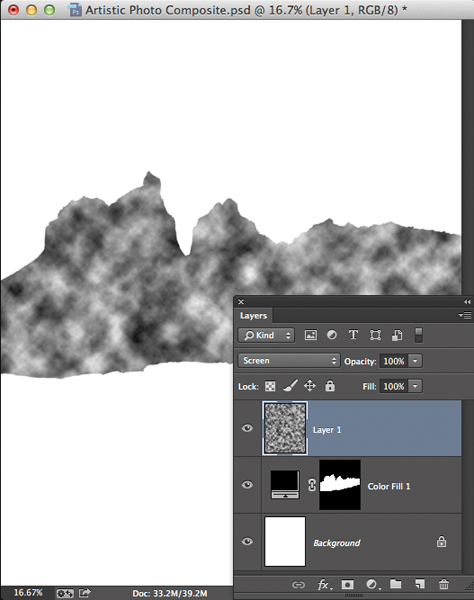
Press Command-T (PC: Control-T) to enter Free Transform mode. While holding Option (PC: Alt), grab one of the side handles and drag way outward until the clouds look more like mist. Before committing the transformation, do the same with the top handle to stretch the mist vertically.
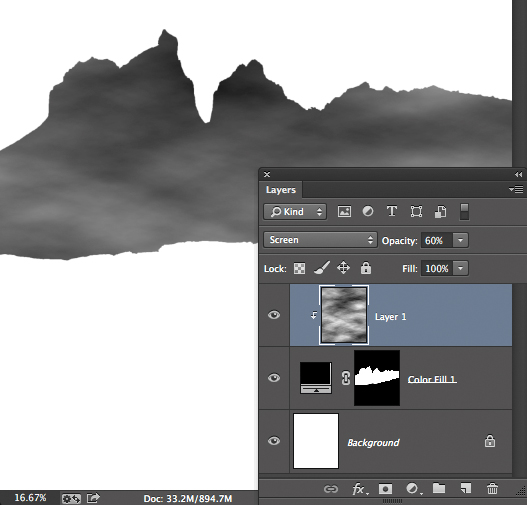
Press Return (PC: Enter). Clip the mist into the silhouetted mountains layer by choosing Layer>Create Clipping Mask. Reduce the intensity of the mist using the Opacity slider in the Layers panel.
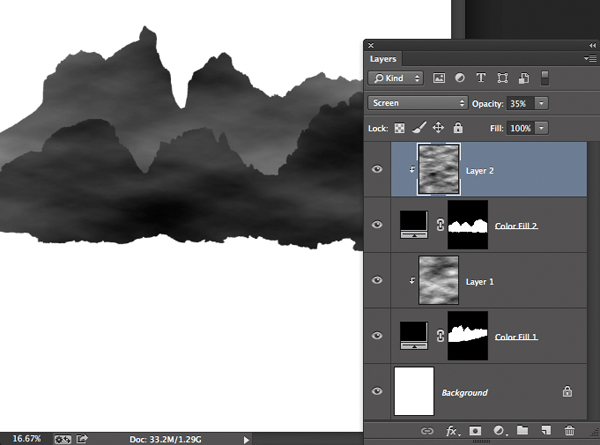
Repeat the above (Step 3) steps for the second mountains photo (located in the "assets" document), transforming it into misty mountains layered in front of the original mountains.
Note: When the mountains are first dragged into the composite document, they naturally clip into the underlying mountains. To unclip them, choose Layer>Release Clipping Mask. Additionally, you'll notice that I scaled the foreground mountains down and reduced the density of the mist so they look smaller and closer than the distant mountains.
Activate the Background layer and click the Create a new layer icon. Choose Edit>Fill. Set the Contents pull-down to 50% Gray. Click OK.
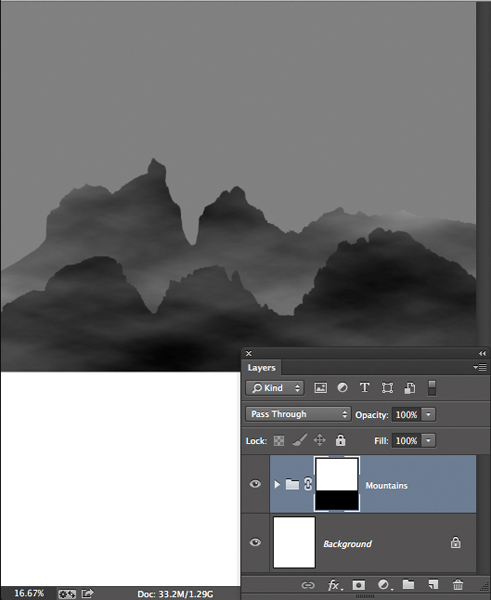
With the 50% Gray layer active, press Shift and click the topmost mist layer to select all layers except the Background. Choose Layer>New>Group from Layers. Name the group "Mountains" and press OK. Click the Add layer mask icon at the base of the Layers panel to add a mask to the group. Activate the Rectangular Marquee tool and drag out a rectangle that barely covers the base of the mountains and extends to the bottom of the document.
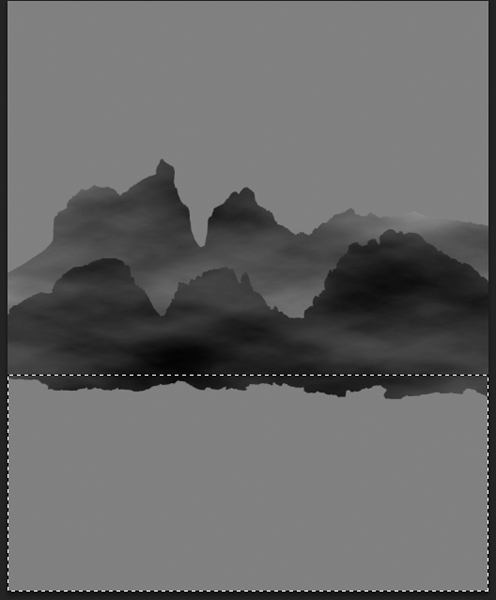
Choose Edit>Fill. Set the Contents pull-down to Black and click OK. Choose Select>Deselect.
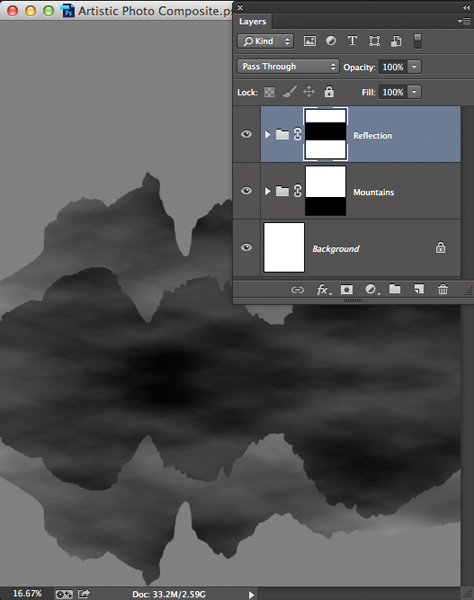
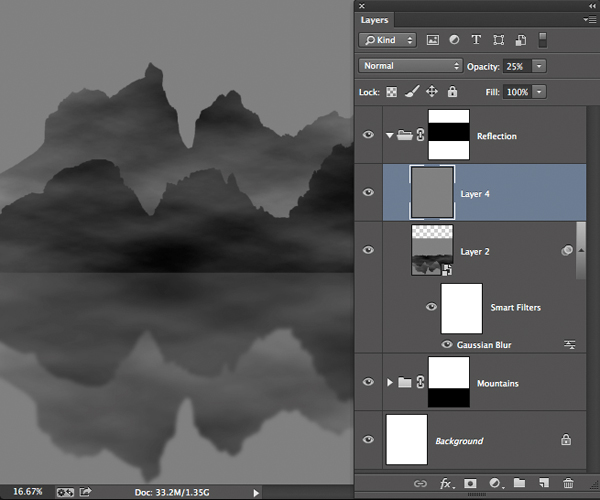
Step 4: Add a Reflection
Now we'll work on creating a reflection. With the "Mountains" group active, choose Layer>Duplicate Group. Name the group "Reflection" and press OK.
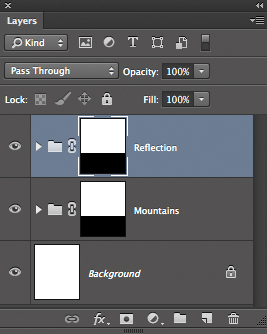
Choose Edit>Transform>Flip Vertical. Activate the Move tool. While holding Shift, drag the reflection downward until it just touches the base of the mountains.
Twirl open the "Reflection" group. Click on the topmost layer in the group (Layer 2), and Shift-click on the bottommost layer in the group (Layer 3).
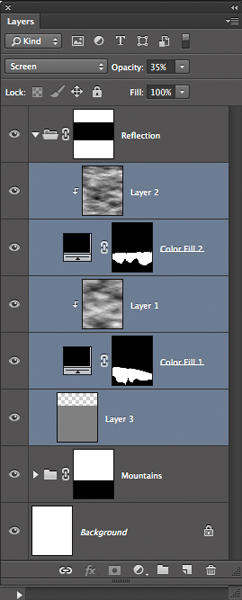
Choose Filter>Convert for Smart Filters to merge all of the layers into a smart object. Now choose Filter>Blur>Gaussian Blur. Change the Radius value until the desired blur is achieved.
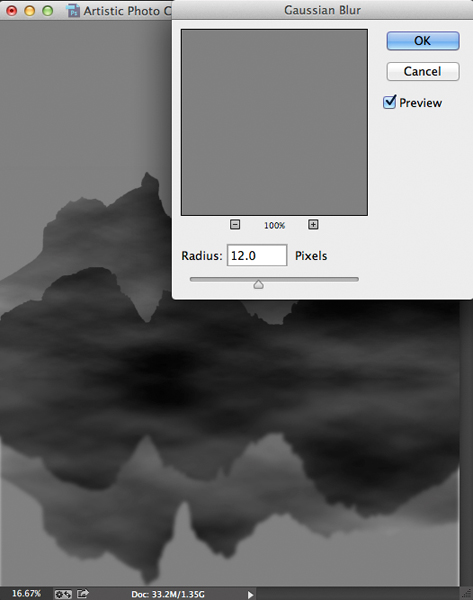
Press OK. To eliminate the narrow band of white along the outer edges, press Command-T (PC: Control-T). While pressing Option (PC: Alt), drag one of the side handles outward slightly. Press Return (PC: Enter).
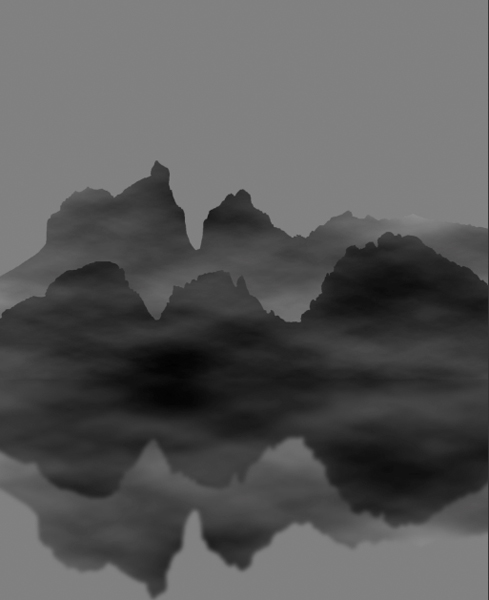
To darken the reflection, we'll add a gray-filled layer. In the Layers panel, click the Create a new layer icon. Choose Edit>Fill. Set the Contents pull-down to 50% Gray. Click OK. Reduce the layer's opacity.
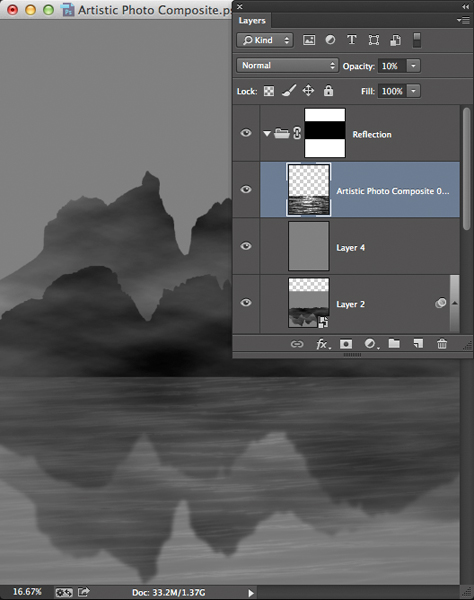
Return to the "assets" document and Shift-drag the rippling water image into the composite document. Use the Move tool to position the rippling water on top of the reflection. Choose Image>Adjustments>Desaturate. Lower the layer's opacity.
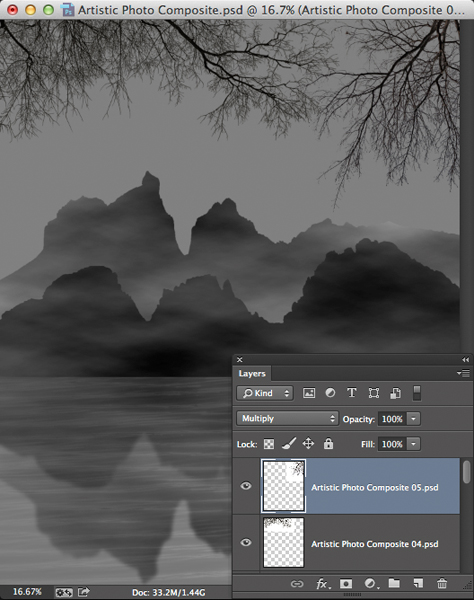
Step 5: Add Silhouetted Trees
Now let's frame the top of the composite with tree branches. Locate the topmost tree in the "assets" document and Shift-drag it over to the composite scene. To remove the tree layer from the "Reflection" group, click-and-drag it up above the group (you'll know you're in the right spot when you see a long, slender white line appear). Change the blend mode to Multiply. Choose Edit>Transform>Flip Vertical. Activate the Move tool and drag the tree to the upper left corner so that only a few branches reach into the scene. Press Command-T (PC: Control-T) to summon Free Transform. Rotate and scale the branches until they frame the upper left corner nicely. Press Return (PC: Enter).

Repeat the same process for the other tree in the "assets" document; this time, placing the branches in the upper right corner.
Step 6: Add Mood with Textures
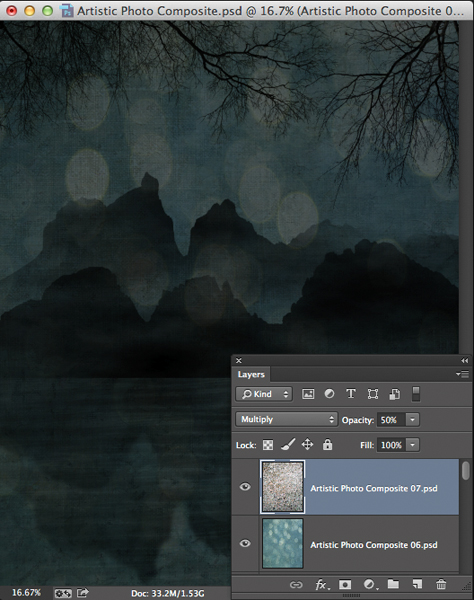
Now we'll tie the scene together and add ambiance by adding a pair of textures. Drag the bokeh texture from the "assets" document into the composite scene. Change the blend mode to Multiply. The scene now looks like a magical evening.
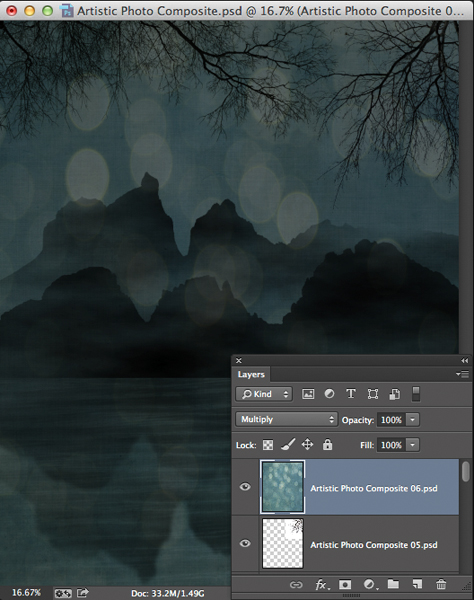
Drag the fabric texture from the "assets" document into the composite. Change the blend mode to Multiply and set the opacity to 50%.
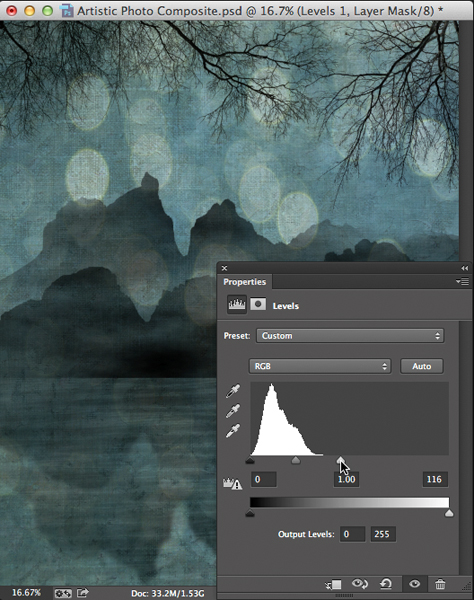
The scene is now dripping with ambiance, but it's a bit too dark. To brighten it, open the Adjustments panel and click the Create a new Levels adjustment layer icon. Drag the upper highlight slider inward to brighten the scene.
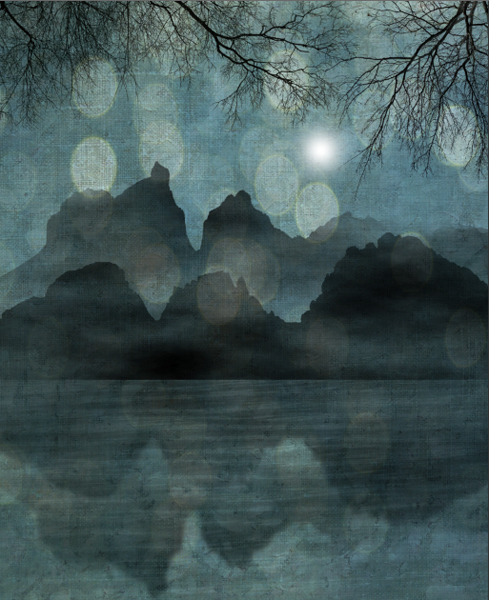
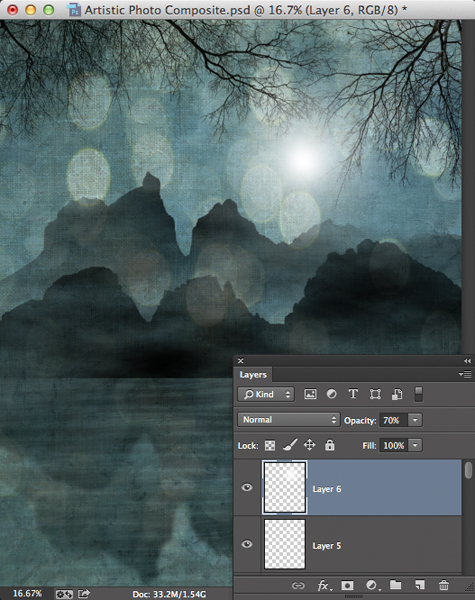
Step 7: Add a Touch of Moonlight
To complete the composite, let's add a little moonlight. Click the Create a new layer icon in the Layers panel. Press D, then X to set white as the Foreground color. Activate the Brush tool, choose a soft-edge brush, and set the Opacity and Flow to 100%. Using a fairly small brush, dab a single moon-like blotch of light into the sky.
Add another blank layer. This time, dab directly over the moon using a larger brush.
Reduce the layer's opacity to make the glow subtler.
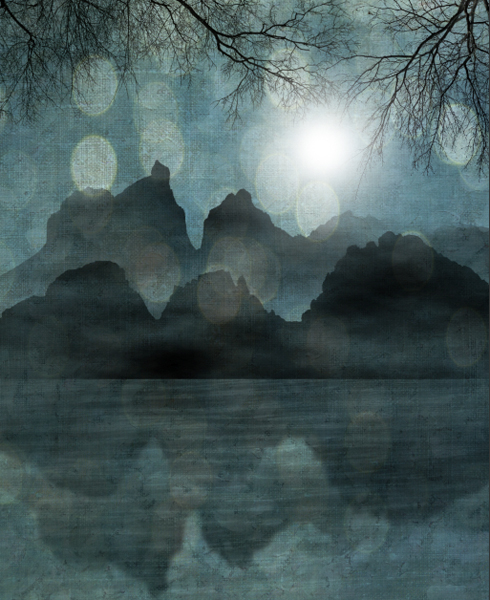
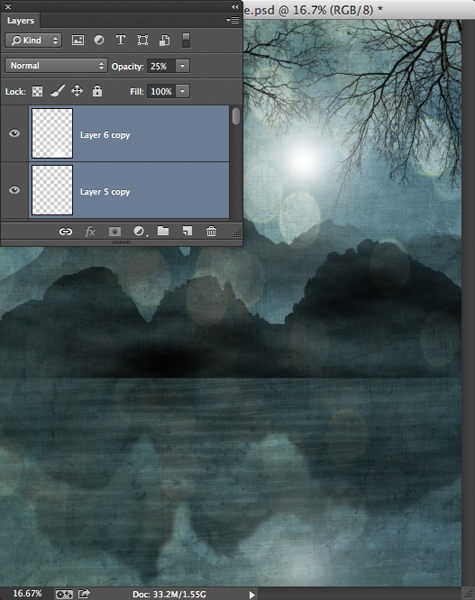
Since moonlight reflects in water, activate both of the moon layers (Shift-click) and choose Layer>Duplicate Layers. Don't bother naming the layers and press OK. Activate the Move tool. While pressing Shift, drag the duplicate moonlight layers down into the water. Make the effect less intense by reducing the opacity.
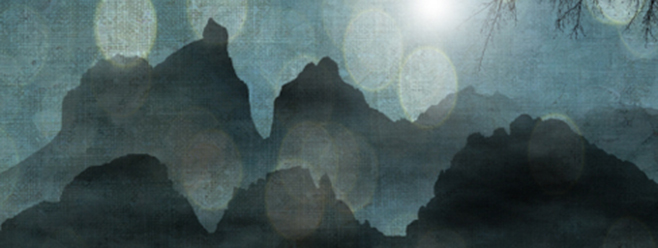
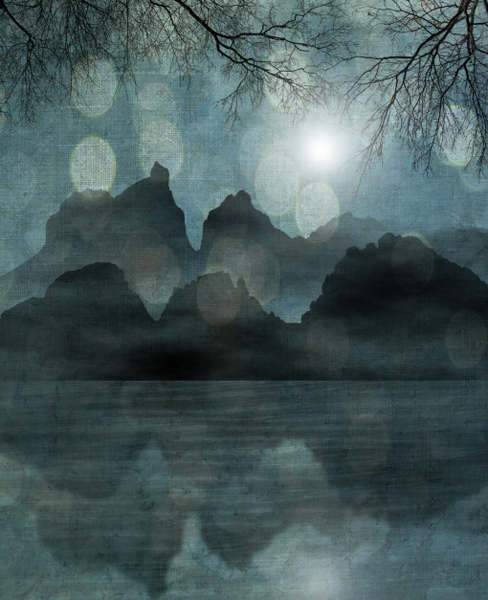
Here's the completed composite, complete with light, atmosphere, and ambiance.
Mark S. Johnson Photography
msjphotography.com
