
Hi-key fun
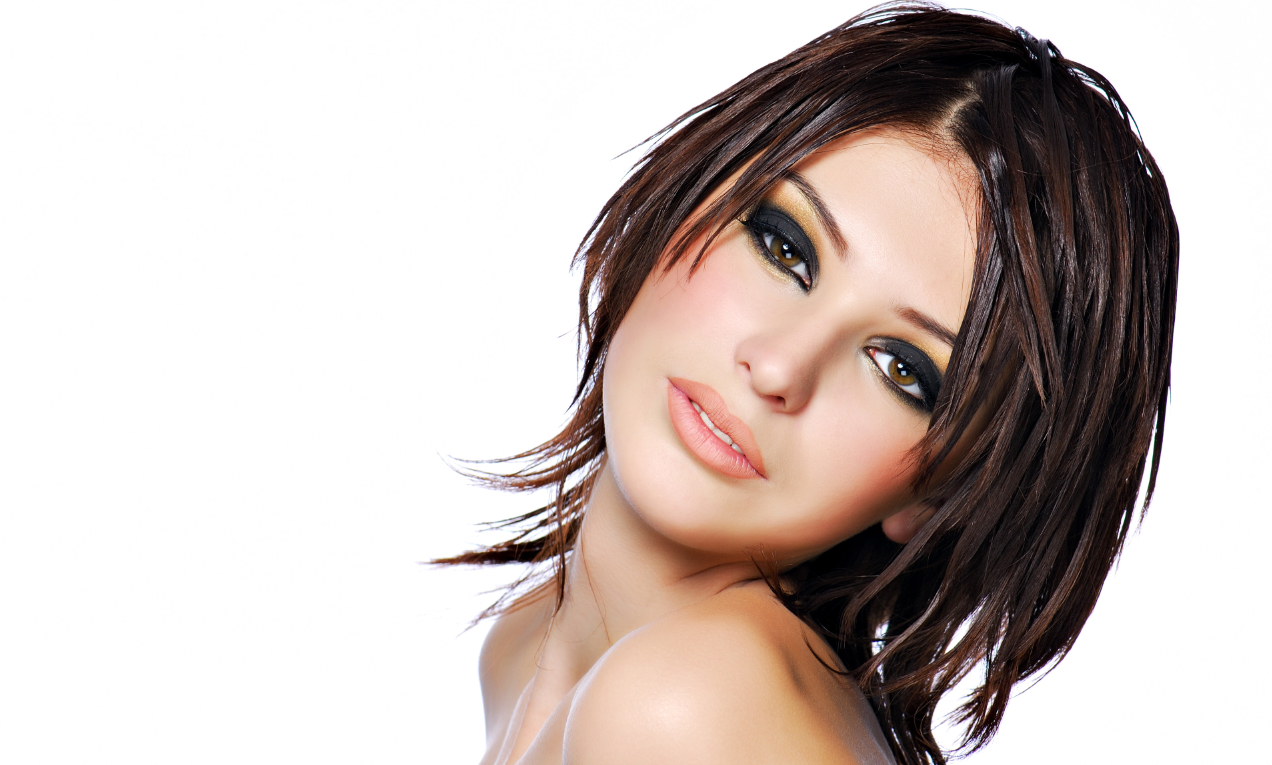
How about a little hi-key fun… Let’s start with a simple color portrait.
Now you will want to click on the Adjustment Layer at the bottom of the Layers panel… choose Channel Mixer. Make sure to put the change the Output Channel to gray and then move the sliders to get a pretty good color conversion. It won’t be a perfect hi-key look in one shot, so don’t stress out.
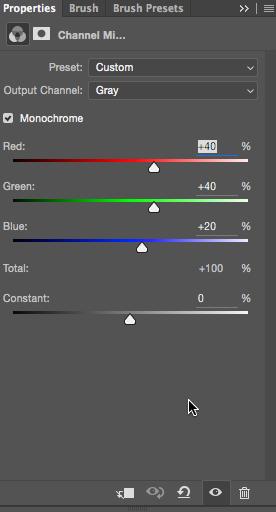
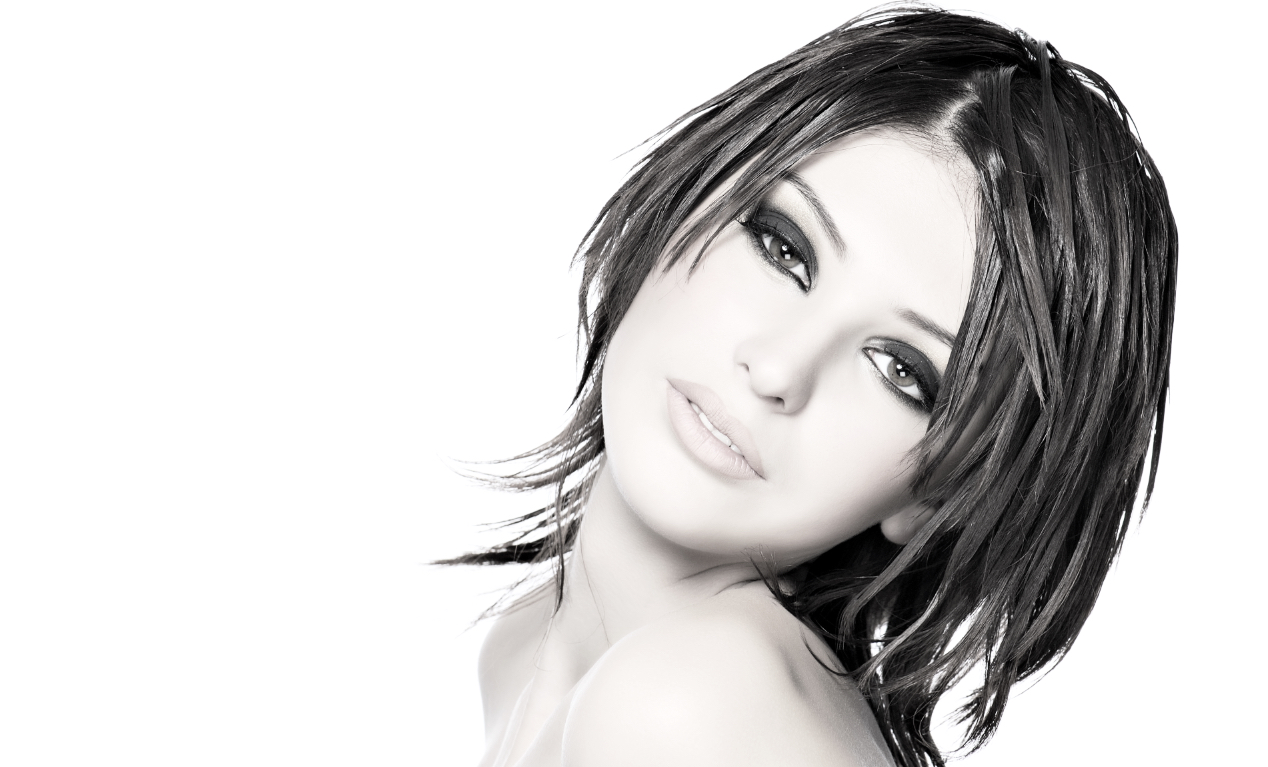
Here is the result of the first Channel Mixer adjustment layer.

Now to make it lighter, simply use Command- (PC Ctrl-J) to make a copy of the adjustment layer and then simply change the blending mode of that layer to Screen. See in the image below that everything lightens up. Now according to your base image, some parts may look better darker, such at the hair, so you can easily make a layer mask on this layer and paint with black to hide some of the screen mode’s impact… but that is completely up to you.
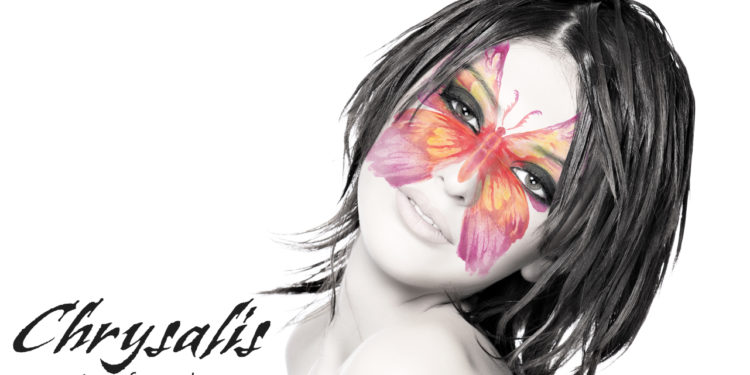
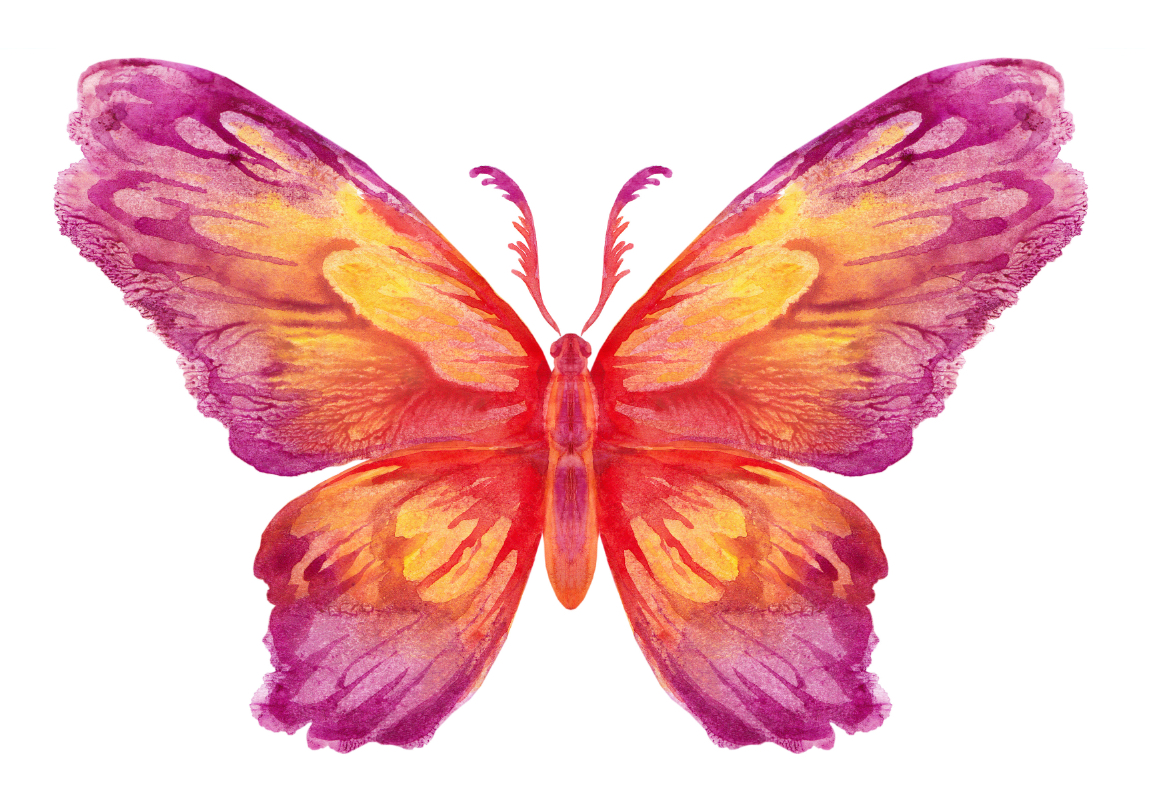
Now to add a little something extra… find a colorful animal, flower or whatever you would like. This is just a simple jpg from Adobe Stock.
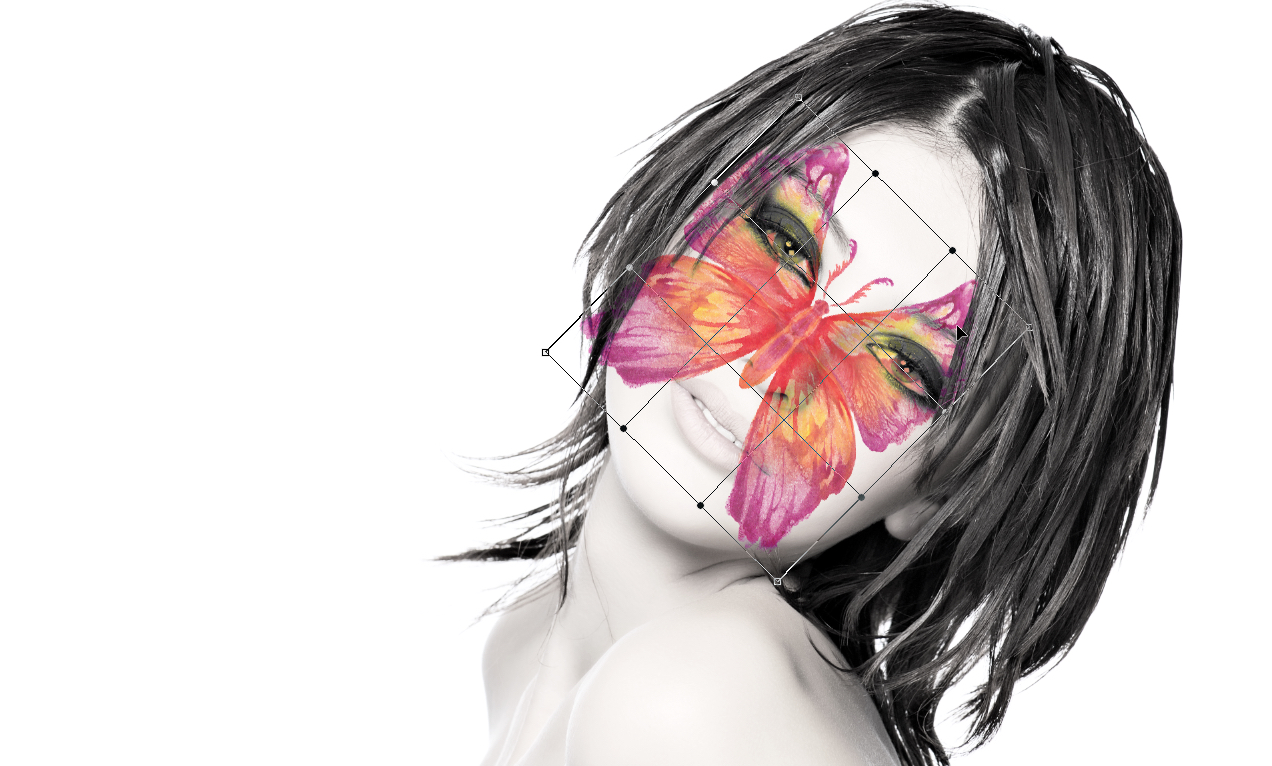
Now you will want to drag and drop it, or copy and paste it onto a new layer. Use your Free Transform Command-T (PC Ctrl-T) to reshape the image over the face… you may want to right-click on it and use Warp to help add a little contour to follow the shape of the nose and eyes. Hit OK when you have it place how you like it.
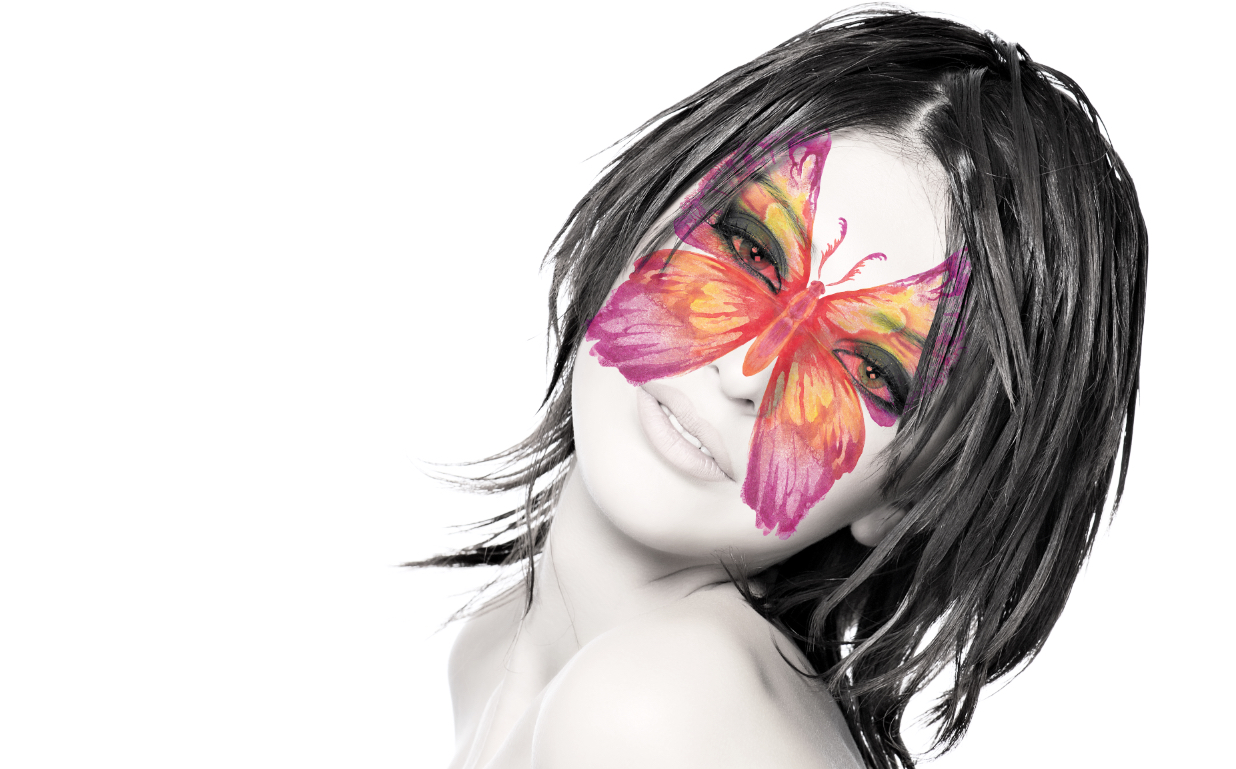
The butterfly is hitting parts of her hair and covering the whites of her eyes… so you will want to mask those parts out.
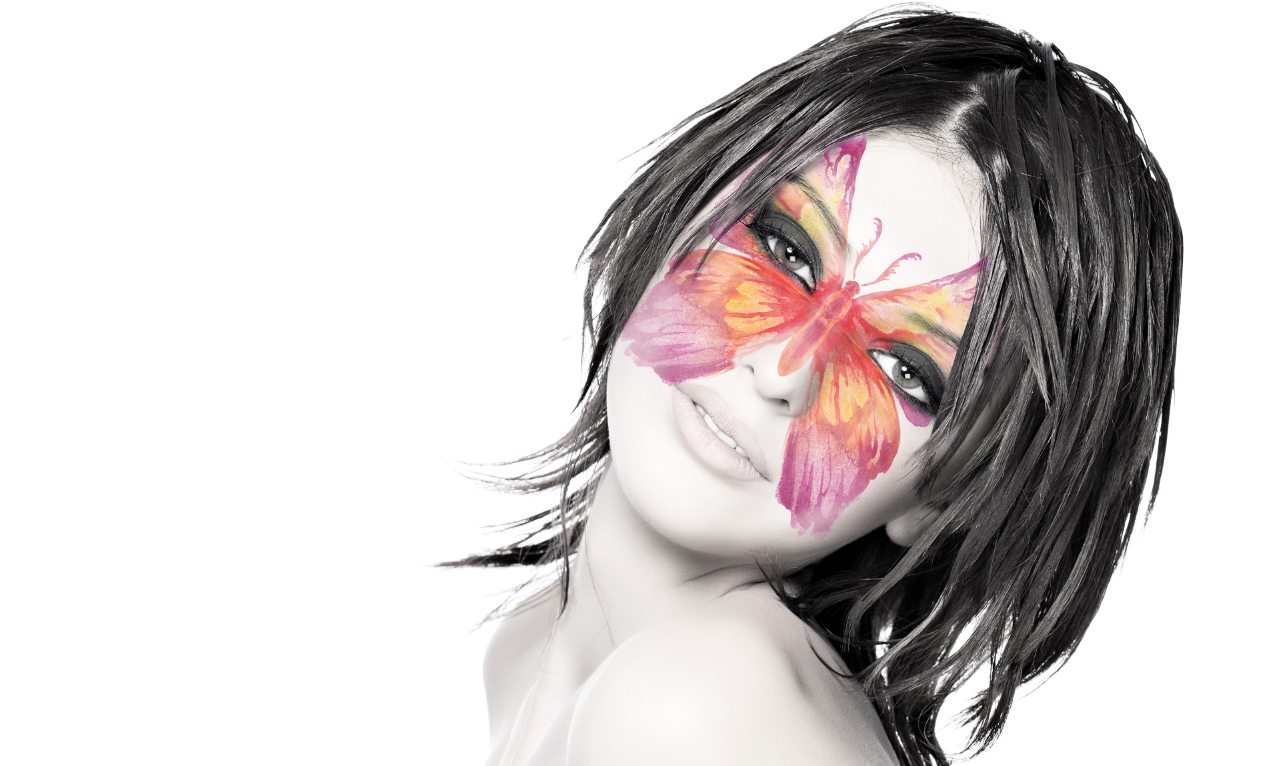
You can also use a low opacity brush on the mask to fade areas of the butterfly to give it a more subtle look… think about how the light would hit the cheeks, etc…

All that is left is to add a little tag line, and you are all done. Easy peasy. Hope you enjoy.

Thank you for this. I’m going to try it when I’m back on my computer tomorrow. How can I show you my finished product? Just post here?
What happened to DISPLACEMENT? I have used it and it works a little better. Just sayin’.