
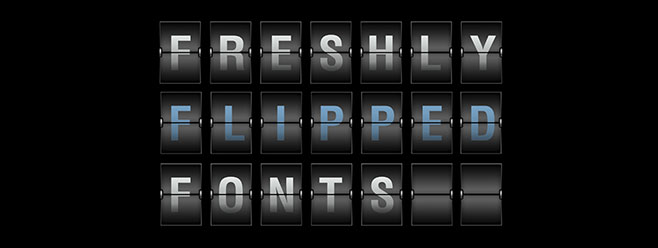
I saw this technique used as a headline type treatment for an advertisement in a recent issue of SkyMall magazine. What's nice about this technique is its simplicity and flexibility. You can have as many or as few tiles as needed, and you can change the font color or messaging very easily. It's one of those simple but effective techniques that works perfectly as an additional design element.
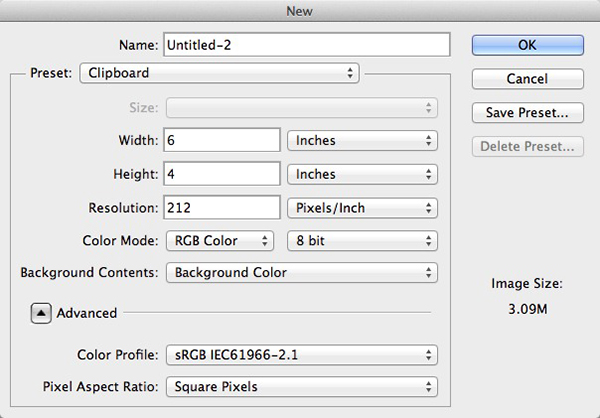
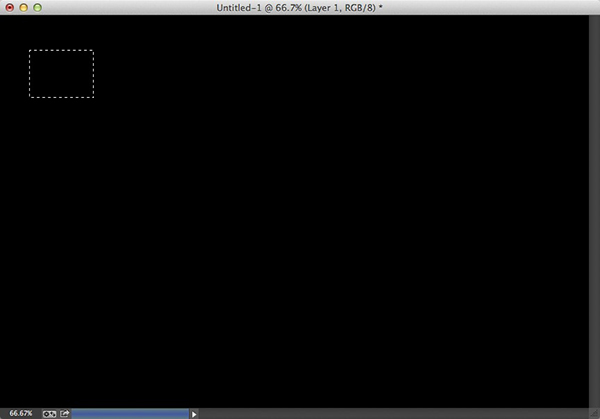
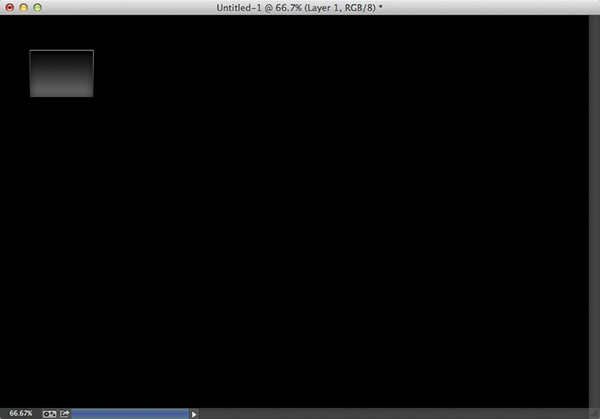
STEP ONE: Press D then X to make the Background color black, then choose File>New to create a new 6×4″, 212-ppi document with the Background Contents set to Background Color. Click on the Foreground color swatch at the bottom of the Toolbox, choose gray as the color (R:100, G:100, B:100), and click OK. Click on the Create a New Layer icon at the bottom of the Layers panel to add a new layer (Layer 1). Choose the Rectangular Marquee tool (M) from the Toolbox. Make a rectangular selection in the upper-left portion of the document.
STEP TWO: Choose the Gradient tool (G) from the Toolbox. Click on the Gradient thumbnail in the Options Bar to open the Gradient Editor, choose Foreground to Background, and click OK. Hold the Shift key and click-and-drag a linear gradient from the bottom toward the top of the selection. Press Command-D (PC: Ctrl-D) to deselect.

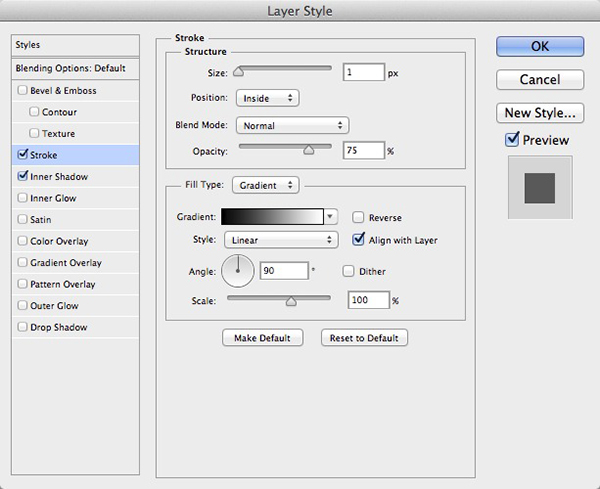
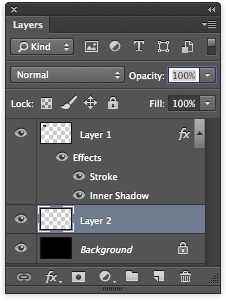
STEP THREE: Click the Add a Layer Style icon (Æ’x) at the bottom of the Layers panel, and choose Stroke. Enter 1 px for Size, choose Inside for Position, and lower the Opacity to 75%. Choose Gradient as the Fill Type, enter 90º for Angle, and 100% for Scale. Now, choose Inner Shadow from the Styles list on the left side of the Layer Style dialog. Uncheck Use Global Light, enter -90º for Angle, 0 px for Distance, and 20 px for Size. Click OK to apply the layer styles.
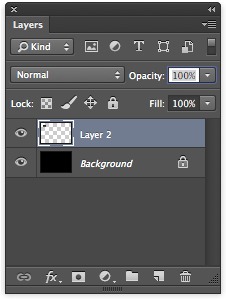
STEP FOUR: Create a new layer (Layer 2) and move it below Layer 1 in the Layers panel. Click on Layer 1 to make it the active layer, then press Command-E (PC: Ctrl-E) to Merge Down (it will merge with Layer 2).
STEP FIVE: Command-click (PC: Ctrl-click) on the Layer 2 thumbnail to load it as a selection. Press Command-Option-T (PC: Ctrl-Alt-T) to duplicate the square in Layer 2 and bring up the Free Transform bounding box. Now, Right-click in the center of the bounding box and choose Flip Vertical. Using the Down Arrow key, move the duplicated square below the original square. Press Enter to apply the transformation.

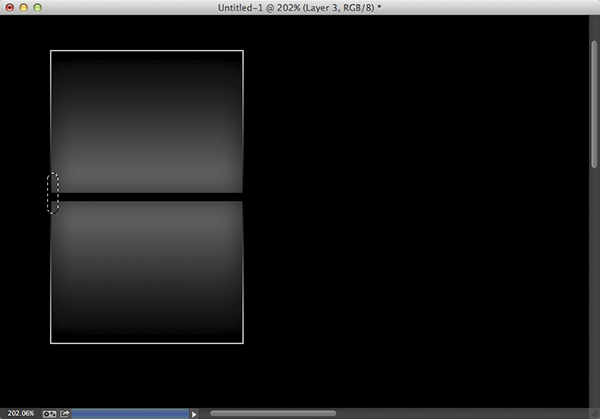
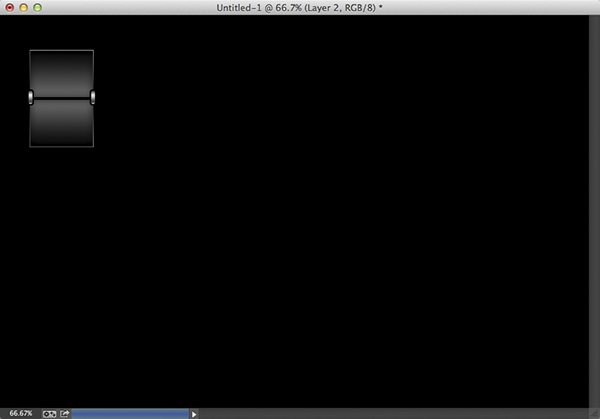
STEP SIX: Create another new layer (Layer 3). Choose the Rounded Rectangle tool (nested under the Rectangle tool [U]). In the Options Bar, set the drop-down menu on the left to Path, and enter 10 px for Radius. Create a small, vertical, rounded rectangle on the left side of the two squares (see example). Go to the Paths panel (Window>Paths) and Command-click (PC: Ctrl-click) on the Work Path thumbnail you just created to load it as a selection.
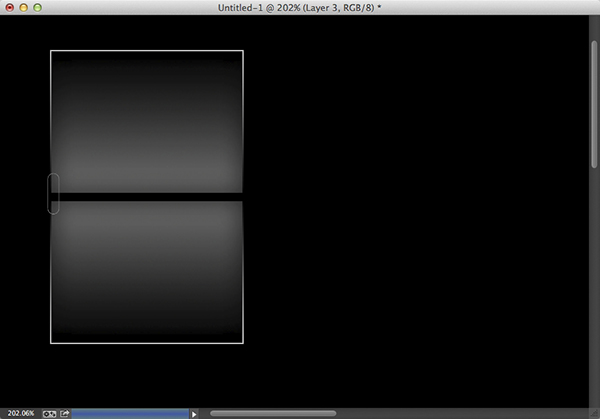
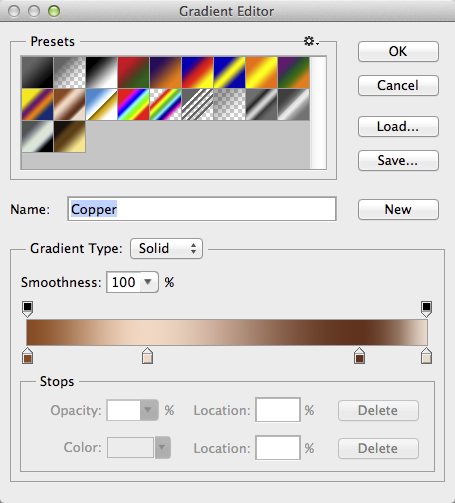
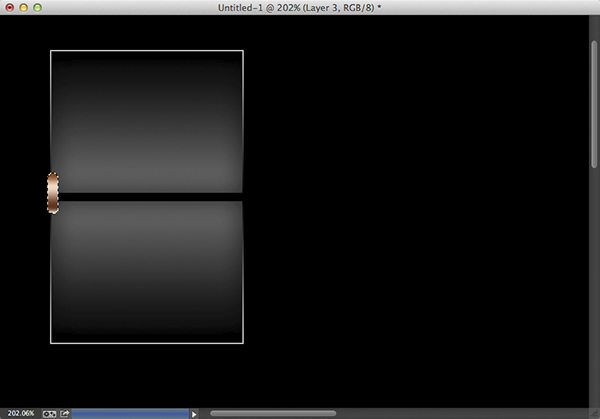
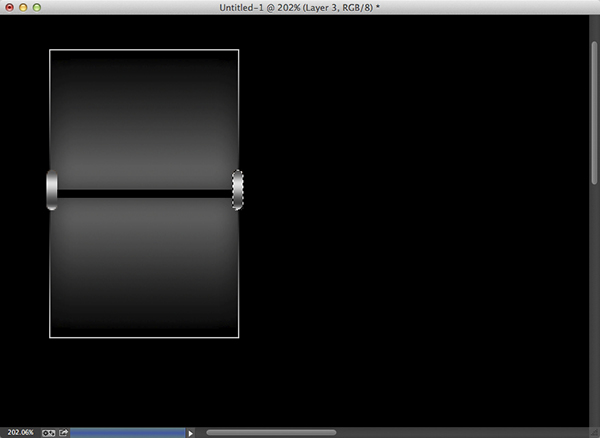
STEP SEVEN: Choose the Gradient tool, click the Gradient thumbnail in the Options Bar, choose Copper as the gradient (it's one of the default gradients), and click OK. Click-and-drag a gradient from the top toward the bottom of the selection. Press Command-Shift-U (PC: Ctrl-Shift-U) to desaturate the color. Now, while holding down the Command-Option-Shift (PC: Ctrl-Alt-Shift) keys, click-and-drag a duplicate shape to the right side of the squares (see example).
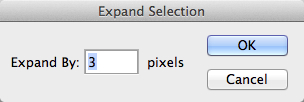
STEP EIGHT: Command-click (PC: Ctrl-click) on Layer 3 to load it as a selection. Go to Select>Modify>Expand. Enter 3 pixels and click OK. Click on Layer 2, press Delete (PC: Backspace). Click back on Layer 3 and press Command-E (PC: Ctrl-E) to Merge Down.

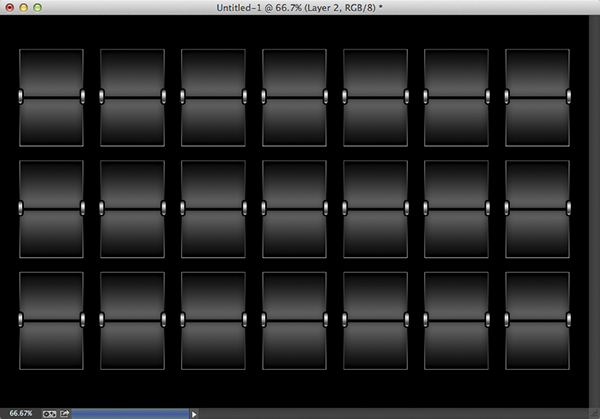
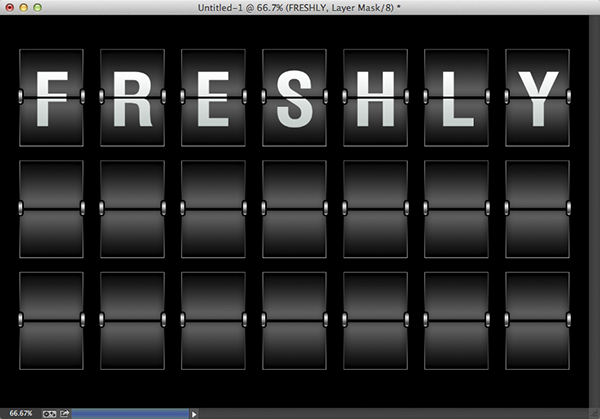
STEP NINE: Now that all the elements are on one layer, Command-click (PC: Ctrl-click) the Layer 2 thumbnail to load it as a selection. Choose the Move tool, press-and-hold Command-Option-Shift (PC: Ctrl-Alt-Shift), and click-and-drag to duplicate it (on the same layer) as many times as needed, depending on the number of characters you'll need for your messaging. Our example calls for three rows with seven characters in each row.
STEP TEN: Choose the Type tool (T) from the Toolbox, and set the Foreground color to a lighter gray. Choose your typeface (we're using Helvetica Bold Condensed) and enter your first line of text (each line of type will have to be created independently on separate layers). Make your text the appropriate size, and then position the first letter over the first set of squares. Place the cursor between the first two letters, hold the Option (PC: Alt) key, and press the Right Arrow key on your keyboard to kern the second letter until it's centered over the second set of squares. You'll have to kern each character individually so they line up over the center of each set of squares.
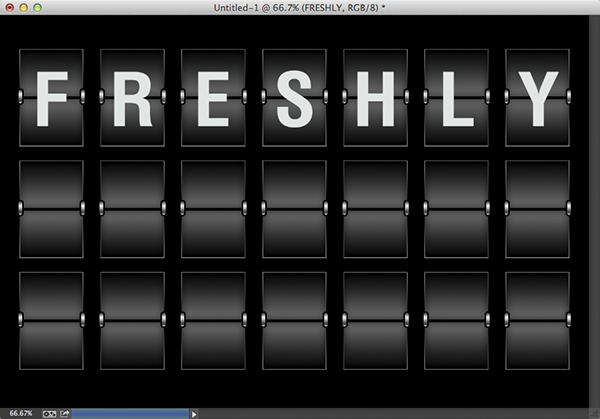
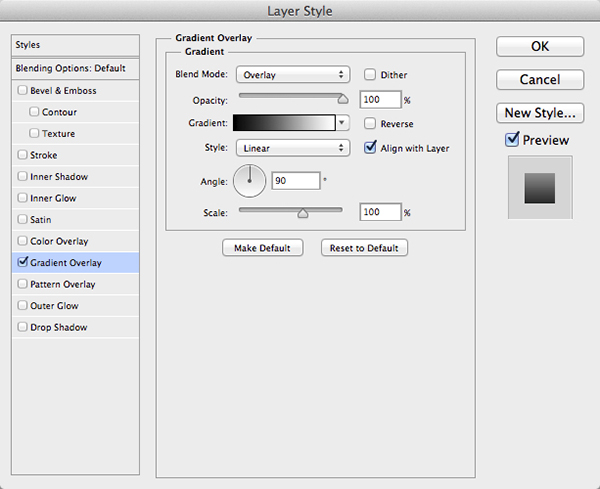
STEP ELEVEN: Click on the Add a Layer Style icon at the bottom of the Layers panel and choose Gradient Overlay. Choose Overlay as the Blend Mode and click OK. Command-click (PC: Ctrl-click) on the Layer 2 thumbnail to load it as a selection. Click on the Add Layer Mask icon (circle in a square) at the bottom of the Layers panel.
STEP TWELVE: Repeat Steps Ten and Eleven for any additional lines of type to complete the effect.

This article is courtesy of Photoshop User magazine, the official publication of KelbyOne, which provides quality online education for creative people. For more information, visit KelbyOne.com.
