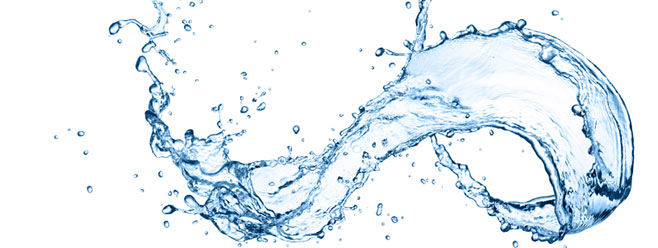
The Quick Selection tool and the Refine Edge dialog are the go-to resources for making precise selections, yet when it comes to extracting transparent elements on a solid-colored background, nothing is faster than working with channels. In today's tutorial, we'll make quick work of extracting a busy, transparent water splash element from a white background using channels.
[Planetphotoshop.com visitors may download the iStockphoto file used in this tutorial by clicking here. All files are for personal use only.]
Step One: Pull a Selection from the RGB Channel
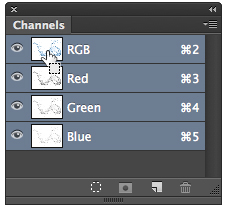
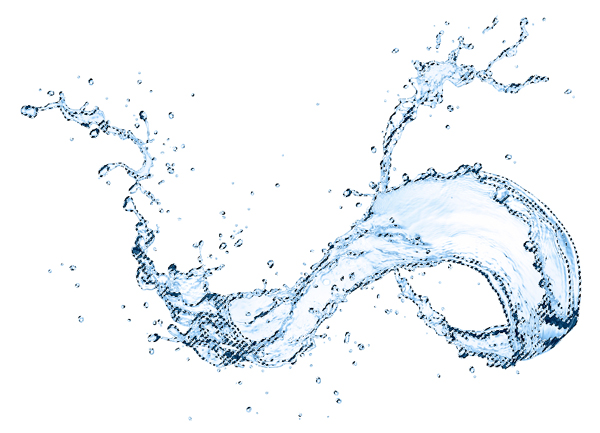
Open the download file or an image of a transparent subject on a white background. In the Channels panel (Window>Channels), Command-click (PC: Ctrl-click) on the RGB channel thumbnail to pull a selection from the bright areas. Choose Select>Inverse to invert the selection so it surrounds the water splash element.
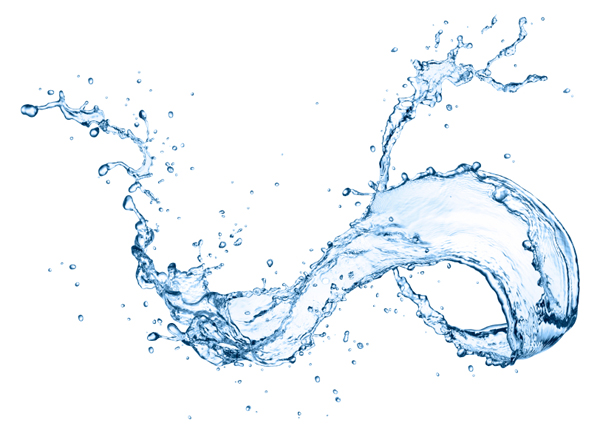
iStockphoto, ansonsaw, Image #13225547
Step Two: Build Density and Test the Quality of the Selection
In the Layers panel, press Command-J (PC: Ctrl-J) to copy the selected water element to its own layer.
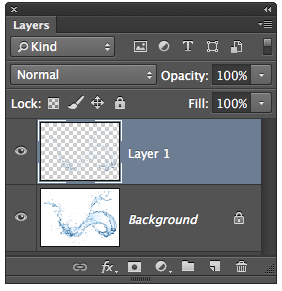
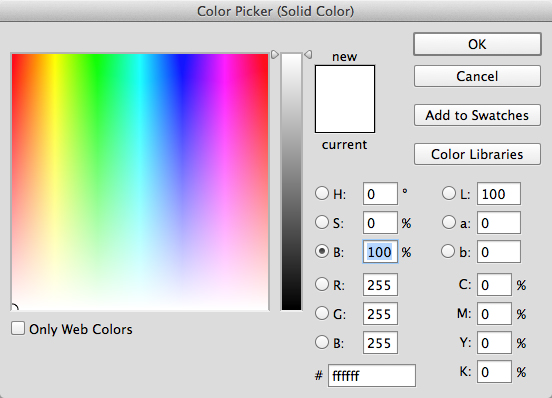
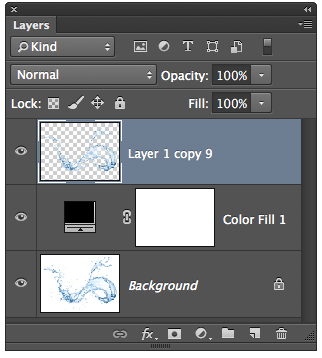
Now let's inspect the element over both white and black to determine if it needs improvement. Choose Layer>New Fill Layer>Solid Color. Click OK. Ensure that the layer is filled with white by clicking the B radio button and setting the value to 100% (make sure the H and S values are set to 0). Click OK to close the Color Picker.
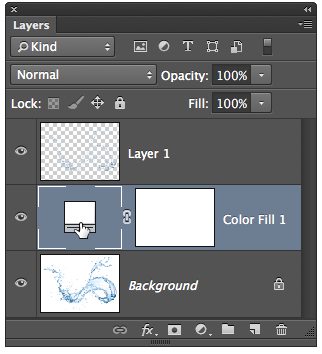
In the Layers panel, drag the Color Fill layer below the extracted water element layer (Layer 1). The extracted water element looks a bit too transparent, but before we modify it, let's confirm this. Double-click the layer thumbnail for the Color Fill layer. With the B radio button still active in the Color Picker, set the value to 0% (black), and click OK.
Now it's crystal clear that the extracted water element lacks density. To build density, activate the extracted water splash layer and press Command-J (PC: Ctrl-J) numerous times until the element looks as it did before the extraction.
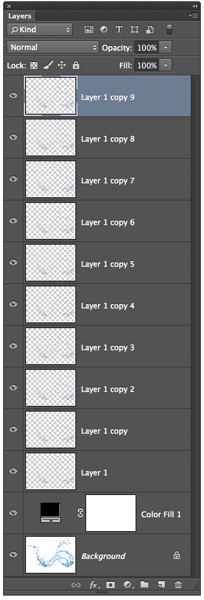
To tidy up the layers and make them more manageable, activate the top layer, then Shift-click on the bottommost extracted element layer (Layer 1). Choose Layer>Merge Layers.
Step Three: Clean Up the Fringed Edges
There are multiple ways to eliminate the white fringing that's visible around the edges. We'll explore the two most valuable methods. Choose Layer>Matting>Defringe. Enter a Width value of 1-3 pixels and click OK.

If the edges look believable, you're off and running. If, however, you'd like to explore an alternative approach, keep reading. Start by pressing Command-Z (PC: Ctrl-Z) to undo the defringing. Now, Command-click (PC: Ctrl-click) the extracted water splash element layer thumbnail to pull a selection.

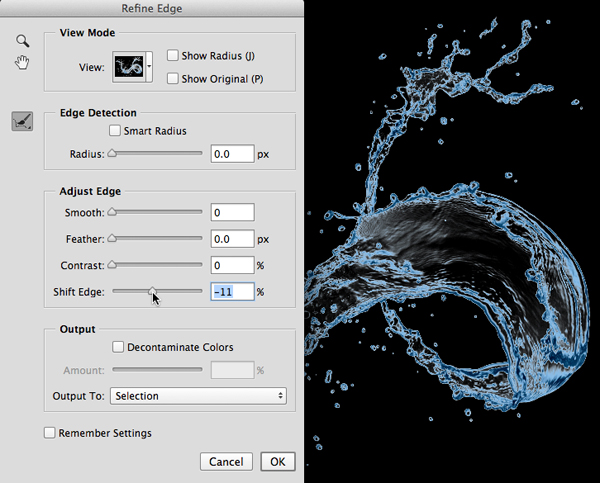
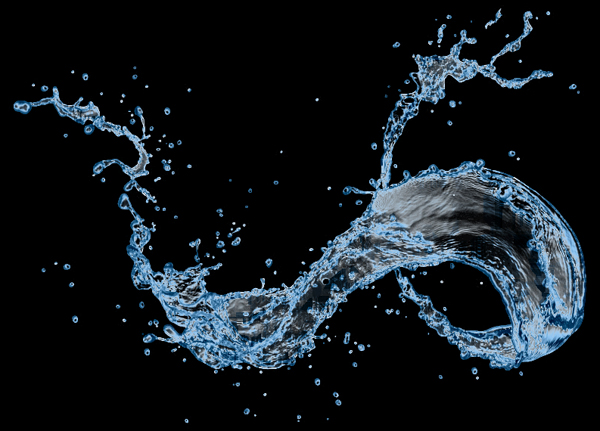
With the extracted water splash layer active, choose Select>Refine Edge. View the scene On Black (B). Drag the Shift Edge slider to the left to interactively eliminate the fringing. Set the Output To menu to Layer Mask and click OK. Voil ! You have a great looking extracted water element ready for use on a dark background.
Mark S. Johnson Photography
msjphotography.com

