This tutorial will show you how to use Photoshop’s Layer Styles and some simple Brush settings to create an elegant, slick text effect.
Tutorial Assets
1- Sofia font.
2- ZnikomitNo24 font.
3- Gradient-shapes for Photoshop ilnanny (Load the RS_Chrome.grd and the CHROMES.grd files).
4- Groovepaper pattern by Isaac.
Loading the Contours
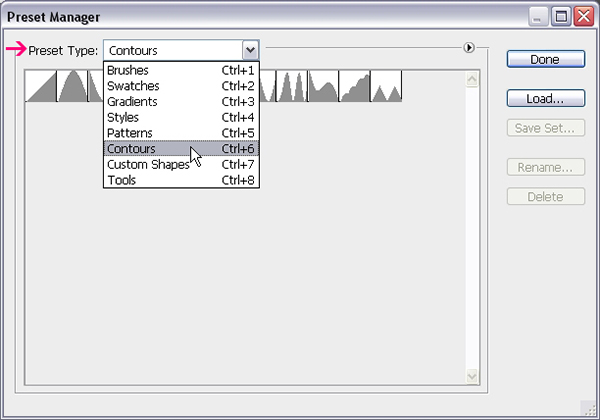
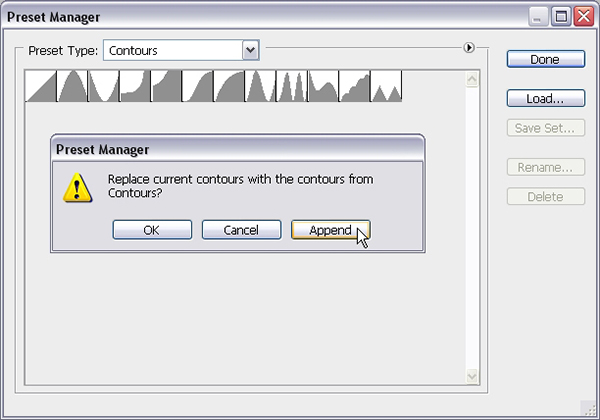
You might need to load the Contours used in some of the Layer Styles below. To do so, go to Edit -> Preset Manager, and choose Contours from the Preset Type drop down menu.
Click the small arrow in the top right corner, and choose Contours.
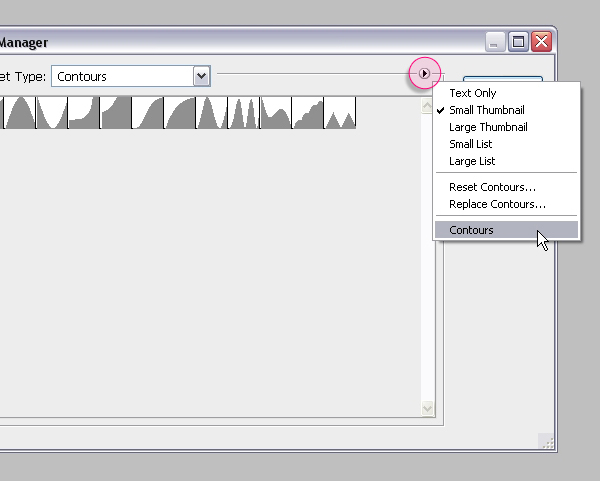
Click Append to add the new contours to the existing ones.
Step 1
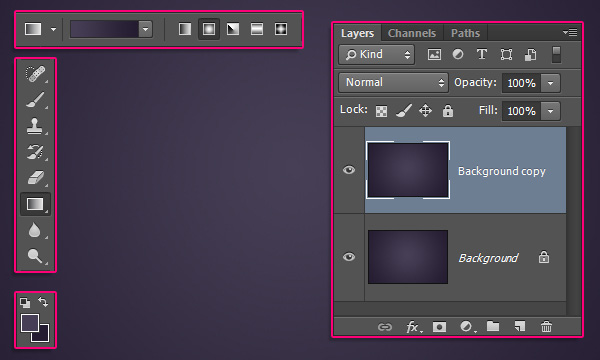
Create a new 1250 x 825 px document. Set the Foreground color to #473f56 and the Background color to #241c31. Pick the Gradient Tool, choose the Foreground to Background, Radial Gradient, in the Options bar. Then click and drag from the center of the document to one of the corners to create the gradient, and duplicate the Background layer.
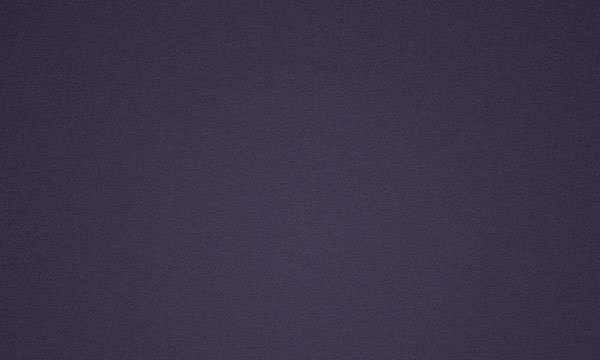
Double click the copy Background layer to apply a Pattern Overlay effect, by changing the Blend Mode to Color Burn, and using the Groovepaper pattern.
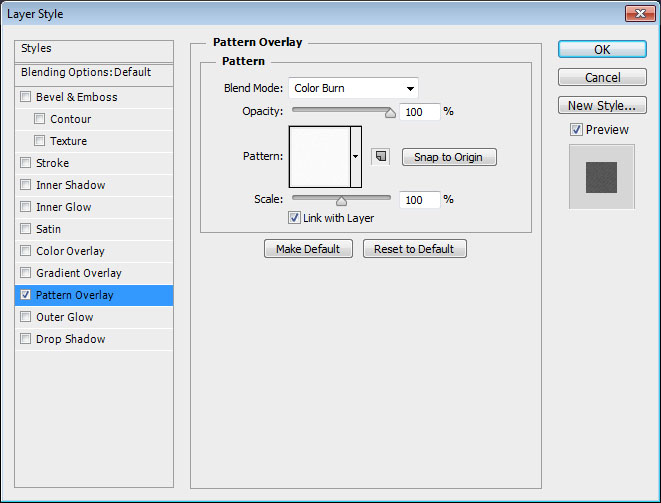
This will add a subtle texture to the Background.
Step 2
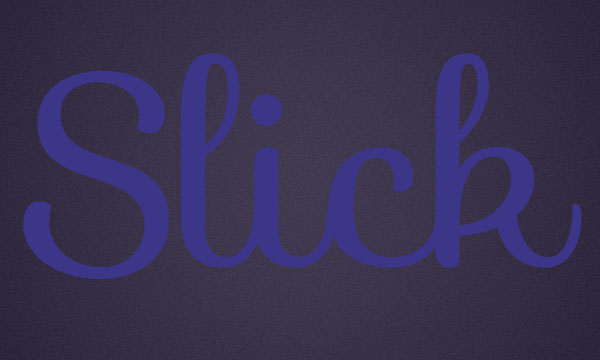
Create the text using the font Sofia, the color #3c3689, and the font Size 350 pt.
– Double click the text layer to apply the following Layer Style:
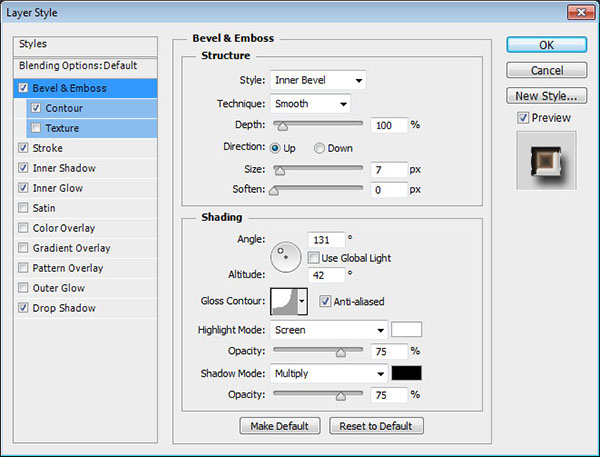
– Bevel and Emboss
Size : 7
Uncheck the Use Global Light box
Angle : 131
Altitude : 42
Gloss Contour : Cove – Deep
Check the Anti-aliased box
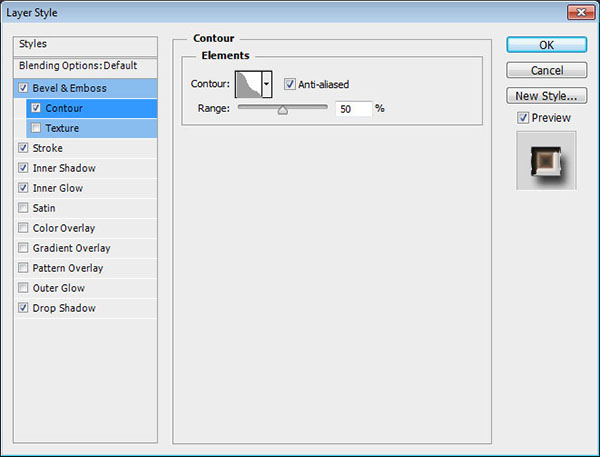
– Contour
Contour : Guassian – Inverse
Check the Anti-aliased box.
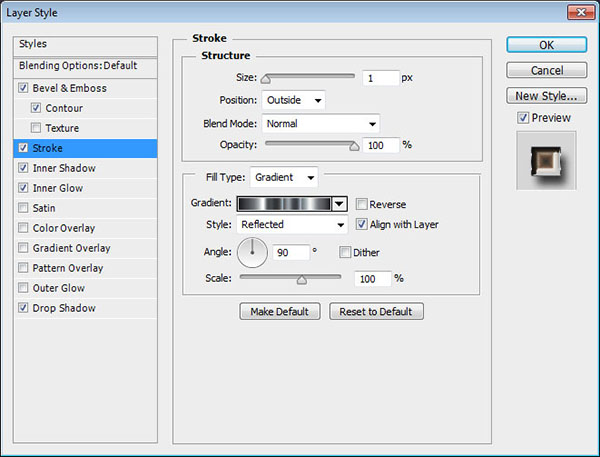
– Stroke
Size : 1
Fill Type : Gradient
Style : Reflected
Angle : 90
Use the “Chrome Bar 135” gradient from the “RS_Chrome.grd” file.
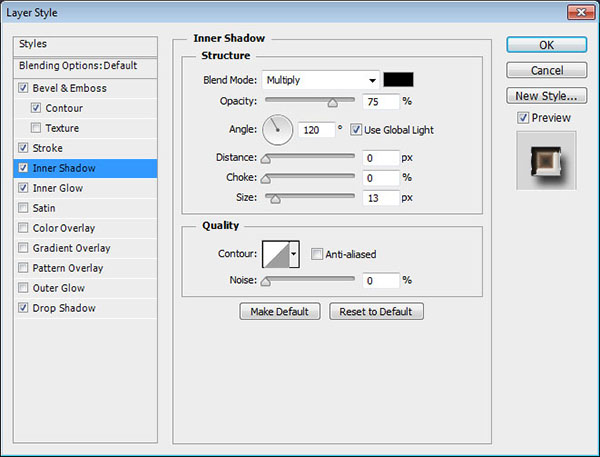
– Inner Shadow
Distance : 0
Size : 13
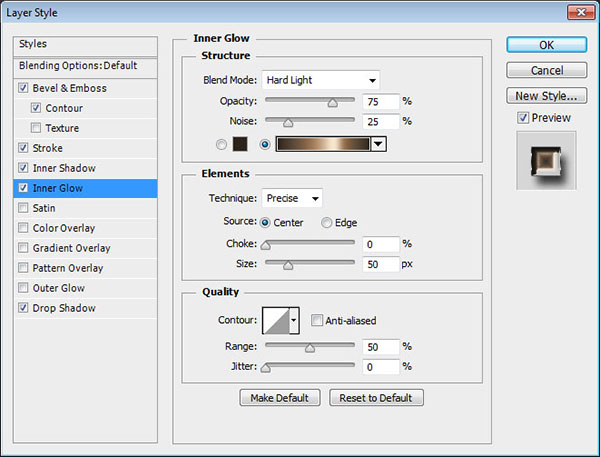
– Inner Glow
Blend Mode : Hard Light
Noise : 25
Color : Use the Gradient “stove pipe 85-L” from the “RS_Chrome.grd” file.
Technique : Precise
Source : Center
Size : 50
– Drop Shadow
Distance : 11
Size : 10
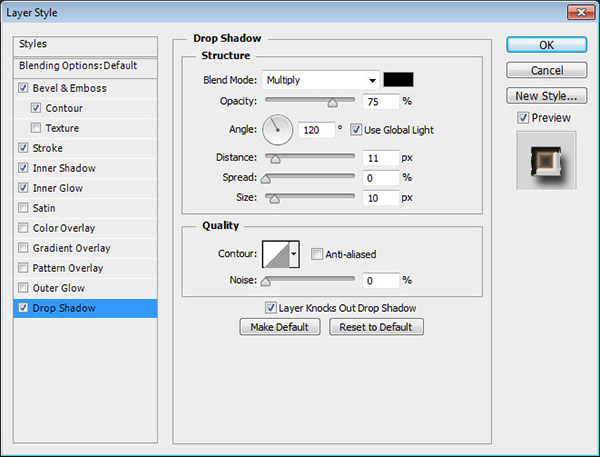
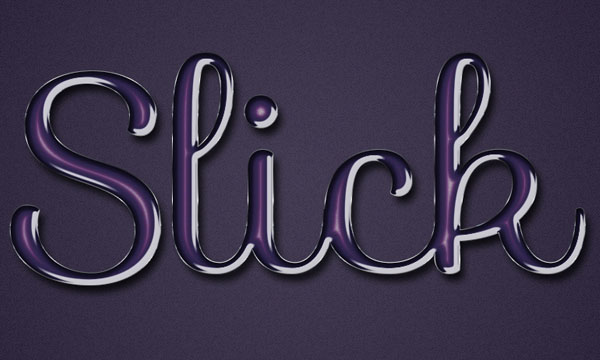
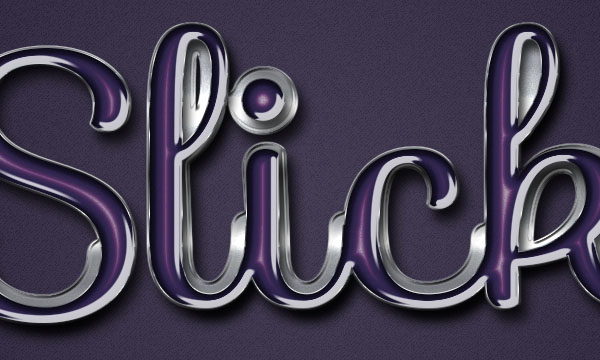
– This will create the glossy text effect.
Step 3
Right click the text layer and choose Create Work Path, then pick the Brush Tool.
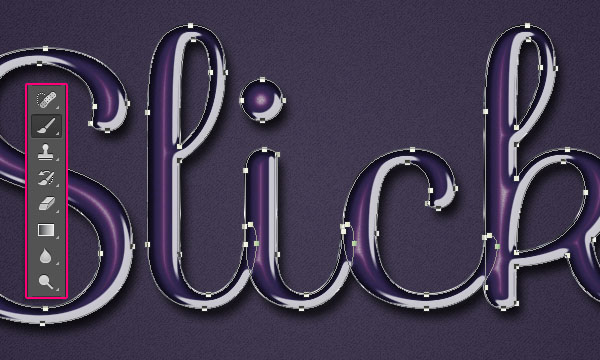
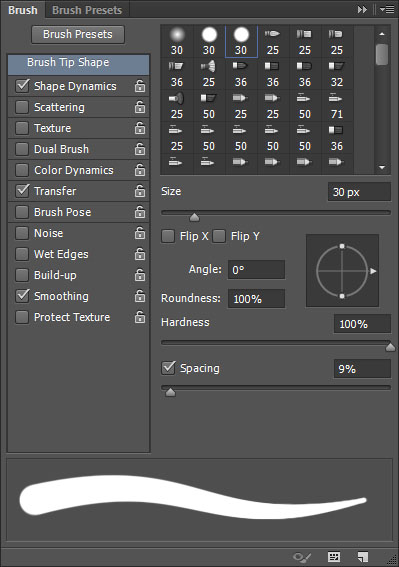
Open the Brush panel (Window > Brush), choose a hard round 30px brush, and modify its Settings as shown below:
– Brush Tip Shape
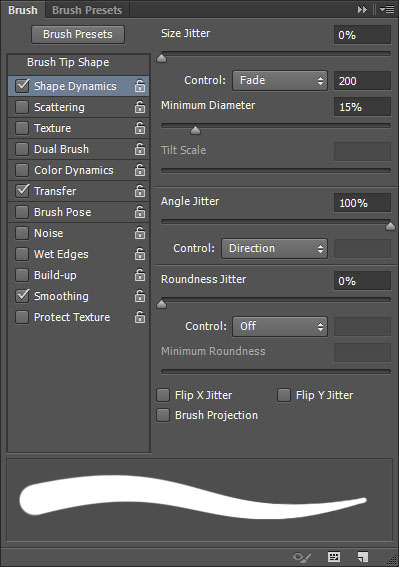
– Shape Dynamics
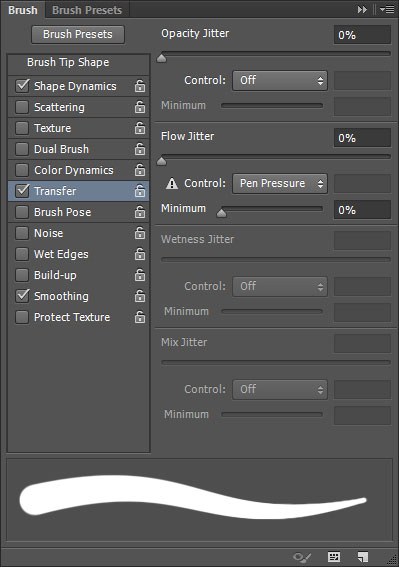
– Transfer
Set the Foreground color to #d7d7d7, create a new layer below the text layer and call it “Stroke”, then hit the Enter/Return key once to stroke the path.
Alternatively, you can pick the Direct Selection Tool (A), right click the work path, choose Stroke Path, then choose Brush from the Tool drop down menu and click Ok.
With the Direct Selection Tool (A) selected, you can then hit the Enter/Return key to get rid of the work path.

Step 4
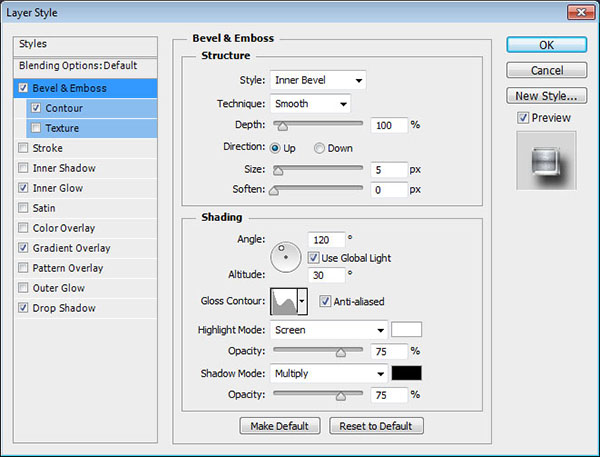
– Double click the Stroke layer to apply the following Layer Style:
– Bevel and Emboss
Gloss Contour : Rolling Slope – Descending
Check the Anti-aliased box
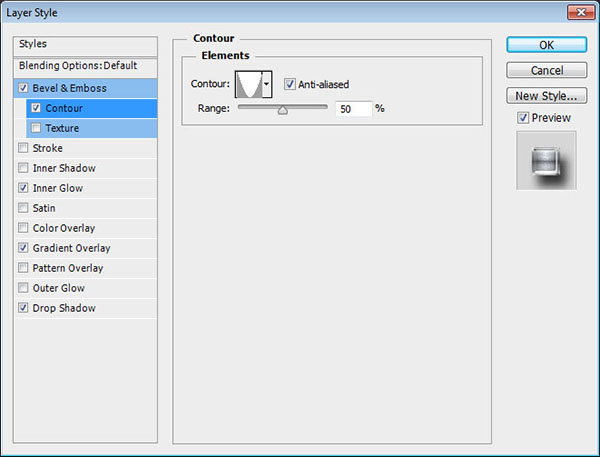
– Contour
Contour : Cone – Inverted
Check the Anti-aliased box.
– Inner Glow
Blend Mode : Vivid Light
Noise : 6
Color : #ededed
Source : Center
Size : 46

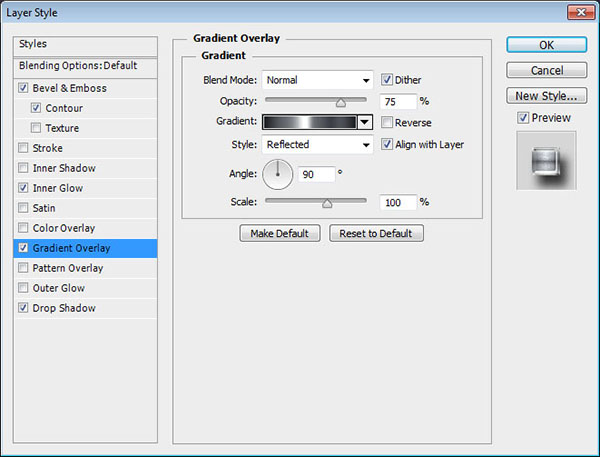
– Gradient Overlay
Style : Reflected
Angle : 90
Use the “Chrome Bar 145″ gradient from the ” RS_Chrome.grd ” file.
– Drop Shadow
Distance : 14
Size : 13
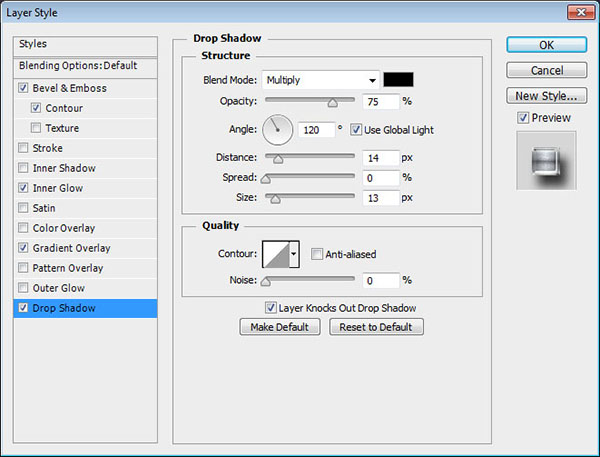
This will style the stroke.
Step 5
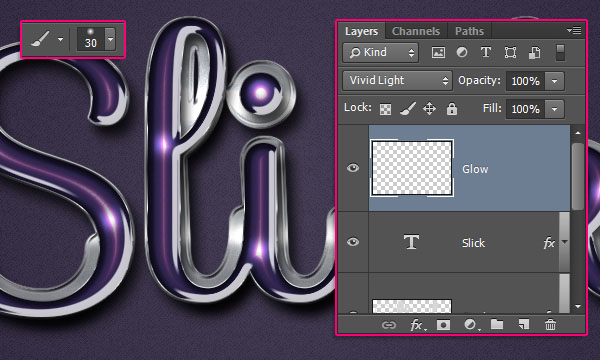
Create a new layer on top of all layers, call it “Glow”, and change its Blend Mode to Vivid Light. Then, with the Foreground color set to #d7d7d7, pick a soft round 30 px brush, and start adding some flares on top of the bright areas of the text.
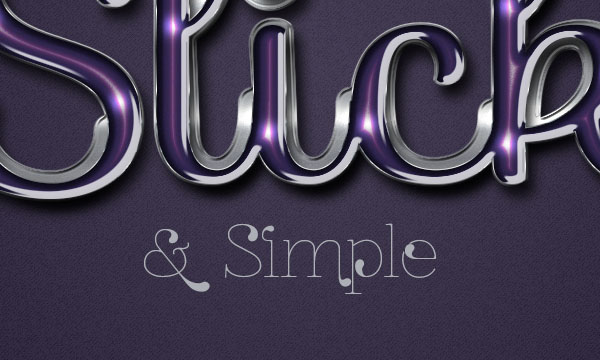
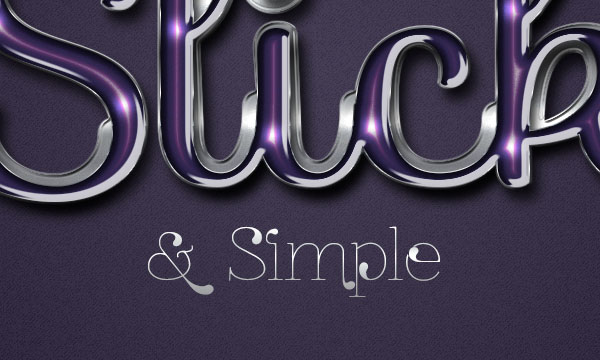
You can then add some sub- text using the font “ZnikomitNo24”. The font Size is 70 pt and the color is #acb0b6.
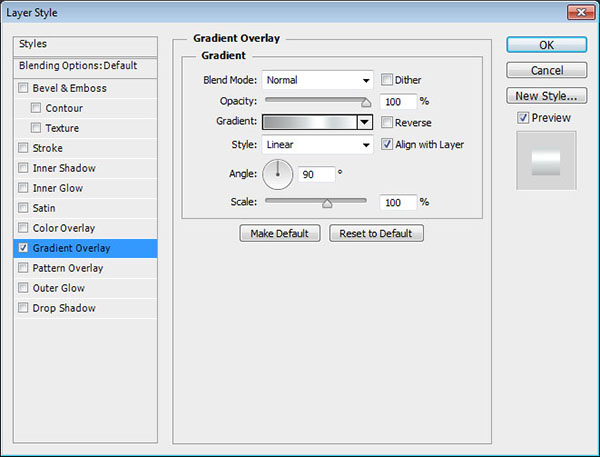
Double click the new text layer to apply a Gradient Overlay effect using the “Aluminum 5” gradient from the “CHROMES.grd ” file.
This will style the additional text.
Step 6
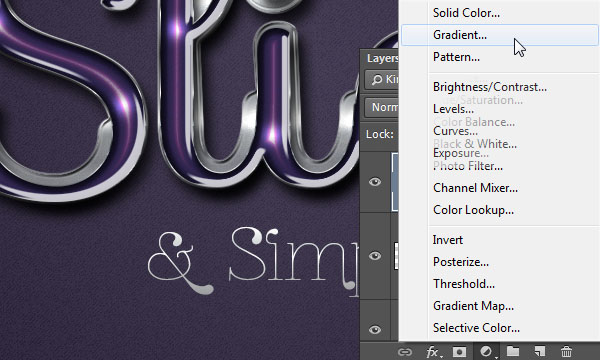
Click the “Create new fill or adjustment layer” icon down the Layers panel and choose Gradient.
Choose a transparent to fill color gradient, with the colors #4c435d to the left and #272727 to the right. Change the Style to Radial, the Angle to 90, and the Scale to 600.
Then, change the Adjustment layer’s Blend Mode to Soft Light.
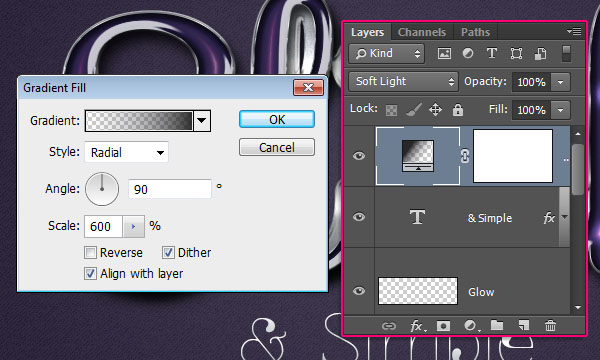
This will add some vignetting to the final result.
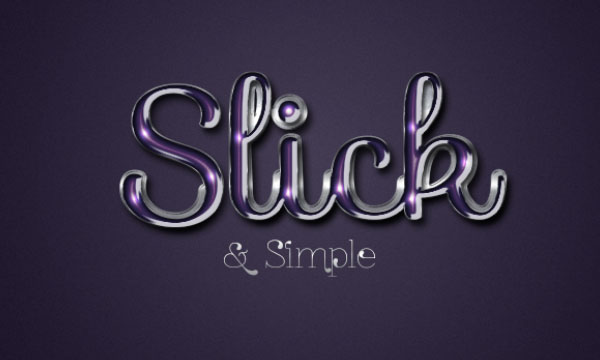
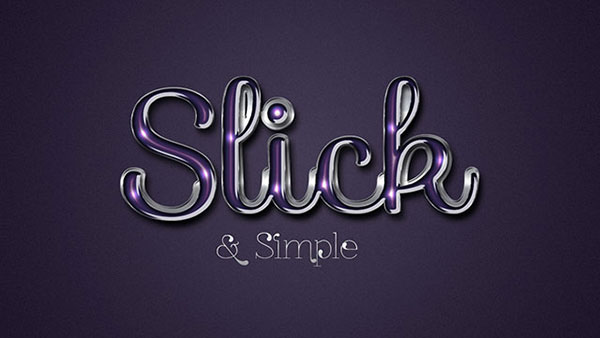
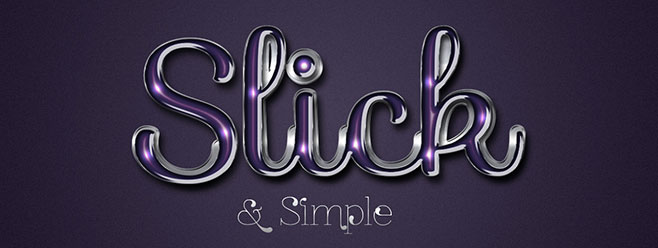
Conclusion
This is the final result. Layer Styles are an amazing way to create high quality effects easily and quickly!
Hope you enjoyed the tutorial and found it helpful.