
Before starting the tutorial, please download this free wall stucco texture:
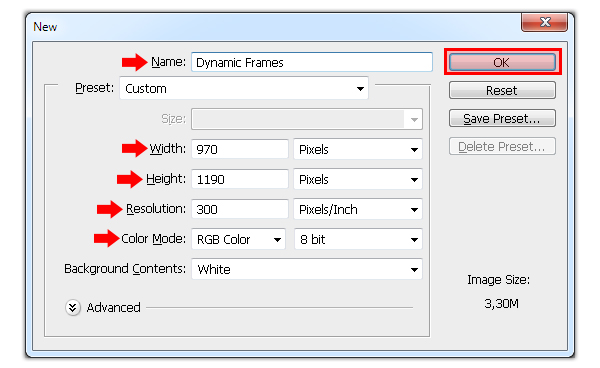
1. Open Photoshop and go to File > New. Set the name of the document to "Dynamic Frames". Set a Width of 970 px, a Height of 1190 px, the Resolution to 300dpi, the Color Mode to RGB and click OK.
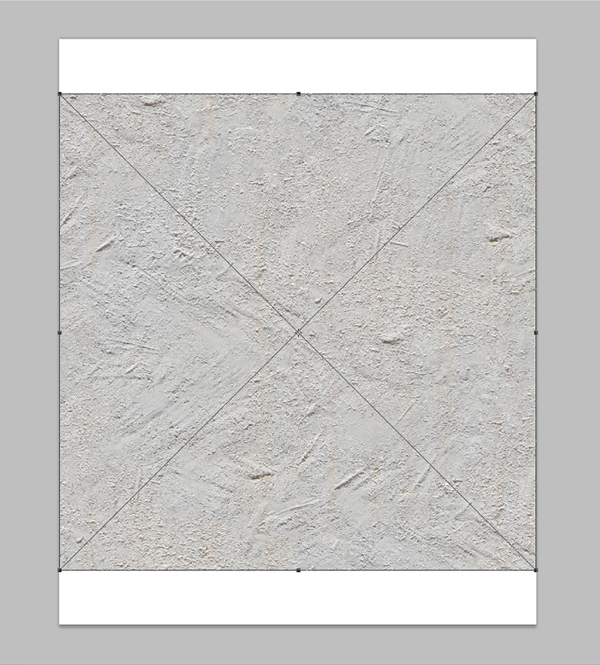
2. Go to File > Place. Select the Wall Stucco texture and click "Place".
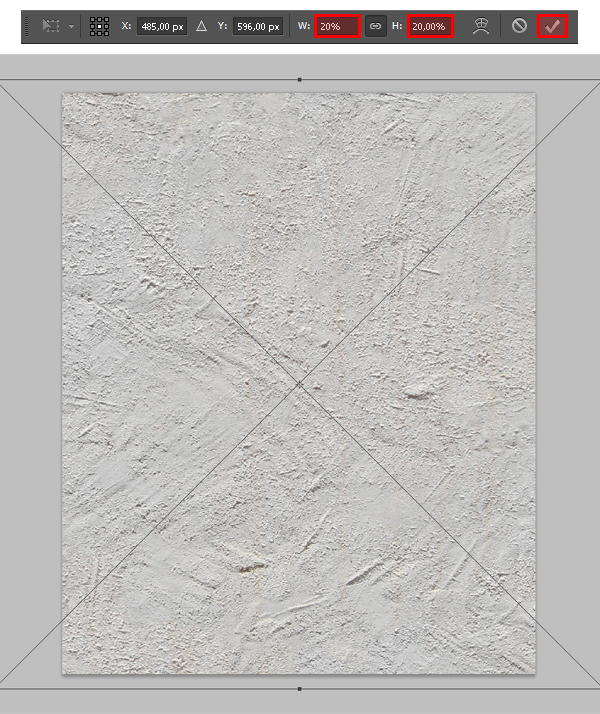
With the transform rectangle still active, set the Width and Height in the toolbar to 20% and click the Commit Transform icon.
Go to Layer > Rename Layer and set the name to Texture.
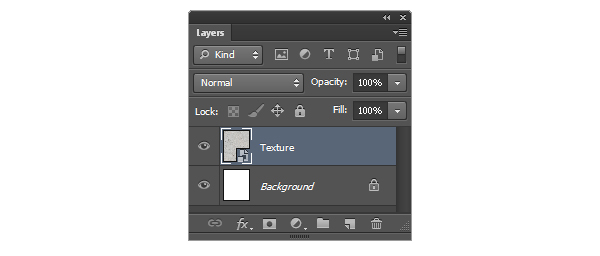
3. Go to Layer > Layer Style > Color Overlay. Click over the small color thumbnail in order to open the Color Picker. Set the color to #FFFFFF and click OK. Set the Blend Mode to Overlay, and bring down the opacity to 36%. Click OK.

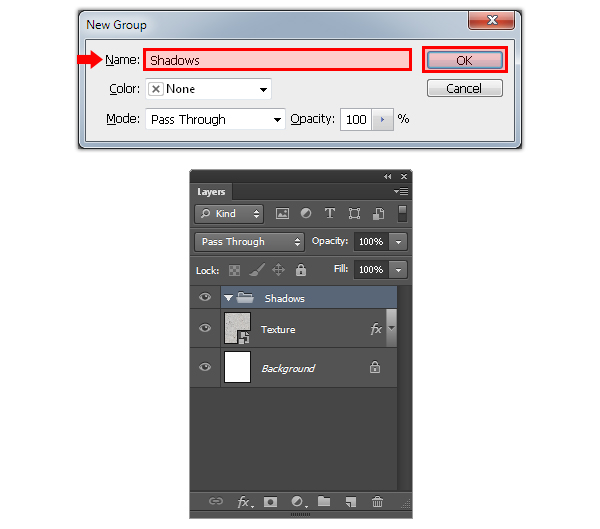
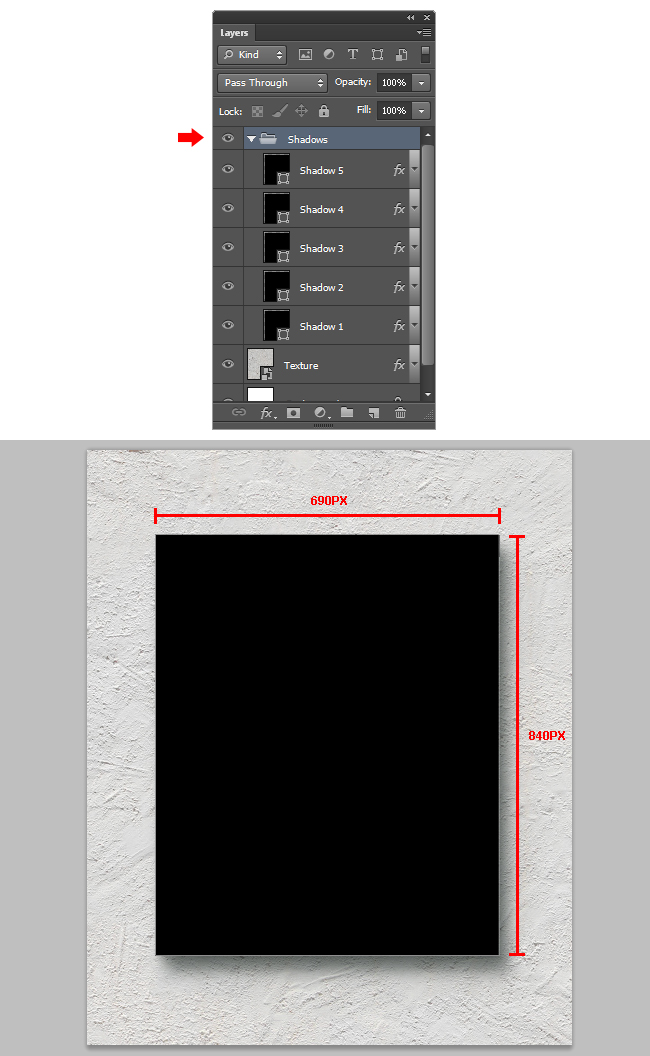
4. Go to Layer > New > Group and set the name to Shadows. Click OK.
5. From now on, be sure to always have the "shape" mode selected everytime we use the Rectangle Tool (U). To do so, when you selected the tool, choose from the tools options the "Shape" mode in the dropdown menu:

Press "D" on your keyboard to reset the Foreground and Background colors. Select the Rectangle Tool (U) and draw a rectangle in the middle of the canvas with a Width of 690px and a Height of 840px.
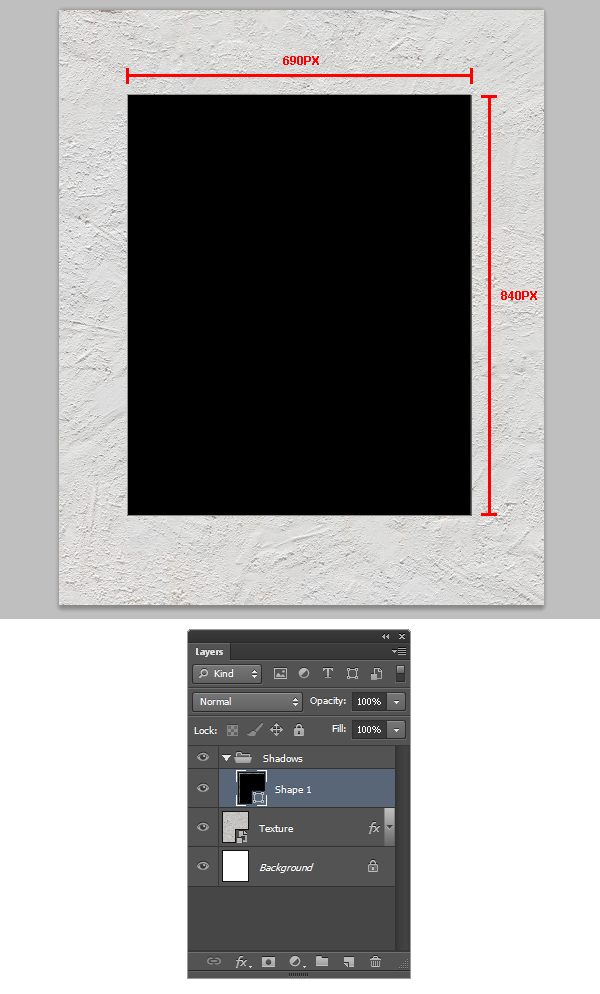
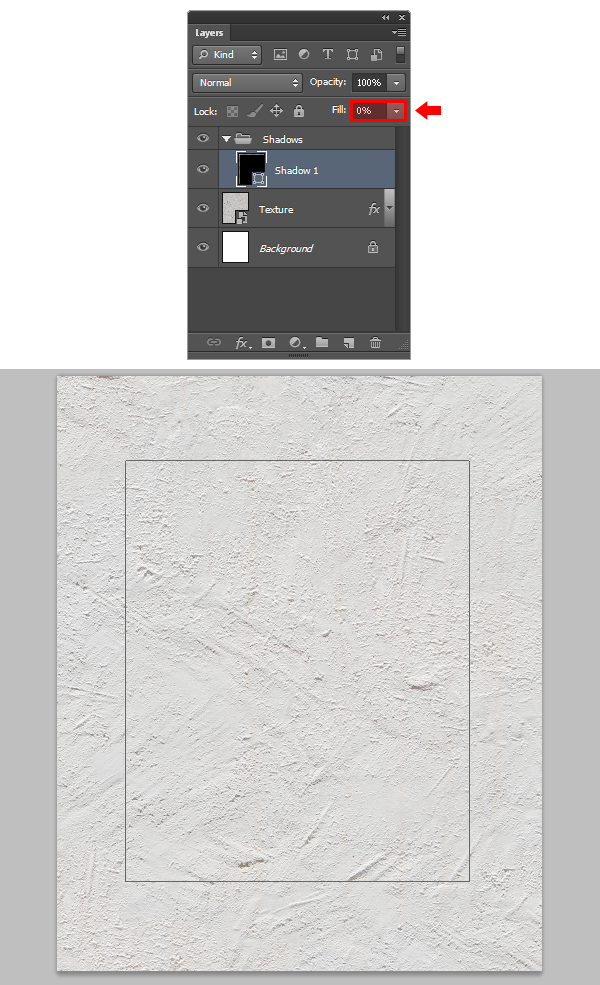
Go to Layer > Rename Layer and set the name to "Shadow 1". In the Layers Panel, bring down the layer fill to 0%.
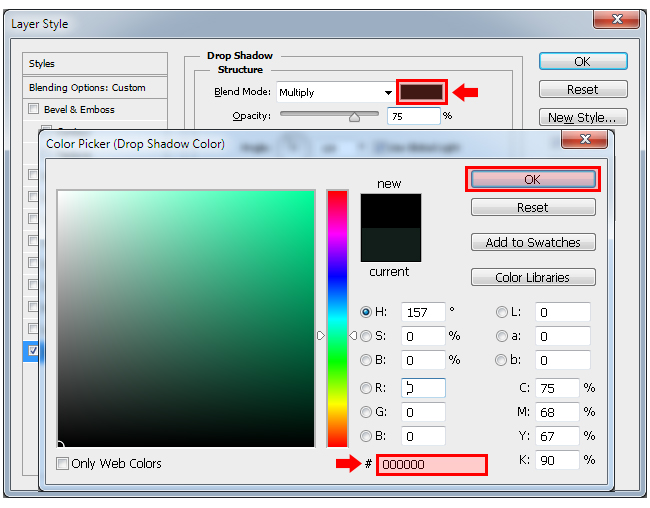
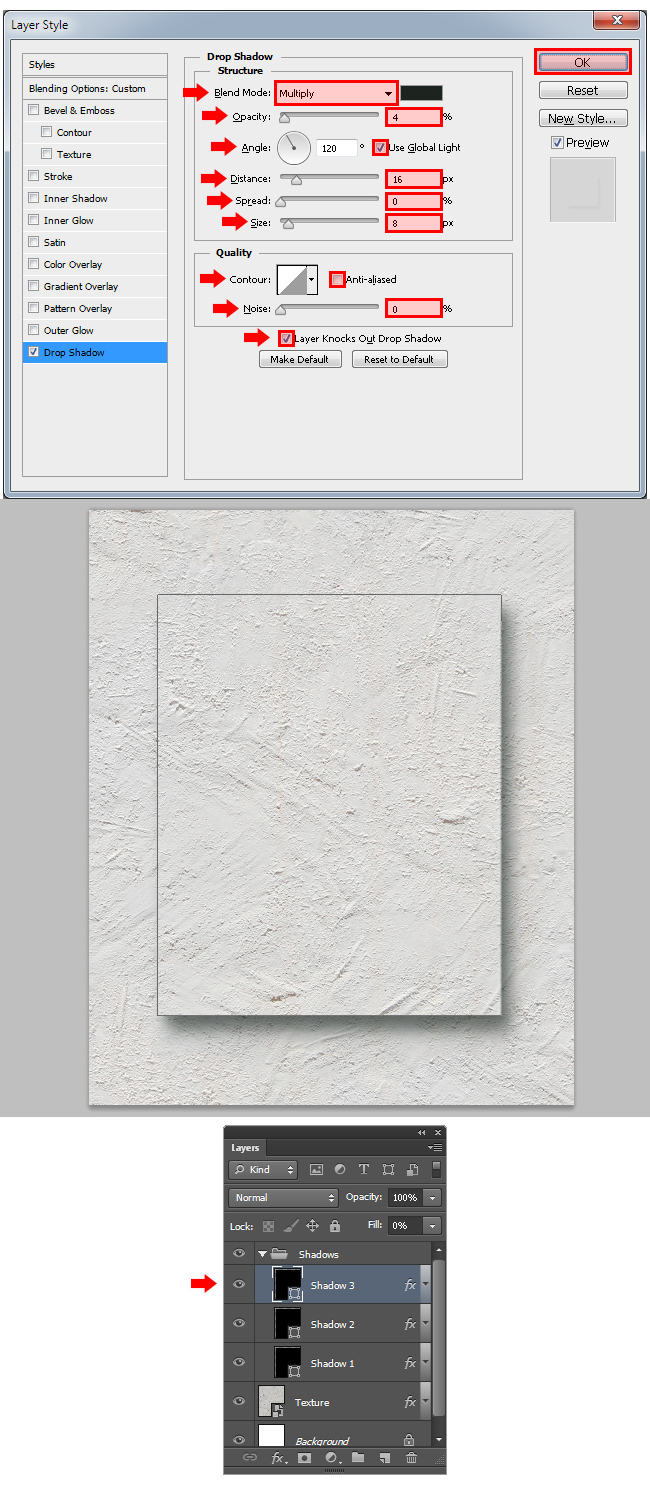
6. Go to Layer > Layer Style > Drop Shadow. Click over the color rectangle thumbnail, and in the Color Picker window, set the color to #000000. Click OK.
7. Still in the Layer Style window, apply the following settings and click OK.

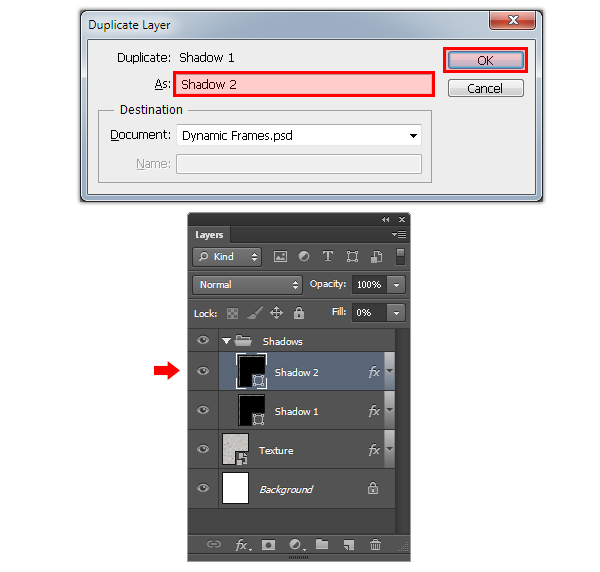
8. Go to Layer > Duplicate Layer and set the name to "Shadow 2". Click OK.
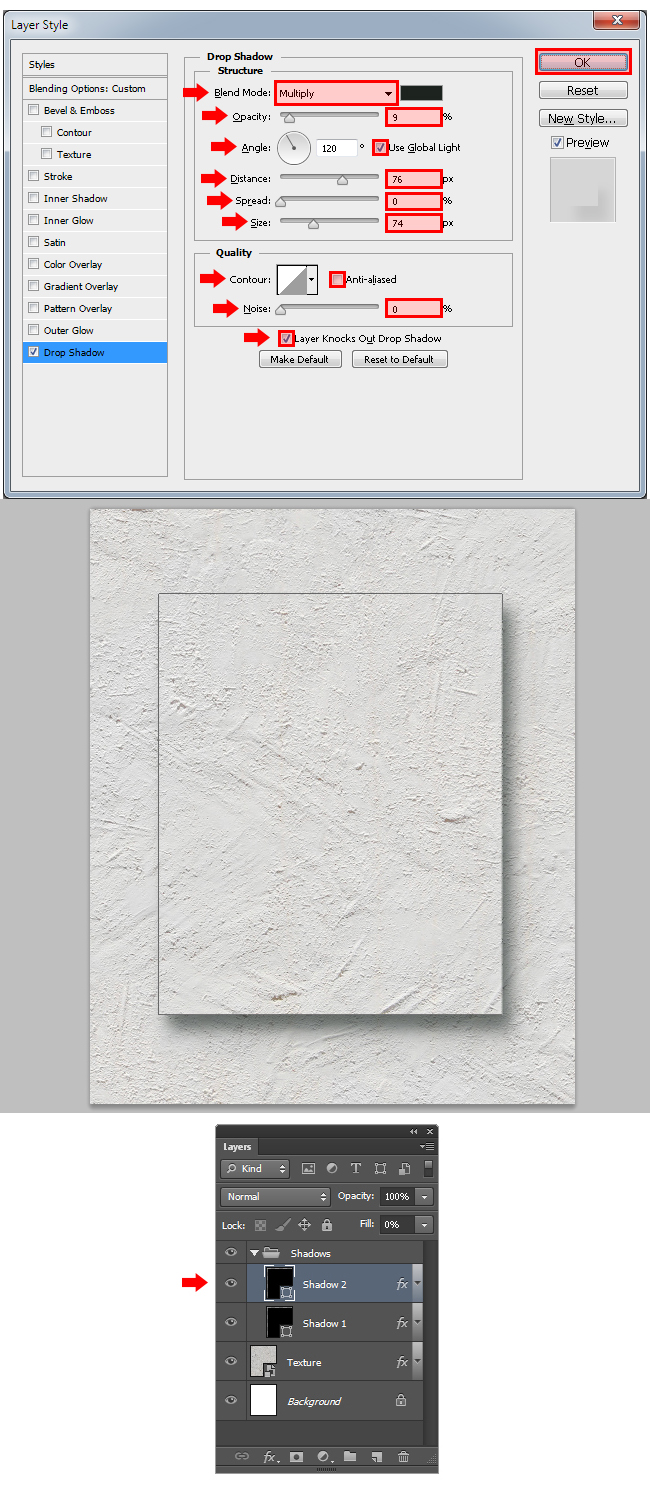
9. Go to Layer > Layer Style > Drop Shadow, apply the following settings and click OK.
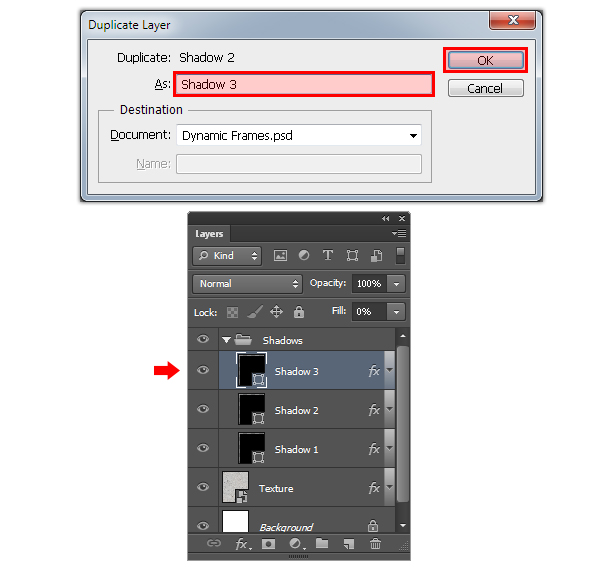
10. We will repeat this process 3 more times to give the shadows some nice details. Go to Layer > Duplicate Layer and set the name to "Shadow 3". Click OK.
Go to Layer > Layer Style > Drop Shadow, apply the following settings and click OK.
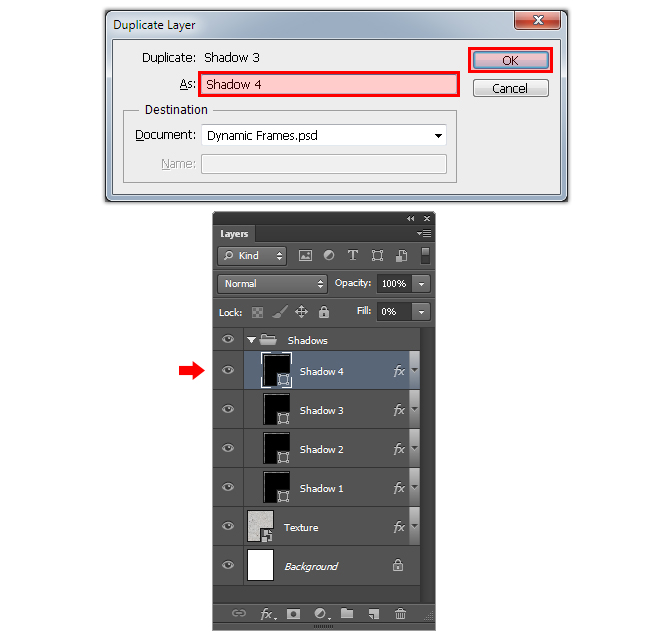
11. Again, go to Layer > Duplicate Layer and set the name to "Shadow 4". Click OK.
Go to Layer > Layer Style > Drop Shadow, apply the following settings and click OK.

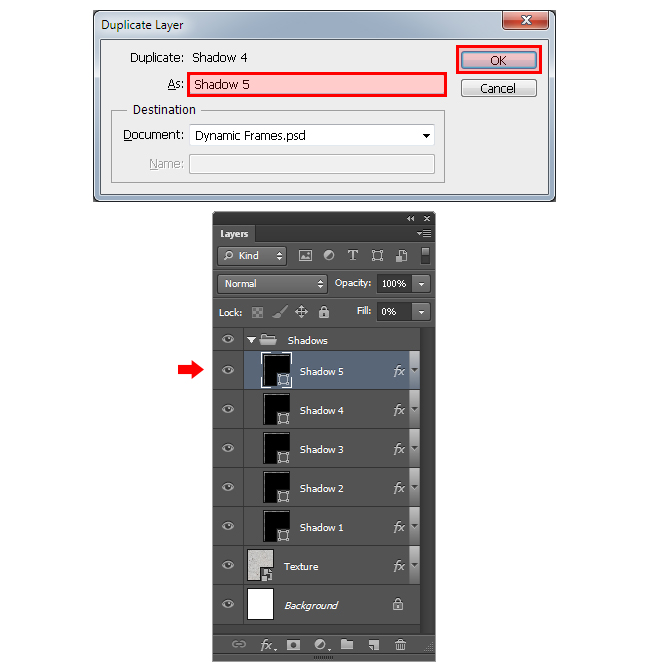
12. Last time; go to Layer > Duplicate Layer and set the name to "Shadow 5". Click OK.
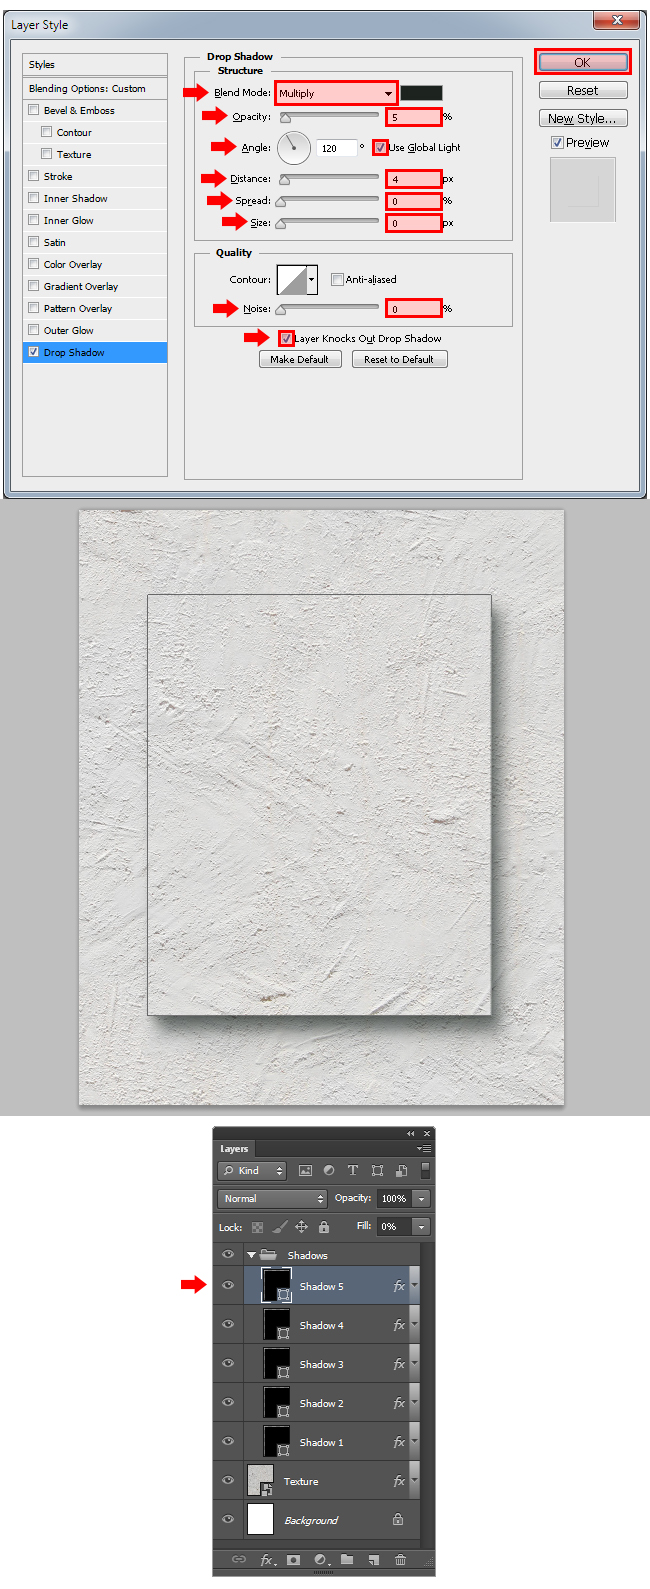
Go to Layer > Layer Style > Drop Shadow, apply the following settings and click OK.
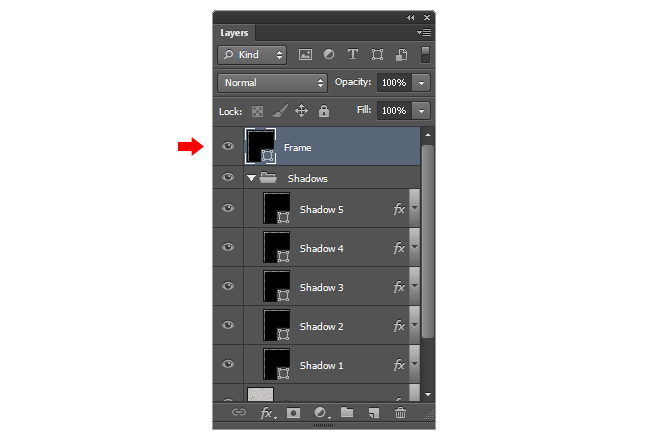
13. Now, we will start with the frame. Click over the "Shadows" layers group. Select the Rectangle Tool (U) and draw another rectangle with a Width of 690px and a Height of 840px.
Go to Layer > Rename Layer and set the name to "Frame".
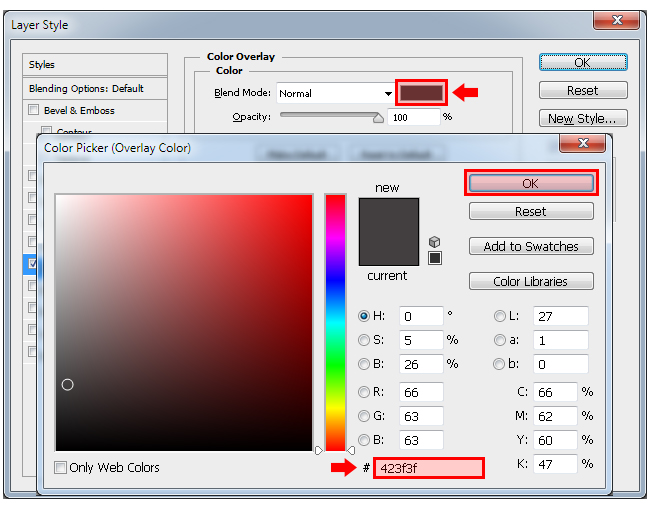
14. Go to Layer > Layer Style > Color Overlay. Click over the color rectangle thumbnail, and in the Color Picker window, set the color to # 423F3F. Click OK.
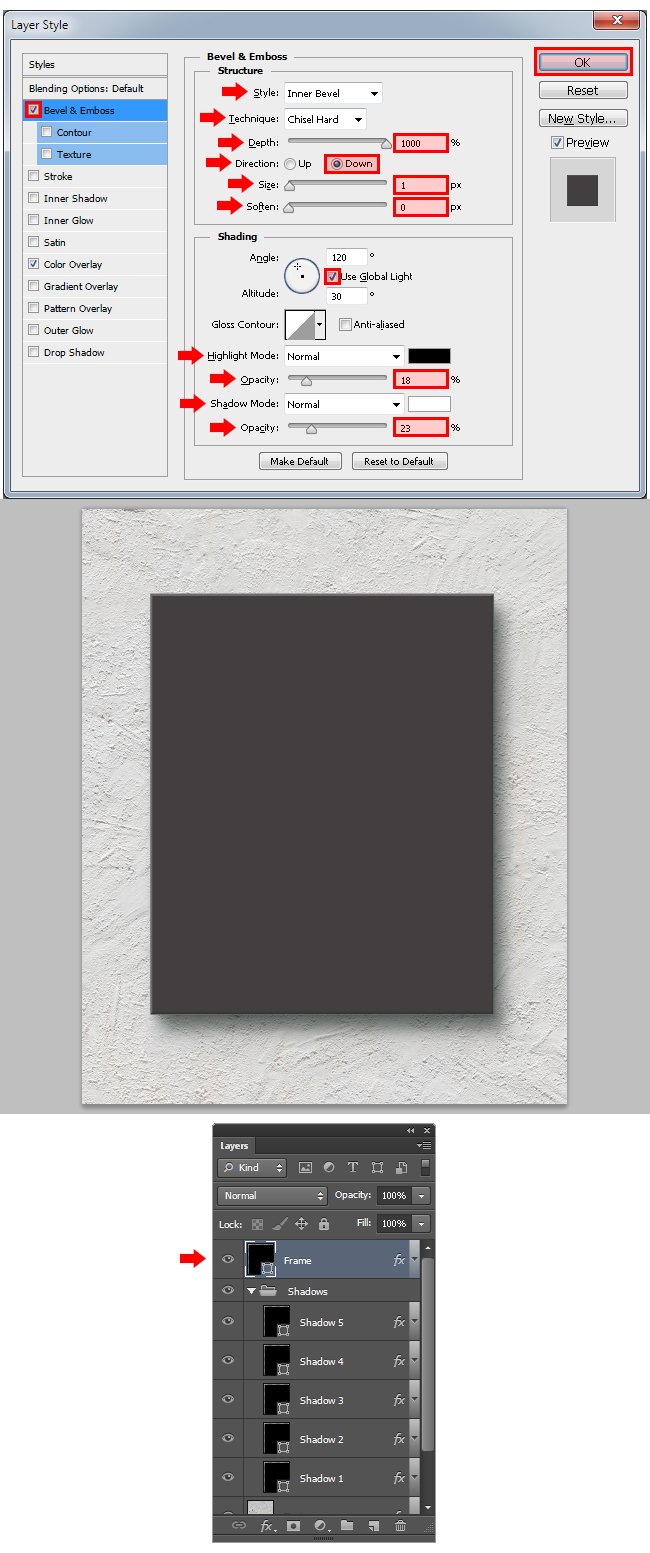
Still in the Layer Style window, check the Bevel & Emboss and apply the following settings. Click OK.
15. Press "X" on your keyboard to switch Foreground and Background colors. Select the Rectangle Tool (U) and draw a rectangle with a Width of 630px and a Height of 780px as showed.
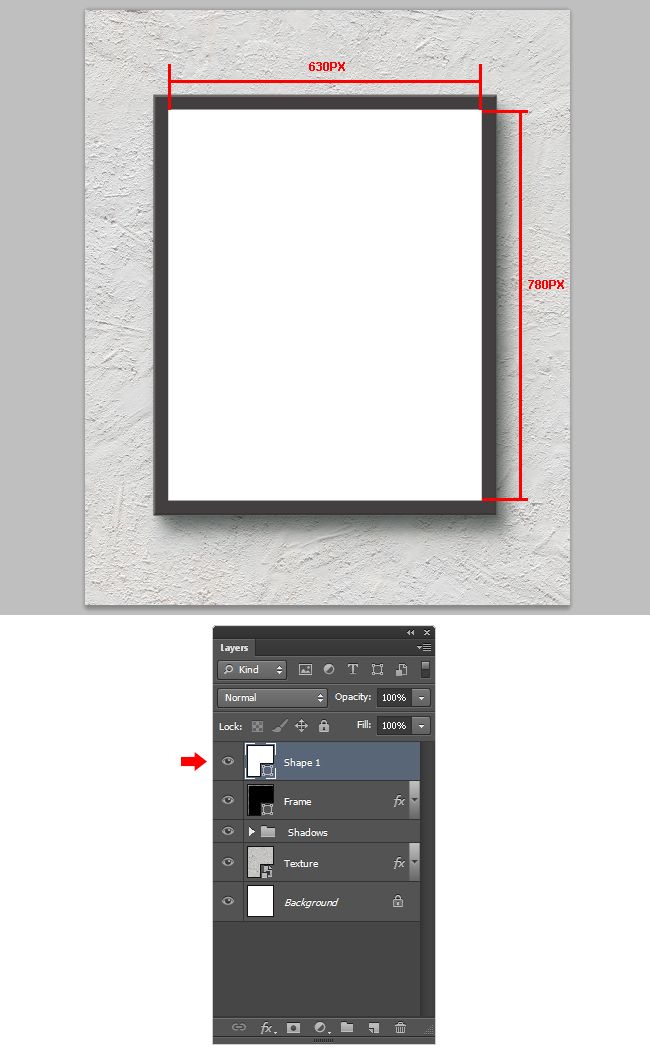
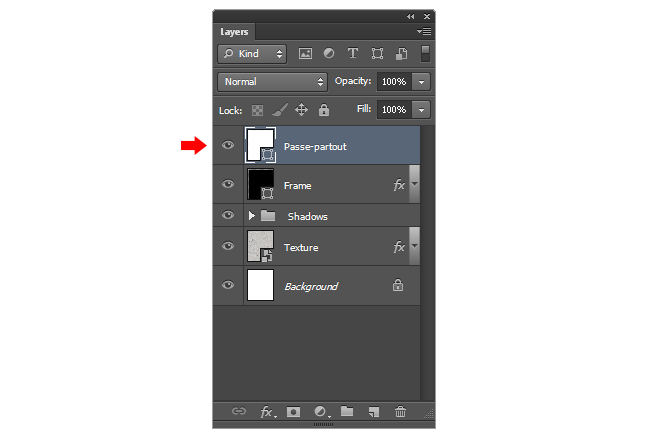
Go to Layer > Rename Layer and set the name to "Passe-partout".
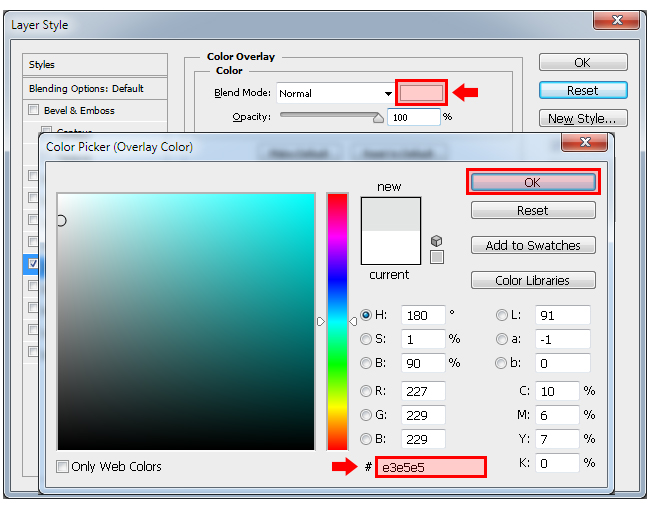
16. Go to Layer > Layer Style > Color Overlay. Click over the color rectangle thumbnail, and in the Color Picker window, set the color to #E3E5E5. Click OK.
Still in the Layer Style window, check the Inner Shadow effect, apply the following settings and click OK.

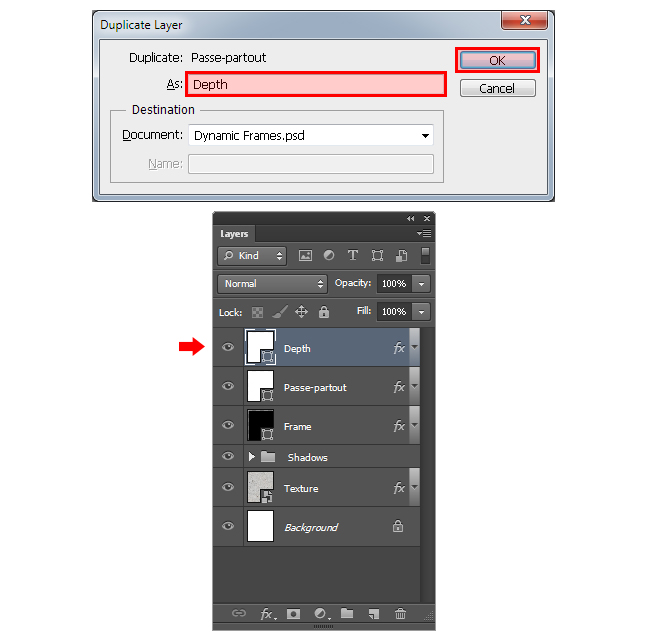
17. Go to Layer > Duplicate Layer. In the dialog window, set the name to "Depth" and click OK.
Go to Layer > Layer Style > Clear Layer Style.
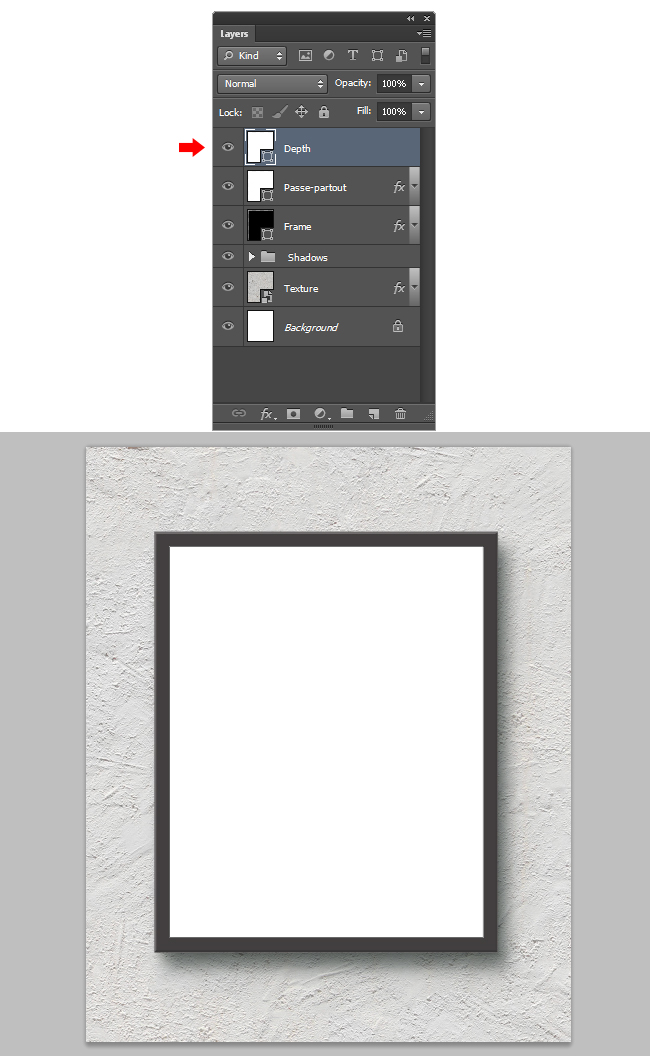
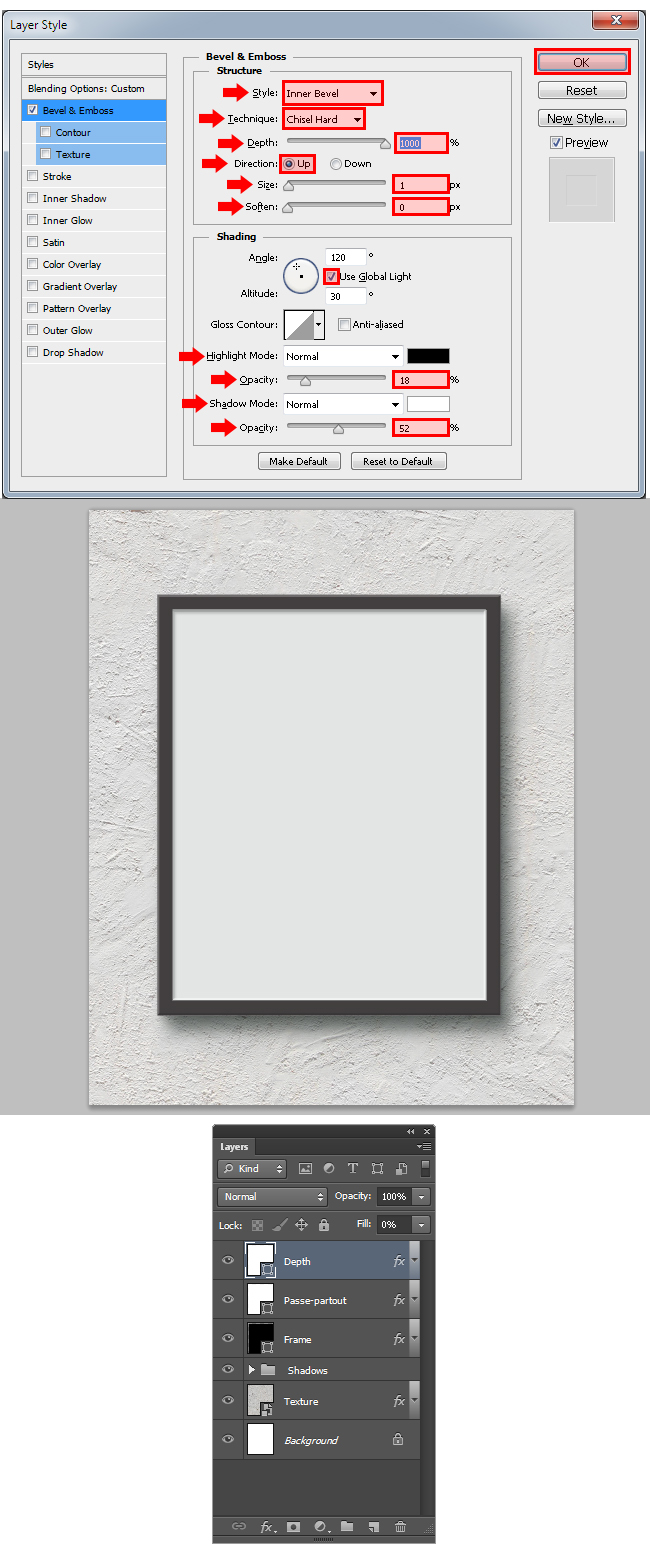
Go to Layer > Layer Style > Bevel & Emboss and apply the following settings. Click OK.
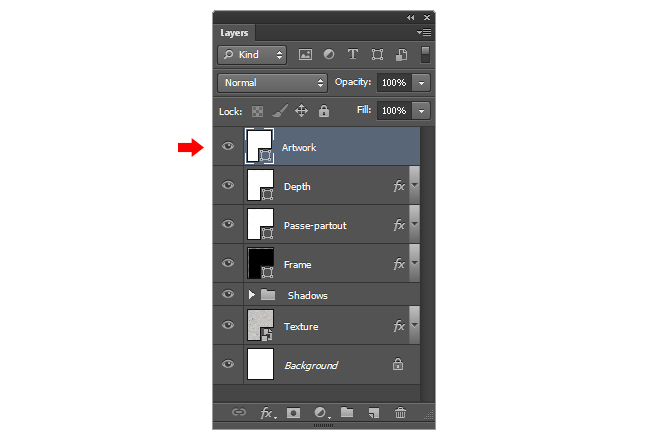
18. Select the Rectangle Tool (U) and draw a rectangle with a Width of 490px and a Height of 640px as showed.

Go to Layer > Rename Layer and set the name to "Artwork".
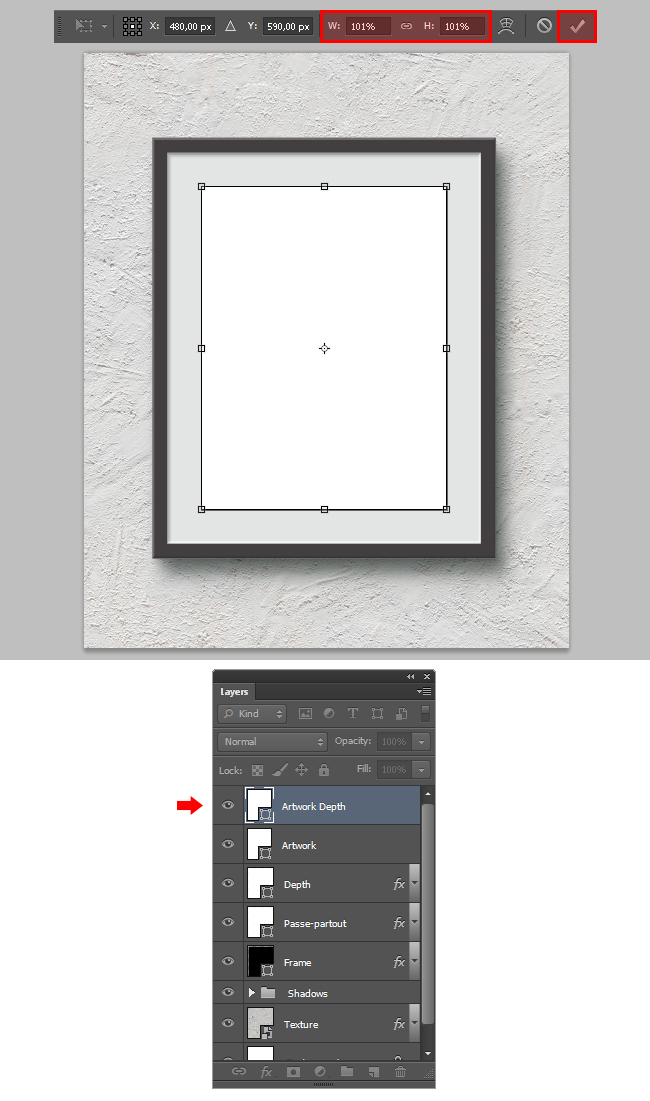
19. Go to Layer > Duplicate Layer. In the dialog window, set the name to "Artwork Depth" and click OK.
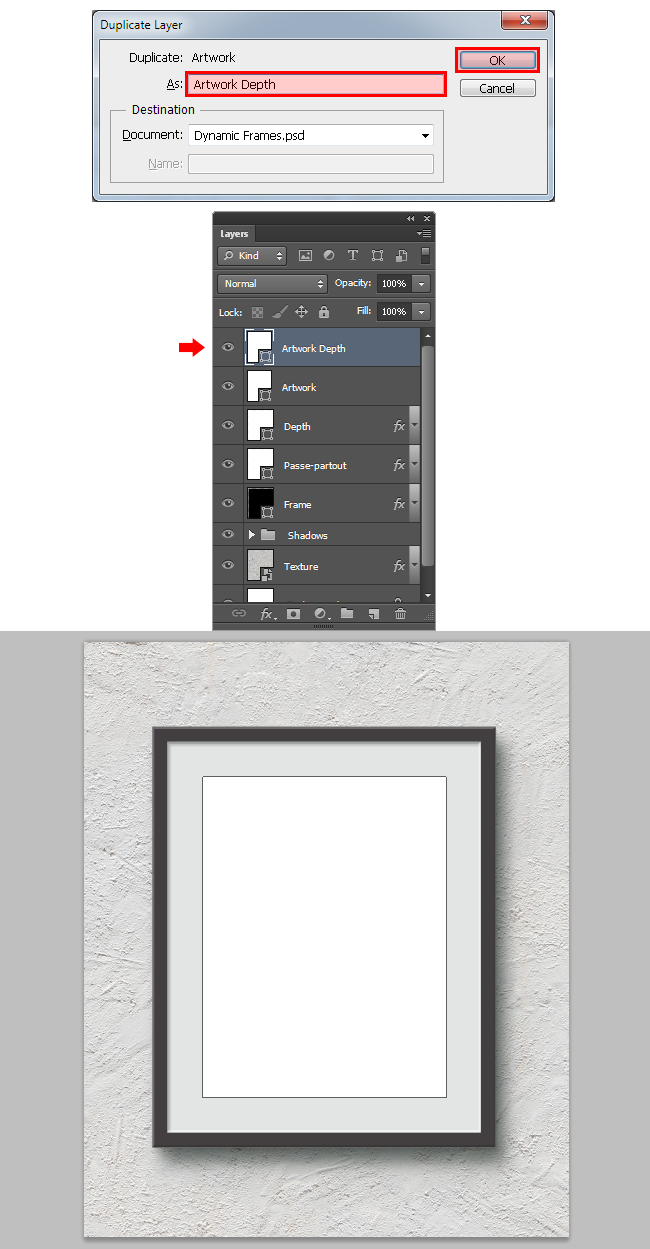
Go to Edit > Transform Path > Scale. In the toolbar set the Width and Height to 101% and click over the Commit Transform icon.
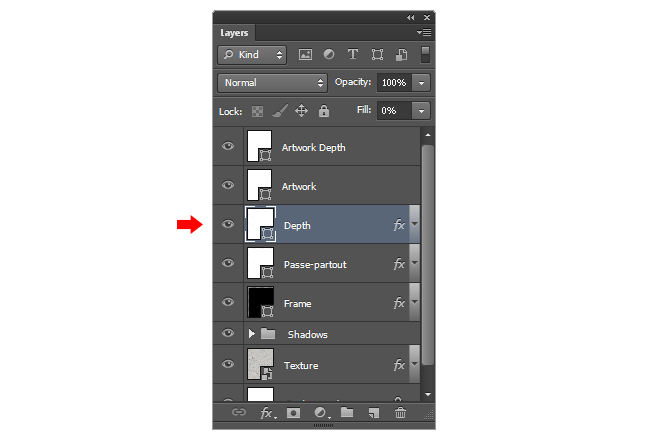
20. Click over the "Depth" layer and go to Layer > Layer Style > Copy Layer Style.
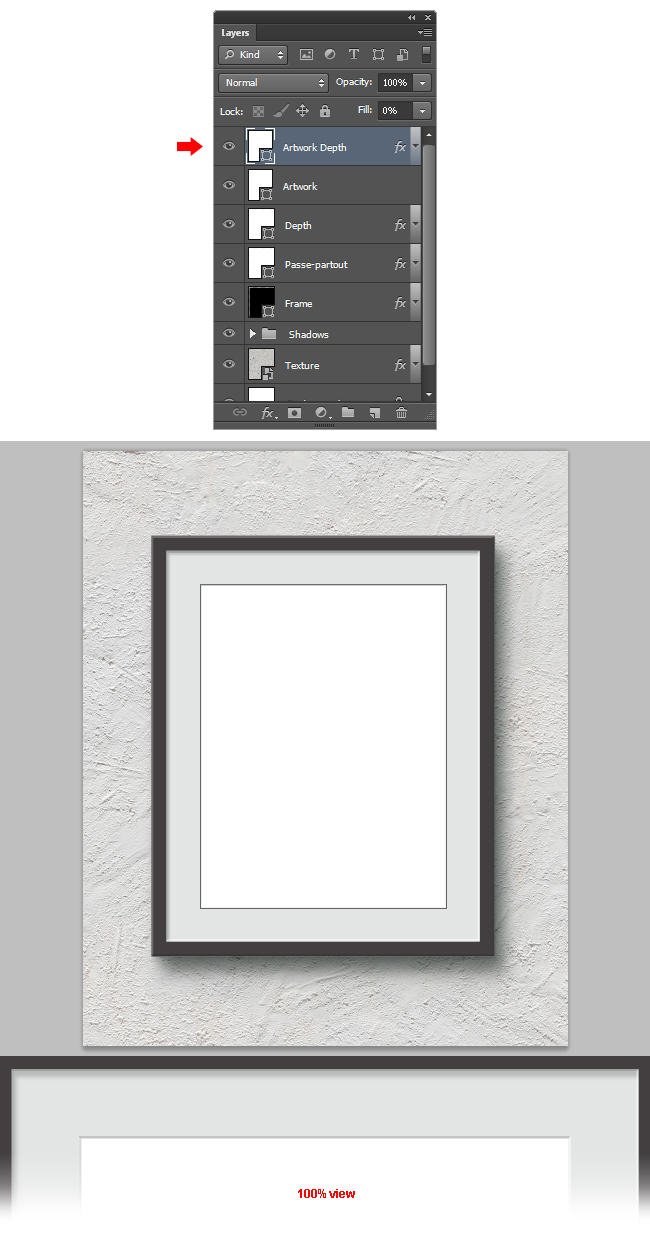
Now, click over the "Artwork Depth" layer and go to Layer > Layer Style > Paste Layer Style.
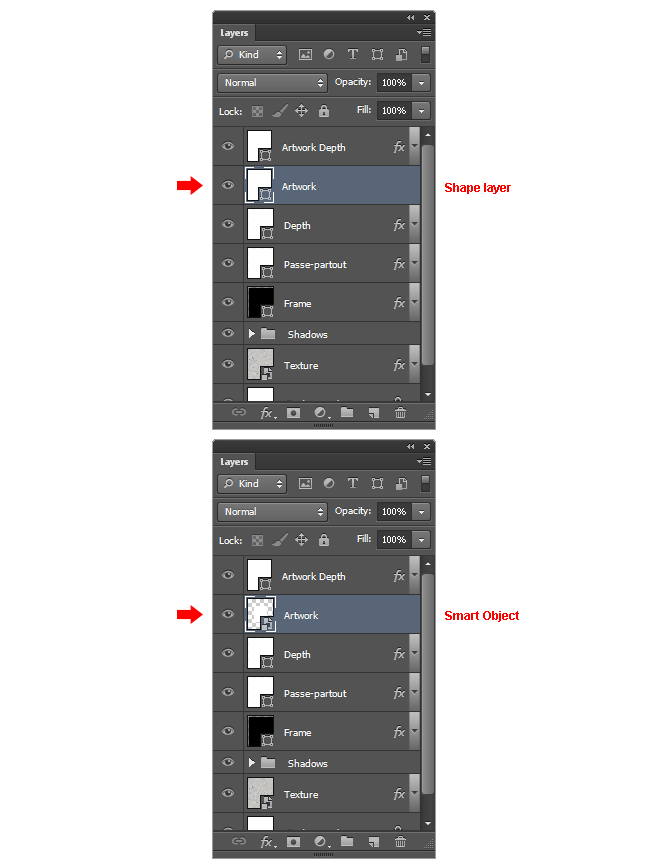
21. Click over the "Artwork" layer and go to Layer > Smart Objects > Convert to Smart Object.
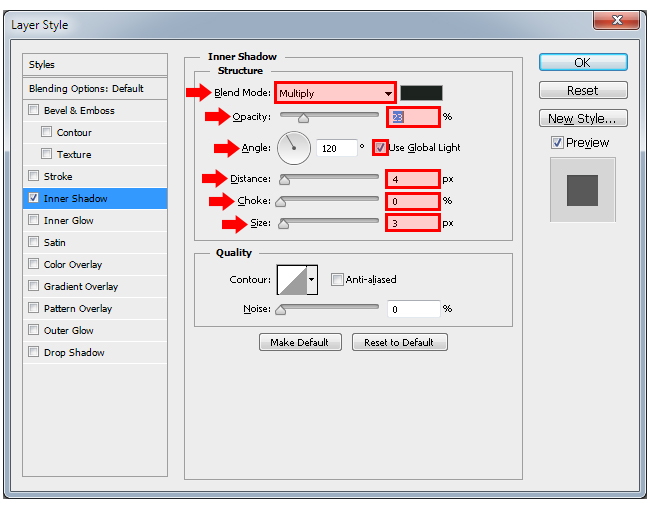
Go to Layer > Layer Style > Inner Shadow and apply the settings as showed:
Still in the Layer Style window, check the Pattern Overlay effect. Click over the pattern thumbnail, and from the dropdown thumbnails select the "Gray Granite (128 by 128 pixels, RGB mode)".
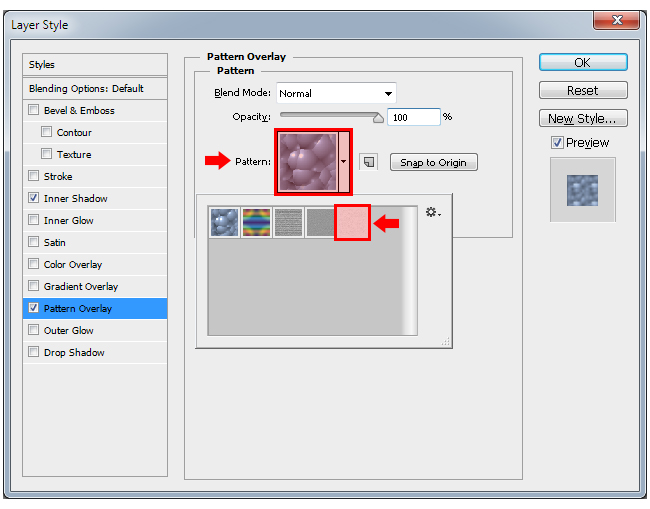
Apply the following settings and click OK.
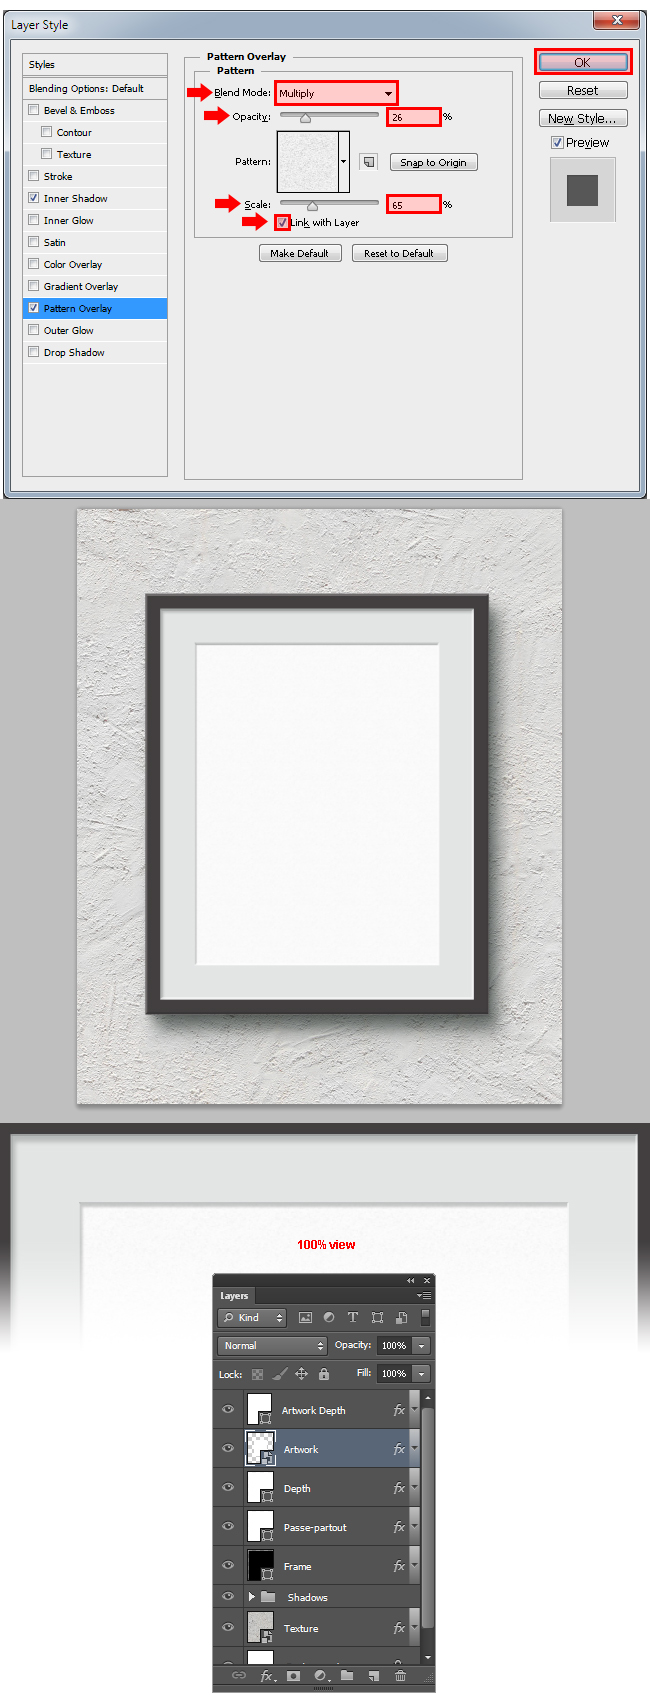
22. Now that we finished our Dynamic Frames, let´s see an example on how to use it. With the "Artwork" layer selected go to Layer > Smart Objects > Edit Contents (this will open a new canvas).
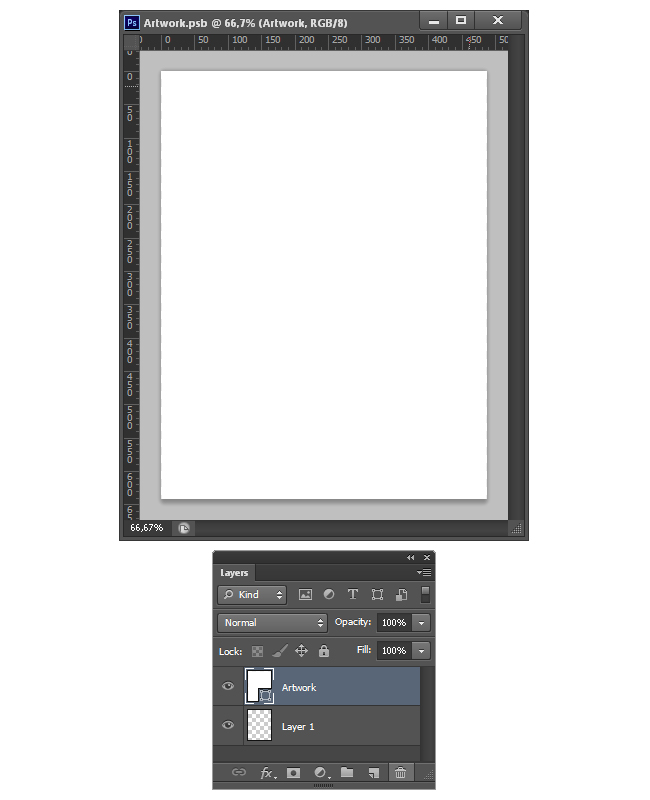
Go to File > Place. Locate your artwork (i will be using an image from Oliver Phillips) and click "place". Make the necessary size adjustments and click the Commit Transform icon in the toolbar.
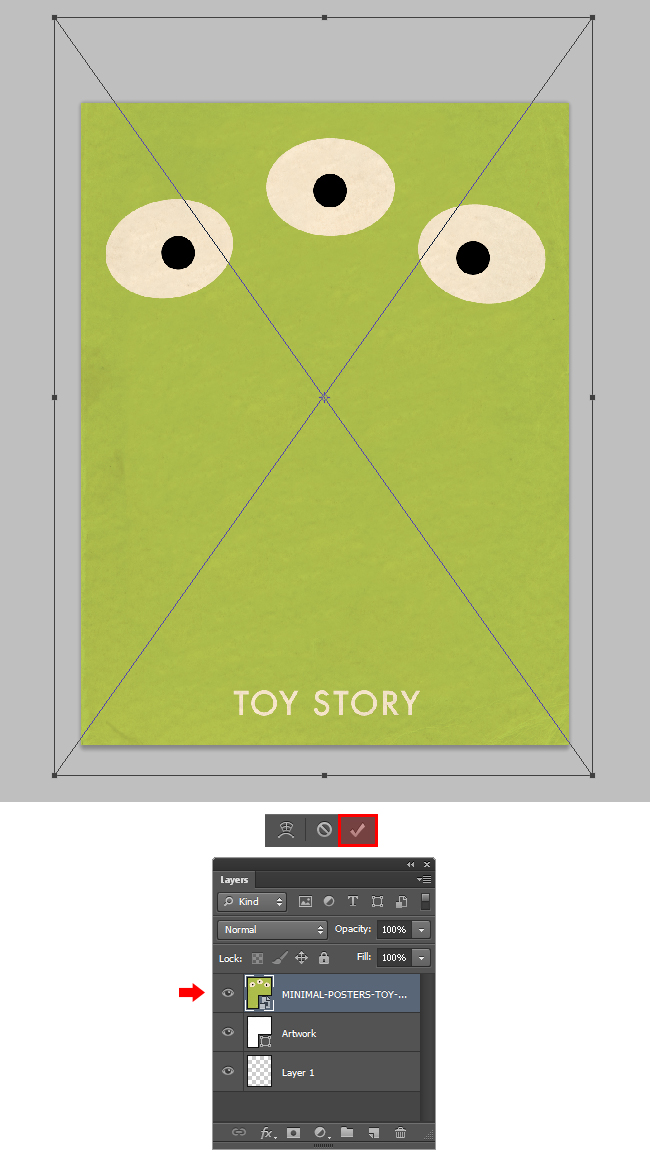
Go to File > Save.
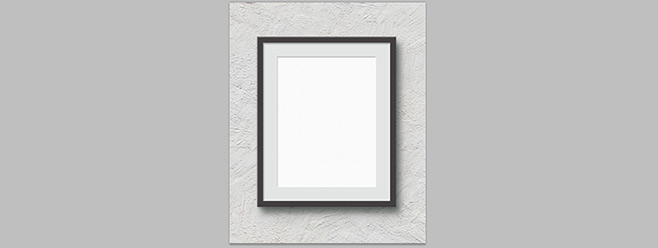
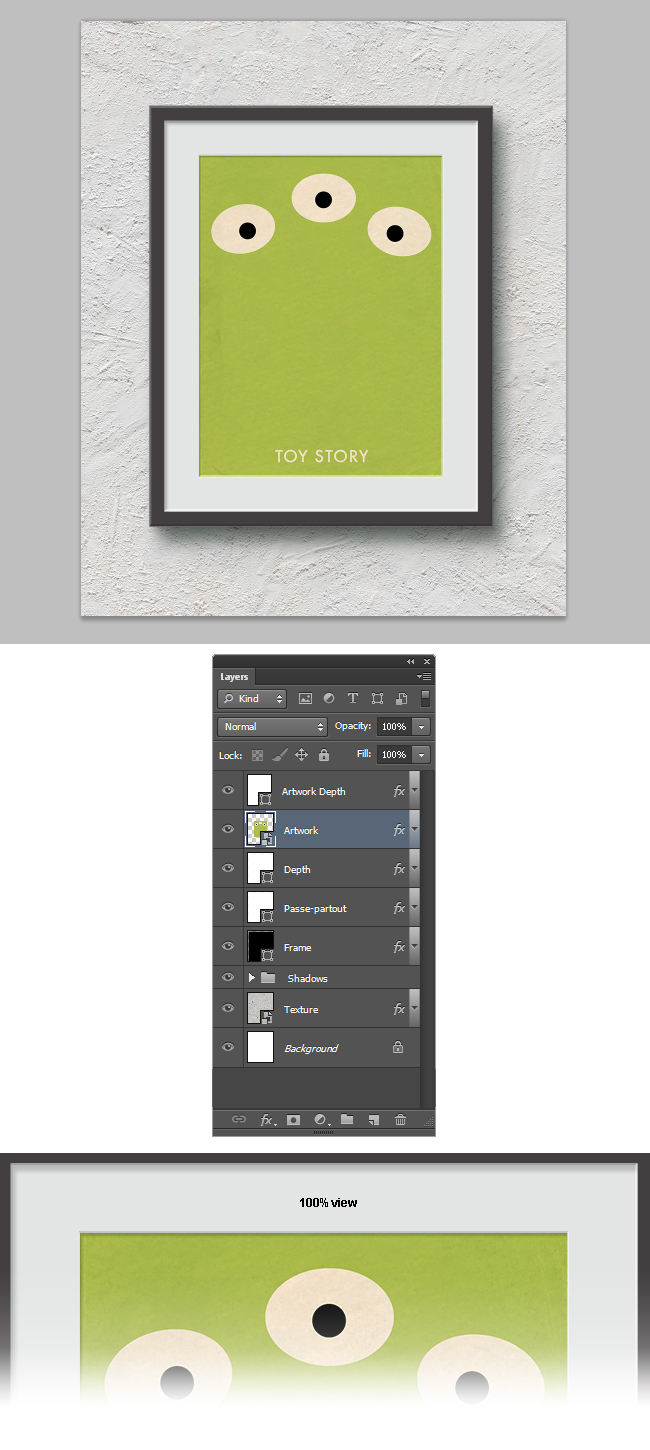
23. Go back to your Dynamic Frames canvas and you will see the Artwork updated.
24. Let´s work with the lights and shadows. As we have made this mock-up dynamic by checking always the "Use Global Light" setting, changing all the lights and shadows will be easy to achieve with just one change. We have been using a 120º angle to all of our effects; but now we will apply a 45º Global Light effect to the document in order to change all the lights and shadows at once. To do so, go to Layer > Layer Style > Global Light. Set the Angle to 45º and click OK.
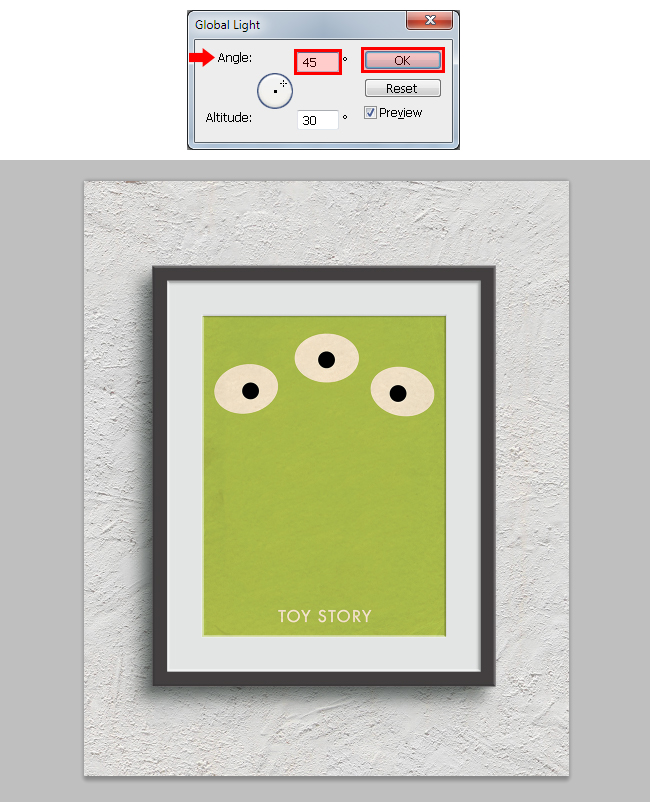
Remember that you can change the Global Light to the angle and altitude you wish, and easily update your Artwork with the Smart Object we just created.
