
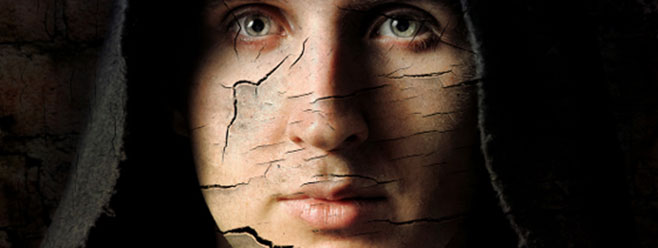
Each time I see an image where someone has blended a dramatic texture, such as peeling paint, with a face, the surprising juxtaposition stops me in my tracks. When a scene elicits such strong emotion, I can barely wait to reverse engineer it and share the secrets. In today's tutorial, we'll explore the techniques necessary to create a striking crack-n-peel face effect.
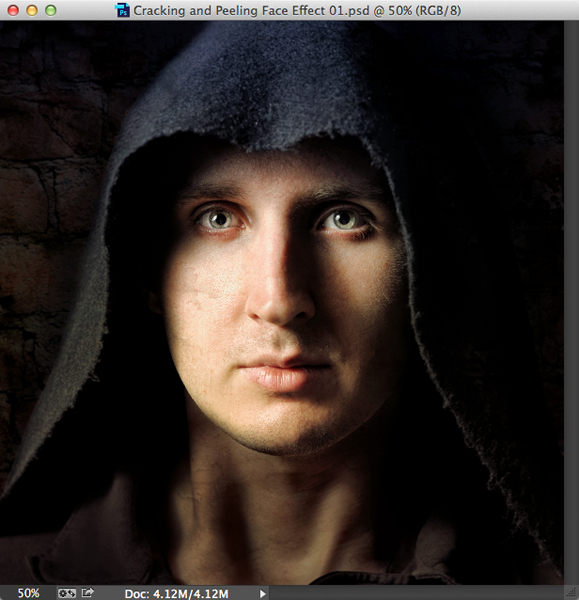
Step 1: Open a Headshot
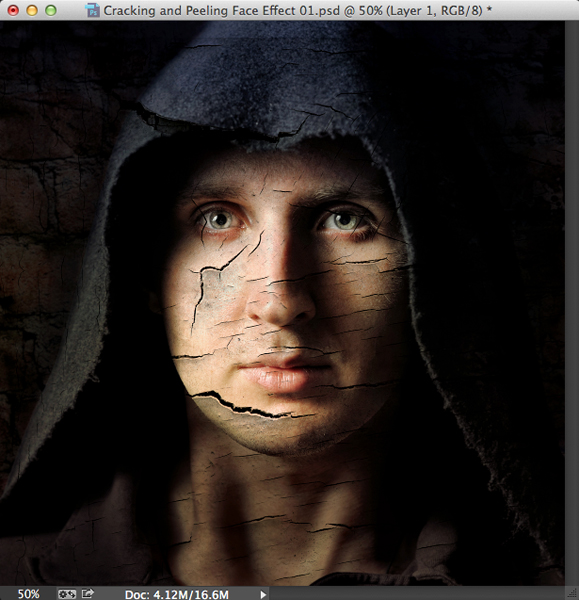
Open a close-up image of a face. For the most impact, choose a subject with light skin that will contrast well with dark cracks.
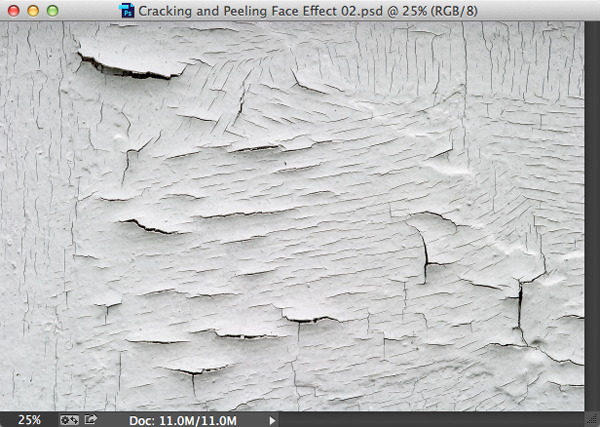
Step 2: Import a Texture
Open an image of peeling paint or cracked mud. For best results, pick one with dark cracks on a light surface.
Press Command-A (PC: Control-A), then Command-C (PC: Control-C) to copy the texture. Activate the face document and press Command-V (PC: Control-V) to paste the texture.
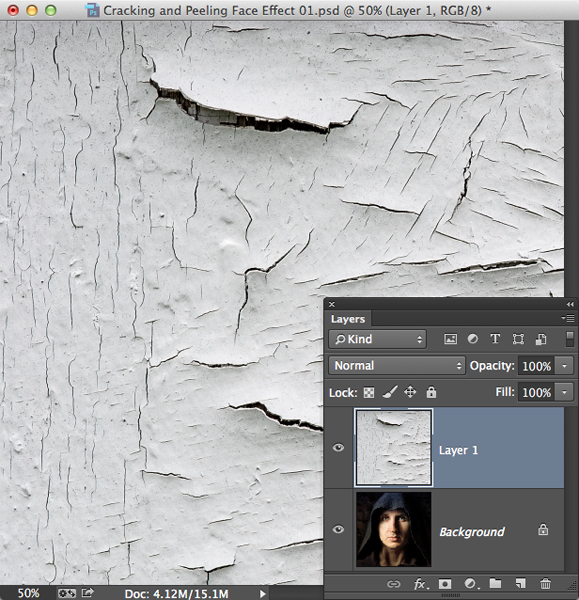
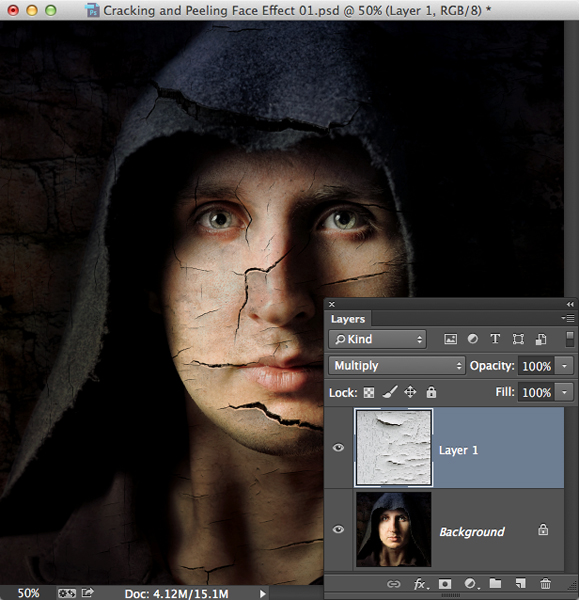
Step 3: Blend the Texture
In the Layers panel, change the mode to Multiply. Notice how this change appears to apply the cracks directly to the face (and everything around it).
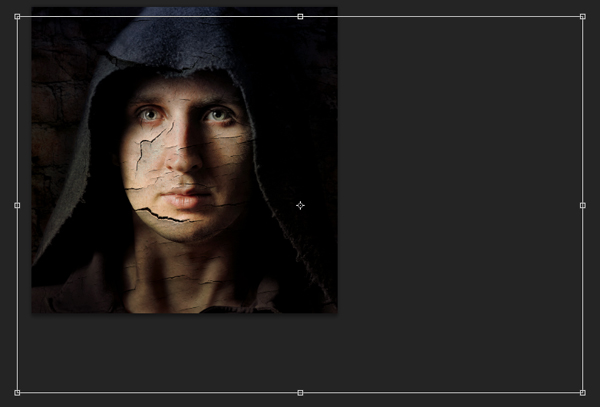
Press Command-T (PC: Control-T) to activate Free Transform. Scale and rotate the texture until it covers all skin areas in an appealing way.
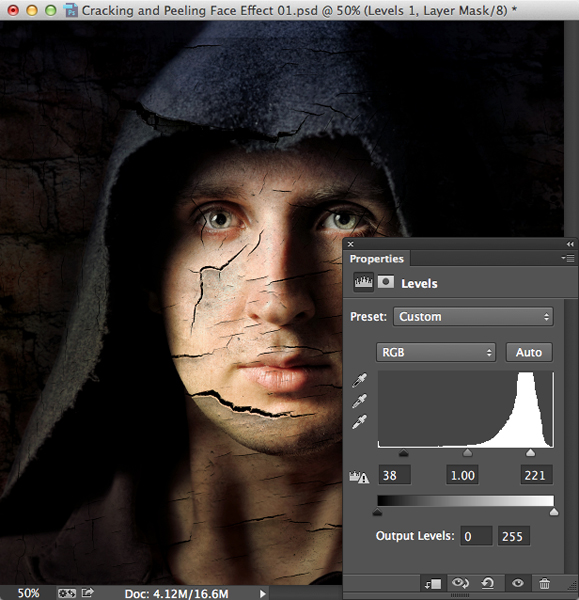
Press Return (PC: Enter). If the Adjustments panel is not open, choose Window>Adjustments. While pressing Option (PC: Alt), click on the Levels adjustment layer icon. In the New Layer dialog, check the Use Previous Layer to Create Clipping Mask box to link the Levels adjustment with only the texture layer below. Press OK. Drag the Shadows and Highlights Input sliders inward to add contrast to the cracks.
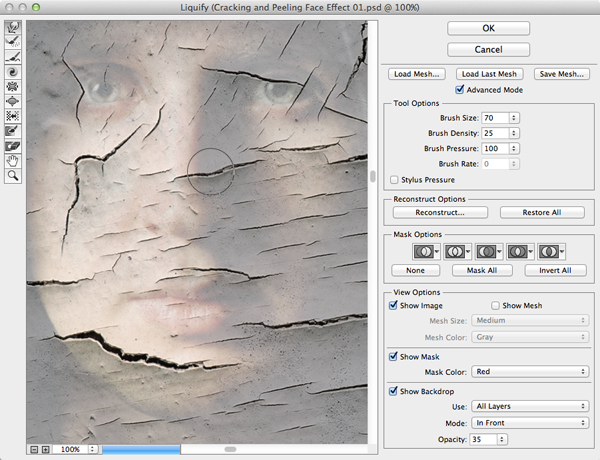
Step 4: Distort the Texture
In order to contour the cracks to the face, we'll use the Liquify filter. Activate the texture layer and choose Filter>Liquify. Activate the Forward Warp tool in the upper left corner. Set the Brush Density to 25 and the Brush Pressure to 100. Check the Show Backdrop box and set the Opacity to 35. Experiment with brush size and paint short, deliberate strokes anywhere where the texture should contour to the face, such as along the nose. Keep the adjustments subtle.
Press OK.
Step 5: Mask the Texture
Now we'll hide the texture from non-skin areas. While pressing Option (PC: Alt), click the Add layer mask icon at the base of the Layers panel. This adds a black-filled mask. Activate the Brush tool, establish white as the Foreground Color, and set the opacity and flow to 100%. Paint over all skin areas except the lips and nostrils. Be careful to avoid eyebrows and lashes.

Step 6: Sharpen the Texture
The cracks in my example are already fairly sharp, but a touch of sharpening will enhance them a little. Zoom the image to 100% magnification. In the Layers panel, activate the texture layer thumbnail and choose Filter>Sharpen>Unsharp Mask. Depending on image resolution and the desired amount of sharpening, set the Amount somewhere between 50 and 150, the Radius between .6 and 1.5, and the Threshold to 4.
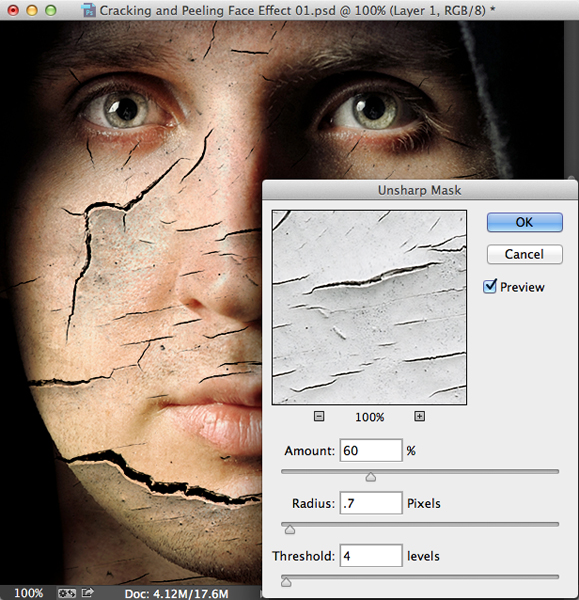
Press OK.
Step 7: Add Drama
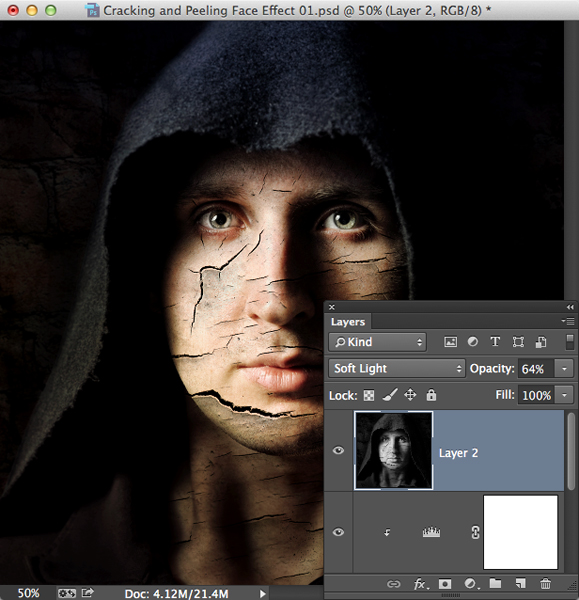
As a final step, we'll use a nifty trick to add dramatic lighting to the subject. Activate the top layer. While pressing Option (PC: Alt), choose Layer>Merge Visible to create a composite layer at the top of the stack. Choose Image>Adjustments>Desaturate. Change the blend mode to Soft Light and watch as the lighting becomes more interesting. If the effect is too strong, reduce the layer's opacity.
Here's the image before adding the cracks.

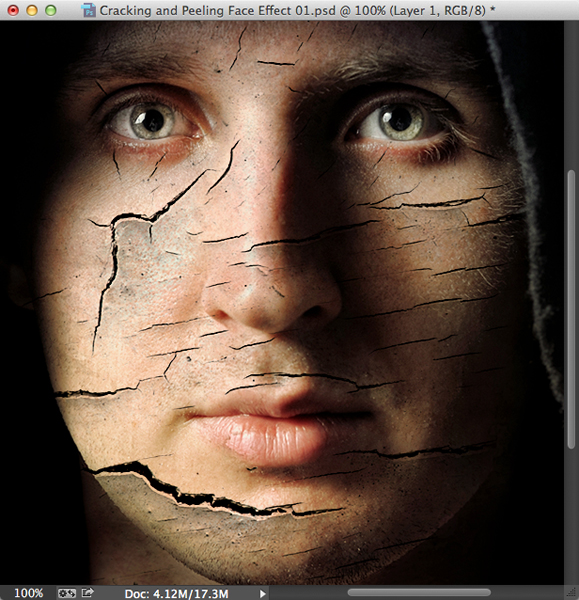
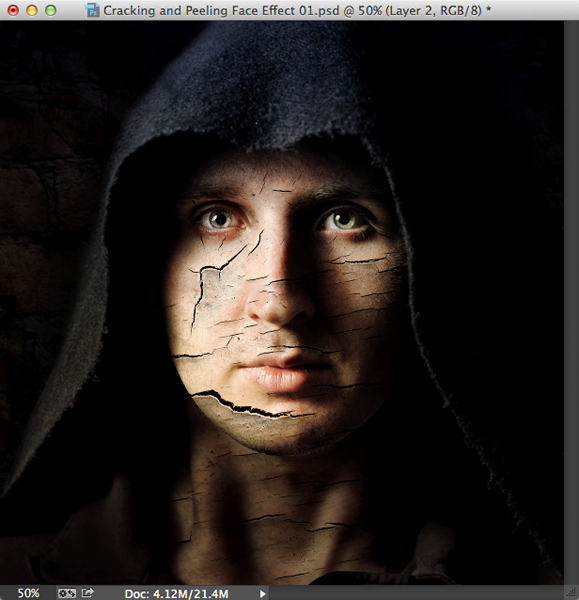
And here it is after.
Mark S. Johnson Photography
msjphotography.com
