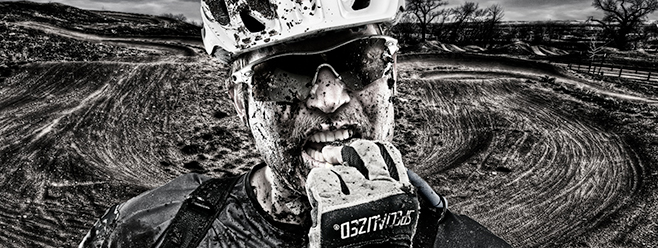
Nik Software (now owned by Google) is the developer of a spectacular Photoshop plug-in called Color Efex Pro. When Nik introduced the Bleach Bypass filter to Color Efex a few years ago, it was an overnight sensation. The edgy, bleached look of the filter adds cinematic drama to any photo that benefits from a grungy appearance. In today's tutorial, I'll show you how to reproduce the Bleach Bypass look using Photoshop's remarkable resources.
Step 1: Open an Image that Needs Edginess
Open an image that can benefit from a heavy dose of bleached edginess.
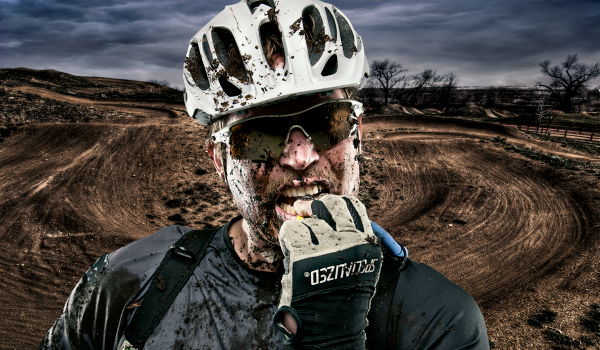
Step 2: Create a Grunge Overlay
Choose Image>Duplicate. Press OK. Choose Image>Adjustments>HDR Toning. If the duplicate file contains multiple layers, you'll be asked to flatten it. Go ahead and respond, "Yes." In the HDR Toning dialog, drag the Saturation slider to -100%, set Detail to around 200% (this percentage will vary based on file resolution and personal taste), and restore detail to most of the highlights using the Highlight slider. As you become more comfortable with the look you prefer, you may also enjoy experimenting with the Radius and Strength sliders.
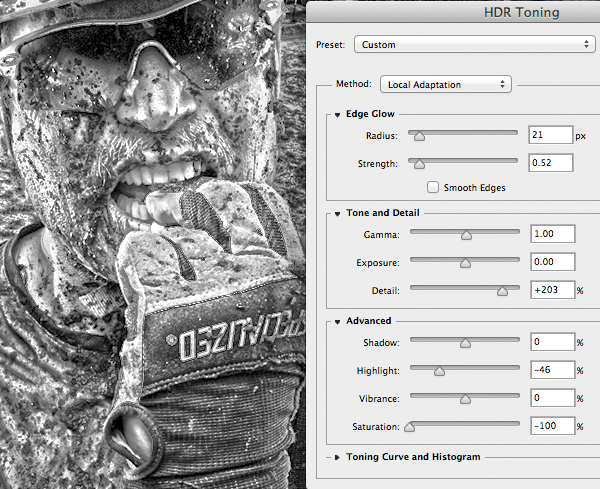
Press OK.
Step 3: Apply the Grunge Overlay
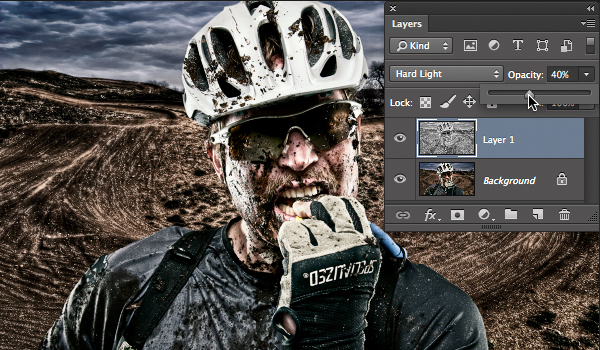
Choose Select>All, then Edit>Copy. Return to the original image and choose Edit>Paste. Change the blend mode from Normal to Hard Light.

Reduce the layer's opacity until the image looks edgy, but not overcooked.
If the shadows or highlights need a bit of tweaking, choose Image>Adjustments>Shadows/Highlights. Modify the Amount sliders for both Shadows and Highlights until both tonal ranges contain a thread of detail.
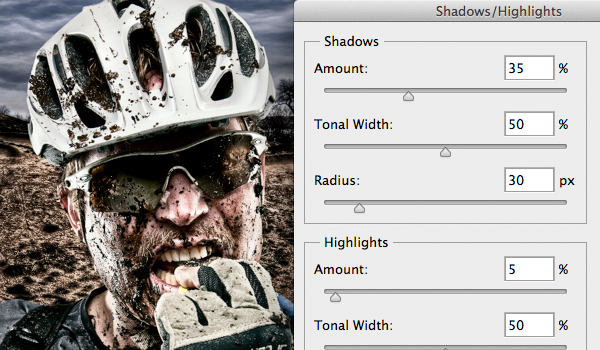
Press OK.
Step 4: Bleach the Image
Choose Layer>New Adjustment Layer>Black & White. Press OK. In the Properties panel, cycle through the Preset choices until you find an ideal black and white look.
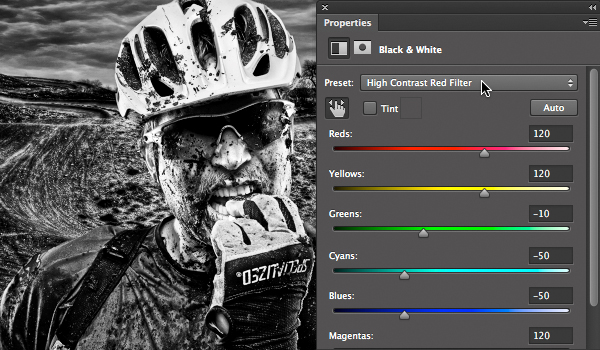
Return to the Layers panel and reduce the opacity of the Black & White layer until the scene is bleached, but no longer black and white.
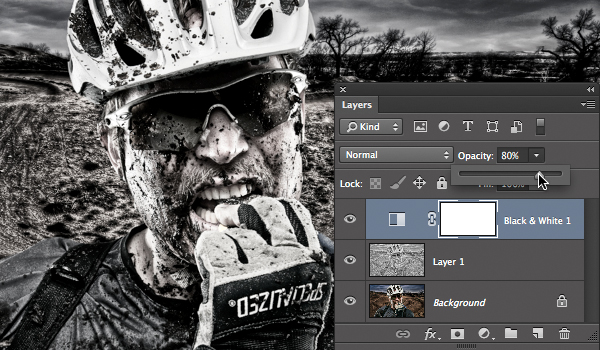
Here's where we startedâ¦
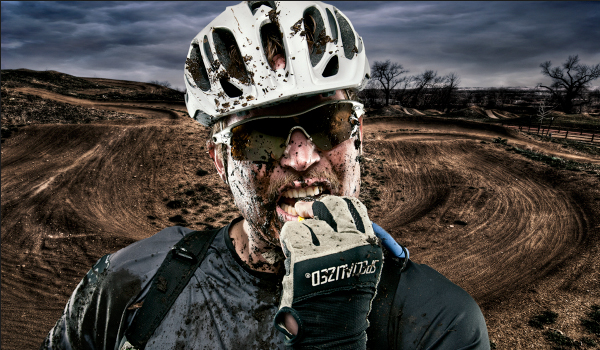
â¦and here's the finished Bleach Bypass effect.
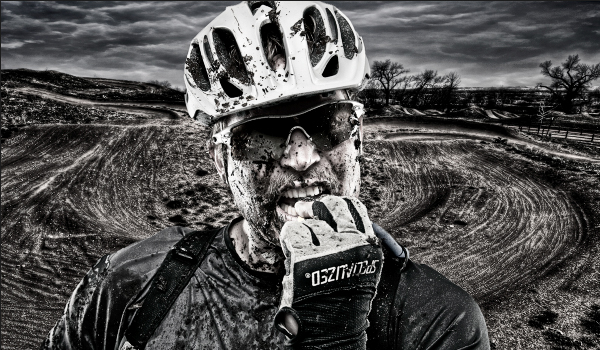
Keep in mind that you can always limit the bleach or grunge effects to specific areas by painting on the Black & White and/or Grunge Overlay layer masks (before painting on the Grunge Overlay layer, you'll first need to add a mask).
Mark S. Johnson Photography
msjphotography.com

