
Using Photoshop to Create Digital Gobos

A gobo is a physical template made from glass, metal, or plastic that can be slipped inside (or placed in front of) a light source to produce a bright or dark shape, such as simulated window light or a tree's shadow. During the 1930s, gobos were used regularly in Hollywood to add dramatic mood lighting to memorable shots in black-and-white films. In today's tutorial, we'll create a simple, but elegant, window-shaped gobo.
Step 1: Open a Photo
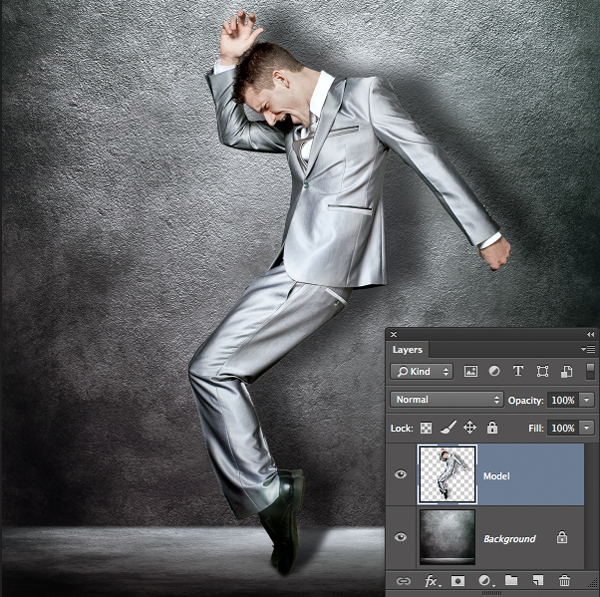
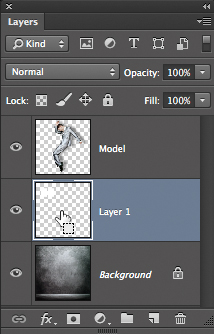
Open a photo of a background onto which you'd like to project the gobo's window-shaped light. In my example, I'm working with a two-layer document. The top layer is a silver-suited model and the bottom layer is the background onto which the light will fall.
Step 2: Create the Window-Shaped Light
Activate the Background layer. Click the Create a new layer icon near the lower right corner of the Layers panel. Choose the Rectangular Marquee tool. Drag out a small rectangular selection similar in size to the one in the screengrab below.
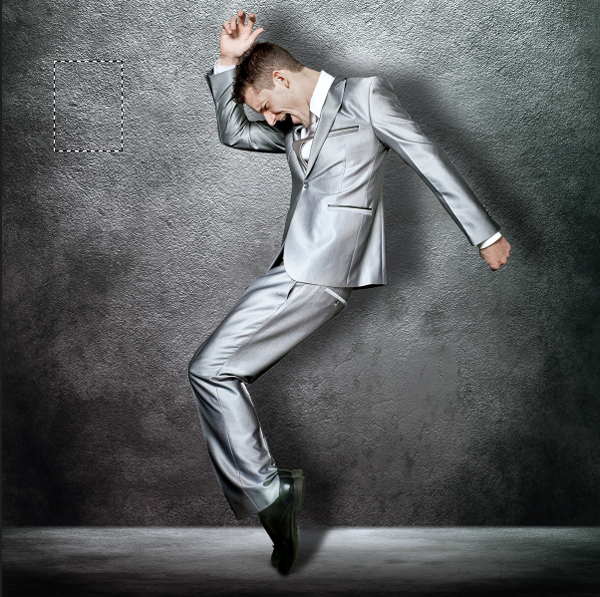
Press the "D" key to set the default Foreground and Background colors. Press Command-Delete (PC: Control-Backspace) to fill the selection with the white Background color.
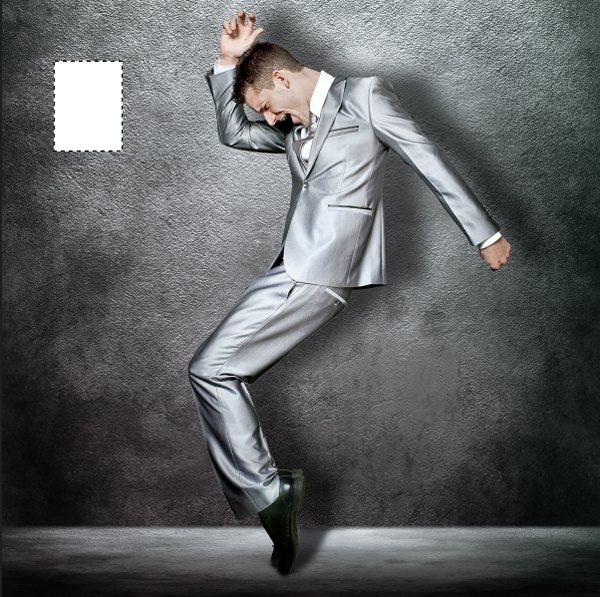
Press Command-Option-T (PC: Control-Alt-T) to simultaneously copy the selected white rectangle and invoke Free Transform. While holding the Shift key, drag the selected area to the right. Press Return (PC: Enter) to commit the transformation.
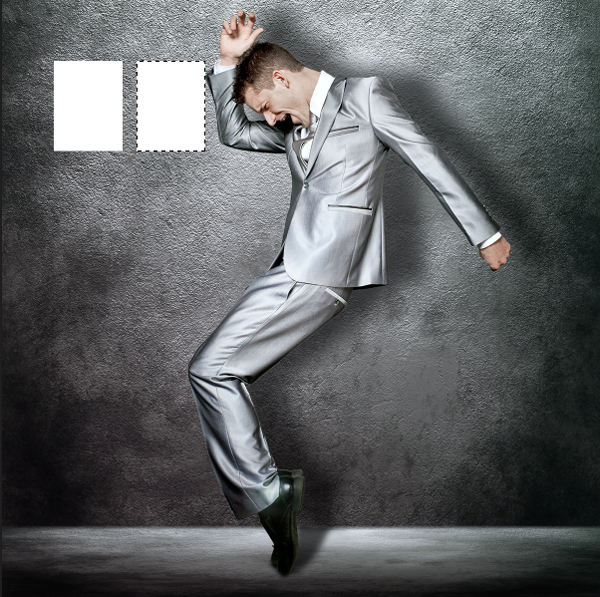
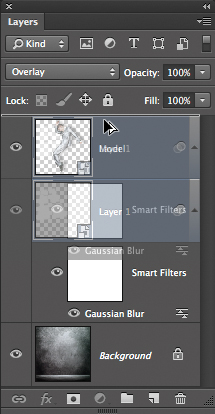
Press Command-D (PC: Control-D) to deselect. In the Layers panel, Command-click (PC: Control-click) on the white rectangles (Layer 1) thumbnail to pull a selection from both rectangles.
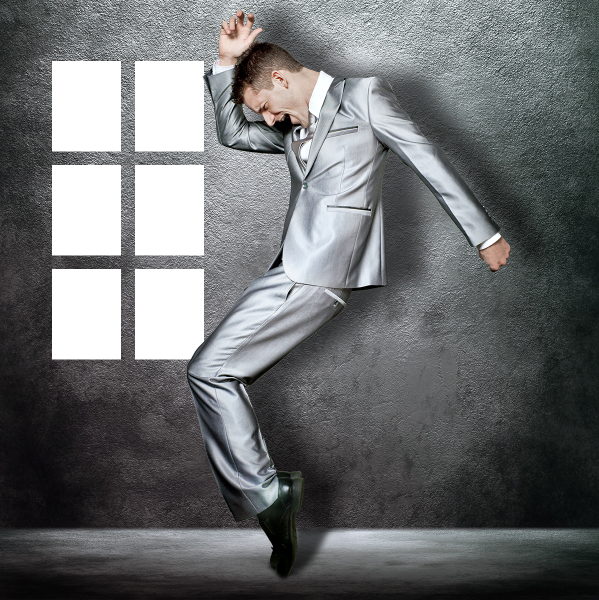
As before, press Command-Option-T (PC: Control-Alt-T) to copy the selected rectangles and invoke Free Transform. While holding Shift, drag the rectangles downward. Press Return (PC: Enter) to commit the transformation.
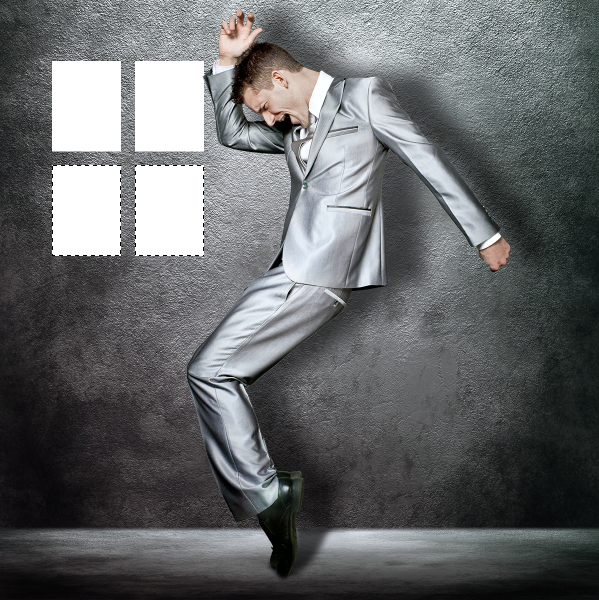
Now press Command-Option-Shift-T (PC: Control-Alt-Shift-T) to step-and-repeat the last transformation. Press Command-D (PC: Control-D) to deselect.
Step 3: Distort and Blur the Window Light
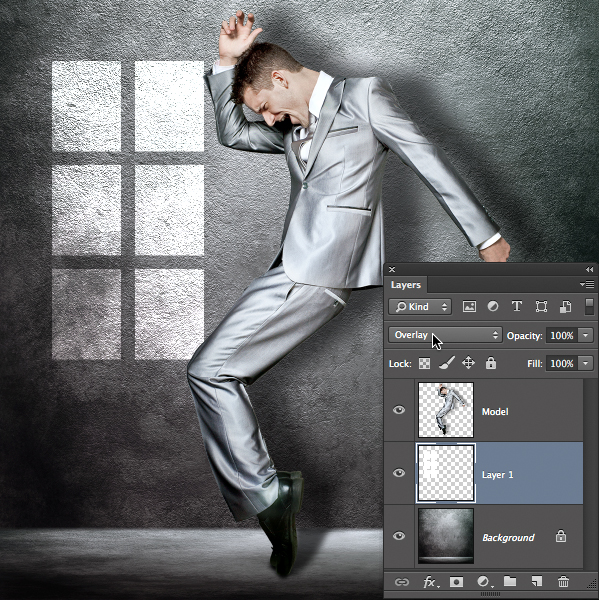
To simulate the look of real window light falling on the background, change the blend mode of the white rectangles layer to Overlay.
In order to experiment with the size, perspective, and blurriness of the window light, let's convert the window light layer to a smart object. To do so, choose Filter>Convert for Smart Filters. Press Command-T (PC: Control-T) to invoke Free Transform. Control-click (PC: Right-click) inside the transform bounding box and choose Perspective.
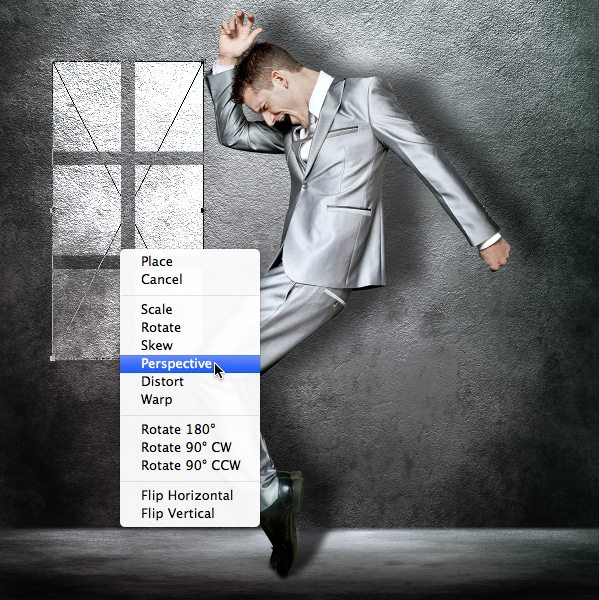
Grab the bottom right handle and drag right to modify the perspective of the window light.

Control-click (PC: Right-click) inside the bounding box and choose Rotate. Hover just outside any corner handle and drag to rotate the light.
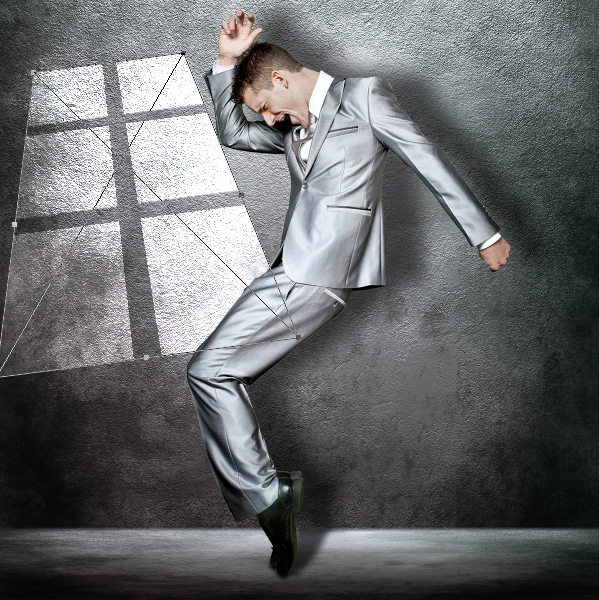
Control-click (PC: Right-click) inside the bounding box and choose Scale. While holding Shift, drag any corner handle to slightly increase the size of the light.
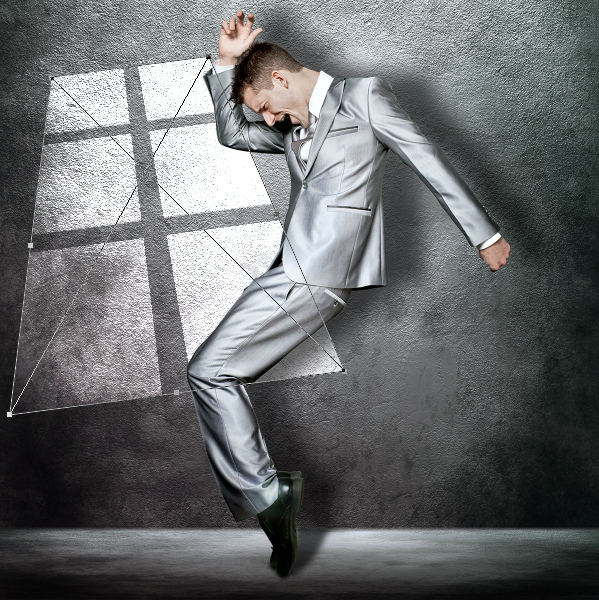
Press Return (PC: Enter) to commit the transformation. Now let's blur the light a little. Choose Filter>Blur>Gaussian Blur. Tweak the Radius until the light takes on a pleasing blur.
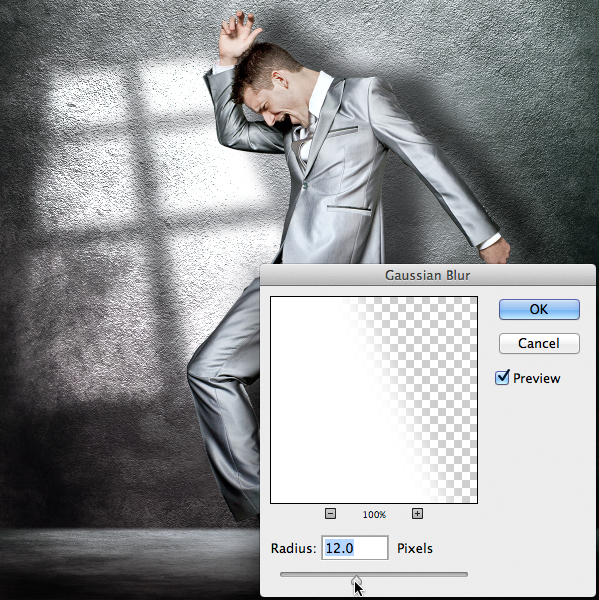
Press OK.
Step 4: Add Window Light to the Subject
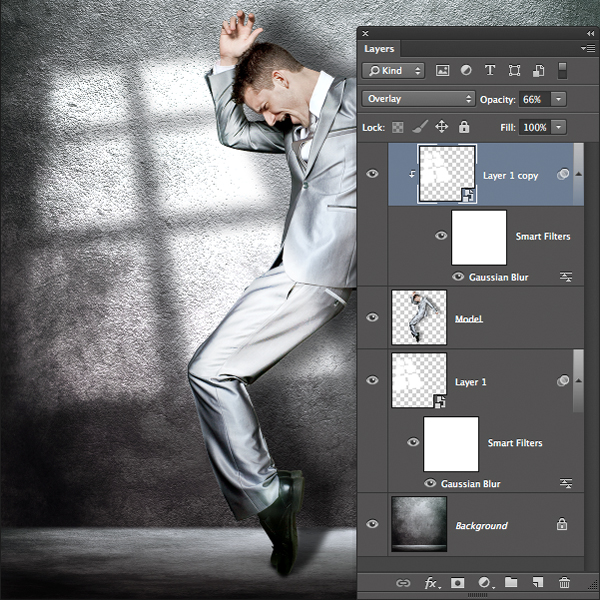
Since the model in this example is positioned between the window (gobo light) and the light falling on the wall, some of the light would also be hitting the model. To accomplish this look, hold Option (PC: Alt) and drag the window light layer just above the model layer. Pressing Option (PC: Alt), makes a duplicate of the layer.
Choose Layer>Create Clipping Mask to maintain the light on the model, but eliminate it from the background. Since the light on the model is a bit too intense, lower the layer's opacity.
Here's the completed gobo effect.
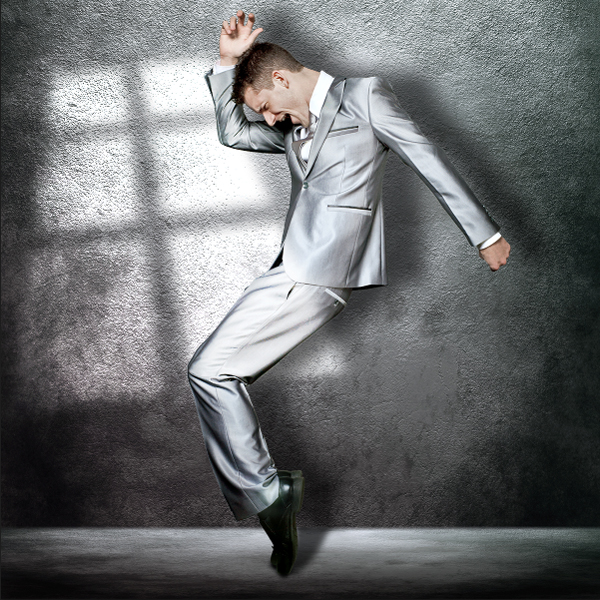
Feel free to experiment with your own shapes, and remember that a gobo can either brighten or darken a surface. Enjoy!
Mark S. Johnson Photography
msjphotography.com
