

Photoshop 7 has a few new commands and blending modes that I’ve been playing with, and as I already told my buddy Colin Smith about it, I thought I’d better write on the subject before he beat me to it!
Photoshop 7 has a very cool feature (heavy on the C-Double O- L) that has blown my socks off. Literally⦠I can’t find my socks. The command is called Apply Image, which let’s you take a layer and channel from one image and blend it into another. Why is that cool? We shall see. You need a source image and destination image open in Photoshop with the same dimensions; once this is set up it is time to fire up the test tubes and start mixing chemicals. Today’s little experiment will let us take a human skull and turn it into solid gold!
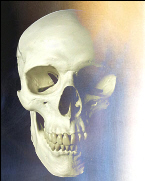
First, allow me to introduce my images. I have a sheet metal image and a human skull photo just waiting to be grafted together.
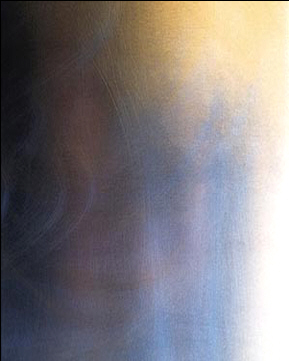
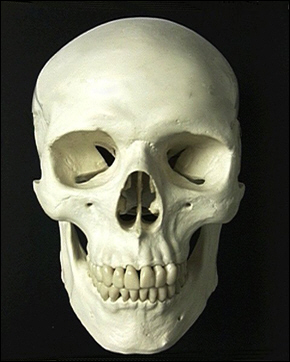
Both images are set to 4 inches wide, 5 inches high, and 72 DPI.
Before we get to the gold, let’s first look at using the sheet metal as our destination image, and the skull as the source.
First, create a copy of both images in new layers respectively. This just helps us delete any less than par effects quickly and easily, leaving us with the original image.
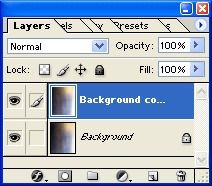
By selecting the steel image, I’m effectively telling Photoshop that this is my destination image as this is the one the effects will be applied to. The source image is that which we will borrow from.
With the destination image selected, we borrow from the source by going to Image>Apply Image.
We can now choose exactly what image we want to use to affect our destination image, as well as which channel, the blending mode that should be applied, opacity, and we can even tell it to work on a mask. Here is where playing with the Blending modes comes into play, as these are what give fire to the hearth.
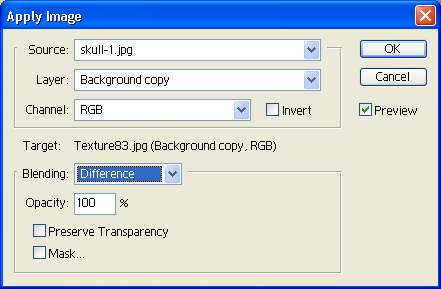
To apply the skull to the image, just select the skull photo as your source. I want it to effect the background copy only, so I set that up in the Layer Box. For now I am content to effect all of the Channels, so RGB is fine. We’ll take a look at ‘Invert’ in a second⦠for now I’ll leave it unchecked.
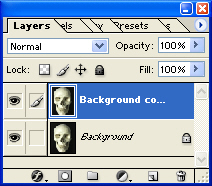
When we apply the skull image to the destination image in Normal Blending Mode set to 100%, we effectively replace the layer information with the skull image. This isn’t really what we want. But when we start stepping through the various layer blending modes, the newly blended image comes to life. Here are a few examples:
Lighten
Overlay

Pin Light
Overlay with Invert Selected

A lot of you may be going ‘so?’ but for those of you into creating collages or hi-tech image blends, this new feature takes away hours of time with just a few clicks.
Let’s change gears a little bit. I told you I’d turn that skull into gold, so let’s get to it! I’ve set up my images again, but this time I want to set my Skull image as the destination so I’ll make that active.
In order to pull this off, we need to apply the source image to the destination image twice, both times affecting a different area (darks/shadows first, lights/reflections second).
For the first Apply Image, my settings are thus:
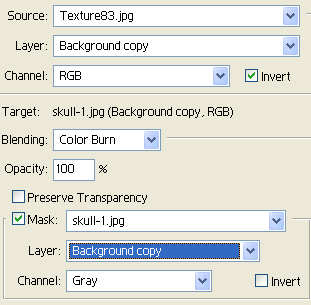
Here is the result:
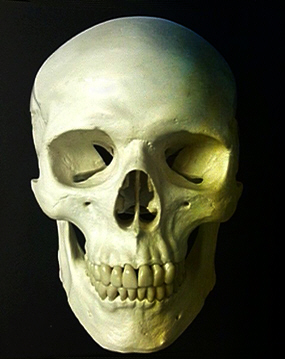
We have effectively cast a color burn on the darkened areas of the skull, using the source image to draw out the dark areas with a metallic cast.
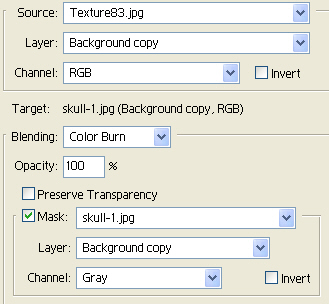
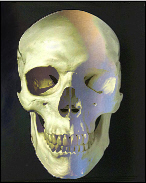
Now I’ll go to Apply Image again, using the exact same settings but un-checking Invert so that only the lightened areas of the skull are effected.
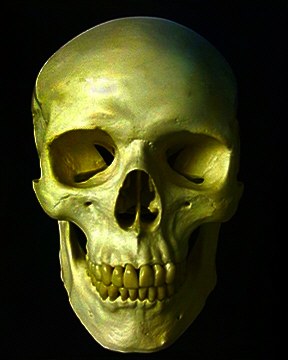
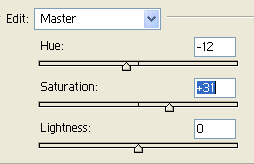
Now we can adjust the Hue/Saturation to add a bit of red to the color-
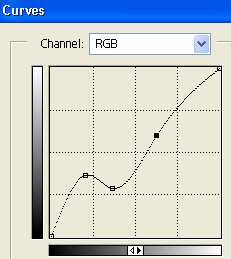
-and a small curve adjustment to add to the metallic cast-
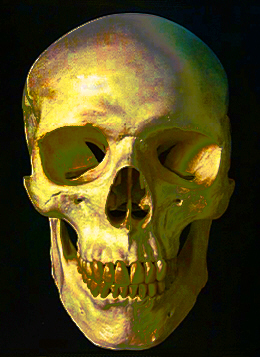
– and we are left with a human skull made entirely of 14 Karat wallet-stuffing love!
There is a lot of power in this little command, and I’ll cover it more as I become familiar with it.
Come see me at http://actionfx.com, and I’ll see you here next week. Take care!
