
Photo Tangling Effect
A workshop student recently introduced me to an app called "PhotoTangler." I loved the name so much that I was eager to learn about it. The app takes distinct images and seamlessly blends them into a collage that is unified with texture. I wondered how easy it would be to accomplish the same effect in Photoshop. It turns out that the process is both uncomplicated and a great way to engage your right brain!
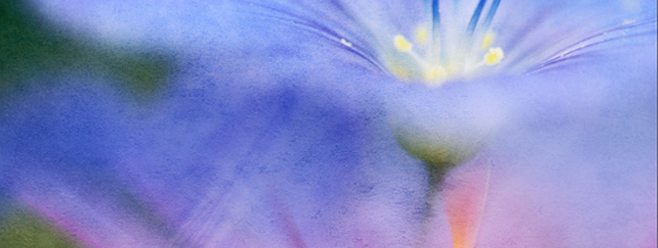
To create a successful photo tangle, begin by choosing two or more images that possess harmonious colors. You can even select photos with a theme or photos that tell a story. Choosing the photos is half the fun. You'll also need a texture. I'm using one from the awesome Shadowhouse Creations site (http://shadowhousecreations.blogspot.com/).
Step 1: Open the Photos into One Layered Document
Open Adobe Bridge. In the Content panel, select both (or all) images that will be used in the collage.
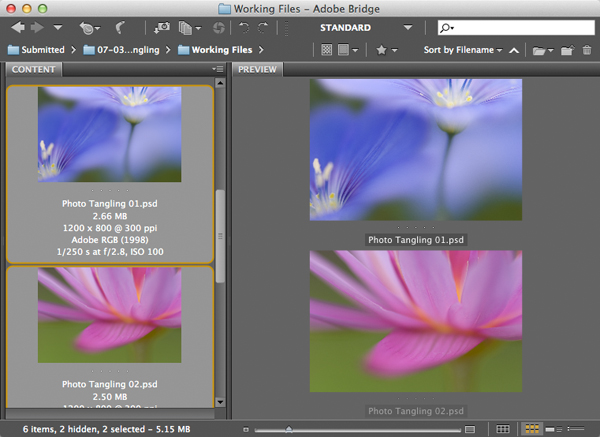
Choose Tools>Photoshop>Load Files into Photoshop Layers. This creates a single document with multiple layers.

Note: A similar feature is available in Lightroom. Choose Photo>Edit In>Open as Layers in Photoshop.
Step 2: Tangle the Top Layer with the Bottom One
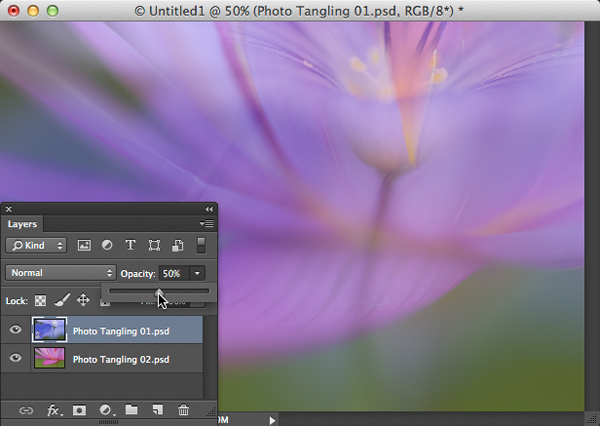
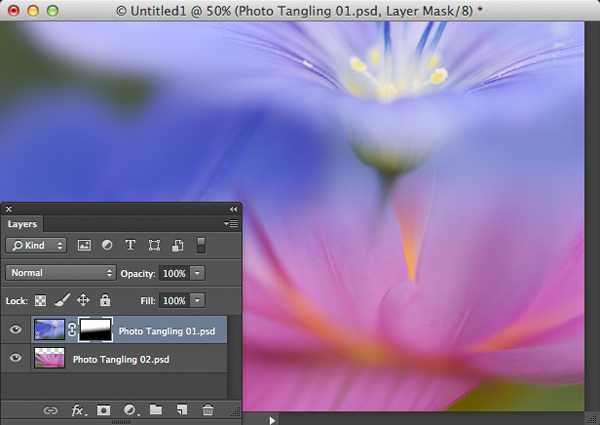
Tangling can be accomplished using a variety of tools. First we'll reposition the underlying layer; then we'll add a mask to the top layer. To beautifully reveal the underlying layer, we'll use a combination of the Linear Gradient as well as the Brush tool. In order to position the bottom layer so that it fills the desired collage space, activate the top layer and temporarily reduce its opacity to 50%.
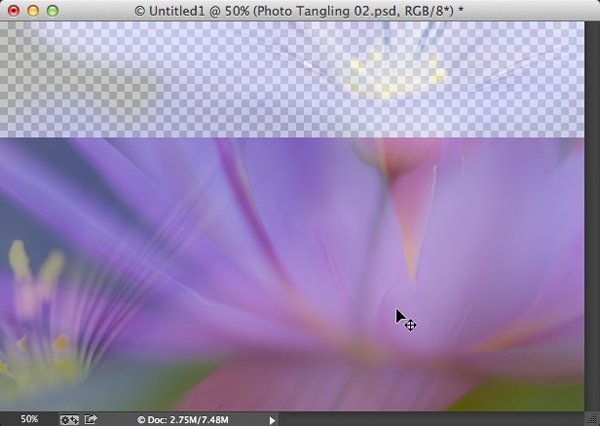
Activate the bottom layer and grab the Move tool. Drag to reposition the bottom layer until it rests in a desirable location.
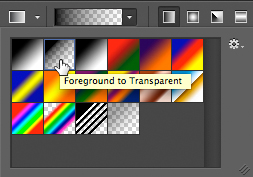
Activate the top layer and restore its opacity to 100%. Click the Add layer mask icon at the base of the Layers panel. Tap "D," then "X" to set black as the Foreground color. Choose the Gradient tool. In the Options Bar, open the Gradient Picker and choose the Foreground to Transparent option.
Click on the Linear Gradient icon. Now click-and-drag a down-to-up gradient through the center region of the picture to reveal the underlying layer. If you don't like the result, immediately press Command-Z (PC: Control-Z) to undo it; then try again pulling a shorter or longer distance and/or from and to different locations.
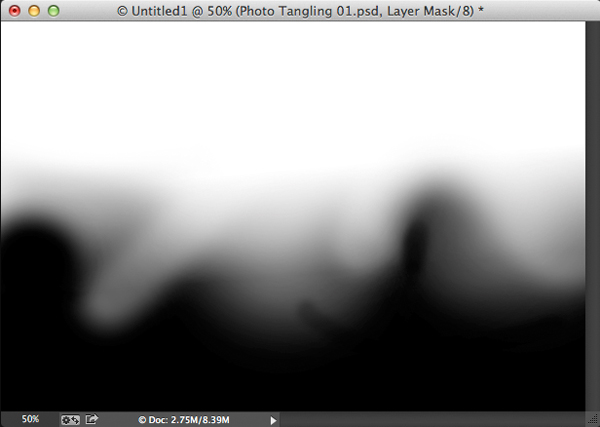
Now let's refine the way the two images interact. Grab the Brush tool. Paint with a combination of large and small brushes at varying opacities using both black and white paint to blend the two images in a seamless and fluid fashion. The best tangling results occur when you're willing to freely experiment knowing that undo is just a keyboard shortcut away. Here's a look at the mask of my tangleâ¦
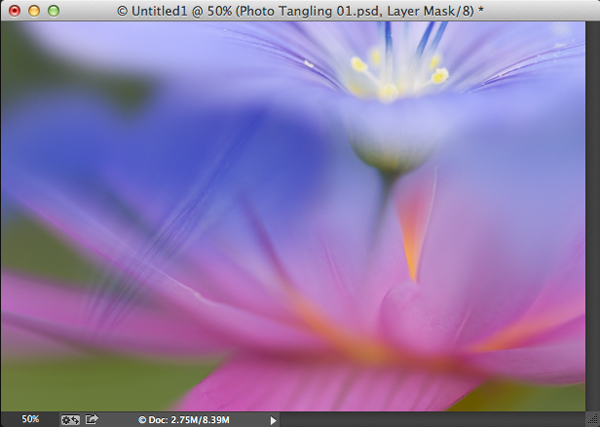
â¦and here's a look at the blended result.
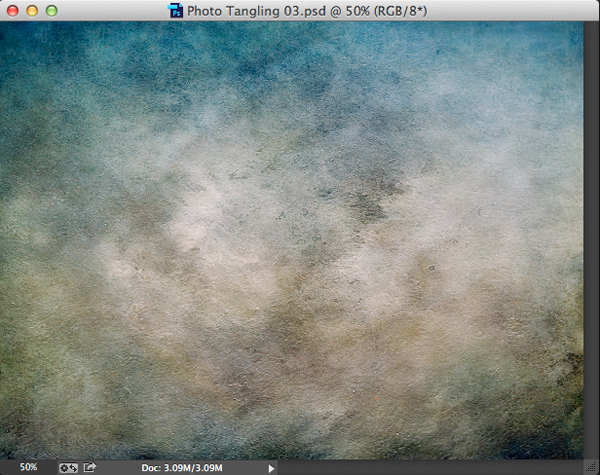
Step 3: Unify the Photos using a Texture
Adding a texture really helps bring together images that may have been captured with different lens and cameras. Open a texture. Keep in mind that you may have to experiment with different textures to find one that you love.
Press Command-A (PC: Control-A) to select the texture. Press Command-C (PC: Control-C) to copy it. Hop over to the tangled image and press Command-V (PC: Control-V) to paste it.
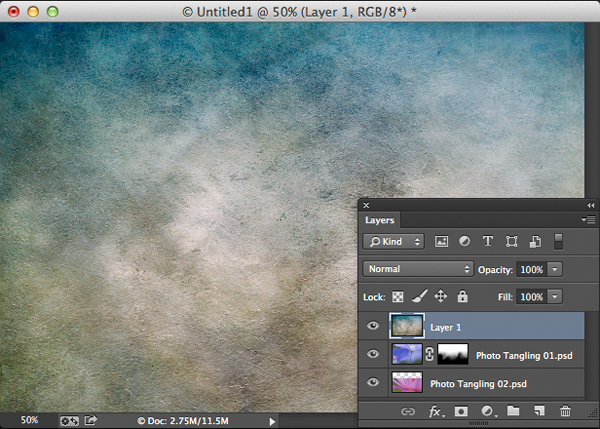
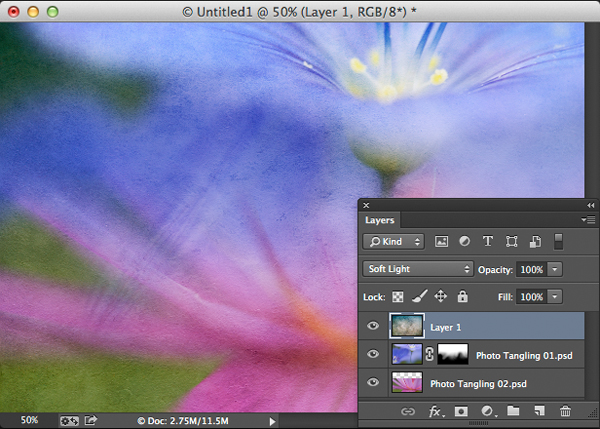
To blend the texture with the layers below, activate the Move tool and tap the "+" key while holding Shift. This cycles through the blend modes. In my example, Soft Light blend mode creates a pleasing effect, but be sure to explore all of the blend modes because you never know what surprises await.
Here's the completed result.
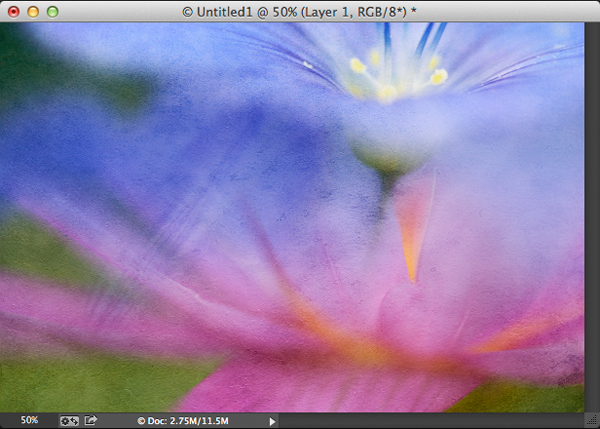
Keep in mind that the intensity of the texture can be controlled both with the Opacity slider and by adding a layer mask and painting with a reduced-opacity black brush. If you're on a roll, feel free to experiment with adding other images. You may even find it enjoyable to add a toning layer that appears only in select edge regions. Have fun with the creative process!
Mark S. Johnson Photography
msjphotography.com

Mark, this is such a lovely/right brained idea !! ..With so many options to play with. Thanks…
your work is very nice than other online image clipping path service provider,so that I appreciate your work. Thanks