
One off the key factors in making a believable composite is to handle how the light falls on your elements. One of the best ways to wrangle the light is through dodging and burning.
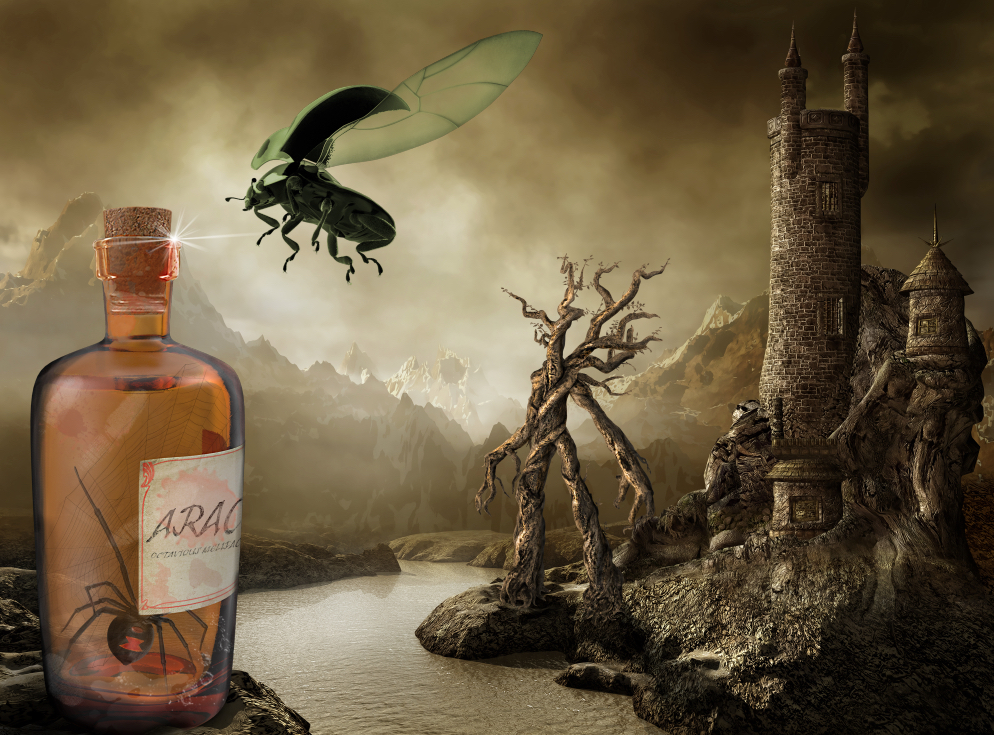
Here is a recent composite that I created.

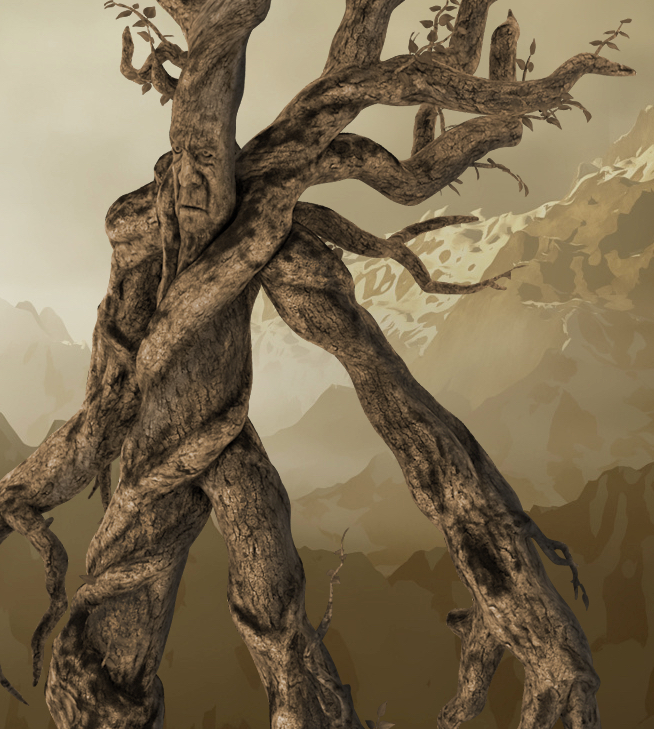
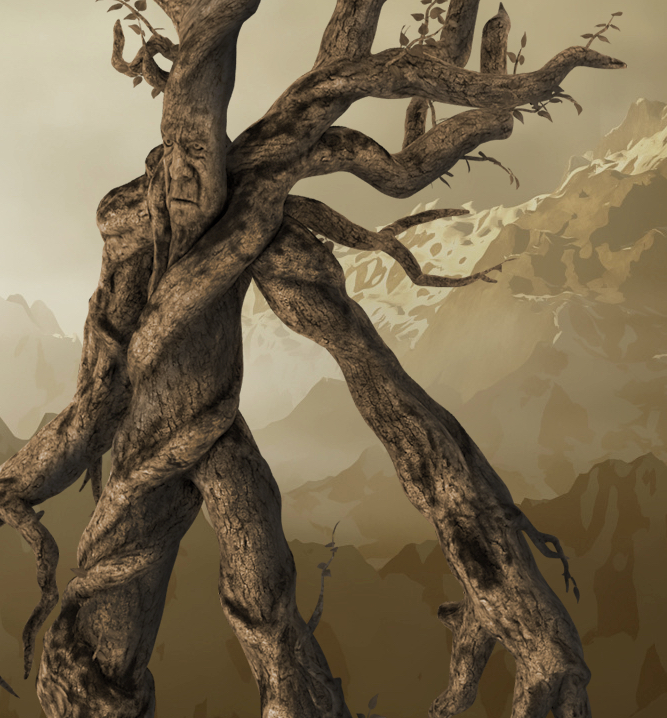
We are just going to focus on the Ent creature on the right side. Here is what he originally looked like when downloaded from pixelsquid.com and the following one is what he looks like after dodging and burning.
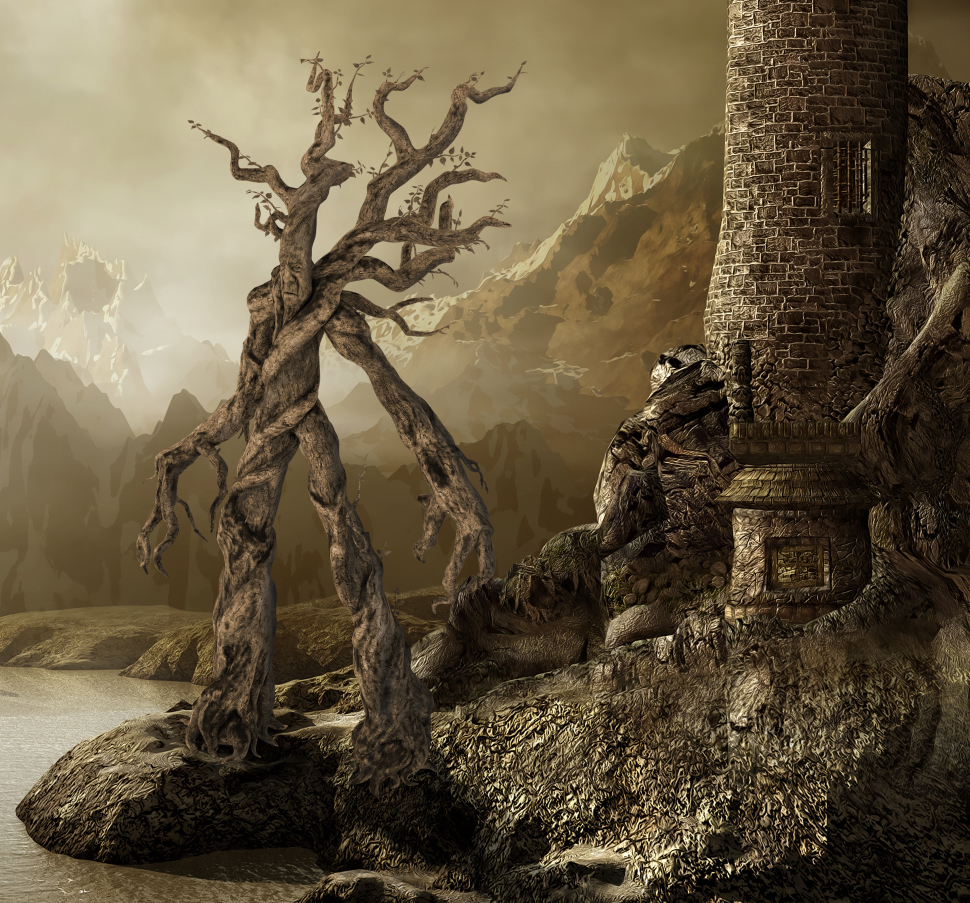
The original element is pretty good, but the contrast and shadowing are not quite right
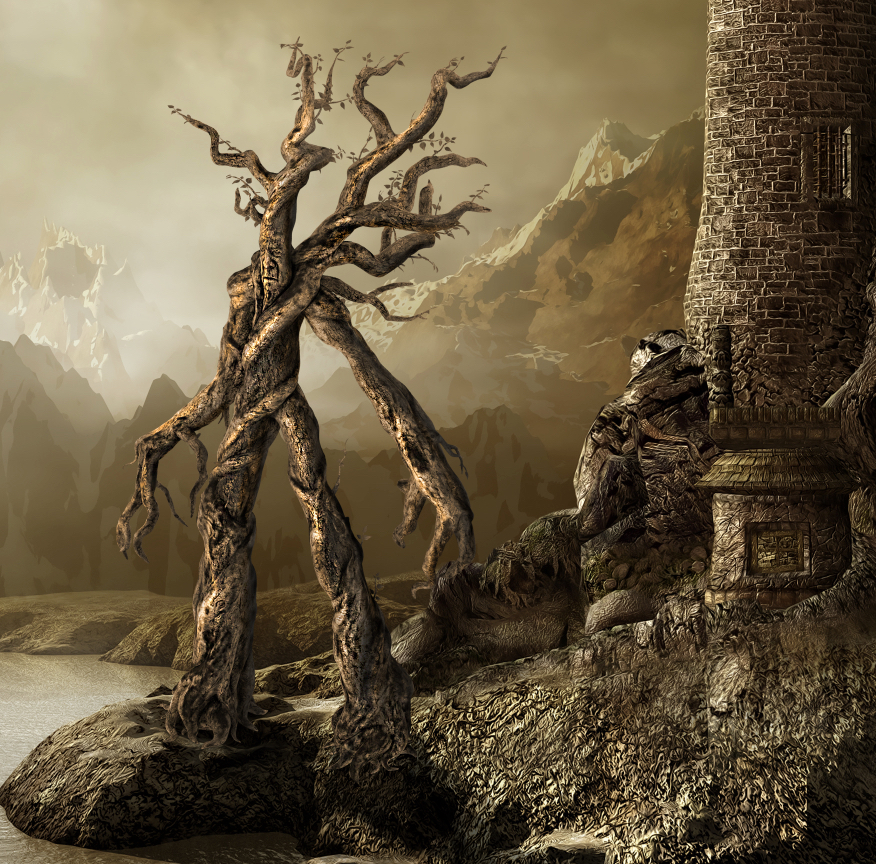
Here is the same element after dodging and burning
Hopefully you can see the difference in the original and the final result. This allows the viewers eyes to accept the element into the scene more readily. So how do you know where to dodge and burn?
Once you place an object into a scene and get it positioned where you want it… then you will want to make sure the highlights and shadows work with the rest of the image, but how do you know how it should look?. If we take note of the lighting and contrast of the castle in the background image, we see that our Ent is a little flat when compared to the shadows on the castle. We are giving all the visual clues we need by the shadows and especially by the rocks on the water, that help us figure out the light direction and intensity of the shadows. Pay attention to the darkness and the fall off of the shadows. Your goal is to match the look of those.
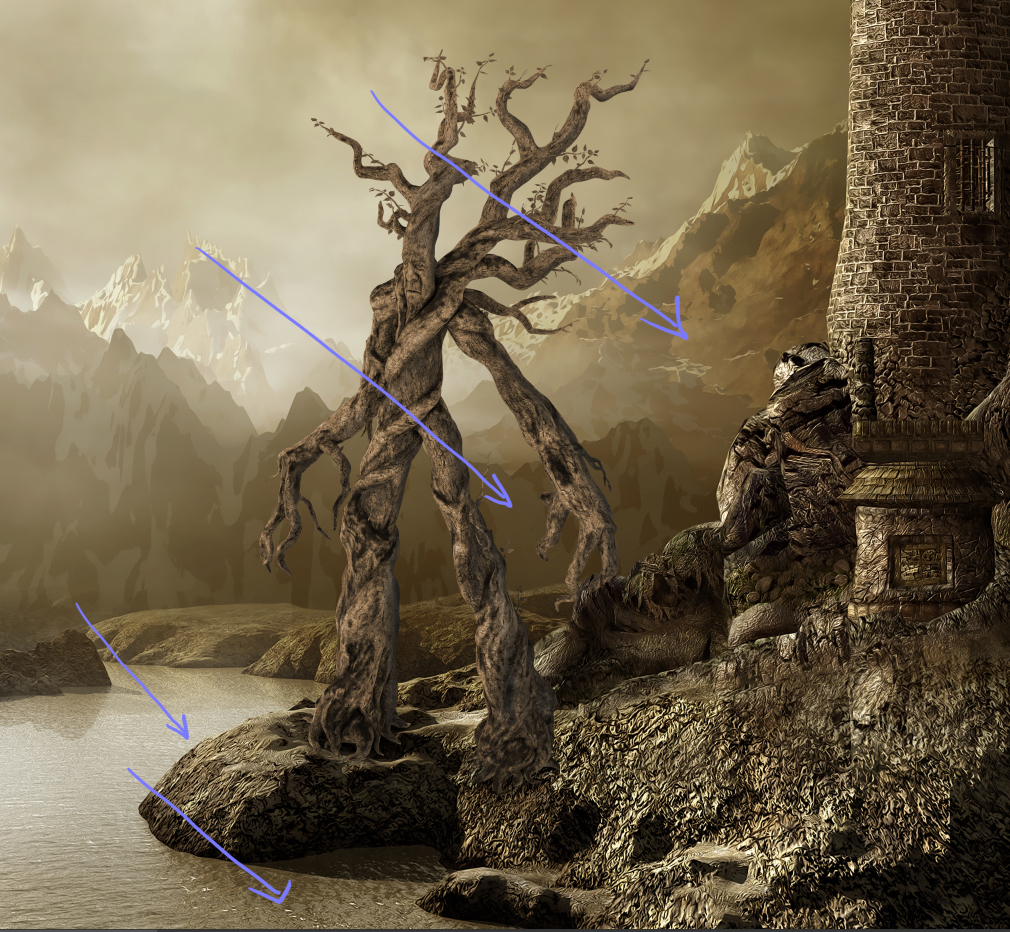
using the shadows on the water help set the angle of the light
There are several ways to dodge and burn, and depending on what day it is, I will use a different method… but for this example I simply made a copy of the Ent layer by pressing Command-J (PC Ctrl -J) and then hid the original Ent layer to use for a backup if I screwed up. I am going to use the dodge and burn tools in the way most folks will by applying them directly on the element, but I don’t want to be trapped if somewhere along the way I mess up. Also in the end I can change the opacity of the dodged and burned layer if I get to heavy handed and blend it with the original layer for a more natural look.
I tend to start with the shadowing… so I grab my burn tool (O) and work from light to dark. In the options bar I choose highlight and set my Exposure fairly low… usually under 12%. This will allow me to slowly build up the burning and mainly focus on the lighter areas. This is also very handy when you have a few little white jaggies left over from a selection because it is only going to try to darken the lightest parts and leave the rest of the image alone.
If you use a brush with a very soft edge, then you can start painting just on the edge and there will be more of a gradient than a solid line of burning. Now you will want to think as if this object is actually three dimensional and how it would be lit if it was in this space. What light would make it onto the body and what parts would be in shadow. I will draw little direction lines on a separate layer like the image above to help remind me of the direction. The key to dodging and burning is patience… which is a word that I am not a fan of… but I have tried to rush through this process and I end up having to redo it more slowly the second time around, so in a sense slow is fast. (Shooter reference for those of you playing at home. :D)
There might not seem like a lot is happening with the highlight burning, but it is important because it brings those pesky light areas up to a tonal darkness that will allow the midtones burning to affect them. Nothing screams fake like a couple of bright edges where shadows should be, so practicing good highlight attention will pay off in the end.
There are subtle changes to the shadows in this image... but don't fixate on this image... the next one is where more of the action is.
In the options bar, change to the Midtones so that they will be the area affected by the burning and leave your Exposure at a low setting.

change the settings to Midtones and keep Protect Tones checked
Now you will begin to see a more dramatic affect of burning, because most of your Ent’s brightness is in the mid-tone range. Slowly trace down the edges of the Ent that would be in shadow and the follow the contour of the body to help emphasize a roundness and not just a flat creature. This is what will take a lot of practice, but it will make your elements work so much better in the long run.
now the edges are starting to feel more rounded and the shadowing is helping to add contrast to the Ent
You will want to finish with the tool set to Shadows, and this will bring in the darkest burning so it needs to be handled gently. I will often bring the Exposure setting down to about 4% or so, this may mean that I have to apply more strokes, but it helps to keep from making the image too muddy. (Sidenote: depending on your style and skill level with each step, you may want to create a new copy of each burning phase as a backup before you move to the next setting.) Really try to match the darkness and look of the shadows that are falling on the rest of the image. There is a level of artistry here and it is where most folks get lazy or frustrated and they abandon the process because it looks weird or it is too much work. But, if you will push through and be ok making a mess the first dozen times you try this, you will begin to get the hang of it and things will start to become more natural and faster… I promise.

now the Ent has some much darker areas and shadows... all that is left is some highlights
The payoff for all of this usually comes when you switch to the Dodge tool and add some highlights. It is the combination of dark shadows with bright areas that gives us contrast and makes the image pop. Remember dark areas are read by our eyes as receding and bright areas as coming forward, so two dimensional images can only look like they have mass and take up space in a image through contrast. Most of the time you will only need to set the dodge tool to Highlights and paint with a low Exposure setting over the lightest areas that you have left. If you have done your shadowing correctly, then it should be fairly easy to see where to paint. Remember that it will always be on the opposite side of the shadows… so since the right edges are in shadow, then you will want to increase the highlights on the left edge of the Ent. Just like with everything else… go slow and softly build up… thinking how the light will fall across the body.
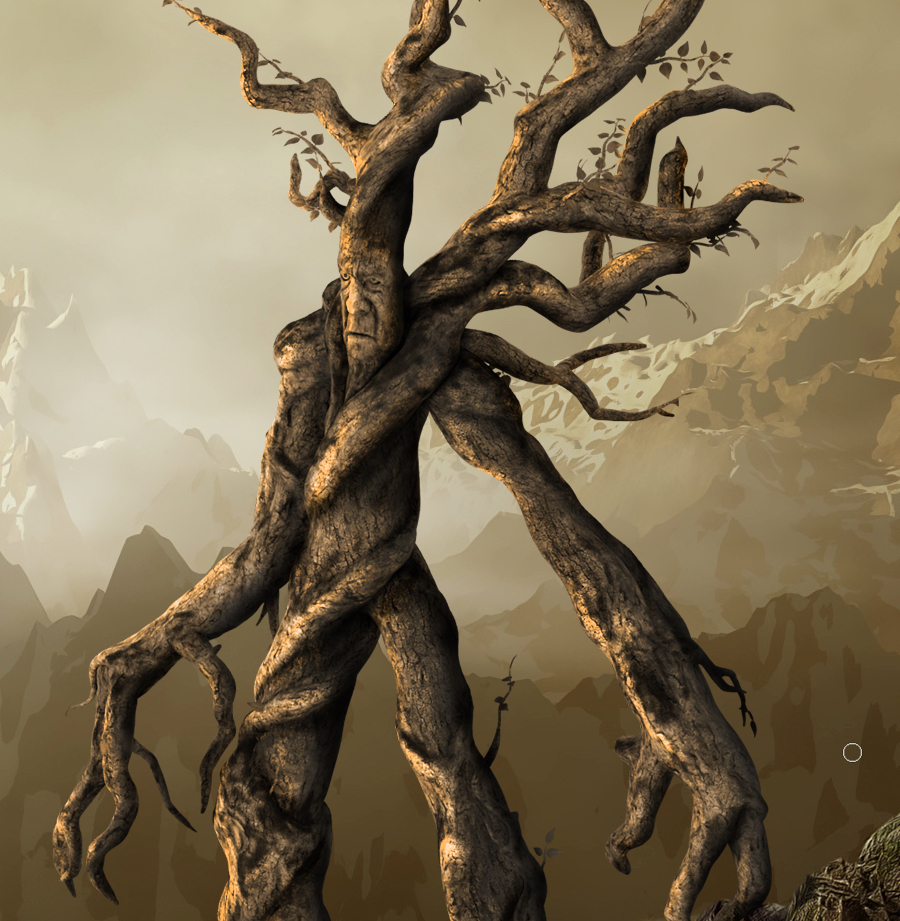
notice how the addition of highlights really makes things pop
When you are done, make sure to zoom out and see how it sits within the space… you will probably need to go back in and adjust some areas. Remember that if you have the original layer, that you can mask out parts of the new dodged and burned layer or decrease the opacity to take away any over the top areas.
Dodging and burning is an art, and a lot of folks (myself included) would rather spend time doing other things… but almost nothing else can hinder you composites than bad lighting on your elements. Don’t cut corners and don’t be lazy and in the end you images will start to really standout. I have given you a few tips and a look at my process, but you will need to practice… practice… practice. That reminds me… I need some practice too. 😀

pretty good
Thank you very much. An excellent tutorial.