This tutorial explains how to create a rusty text effect, using Photoshop filters and a texture image. Then, it explains how to use Photoshop brushes ...
An overview of the new and improved Photoshop CS6 â˜Lighting Effects' Filter. Step One: Open Choice Document With Photoshop CS6 open, go to the File ...
Use a levels adjustment to alter the lightness or brightness of your image. Lesa teaches a technique for using the levels histogram to visually adjust ...
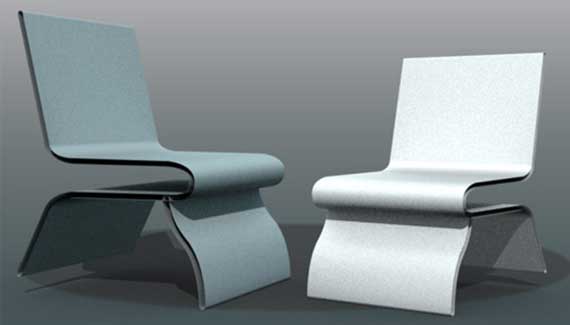
Use the Photoshop CS6 new Vector Shape Stroke feature to create a futuristic furniture design; inspired by the original Omega model located here at the3dstudio.com. ...