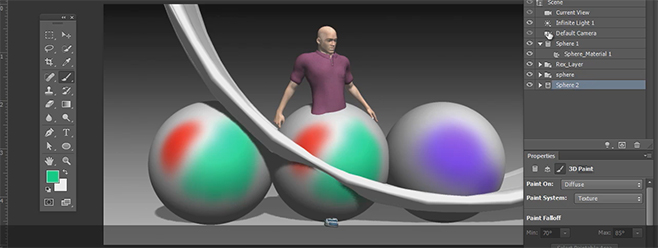
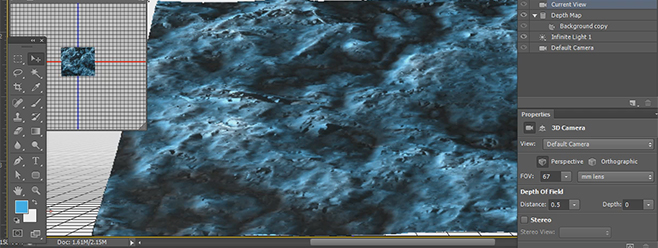
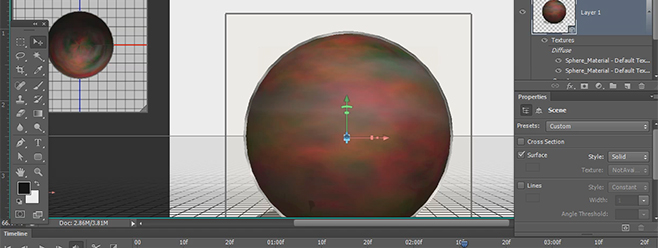
Sponsored by the National Association of Photoshop Professionals. Learn More

Effects | Page 12


Energize That Photo

Learn how to add excitement and energy to your photo in just a few simple steps.

Design Elements from Photos

Here is a cool way to use parts of you photos as abstract design elements.

Fire Brushes

After creating a brush pattern from a stock image of a horse, Corey applies a layer style consisting of outer and inner glows with a hard light blend mode to … Continue reading

Lighting Effects

Corey jazzed up this photo by making a custom brush and applying an outer glow layer style to create the repeating patterns behind the subject.

Pin-up Effect

Using a mixture of filters and blending modes, Corey takes a stock photo and transforms it into an old, classic 1950′s pin-up poster.

Embossed Glass Logo

Instead of using a displacement map, here’s another method for taking a custom file and distorting it to match a background image.

Sci-Fi Text Effect

Corey stumbled upon this effect while experimenting with the smudge tool and its finger painting feature. Start off by going back to his starry background tutorial and follow along from … Continue reading

Blending and Type Tips

In this design, Corey had set out to blend a large body of text with a silhouetted shape. After some experimenting, he discovered the perfect blending mode to do this … Continue reading

Crumpled Paper

This crumpled paper effect starts with designing a piece of notebook paper and then applying a displacement map to create the texture. Finish the effect off with some layer styles … Continue reading

Logo Design

Corey recreates a video game logo by building a grid background and circular target using the define pattern and polar coordinate distort commands.

Pages: 1 2 3 4 5 6 7 8 9 10 11 12 13 14 15 16 17 18 19 20

Create A Composite Layer

If you have a multilayer composition and you
want to apply an effect to all the layers at once, don't flatten the layers--use a composite layer instead. Hide the layers you want excluded, and press Shift-Command-Option-E (PC: Shift-Ctrl-Alt-E). A new layer will be created at the top containing a merged copy of all the visible layers.

Another option is to create a new layer at the top of the stack and make it active. Command-click (PC: Ctrl-click) each layer you want to include to make those layers active, as well. Press Option-Command-E (PC: Alt-Ctrl-E).
by Colin Smith

Read More Tips

Tip of the Day
 
 
Kelby Training